


Are you tired of looking at dull, dark ceramic tiles in your home? Don’t worry—there are easy ways to lighten them up and give your space a fresh new look.
Ceramic tiles are a popular choice for flooring and wall coverings due to their durability and aesthetic versatility. Over time, however, these tiles can lose their original brightness and appear dull or discolored. Fortunately, several methods are available to restore and lighten ceramic tiles, enhancing their appearance and breathing new life into your space. Whether caused by everyday wear and tear, exposure to harsh cleaning agents, or simply accumulated grime, lighting your ceramic tiles can be a simple yet effective way to rejuvenate your home.

In this guide on how to lighten ceramic tile, we will explore various techniques and tips to help you achieve brighter, fresher-looking tiles without the need for costly replacements.
What Will You Need?
Before we dive into the different methods for lightening ceramic tiles, let’s first gather the necessary materials. Depending on which technique you choose, you may need some or all of the following:
- Gentle cleaning agent (e.g., dish soap) and warm water
- White vinegar
- Baking soda
- Hydrogen peroxide
- Bleaching agents (e.g., oxygen bleach or chlorine bleach)
- Sponge or soft cloth
- Scrub brush or toothbrush
- Protective gear (e.g., gloves and goggles)
Some cleaning agents can be potentially harmful if used incorrectly, so always read the instructions carefully and take necessary precautions. Also, test the chosen method on a small, inconspicuous area before tackling larger sections of your tiles.
10 Easy Steps on How to Lighten Ceramic Tile
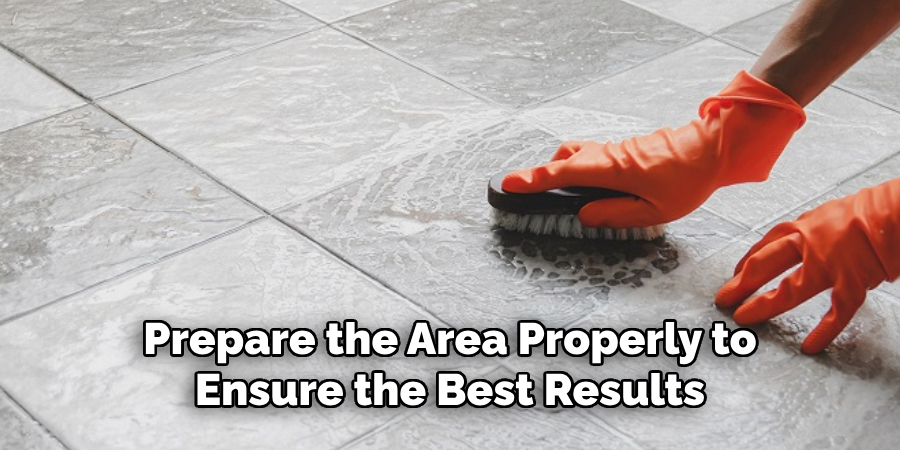
Step 1. Prepare the Area:
Before you begin lighting your ceramic tiles, it’s essential to prepare the area properly to ensure the best results. Start by removing any furniture, rugs, or decorations that may cover or obstruct the surfaces you must treat. This will provide you with transparent access to the tiles and help prevent any accidental damage to your belongings. Ensure the room is well-ventilated by opening windows or using fans to dissipate any fumes from the cleaning agents. It’s also a good idea to sweep or vacuum the area to remove any dust or loose dirt that could interfere with the cleaning process. Finally, place all necessary tools and materials within reach so you can work efficiently without interruptions.
Step 2. Clean the Tiles Thoroughly:
The first and most straightforward step in lightening ceramic tiles is to clean them thoroughly. Begin by mixing a gentle cleaning agent, such as dish soap, with warm water to create a mild solution. Dampen a sponge or soft cloth with the cleaning solution and wipe down the tiles, working in small sections to ensure no area is missed. Pay extra attention to grout lines and any spots with visible dirt or discoloration. You may use a scrub or old toothbrush for stubborn areas or grout lines. Rinse each section with clean water and dry with a soft cloth to prevent streaks.
Step 3. Apply a Vinegar Solution:
Once the tiles are cleaned, you can use a vinegar solution to lighten further and brighten their appearance. Mix equal parts of white vinegar and warm water in a spray bottle. Spray the solution evenly over the tiles, ensuring it covers both the surface and the grout lines. Allow the vinegar solution to sit for about 5 to 10 minutes. The acidity of the vinegar helps break down any lingering mineral deposits or residues that might be dulling the tile’s finish. After the solution has had time to work, scrub the tiles gently with a sponge or soft cloth, focusing on any stubborn stains. Rinse thoroughly with clean water to remove the vinegar and any loosened grime, then dry with a soft cloth. Vinegar is a natural, non-toxic cleaning agent that lightens and disinfects your tiles without harsh chemicals.
Step 4. Use Baking Soda Paste:
If the vinegar solution isn’t enough, consider using a baking soda paste for more effective lightening. Baking soda is mildly abrasive and can help lift stubborn stains and discolorations. To create the paste, mix three parts baking soda with one part water until you achieve a thick consistency. Use a sponge or cloth to apply the paste generously over the tiles and grout lines. Let it sit for 10 to 15 minutes to allow the baking soda to work on any deep-seated grime. Afterward, gently scrub the tiles with a scrub brush or an old toothbrush, paying particular attention to any areas with persistent discoloration. Rinse the tiles thoroughly with clean water and dry them with a soft cloth to reveal a brighter surface.

Step 5. Apply Hydrogen Peroxide:
Hydrogen peroxide is another excellent option for lightening ceramic tiles, and it is known for its stain-fighting and disinfecting properties. Pour a small amount of hydrogen peroxide directly onto the tiles or into a clean spray bottle for easier application. Apply the hydrogen peroxide across the tiles, ensuring it covers both the surface and the grout lines, especially in areas with noticeable stains or discoloration. Let it sit for 10 minutes to penetrate and break down any lingering dirt or stains. Afterward, gently scrub the tiles with a soft cloth or brush, focusing on stubborn spots. Rinse the tiles thoroughly with clean water and dry them with a soft cloth. As a mild bleach, hydrogen peroxide helps brighten your tiles safely, making it a practical step in your tile lightening process.
Step 6. Try Oxygen Bleach:
Oxygen bleach is an excellent alternative to traditional chlorine bleach, providing a powerful yet safer option for lightening ceramic tiles. To use oxygen bleach, dissolve it in hot water according to the product’s instructions, usually around one cup of oxygen bleach for every gallon of water. Apply the solution generously over your tiles, focusing on areas with noticeable stains or discoloration. Allow the solution to sit for at least 15 to 20 minutes, ensuring it has enough time to break down tough stains and grime. After soaking, scrub the tiles using a scrub brush or an old toothbrush, paying close attention to grout lines and persistent spots. Rinse thoroughly with clean water to remove bleach residue, and dry the tiles with a soft cloth. Oxygen bleach is effective in brightening and lightening tiles while being less harsh on surfaces and the environment than chlorine bleach.
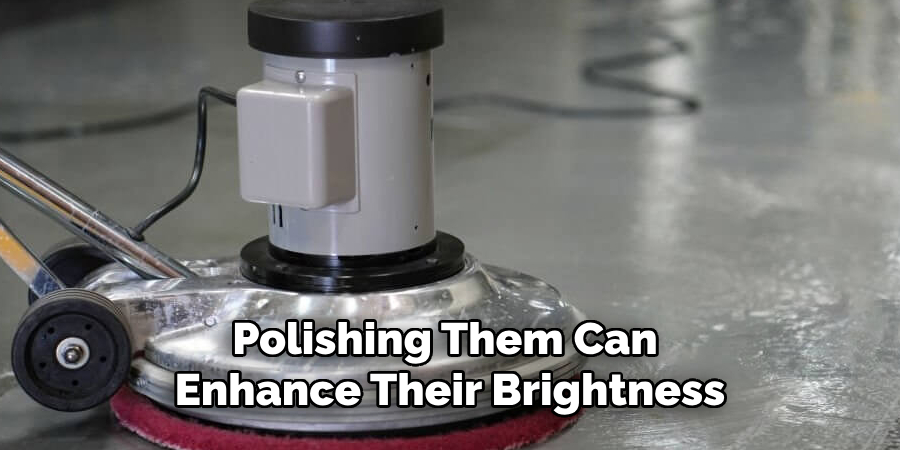
Step 7. Polish the Tiles:
After thoroughly cleaning and lightening the tiles, polishing them can enhance their brightness and protect their surface. Begin by choosing a high-quality tile polish designed explicitly for ceramic surfaces. Apply a small amount of polish onto a soft cloth or a buffer pad, and work it into the tiles using circular motions. The polish will create a protective layer that enhances shine and repels dust and grime. Be sure to follow the manufacturer’s instructions for best results, and avoid over-applying, as excess polish can lead to a cloudy finish. After polishing, use a clean, dry cloth to buff the tiles, ensuring they gleam and look vibrant.
Step 8. Maintain Regular Cleaning:
Establish a regular maintenance routine to preserve the brightness and cleanliness of your ceramic tiles. Consistent cleaning prevents the build-up of dirt and grime that can dull the tiles over time. Aim to sweep or vacuum the tiles daily to remove loose debris and dust. Once a week, use a gentle cleaner suitable for ceramic surfaces to mop the tiles or a mild vinegar solution for a natural alternative. Pay attention to spills and stains, cleaning them as soon as possible to prevent permanent discoloration. Additionally, clean grout lines periodically using a brush to maintain their appearance.
Step 9. Protect the Grout:
To further extend the longevity and appearance of your ceramic tiles, protecting the grout lines is crucial. Over time, grout can become stained and worn, diminishing the overall look of your tiled surface. Consider applying a grout sealer to create a barrier against moisture and dirt. Begin by cleaning the grout thoroughly with a suitable cleaner and allowing it to dry completely. Then, apply the sealer evenly along the grout lines using a small brush or applicator. Let the sealer cure for the time recommended by the product instructions, usually around 24 hours. Sealing the grout keeps it clean and helps preserve the tiled area, ensuring your surfaces remain attractive and resilient against everyday wear.
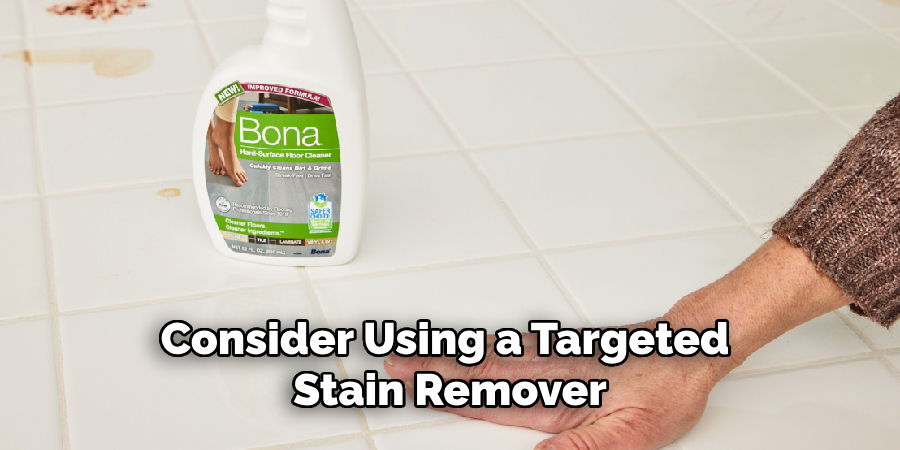
Step 10. Address Persistent Stains:
Even after following all the previous steps, some stubborn stains may persist on your ceramic tiles. Consider using a targeted stain remover designed for ceramic surfaces to tackle these. These products are typically formulated to handle specific types of stains, such as rust or hard water deposits. Apply the stain remover directly to the affected area and gently scrub with a non-abrasive pad or a soft brush. Allow the product to sit for the recommended time, usually a few minutes, to penetrate the stain effectively, then rinse thoroughly with clean water. If necessary, repeat the process until the stain is removed.
By following these steps and maintaining a regular cleaning routine, you can keep your ceramic tiles looking bright and beautiful for years.
Conclusion
How to lighten ceramic tile is a detailed process that, when done correctly, can significantly enhance the appearance of your tiled surfaces.
The process begins with proper cleaning and includes effective lightening agents such as hydrogen peroxide and oxygen bleach. Polishing the tiles after cleaning and ensuring regular maintenance is vital to preserving their brightness. Additionally, protecting the grout with a sealer helps maintain your tiled surfaces’ overall aesthetic and durability. Addressing persistent stains with targeted removers ensures any stubborn discoloration is effectively managed.
Hopefully, this guide has provided valuable tips and methods for lightening your ceramic tiles and keeping them looking their best. Happy cleaning!
Specialization:
- Master of wheel-throwing, hand-building, and advanced glazing techniques
- Focus on creating both functional pottery and decorative art pieces
Recognition:
- Celebrated by collectors and art enthusiasts for creating one-of-a-kind pieces that blend artistry with functionality
- Participates in local and national exhibitions, earning accolades for his innovative designs and craftsmanship
Passion:
- Deeply committed to exploring and pushing the boundaries of ceramic artistry
- Continuously experiments with new materials, firing techniques, and artistic concepts to evolve his craft
Personal Philosophy:
- Believes in the transformative power of art, aiming to evoke emotions and connections through his ceramic creations
- Advocates for sustainability in ceramics, using eco-friendly materials and practices whenever possible