Are you tired of constantly looking at your dull and dirty ceramic tile flooring? Do you want to give it a fresh and shiny look without spending much money on professional services?
Regular care, including waxing, can maintain the pristine appearance and durability of ceramic tile flooring. While ceramic tiles are known for their resilience and low maintenance, waxing can enhance their sheen and protect against scratches and stains. Properly waxing your ceramic tile flooring involves a series of steps designed to ensure the best results, prolonging the life of the tiles and keeping them looking fresh.
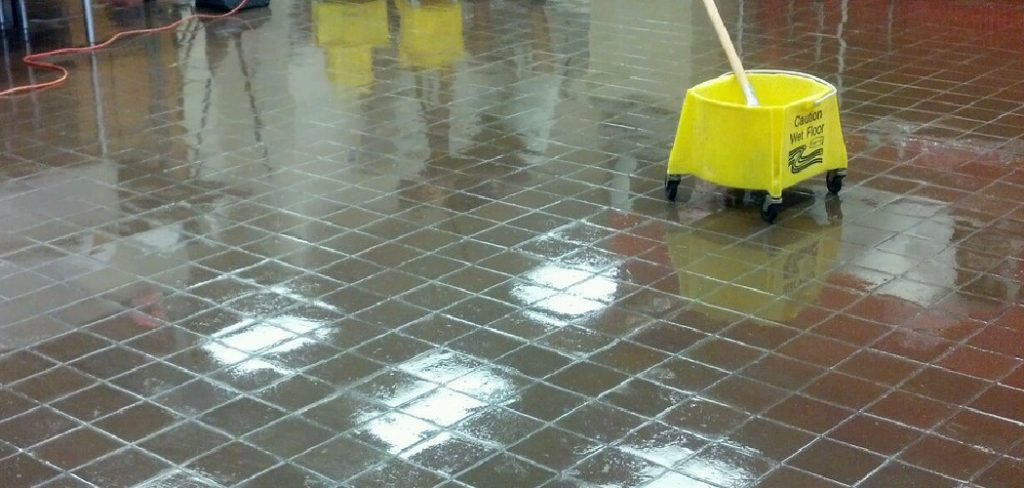
This guide on how to wax ceramic tile flooring, will walk you through the essential preparations and techniques needed to effectively wax ceramic tiles, helping you keep your flooring in peak condition with minimal effort.
What Will You Need?
Before starting the waxing process, gathering all the necessary tools and materials is essential. The following items are required to wax ceramic tile flooring properly:
- Broom or vacuum cleaner
- Mop or sponge
- Mild detergent or cleaner designed for ceramic tiles
- Warm water
- Towels or cloths for drying
- Bucket
- Floor wax (either paste or liquid form)
- Wax applicator (sponge mop, cloth, or brush)
Once you have gathered all the necessary items, it is time to start waxing your ceramic tile flooring.
10 Easy Steps on How to Wax Ceramic Tile Flooring
Step 1: Thoroughly Clean the Floor
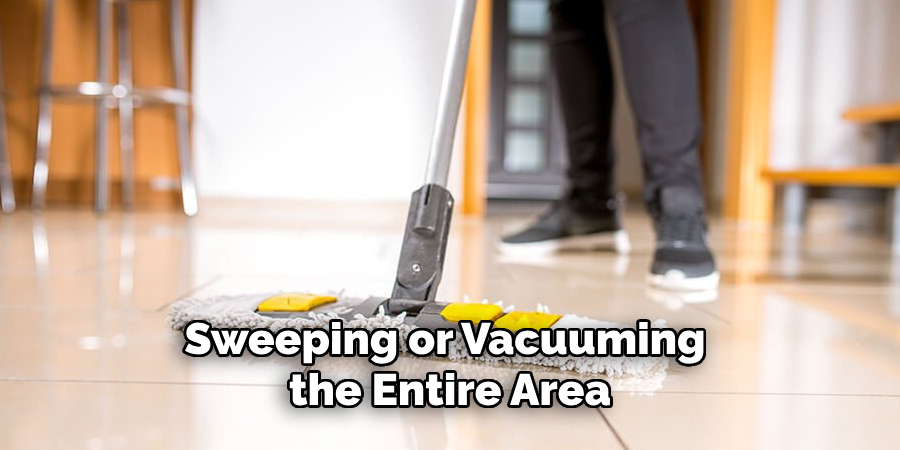
Begin by sweeping or vacuuming the entire area of the ceramic tile floor to remove any dust, dirt, or debris. It’s essential to have a clean surface before applying wax to ensure the best adherence and finish. After sweeping, mop the floor using warm water mixed with a mild detergent or a cleaner specifically designed for ceramic tiles. Be sure to follow the manufacturer’s instructions for the cleaner you choose. Rinse the floor with clean water to remove any remaining detergent residue, and then dry the floor completely with towels or cloths to avoid leaving any streaks or water spots.
Step 2: Prepare the Wax
Once the floor is arid, prepare the wax according to the product instructions. If you are using a paste wax, ensure it’s spreadable by gently warming it if necessary. For liquid wax, shake the container well to ensure even consistency. It’s crucial to follow the specific guidelines the wax manufacturer provides to achieve the best results and avoid potential damage to your ceramic tiles. Always test a small, inconspicuous area first to ensure compatibility with the tile surface. This preparation will help achieve an even application, contributing to a smooth, glossy finish.
Step 3: Apply the Wax
Using a wax applicator such as a sponge mop, cloth, or brush, apply a thin, even layer of wax to the ceramic tile flooring. It’s essential to use smooth, consistent strokes to spread the wax evenly across the tiles. Start from one corner of the room and work systematically toward the exit to avoid stepping on the freshly waxed area. Apply the wax in sections, ensuring it does not excessively overlap previously waxed areas. This method helps maintain a uniform appearance and prevents buildup, which can dull the finish. Follow the drying time the wax manufacturer recommends before proceeding to the next step.
Step 4: Buff the Floor
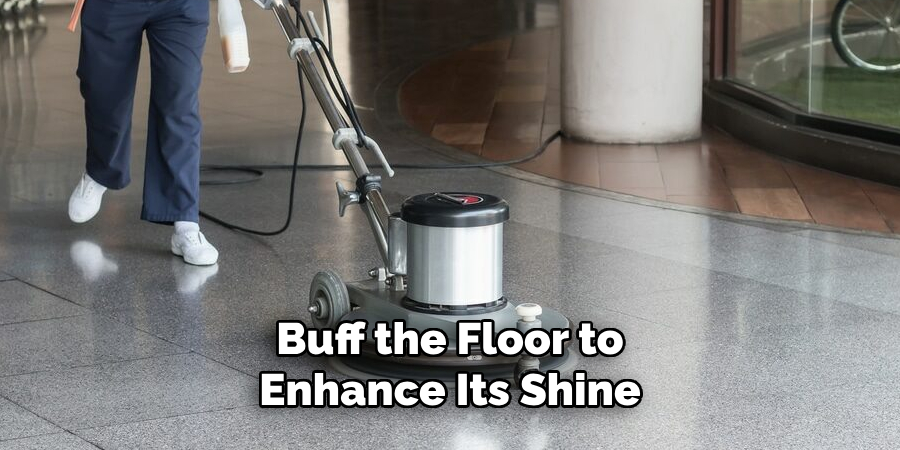
After the wax has completely dried, the next step is to buff the floor to enhance its shine and smooth finish. Use a clean, soft cloth or a floor buffer to polish the waxed surface gently. Begin by working in small sections, using circular motions to buff the area evenly. This process increases the tiles’ sheen and ensures the wax layer is evenly distributed, contributing to a durable protective coating. Continue buffing until the entire floor shines to your satisfaction. A well-buffed floor will display a lustrous, professional-like shine that enhances the overall appearance of your ceramic tile flooring.
Step 5: Apply a Second Coat (Optional)
Consider applying a second coat of wax for enhanced protection and a deeper shine. Before doing so, ensure the first coat is completely dry and adequately buffed. Follow the same application process as in Step 3, applying a thin, even layer of wax across the flooring. The second coat can provide additional durability, particularly in high-traffic areas where the tiles are more susceptible to wear and tear. Be sure to allow ample drying time as recommended by the wax manufacturer.
Step 6: Maintain the Waxed Floor
To ensure longevity and maintain the glossy appearance of your freshly waxed ceramic tile flooring, adopting a regular maintenance routine is vital. Begin by sweeping or vacuuming the floor regularly to remove any loose dirt or debris that could scratch the waxed surface. When necessary, mop the floor using a soft mop and a mild detergent suitable for ceramic tiles, avoiding harsh chemicals that could strip the wax.
Clean any spills or stains immediately to prevent staining or damage to the wax layer. Consider implementing a schedule to reapply wax when you notice the sheen diminishing, typically every few months, depending on foot traffic. Proper maintenance not only preserves the aesthetic appeal of your flooring but also extends the protective benefits of the wax coating.
Step 7: Address Scuffs and Scratches
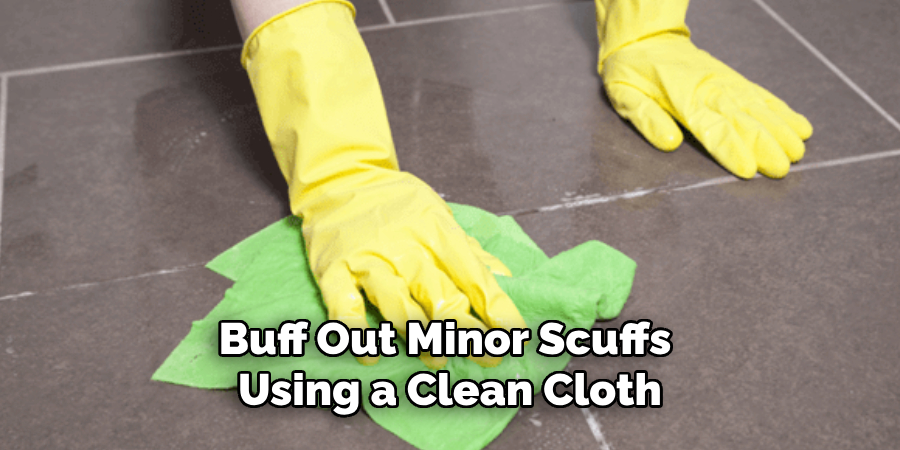
Even with the best care, scuffs and scratches can appear on waxed ceramic tile floors over time. To address this, gently buff out minor scuffs using a clean cloth or a non-abrasive pad. For deeper scratches, apply a small amount of wax to the affected area and buff it softly until it blends with the surrounding surface. If necessary, use an additional thin layer of wax over the area to restore the protective coating. Consistent attention to these slight imperfections will help keep your tile flooring looking pristine and well-maintained.
Step 8: Reapply Wax as Needed
Over time, the wax coating on your ceramic tile flooring will naturally wear down, especially in high-traffic areas. It’s essential to monitor the floor’s appearance regularly and reapply wax as necessary to maintain its protective layer and aesthetic appeal. First, clean and dry the floor as outlined in Steps 1 and 2. Apply a fresh coat of wax following the same process in Step 3, ensuring a uniform layer. Buff the newly waxed surface to enhance the shine, just as outlined in Step 4. By reapplying wax when needed, you can preserve the look and durability of your ceramic tiles, ensuring they remain in optimal condition for years to come.
Step 9: Remove Old Wax
Over time, multiple layers of wax can build up on ceramic tile floors, which may result in a dull appearance and uneven surface. To refresh the flooring, it’s essential to occasionally remove old wax before applying a new coat. Start by using a commercial wax removal solution specifically designed for ceramic tiles. Follow the product instructions, which typically involve applying the solution, letting it sit for the recommended time, and then scrubbing the surface with a soft brush or mop. Rinse the floor thoroughly with clean water to eliminate all wax residue and stripping solution. Allow the floor to dry completely before proceeding with the waxing process from Step 2 to achieve a beautifully renewed shine.
Step 10: Conduct Routine Inspections
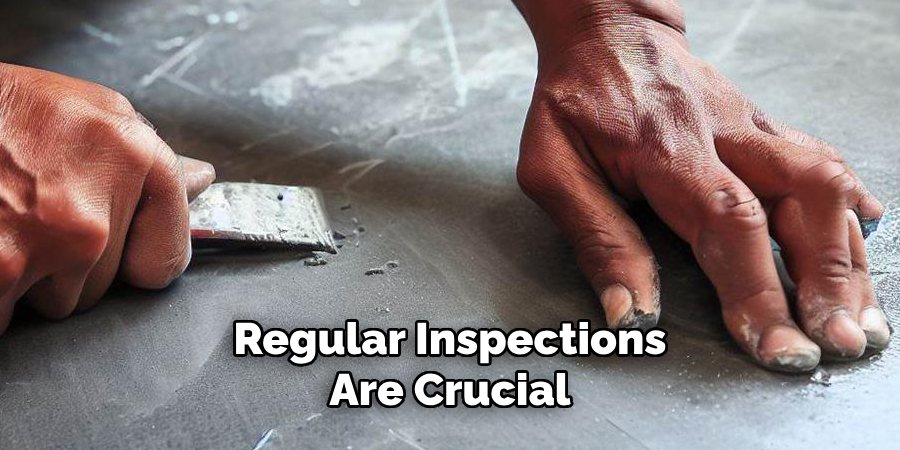
Regular inspections are crucial to maintaining the appearance and longevity of waxed ceramic tile flooring. Set a schedule to assess the condition of the tiles and wax coating, focusing on high-traffic areas that may experience more wear. Look for dullness, scratches, or areas where the wax is thinning. Identifying issues early allows for timely intervention, such as touch-up waxing or increased maintenance in problem areas. By keeping a close eye on the state of your floors, you can ensure they continue to look their best and provide a durable, attractive surface for years.
Following these steps, you can effectively wax your ceramic tile flooring, providing a protective barrier and glossy finish.
5 Things You Should Avoid
- Using the Wrong Type of Wax: Not all waxes are suitable for ceramic tile. Avoid using wax intended for wood floors or other surfaces, as these can lead to a slippery finish or damage to the tile. Always select a wax that is specifically formulated for use on ceramic tiles.
- Applying Too Much Wax: Excessive wax application can leave a sticky residue, create uneven surfaces, and attract dust and dirt. It is crucial to apply thin, even layers, following the manufacturer’s instructions, to ensure a smooth and effective finish.
- Skipping the Drying Time: Do not rush the drying process between coats of wax. Please allow proper drying time to avoid a cloudy appearance and diminished shine. Always follow the recommended drying times to achieve the best results.
- Neglecting Regular Cleaning: Before waxing, it’s imperative to clean the floor thoroughly. Skipping this step can trap dirt and grime beneath the wax layer, which can scratch or dull the tiles over time. Always start with a clean surface for the best outcome.
- Ignoring Maintenance: Some may need to pay attention to ongoing maintenance after waxing. To keep floors looking fresh, it’s essential to establish a regular cleaning routine and monitor the wear of the wax. This includes occasional reapplication, when necessary, to maintain the integrity and appearance of the wax coating.
Conclusion
By adhering to a systematic approach, you can maximize the benefits of waxing ceramic tile flooring while maintaining its elegance and longevity. The process involves the application of wax and regular cleaning, timely maintenance, and the use of appropriate products specifically designed for ceramic tiles.
Avoid common pitfalls like using unsuitable wax, applying excessive amounts, or neglecting drying and maintenance routines. Consistent care, from promptly addressing minor imperfections to performing routine inspections, ensures that your ceramic floors remain beautiful and durable.
With these steps on how to wax ceramic tile flooring, you will enjoy a gleaming, well-protected surface that enhances your home environment.
Specialization:
- Master of wheel-throwing, hand-building, and advanced glazing techniques
- Focus on creating both functional pottery and decorative art pieces
Recognition:
- Celebrated by collectors and art enthusiasts for creating one-of-a-kind pieces that blend artistry with functionality
- Participates in local and national exhibitions, earning accolades for his innovative designs and craftsmanship
Passion:
- Deeply committed to exploring and pushing the boundaries of ceramic artistry
- Continuously experiments with new materials, firing techniques, and artistic concepts to evolve his craft
Personal Philosophy:
- Believes in the transformative power of art, aiming to evoke emotions and connections through his ceramic creations
- Advocates for sustainability in ceramics, using eco-friendly materials and practices whenever possible


