Creating beautiful clay pottery is a rewarding endeavor, but ensuring that your pieces are waterproof is essential for functionality and longevity. Water can seep into untreated clay, potentially weakening the structure and affecting its usability. Waterproofing clay pottery not only protects it from potential water damage but also enhances its durability and suitability for holding liquids or being used outdoors.
In this guide on how to waterproof clay pottery, we will explore various methods and materials you can use to make your clay pottery water-resistant, allowing your creations to last and remain functional for years to come.
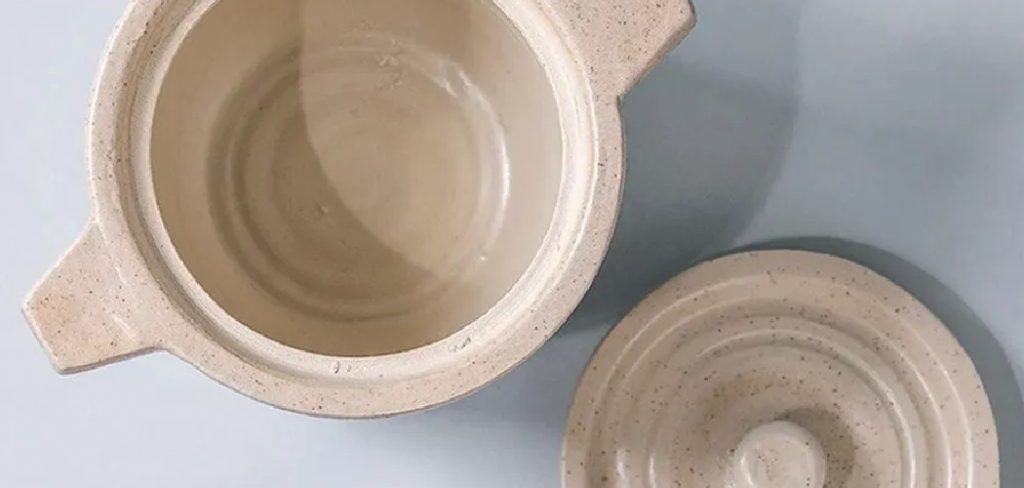
Benefits of Waterproofing Clay Pottery
As mentioned, waterproofing clay pottery has numerous benefits. Let’s take a closer look at some of them:
Protection Against Water Damage:
Untreated clay is porous and can absorb water, which can lead to cracks and deformities in the pottery over time. By waterproofing your pottery, you are preventing water from seeping into its surface and causing structural damage. This is especially important for pieces that will be used to hold liquids, such as cups, bowls, or vases.
Enhances Durability:
Waterproofing clay pottery also makes it more durable. A waterproof seal protects the surface of the pottery from wear and tear caused by water exposure, ensuring that your pieces last longer.
Suitable for Outdoor Use:
Many people use clay pottery to decorate their gardens or outdoor spaces. Waterproofing your creations allows them to withstand outdoor conditions such as rain and humidity without being damaged or deteriorating quickly.

Materials You Will Need
To waterproof your clay pottery, you will need a few materials that are easily available at most arts and crafts stores or online. These include:
Waterproof Sealant or Varnish:
This is the most important material you will need. There are various types of sealants and varnishes available, such as spray sealers, brush-on sealers, or liquid wax. Make sure to choose a waterproof and non-toxic option suitable for use on clay.
Paintbrush:
A soft-bristled paintbrush will be needed to apply the sealant onto your pottery. Make sure to clean it thoroughly after each use.
Sandpaper or Fine Grit Sponge:
These materials are used to smooth out any rough surfaces on your pottery before applying the sealant. This step is crucial as it ensures that the sealant adheres evenly to the surface of your pottery.
8 Step-by-step Guidelines on How to Waterproof Clay Pottery
Step 1: Prepare Your Pottery
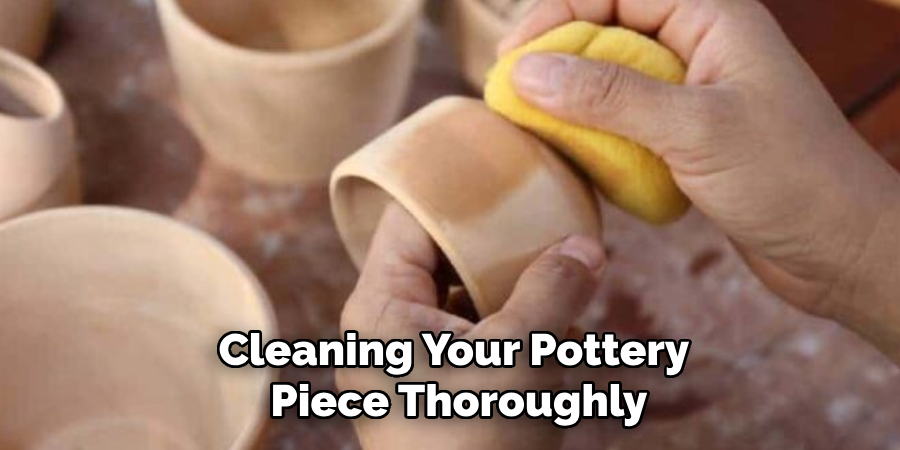
Before you begin the waterproofing process, it is vital to ensure that your clay pottery is properly prepared. Start by cleaning your pottery piece thoroughly to remove any dust or debris. You can do this by wiping it with a damp cloth and allowing it to dry completely. Once clean and dry, check the surface for any imperfections or rough spots.
Use sandpaper or a fine-grit sponge to gently smooth any uneven areas, ensuring a uniform surface for the sealant to adhere to. Preparing your pottery meticulously sets the foundation for an effective waterproofing process, leading to a polished and durable result.
Step 2: Choose Non-Porous Clay
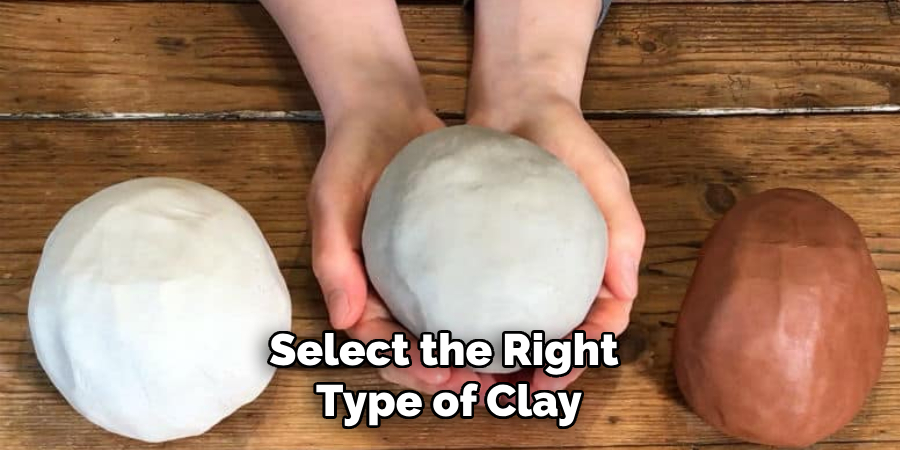
While preparing to waterproof your clay pottery, it’s crucial to select the right type of clay from the start. Opting for non-porous clay materials can significantly ease the waterproofing process. Porous clays, such as earthenware, tend to absorb more water and can be more challenging to seal effectively. Instead, consider using stoneware or porcelain, which are less porous and more resistant to moisture, even before sealing.
These types of clay have dense structures, providing a more solid base for applying waterproof sealants or varnishes. By choosing non-porous clay, you enhance the natural water-resistance of your pottery, ensuring a more robust and reliable final piece that requires less maintenance over time.
Step 3: Choose the Right Sealant
Selecting the appropriate sealant is crucial for effectively waterproofing your clay pottery. With an array of options available, it’s essential to pick a sealant that aligns with your pottery’s intended use and finish preferences. If your pottery will come into contact with food or beverages, using a food-safe sealant is imperative to ensure safety and compliance with health standards. For a glossy finish, consider a high-gloss varnish that enhances the pottery’s appearance while providing a robust, water-resistant barrier.
Alternatively, matte finishes can offer a more subtle, natural look while still delivering effective water protection. Additionally, consider the application method that suits you best—whether it’s a spray, brush-on, or dip method. By carefully choosing the right sealant, you ensure that your pottery not only stays protected from water but also retains its aesthetic appeal and functional integrity.
Step 4: Apply the Sealant
Once you’ve chosen the appropriate sealant for your clay pottery, it’s time to begin the application process. Start by placing your pottery piece in a well-ventilated area or workspace to ensure safe application. If you are using a brush-on sealant, dip a soft-bristled paintbrush into the sealant and apply a thin, even coat across the entire surface of your pottery. It’s essential to cover every area, including crevices and undersides, to ensure comprehensive waterproofing. For spray sealants, hold the can at the manufacturer’s recommended distance from the pottery and apply an even layer, moving in a consistent, sweeping motion to avoid drips or accumulation.
Allow the first coat to dry completely as per the instructions on the sealant packaging before applying additional coats if necessary. Multiple thin layers are generally more effective and visually appealing than one thick coat. By meticulously applying the sealant, you create a strong water-resistant barrier that enhances the longevity and usability of your pottery, all while maintaining its aesthetic charm.
Step 5: Let It Cure
After applying the final coat of sealant, allow your pottery to cure for the recommended time before handling or using it. Curing time can vary depending on the type of sealant used, so refer to the manufacturer’s instructions for specific guidelines.
During this time, avoid exposing your pottery to moisture or water to allow the sealant to set and adhere fully. Once cured, your pottery will be ready for use and exhibit enhanced protection against water damage.
Step 6: Reapply as Needed
Over time and with regular use, the waterproof sealant on your clay pottery may begin to wear off or degrade, especially if the pottery is frequently exposed to water or harsh environmental conditions. To maintain the effectiveness of the waterproofing, it is advisable to periodically assess the condition of the sealant. If you notice any areas where the sealant appears thin or compromised, consider reapplying a fresh coat.
Clean the pottery thoroughly and allow it to dry before repeating the sealing process as previously described. Regular reapplication not only ensures continual protection from water damage but also helps preserve the visual appeal and structural integrity of your clay pottery. Consistent maintenance will extend the life of your pottery, allowing it to remain both functional and beautiful for longer periods.

Step 7: Consider Alternative Methods
While sealants and varnishes are the most common methods for waterproofing clay pottery, there are alternative techniques you can consider. One is using a kiln to fire your pottery at high temperatures, resulting in a harder, more durable surface that resists water penetration. However, this method requires access to a kiln and knowledge of proper firing techniques.
Another option is adding synthetic materials to the clay mixture before shaping it into pottery. These additives create a stronger bond between particles, resulting in less porous surfaces and enhanced waterproofing capabilities.
Step 8: Experiment with Different Techniques
Ultimately, finding the best method to waterproof your clay pottery may involve trial and error. Every potter has their preferred techniques, sealants, and materials for achieving the best results. Don’t be afraid to experiment with different methods to find what works best for you and your pottery pieces. With time and experience, you’ll discover the most effective ways to waterproof your clay pottery, creating beautiful, long-lasting creations that can withstand water exposure without compromising their structural integrity or aesthetic appeal.
Following these steps on how to waterproof clay pottery and continuously honing your techniques will ensure that your pottery remains protected, functional, and visually stunning for years to come. So go ahead and create with confidence, knowing that you have the knowledge and skills to waterproof your clay pottery effectively. Happy potting!
Conclusion
Waterproofing clay pottery is a crucial step in preserving its quality and longevity. By carefully selecting non-porous clay material, choosing the right sealant, meticulously applying it, and consistently maintaining it over time, you can enhance the natural water resistance of your pottery while maintaining its aesthetic appeal and structural integrity.
With a variety of sealants, application methods, and alternative techniques available, there is no one-size-fits-all approach to waterproofing clay pottery. Therefore, it’s essential to experiment with different methods and materials to find what works best for you and your pottery piece. Remember, with the right knowledge and techniques, you can create beautiful and functional pottery that lasts for years to come. Thanks for reading this article on how to waterproof clay pottery.
Specialization:
- Master of wheel-throwing, hand-building, and advanced glazing techniques
- Focus on creating both functional pottery and decorative art pieces
Recognition:
- Celebrated by collectors and art enthusiasts for creating one-of-a-kind pieces that blend artistry with functionality
- Participates in local and national exhibitions, earning accolades for his innovative designs and craftsmanship
Passion:
- Deeply committed to exploring and pushing the boundaries of ceramic artistry
- Continuously experiments with new materials, firing techniques, and artistic concepts to evolve his craft
Personal Philosophy:
- Believes in the transformative power of art, aiming to evoke emotions and connections through his ceramic creations
- Advocates for sustainability in ceramics, using eco-friendly materials and practices whenever possible


