Creating clay magnets is a fun and creative project that can be enjoyed by crafters of all skill levels. These personalized magnets not only add a unique touch to your refrigerator or office space but also make heartfelt gifts for friends and family.
In this guide on how to make clay magnets, we will walk you through the steps to make your own clay magnets, from selecting the right materials to designing and finishing your pieces. Whether you’re crafting for yourself or preparing a handmade gift, making clay magnets is a delightful way to express your creativity. Let’s get started!
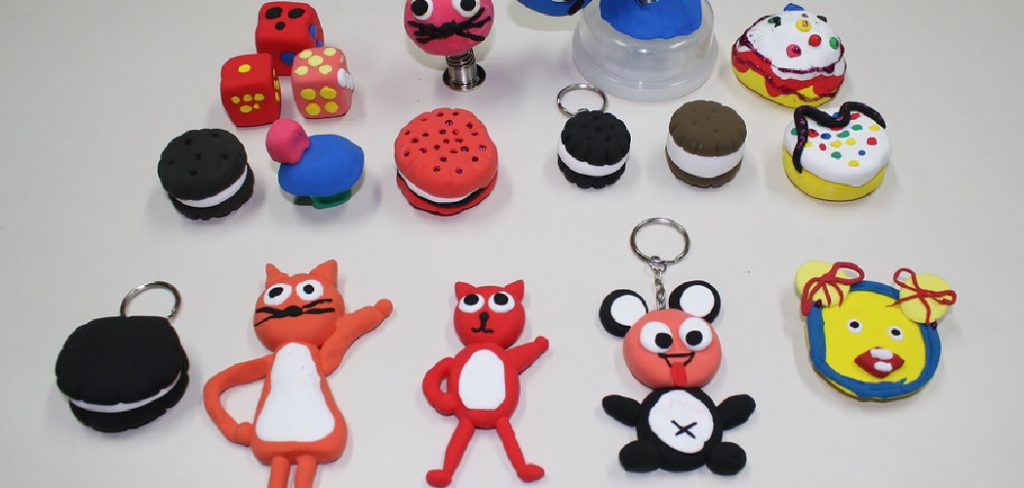
What is Clay?
Clay is a natural earth material composed of an array of fine-grained minerals. Its formation typically results from the weathering and erosion of rocks containing feldspar over time. Highly plastic when moist, clay can be easily shaped into various forms, making it a versatile medium for artists and crafters. It hardens when dried or fired, creating a durable and solid structure.
Used for centuries in pottery, sculpture, and construction, clay is valued for its ability to hold intricate details and its wide range of textures and colors. In crafting clay magnets, artists often use polymer clay, a synthetic yet pliable variation, which can be baked in a regular oven to achieve the perfect finish.
Needed Materials
Polymer Clay in Various Colors:
Polymer clay comes in various colors, and you can mix them to create custom shades. At craft stores, you can find a wide selection of polymer clay brands like Fimo or Sculpey, each with its unique consistency and baking instructions.
Magnet Strips:
You will need strong magnet strips that are large enough to securely hold your clay piece. These can be found at hardware stores or online.
Rolling Pin:
A small rolling pin is the perfect tool for flattening out your clay to the desired thickness. You can also use a smooth glass bottle or jar if you don’t have a rolling pin on hand.
Cookie Cutters:
Cookie cutters in various shapes and sizes are perfect for creating uniform shapes from your clay. You can also use a craft knife to cut out custom shapes.
Baking Sheet:
A flat and oven-safe surface is essential for baking the clay magnets. A regular baking sheet lined with parchment paper works well.
8 Step-by-step Guides on How to Make Clay Magnets
Step 1: Gather All Your Materials
Before diving into the creative process, it’s important to have all your tools and materials on hand. Begin by collecting your polymer clay in the colors of your choice. Remember, you can mix clays to achieve custom shades, so consider a color palette that complements your design vision. Next, obtain magnet strips that are appropriately sized for your intended clay pieces to ensure they hold securely.
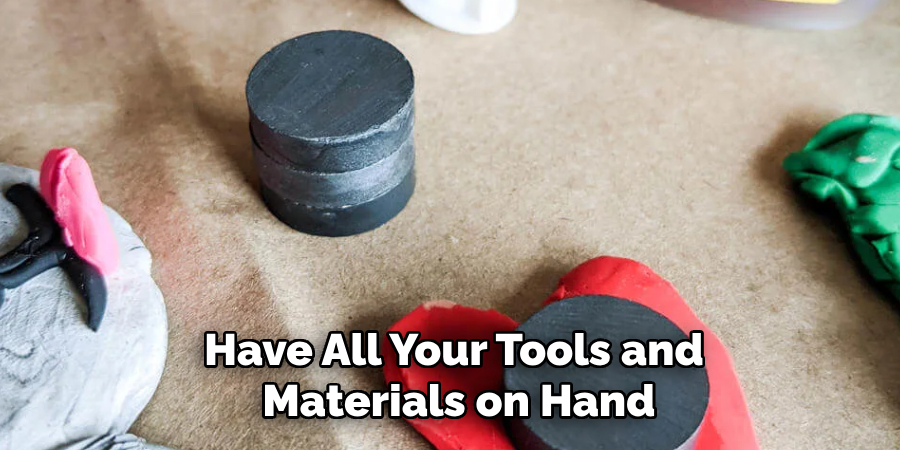
Have a rolling pin ready, or a smooth glass bottle for flattening the clay, along with cookie cutters for shaping, or a craft knife for more complex designs. Lastly, set aside a baking sheet lined with parchment paper, as this will be crucial for baking your clay creations gently and evenly. Organizing these materials ahead of time will ensure your crafting session is smooth and enjoyable.
Step 2: Condition Your Clay
Conditioning your clay is a crucial step in the crafting process, as it ensures that the material is pliable and free of air bubbles, which can lead to cracking during baking. To begin, take a small piece of polymer clay and knead it in your hands. The warmth from your hands will help soften the clay, making it easier to work with.
You can also use a rolling pin or a pasta machine to further condition the clay by rolling it out and folding it several times. Continue this process until the clay is evenly textured and smooth. Properly conditioned clay not only improves the quality of your final product but also leads to a more enjoyable crafting experience.
Step 3: Roll Out the Clay
Once your clay is conditioned, it’s time to roll it out to your desired thickness. Begin by dusting your work surface lightly with cornstarch to prevent the clay from sticking. Place your conditioned clay on the surface and use your rolling pin to gently flatten it. Aim for an even thickness to ensure that your finished magnet has a consistent look and durability.

A typical thickness for magnets is about 1/8 to 1/4 inch, but you can adjust this based on your preference. If you find uneven spots, simply go over these areas with the rolling pin until you achieve a smooth and even layer throughout. Remember, the thickness of the clay will impact the overall weight of the magnet, so consider this when rolling out your piece.
Step 4: Cut Out Your Shapes
Once your clay is rolled out to the desired thickness, it’s time to cut out your shapes with cookie cutters or a craft knife. Have fun with this step and experiment with different shapes and sizes. You can also create custom designs by using a craft knife to freehand your designs from the clay. Just remember that the size of the magnet strip will determine how large your clay pieces should be for proper attachment.
The magnets should be placed towards the top of your shapes to ensure they have enough space to hold securely. Once you have cut out all your pieces, carefully peel away any excess clay from the edges using a craft knife or toothpick. This will give your finished magnets a clean and polished look.
Step 5: Add Details
With your basic shape cut out, it’s time to add some details and personality to your clay magnets. You can use various tools or household items like toothpicks, stamps, or rubber texture mats to create patterns and textures on the surface of the clay. You can also mix different colors of clay together for marbled effects and add small shapes or letters for personalization.

Be creative and have fun with this step, as it is where you can truly make your magnets unique and one-of-a-kind. Just remember not to add too many details or layers, as this can cause the magnet to become too heavy and not stick properly.
Step 6: Attach the Magnets
Once your clay pieces are finalized, it’s time to attach the magnets. Take your magnet strip and cut it into small pieces that fit neatly onto the back of each clay shape. You can either press them directly onto the clay or use a little bit of glue for extra security. Make sure you place them towards the top and center of each piece for optimal attachment to metal surfaces.
Once all your magnets are attached, gently press down on them to ensure they are securely in place. Let them dry for a few minutes before moving on to the final step.
Step 7: Bake Your Clay Magnets
Now it’s time to bake your clay magnets. Preheat your oven according to the instructions on your polymer clay package, typically around 275-325 degrees Fahrenheit. Place your parchment-lined baking sheet in the oven and carefully place your clay pieces on top, making sure they are not touching each other or the edges of the tray.
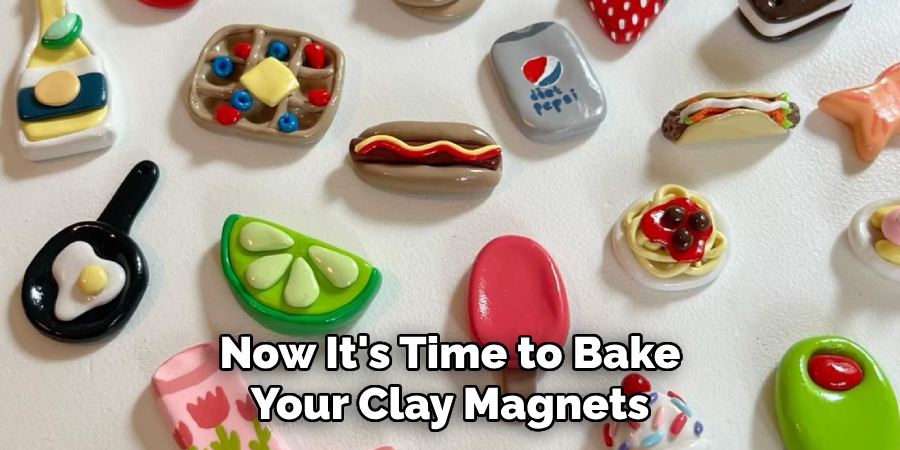
Bake for about 10-15 minutes, depending on the thickness of your magnets. Be sure to keep an eye on them as they can easily burn if left in for too long. Once baked, remove them from the oven and let them cool completely before handling them.
Step 8: Display and Enjoy!
Once cooled, your clay magnets are ready to be displayed and admired. Use them to decorate your fridge, office board, or any other metal surface that could use a pop of color and creativity. These magnets also make great gifts for friends and family, so don’t be afraid to share your new crafting skills with others. Remember to have fun and experiment with different techniques and designs for endless possibilities!
Followng these simple steps on how to make clay magnets will result in a set of unique and sturdy clay magnets that will add a personal touch to any space. With the right materials, proper techniques, and a little bit of creativity, you can easily create your own collection of custom-made magnets for all to enjoy. Happy crafting!
Frequently Asked Questions
Q: How Long Do Polymer Clay Magnets Last?
A: Polymer clay magnets can last for many years if properly cared for. Avoid exposing them to excessive heat or water and handle them with care to prevent any breakage.
Q: Can I Use Regular Clay Instead of Polymer Clay?
A: Regular air-dry clay is not suitable for making magnets as it does not have the same durability and strength as polymer clay when baked.
Q: Can I Make Magnet Shapes Other Than Just Flat Circles?
A: Yes, you can use cookie cutters or craft knives to create a variety of shapes and designs for your magnets. Just make sure they are not too thick or heavy for optimal attachment.
Q: Is Polymer Clay Safe to Bake in My Home Oven?
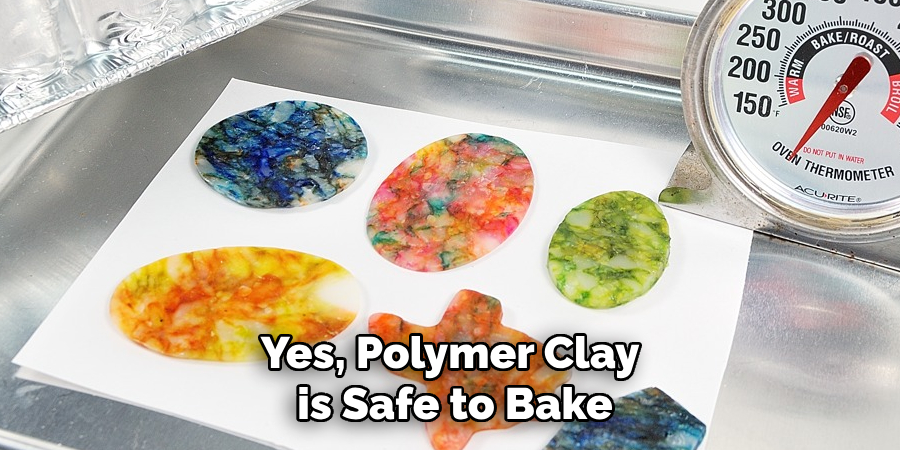
A: Yes, polymer clay is safe to bake in a home oven as long as you follow the instructions on the package and properly ventilate the area. It is non-toxic, but it is recommended to avoid using cooking surfaces or utensils when working with clay to prevent cross-contamination.
Conclusion
Creating polymer clay magnets is a rewarding and enjoyable craft activity that adds a bit of flair and personal touch to everyday spaces. With the techniques outlined in this guide on how to make clay magnets, you now have the skills to design unique magnet pieces that can brighten up your refrigerator, office, or any magnetic surface. Not only do these magnets serve a practical purpose, but they also allow you to express your creativity in a tangible way.
The steps are beginner-friendly and require only basic materials, making this a perfect project for crafters of all skill levels. So gather your supplies, unleash your imagination, and take pride in crafting beautiful, personalized magnets that will bring joy for years to come. Happy crafting!
Specialization:
- Master of wheel-throwing, hand-building, and advanced glazing techniques
- Focus on creating both functional pottery and decorative art pieces
Recognition:
- Celebrated by collectors and art enthusiasts for creating one-of-a-kind pieces that blend artistry with functionality
- Participates in local and national exhibitions, earning accolades for his innovative designs and craftsmanship
Passion:
- Deeply committed to exploring and pushing the boundaries of ceramic artistry
- Continuously experiments with new materials, firing techniques, and artistic concepts to evolve his craft
Personal Philosophy:
- Believes in the transformative power of art, aiming to evoke emotions and connections through his ceramic creations
- Advocates for sustainability in ceramics, using eco-friendly materials and practices whenever possible


