Ceramic ornaments have long been cherished as beautiful additions to holiday decorations, home décor, and as personal keepsakes. Their timeless appeal lies in their versatility, allowing individuals to showcase their creativity and style. Painting ceramic ornaments is an excellent way to infuse color, design, and a personal touch into these decorative pieces.

Whether used to adorn a festive Christmas tree or to beautify a mantelpiece, painted ornaments can transform any space with their vibrant charm. The purpose of this article is to provide a comprehensive, step-by-step guide on how to paint ceramic ornaments. This guide will cater to both glazed and unglazed ornaments, ensuring everyone can achieve professional-looking results. By following the techniques outlined here, you will be able to turn plain ceramic pieces into unique and enduring decorations that reflect your individual artistic flair.
Materials and Tools Needed
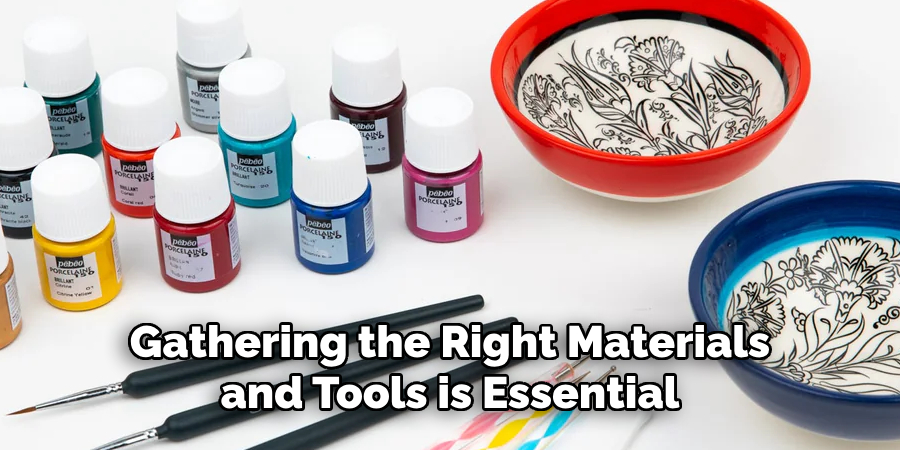
Gathering the right materials and tools is essential for success when preparing to paint ceramic ornaments. Here’s a list of what you’ll need:
Basic Materials:
- Ceramic Ornaments: Choose either bisque-fired/unglazed or pre-glazed pieces based on the desired finish and painting technique.
- Acrylic Paint or Ceramic Paint: Both types are suitable for ceramics; however, ceramic paint often provides a more durable finish.
- Paintbrushes: Use various sizes for detailing and covering large areas—soft, synthetic brushes are ideal for smooth application.
- Palette or Tray: Useful for mixing paints and achieving the perfect shades for your design.
- Water and Paper Towels: Essential for cleaning brushes between colors and maintaining a tidy workspace.

Optional Materials for Decoration:
- Stencils: Perfect for easily adding consistent patterns and shapes.
- Metallic or Glitter Paints: Add shimmer and enhance visual appeal.
- Paint Pens: Ideal for fine details and intricate designs.
- Sealant or Varnish: Critical for protecting the finished ornament against scratches, moisture, and wear.
- Sponge: Useful for applying sponge painting techniques and creating textures.
These materials and tools are chosen for their compatibility with ceramic surfaces, allowing you to create vibrant, long-lasting designs. With the right preparation, you’ll ensure that your creative efforts result in stunning and enduring ornaments.
Preparing the Ceramic Ornament
The approach to preparing to paint ceramic ornaments varies depending on whether they are unglazed (bisque) or pre-glazed.
For Unglazed (Bisque) Ornaments:
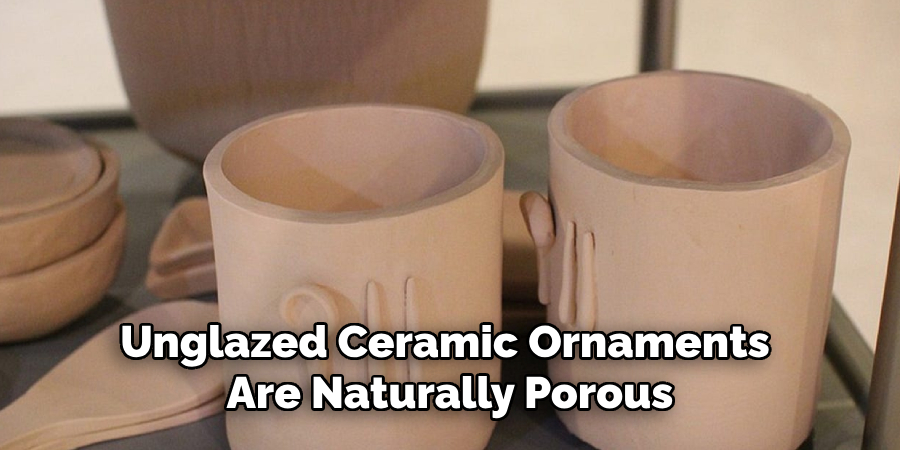
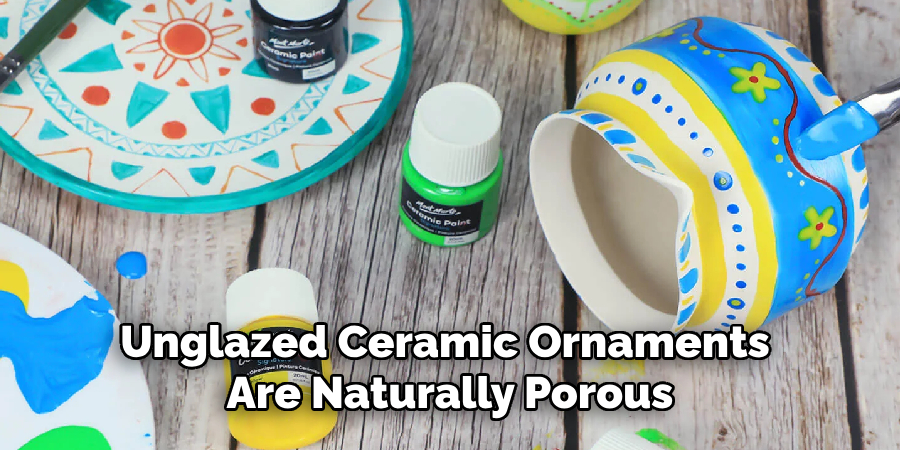
Unglazed ceramic ornaments are naturally porous, making them ideal for painting as they readily absorb the paint. To ensure a clean surface, gently wipe the ornament with a damp cloth to remove any dust or debris that could interfere with the paint application. This simple step ensures that the paint binds well to the surface.

For Pre-Glazed Ornaments:
Glazed surfaces, known for their smooth and non-porous qualities, require additional preparation to allow the paint to adhere properly. Begin by lightly sanding the surface with fine-grit sandpaper to create a slightly rough texture that grips the paint better. After sanding, clean the ornament thoroughly to remove any dust particles, ensuring a smooth, ready-to-paint surface.
Choosing the Right Paint and Brushes
Acrylic Paint:
Acrylic paint is a versatile and popular option for painting ceramic ornaments due to its wide range of vibrant colors and ease of use. It dries quickly, enabling artists to layer colors without long waiting periods. When selecting acrylic paint, it’s important to opt for high-quality brands that offer better coverage and durability, ensuring your ornaments maintain their color over time. This paint type works well on unglazed and prepared glazed surfaces, making it a favorite among crafters.
Ceramic Paint:
Ceramic-specific paints are designed to form a permanent bond with the ceramic surface, often needing to be fired in a kiln or baked in a regular oven to achieve a durable finish. These paints are ideal for projects involving kitchen ceramics or items that will experience frequent handling or washing. Their formulation ensures that the paint becomes a permanent part of the ornament, providing a lasting and vibrant finish.

Brush Types:
Selecting the right brushes is crucial for achieving the desired effects on your ornaments. Different brush sizes cater to various design elements, with broad brushes being perfect for covering larger areas or backgrounds and fine-tipped brushes used for intricate details. Soft, synthetic brushes are recommended to minimize streaks and ensure smooth coverage on ceramic surfaces, creating a professional and refined look.
How to Paint Ceramic Ornaments: Step-by-Step Guide
Step 1: Apply a Base Coat (Optional)
Applying a base coat is especially beneficial for unglazed (bisque) ornaments as it ensures an even and consistent paint coverage. A base coat can also help make the final colors stand out more vibrantly. When choosing a base coat, select a neutral or white paint, which serves as a versatile background that enhances any subsequent colors applied. To apply the base coat, use a wide, soft brush for smooth application and let it dry completely before moving on. This drying time prevents the base coat from mixing with the next layers of paint, ensuring a clean and professional finish.
Step 2: Paint the Main Colors
Begin by planning your design thoroughly. Start painting the largest areas of color, as these form the foundation of your design. Use smooth, even brush strokes to apply the paint, and for darker or more vibrant colors, work in layers to build up the desired intensity. Let each layer of paint dry fully before applying the next to avoid smudging and maintain clean lines and distinct color separation. This methodical approach ensures a high-quality finish and allows your design to develop cohesively.
Step 3: Add Details and Designs
For intricate details, such as patterns, facial features, or special holiday motifs like snowflakes or stars, employ smaller brushes or paint pens for precision. Stencils or tape can be very useful in creating sharp, clean lines for geometric patterns. Additionally, consider using sponge-painting techniques to introduce texture or create gradient effects. To sponge paint, simply dab a small amount of paint onto a sponge, press gently onto the ornament, and layer colors progressively to create depth and interest. This step is where you can let your creativity shine, breathing life into your ornaments with personalization.

Step 4: Use Specialty Paints for Effects
To add magic to your ornament, apply specialty paints such as metallic, glitter, or pearlescent finishes. These paints add shimmer and can elevate the overall appearance. When mixing paints, experiment to create custom colors or layered effects like gradients. When creating a gradient, blend different shades while the paint is wet to achieve smooth transitions between colors. A thoughtful use of specialty paints can transform a basic ornament into a standout decorative piece.
Step 5: Let the Ornament Dry Completely
Proper drying is crucial for setting the paints and ensuring the longevity of your design. Allow the ornament to dry in a dust-free, well-ventilated area to prevent particles from adhering to the wet paint and to promote even drying. The required drying time may vary depending on whether acrylic or ceramic paints are used, but the key is to ensure that the paints are fully set before handling or further decorating. By following these drying guidelines, you’ll secure your finished ornament’s durability and professional quality.
Sealing and Protecting the Painted Ornament
Step 1: Apply a Clear Sealant or Varnish
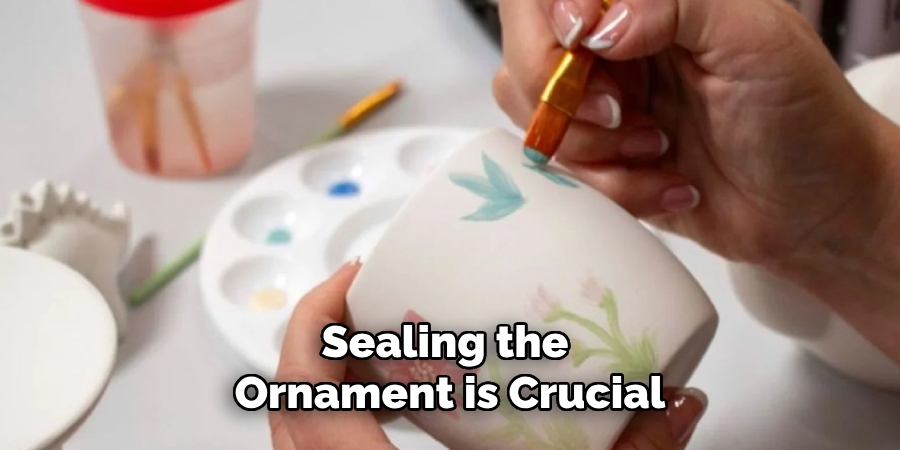
After completing your painted design, sealing the ornament is crucial to protect it from scratches, moisture, and wear, especially if it will be used outdoors or handled frequently. Choose from various finishes like matte, satin, or glossy, depending on your desired look. A matte finish gives a subtle, understated look, while a glossy finish enhances the vibrant colors with a shiny appearance. Satin offers a balanced look with a slight sheen that is not overly reflective. Selecting the right sealant ensures the longevity and preservation of your artwork.

Step 2: Spray or Brush on the Sealant
To apply the sealant, you can use a spray can for an even, thin layer or a soft brush for more control. If using a spray can, hold it consistently from the ornament and apply it sweepingly to avoid drips and ensure uniform coverage. For brush application, use smooth, even strokes, and make sure to cover all areas of the ornament completely. Take care to avoid over-application to prevent pooling or uneven layers of varnish.
Step 3: Let the Sealant Dry
Once the sealant is applied, allow it to dry thoroughly, which typically takes 24-48 hours, depending on the product used. Position the ornament in a dust-free, well-ventilated area to ensure even drying and prevent particles from sticking to the surface. Handle the ornament gently during this period to avoid smudging or damaging the finish. By following these steps, your painted ornament will be well-protected and showcase its beauty for months or even years to come.
Creative Ideas and Design Inspirations
Holiday Themes
When creating seasonal ornaments, themes like Christmas trees, snowmen, Santa Claus, and reindeer abound with creative potential. These designs evoke the joy and warmth of the holidays. Enhance these motifs with festive details such as gold accents, glittery snow, or candy-cane stripes to capture the spirit of the season. Start with a basic shape and layer with textured paints or glitter sprays to bring these iconic figures to life. You can also add faux snow by lightly dabbing white paint with a sponge for a fluffy appearance.
Personalized Ornaments
Personalized ornaments make memorable gifts or keepsakes, allowing you to commemorate special occasions. To add names, dates, or personal messages on your ornaments, consider using paint pens or fine brushes to ensure neat, clean lettering. Stencils can also guide precise and professional looks. Choose contrasting colors for the lettering to ensure it stands out against the ornament’s background. Consider writing a child’s name or birth date for a personalized touch that will be cherished for years.
Abstract and Artistic Designs
For those seeking a contemporary aesthetic, abstract and artistic designs offer endless possibilities. Incorporate bright colors, bold shapes, and geometric patterns to craft modern ornaments with a splash of personality. Experiment with techniques like splatter painting by flicking paint from a brush or create ombré effects by blending colors smoothly from dark to light. These methods deliver unique, vibrant results and allow you to push the boundaries of traditional decorative styles.
Nature-Inspired Designs
Harness the beauty of nature by painting ornaments that reflect floral patterns, woodland creatures, or natural textures like wood grain or marble. Blend soft greens, earth tones, or muted florals to achieve a natural, organic feel. Use sponging techniques for smooth transitions and layers that mimic natural textures. Create depth with gentle brush strokes and play with layered colors to simulate the intricacies of a wildflower meadow or the rich hues found in autumn foliage. Your ornaments can embody serene beauty harmonized with dynamic colors and forms by taking inspiration from nature.
Conclusion
The process of how to paint ceramic ornaments encompasses several crucial steps from start to finish. Begin by preparing the surface and selecting the appropriate paint to set the foundation for your design. Follow this by carefully applying specialty paints or techniques to bring your creative vision to life. Once your masterpiece is complete, sealing the piece ensures its durability and vivid appearance over time. Embrace experimentation with various styles, colors, and innovative techniques to craft unique, personalized ornaments. This satisfying journey transforms simple ceramic pieces into cherished decorations for your home or noteworthy occasions.
Specialization:
- Master of wheel-throwing, hand-building, and advanced glazing techniques
- Focus on creating both functional pottery and decorative art pieces
Recognition:
- Celebrated by collectors and art enthusiasts for creating one-of-a-kind pieces that blend artistry with functionality
- Participates in local and national exhibitions, earning accolades for his innovative designs and craftsmanship
Passion:
- Deeply committed to exploring and pushing the boundaries of ceramic artistry
- Continuously experiments with new materials, firing techniques, and artistic concepts to evolve his craft
Personal Philosophy:
- Believes in the transformative power of art, aiming to evoke emotions and connections through his ceramic creations
- Advocates for sustainability in ceramics, using eco-friendly materials and practices whenever possible


