Whitewashing clay pots is a simple and effective way to achieve a rustic, vintage look that can enhance the aesthetic of your garden or indoor decor. This technique not only adds a decorative touch but also provides a layer of protection to the pots, helping them withstand weather conditions better. Whether you’re a seasoned DIY enthusiast or a beginner looking to explore your creative side, this guide will walk you through how to whitewash clay pots.
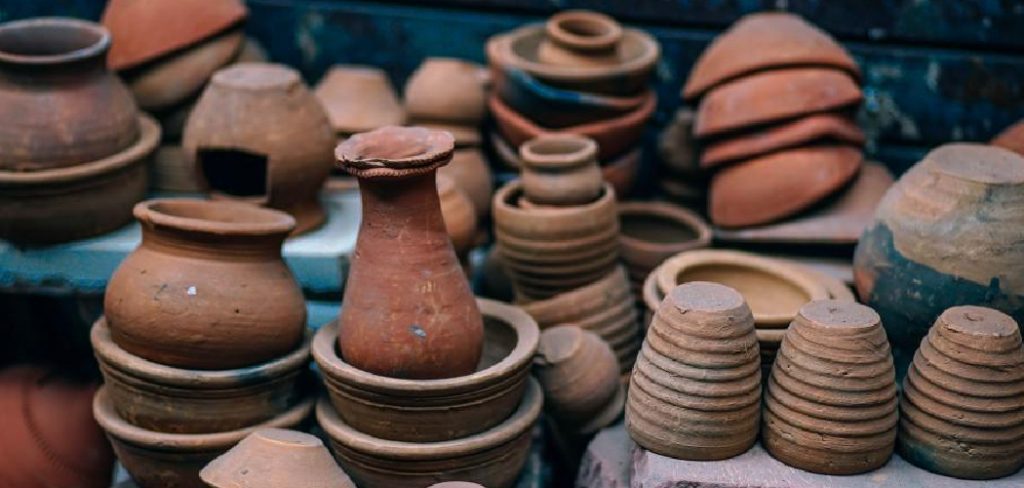
Importance of Whitewashing
Whitewashing clay pots is not just about aesthetics; it offers several practical benefits. By applying a thin layer of whitewash, you help to reflect sunlight away from the pots, which can prevent them from absorbing too much heat—a crucial factor in warmer climates. This can help to maintain a more consistent soil temperature, promoting healthier plant growth. Additionally, whitewashing can act as a mild form of pest deterrent, as some insects are less attracted to lighter surfaces. Moreover, the lime typically used in whitewashing has antimicrobial properties, which can protect pots against molds and mildew. Overall, whitewashing is a versatile technique that enhances both the functionality and appearance of clay pots.
Common Uses for Whitewashed Clay Pots
Whitewashed clay pots serve a variety of purposes that go beyond their traditional use for planting. In gardens and patios, they can be utilized as charming decorative elements that add a touch of vintage elegance to the landscape. When used indoors, these pots become stunning centerpiece arrangements for dining tables or side tables, offering a rustic appeal that complements various interior design styles.
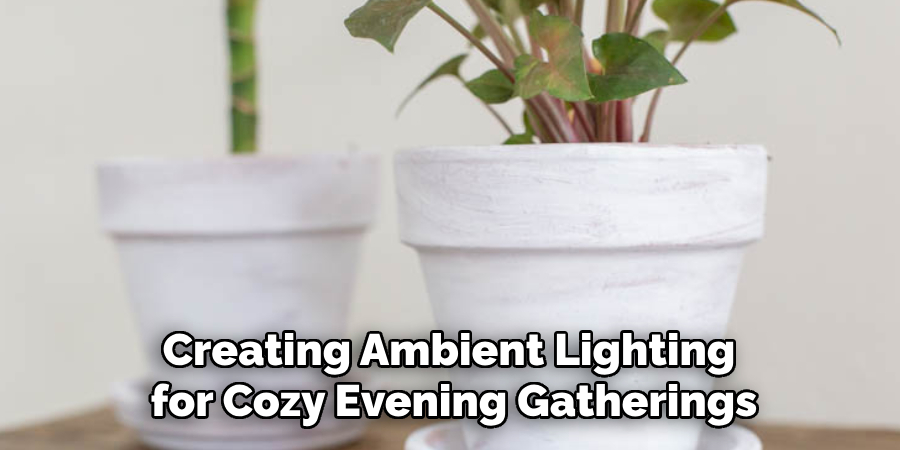
Additionally, whitewashed clay pots can be used to organize and store items like kitchen utensils or craft supplies, providing a visually pleasing and functional storage solution. They also make excellent holders for candles or fairy lights, creating ambient lighting for cozy evening gatherings. Their versatility allows them to integrate seamlessly into both modern and traditional settings, making them a favored choice for decorators and plant enthusiasts alike.
Materials Needed for Whitewashing
To successfully whitewash your clay pots, you’ll need to gather a few essential materials. Here’s a list of what you’ll need:
- Clay Pots: Choose pots that are clean and dry for the best results.
- Hydrated Lime or White Chalk Paint: Hydrated lime provides a traditional look, while white chalk paint offers a more consistent finish.
- Water: To mix with the lime or paint to achieve the desired consistency.
- Paintbrush: A medium-sized brush works well for applying the whitewash evenly.
- Mixing Container: Use a bucket or deep container to mix the lime or paint with water.
- Stirring Stick: For effectively mixing the lime or paint with water.
- Protective Gear: Gloves and a mask, if using lime, to protect your skin and avoid inhaling dust.
- Sandpaper: Optional, for smoothing out any rough spots on the pots before whitewashing.
Gathering these materials beforehand will ensure a smooth and enjoyable whitewashing process, allowing your creativity to flow without interruption.
10 Methods How to Whitewash Clay Pots
Transform your garden or home decor with beautifully whitewashed clay pots. This easy and fun DIY project brings a touch of rustic charm to any space, making it a favorite among home decorators and DIY enthusiasts.
1. Classic Paint and Water Mix
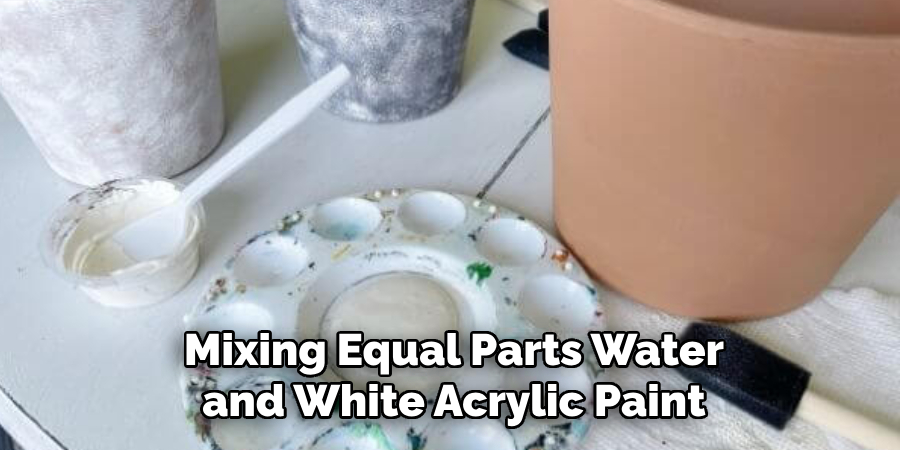
The simplest way to whitewash is by mixing equal parts water and white acrylic paint. Apply with a brush for a soft, textured finish. This method is perfect for those new to whitewashing and provides a quick, effective result without extensive prep work.
2. Baking Soda and Paint
For a vintage feel, combine white acrylic paint with baking soda. The baking soda adds a gritty texture that mimics aged pottery. Apply with a sponge to create an authentic weathered look. This technique is great if you’re aiming for that antique charm.
3. Lime Wash
Lime wash offers a natural approach, using lime powder mixed with water. It’s non-toxic and environmentally friendly. Brush it on for a matte, chalky finish that’s ideal for outdoor pots. This method has been used for centuries and is known for its durability.
4. Dry Brush Technique
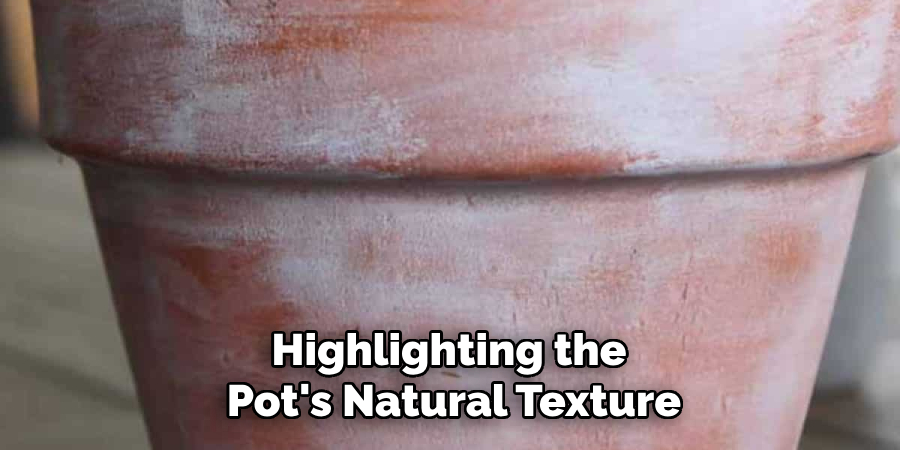
Use a dry brush dipped lightly in paint to create a distressed effect. This technique requires minimal paint and is excellent for highlighting the pot’s natural texture. It offers a subtle, understated look that’s chic and current.
5. Wax and Paint
Apply a base coat of paint, then rub wax over areas you want to distress. Add a topcoat of white paint, and once dry, gently sand waxed areas to reveal the bottom layer. This method allows you to control where the distressing occurs, giving you a customized finish.
6. Vinegar and Paint Wash
Mix white paint with vinegar for a wash that subtly etches the surface of the pot, giving it an aged look. This solution also slightly enhances the clay’s porosity, promoting a more natural finish. It’s a straightforward technique that adds character to your decor.
7. Chalk Paint for a Matte Finish
Use chalk paint for an ultra-matte, velvety finish. It’s simple to apply and doesn’t require a primer. Chalk paint is perfect for indoor pots where a refined, smooth look is desired. Plus, it’s easy to distress if you wish to add a bit of vintage flair.
8. Yogurt and Clay Mix
An unconventional method involves mixing yogurt with clay soil to coat the pot. Over time, this natural paste promotes the growth of moss, giving the pot a greenish, lived-in appearance. It’s perfect for garden enthusiasts who appreciate organic textures.
9. Sanding for a Distressed Look
First, paint the pot fully white, then use sandpaper to distress areas, exposing the original clay underneath. This technique adds depth and interest and can be customized to be as subtle or dramatic as desired.
10. Tea Staining
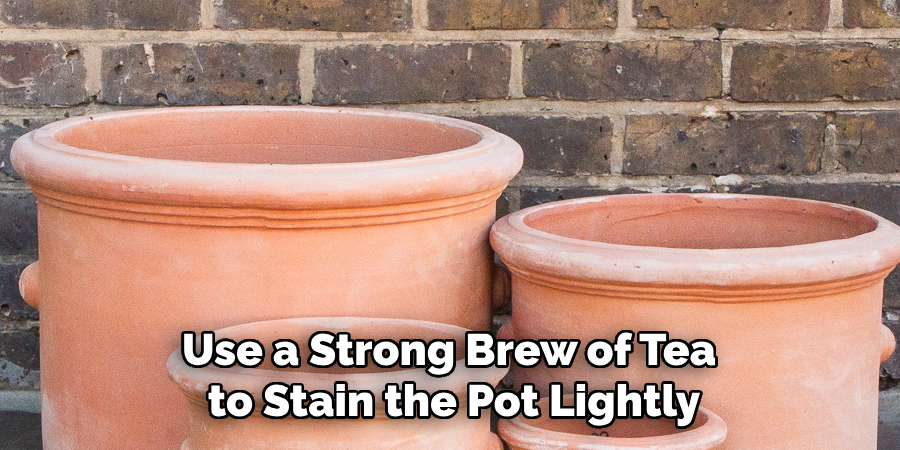
After applying a basic whitewash, use a strong brew of tea to stain the pot lightly. This adds warmth and contrast, creating a unique visual effect. The tea stain gives a gentle, sepia-toned finish, ideal for adding warmth to cooler spaces.
Maintenance and Upkeep
Proper maintenance of your whitewashed clay pots ensures they remain beautiful and durable over time. To preserve their finish, avoid placing them in harsh weather conditions or direct sunlight for extended periods, as this may cause fading or cracking. Regularly wipe the pots with a dry or damp cloth to remove dust and dirt, which can accumulate and dull their appearance. If the finish begins to show signs of wear, you can easily touch up any areas by lightly reapplying your chosen whitewash method. For outdoor pots, consider applying a weatherproof sealant for added protection against the elements. By following these simple upkeep practices, your whitewashed clay pots will continue to enhance your home or garden with their charming rustic appeal.
Preventative Measures
To ensure the longevity of your whitewashed clay pots, consider implementing a few preventative measures. Start by placing the pots on elevated surfaces or using pot feet to improve drainage and minimize direct contact with moisture, which can deteriorate the whitewash over time. Avoid using harsh chemical cleaners, as they may strip the finish or cause discoloration; instead, opt for gentle, natural cleaning solutions to maintain their appearance.
If you live in an area with extreme weather conditions, such as heavy rain or intense sunlight, keep your pots in a sheltered location to reduce exposure to these elements. Indoor pots should be kept away from high-traffic areas where they could be easily bumped or scratched. By taking these precautions, you can significantly enhance the lifespan and beauty of your whitewashed clay pots.
Tips for Achieving the Best Results
To achieve the best results with your whitewashed clay pots, follow these expert tips to ensure a flawless finish. Begin by thoroughly cleaning your pots to remove any dirt, dust, or oils, which can prevent the whitewash from adhering properly. Next, choose a well-ventilated workspace with ample lighting, allowing you to see the details while painting and to ensure quick drying times. Experiment with different techniques and tools, such as brushes, sponges, or rags, to discover which works best for achieving your desired look.
Consistency is key—maintain even strokes and pressure for a uniform appearance. Allow each layer to dry completely before applying subsequent coats to avoid streaking. Lastly, don’t be afraid to mix and match methods; sometimes combining techniques can yield unique and stunning effects that add personality to your pots. With these tips in mind, you’ll be well on your way to creating beautifully whitewashed clay pots that catch the eye and complement any space.
Conclusion
Whitewashing clay pots is a versatile and creative way to add charm and character to any indoor or outdoor space. By exploring various techniques and methods, you can achieve a range of looks, from the subtle and chic to the bold and rustic. Whether you’re aiming for a vintage, distressed finish or a sleek, modern appearance, these techniques offer the flexibility to personalize your pots according to your style preferences. Thanks for reading our blog post on how to whitewash clay pots! We hope you found it helpful and informative.
Specialization:
- Master of wheel-throwing, hand-building, and advanced glazing techniques
- Focus on creating both functional pottery and decorative art pieces
Recognition:
- Celebrated by collectors and art enthusiasts for creating one-of-a-kind pieces that blend artistry with functionality
- Participates in local and national exhibitions, earning accolades for his innovative designs and craftsmanship
Passion:
- Deeply committed to exploring and pushing the boundaries of ceramic artistry
- Continuously experiments with new materials, firing techniques, and artistic concepts to evolve his craft
Personal Philosophy:
- Believes in the transformative power of art, aiming to evoke emotions and connections through his ceramic creations
- Advocates for sustainability in ceramics, using eco-friendly materials and practices whenever possible


