Drilling a hole in a porcelain sink can seem daunting, but with the right tools and approach, it is entirely manageable. Whether you want to install a soap dispenser, a water filter, or any other fixture, ensuring the correct technique is crucial to prevent cracks or damage. This guide will walk you through the process of how to drill a hole in a porcelain sink, highlighting the necessary preparations, tools, and precautions to achieve a clean and precise hole. With patience and attention to detail, your porcelain sink can accommodate new fixtures without compromising its integrity.
Common Reasons for Drilling a Hole in a Porcelain Sink
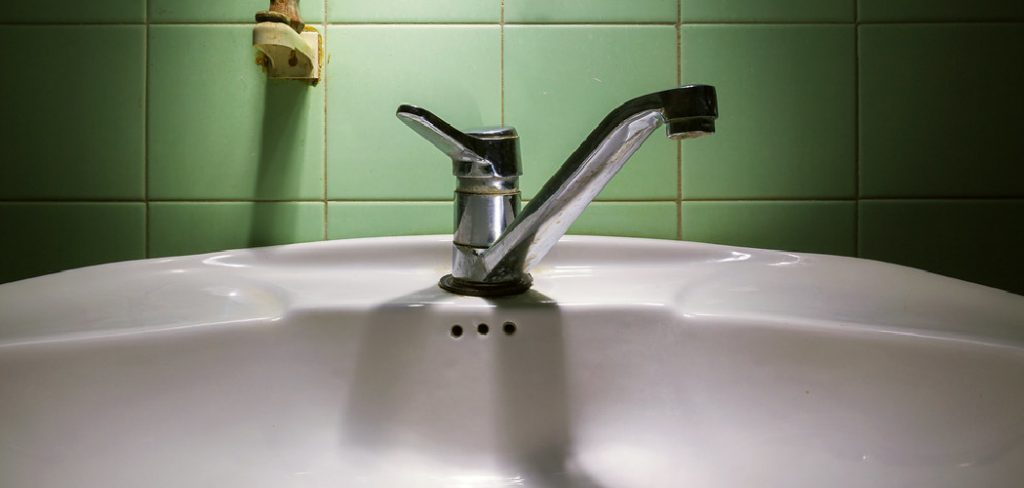
There are several practical reasons why you might need to drill a hole in your porcelain sink. One common purpose is to install a soap dispenser, providing a convenient and aesthetic solution to reduce clutter around the sink area. Another reason might be the addition of a water filtration system, which often requires a separate faucet to dispense filtered water directly from the sink. Homeowners may also opt to add features like instant hot water taps or air gaps for dishwashers, each necessitating an additional opening in the sink. Hence, drilling into a porcelain sink can enhance its functionality and cater to specific household needs, allowing for a more customized kitchen or bathroom setup.
Preparation Before Drilling
Proper preparation is essential to ensure a successful drilling process and to minimize the risk of damaging the porcelain sink. Start by gathering all necessary tools, which typically include a drill, a diamond-tipped drill bit, masking tape, a marker, safety goggles, and a dust mask. It’s crucial to use a diamond-tipped drill bit because porcelain is a hard material, and these bits are specifically designed to cut through it effectively.
Next, select the exact location where the hole will be drilled. It is advisable to measure and mark this spot with a marker to ensure accuracy. Cover the marked area with masking tape, as this helps prevent the drill bit from slipping and also protects the surrounding porcelain surface. Additionally, ensure the sink is clean and dry to provide a safe working environment.
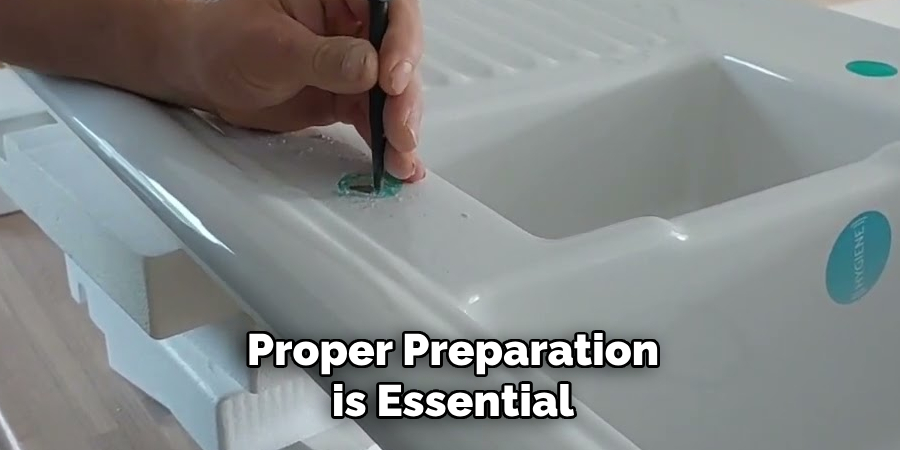
Lastly, before beginning the drilling process, wear safety goggles and a dust mask to protect yourself from any porcelain dust or debris that might be created. With everything prepared, you are now ready to proceed with drilling the hole, taking care to follow the appropriate techniques to avoid cracks or fractures in the porcelain.
Materials and Tools Required
To successfully drill a hole in a porcelain sink, having the right materials and tools is crucial. You will need a drill, preferably one with variable speeds to offer better control throughout the process. A diamond-tipped drill bit is essential, as it is specifically designed to handle the hardness of porcelain. Masking tape will be used to both mark the drilling area and prevent the drill bit from slipping. A marker is required to accurately mark the desired location for the hole. Safety equipment is also necessary, including safety goggles to protect your eyes from flying debris and a dust mask to avoid inhaling fine porcelain dust. Additionally, a spray bottle filled with water should be on hand to continuously cool the drill bit and wash away dust while drilling. Having a towel nearby is also advisable to wipe away any excess water or debris during the procedure.
10 Essential Methods for How to Drill a Hole in a Porcelain Sink
Drilling a hole in a porcelain sink might seem like a daunting task, but with the right methods and tools, you can achieve a professional result without damaging your valuable fixture. Whether you’re a DIY enthusiast, a homeowner wanting to upgrade your kitchen or bathroom, or a seasoned plumber, mastering this skill not only saves you time and money but also adds a layer of customization to your space. This listicle will guide you through ten proven methods to drill a hole in a porcelain sink effectively.
1. Gather the Right Tools
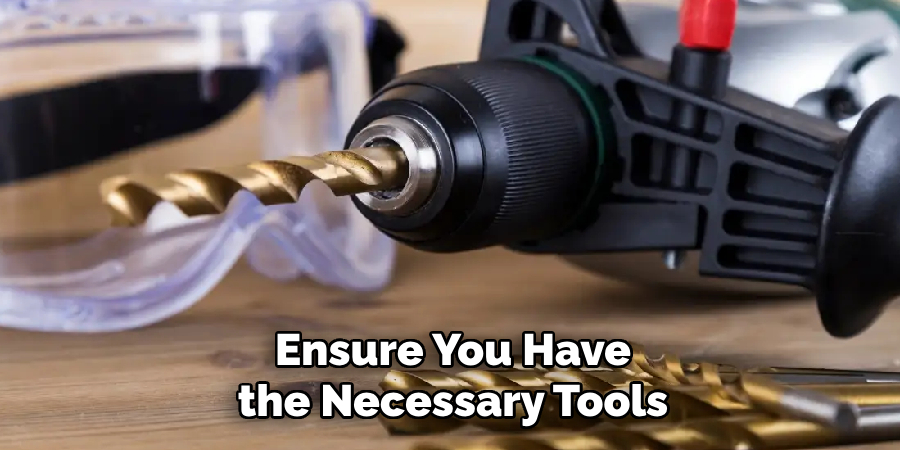
Before starting, ensure you have the necessary tools on hand. Essential items include a power drill, a diamond-tipped drill bit, masking tape, a marker, and safety glasses. The diamond-tipped bit is crucial as it cuts through porcelain without causing cracks. Investing in quality tools will save you time and ensure a cleaner finish.
2. Mark Your Drilling Spot
Carefully mark the spot where you want to drill using a permanent marker. Accurate placement is vital to avoid unnecessary holes. You can use a template to ensure precision, especially if you’re installing multiple holes for fixtures like faucets.
3. Secure the Area with Masking Tape
Applying masking tape over the marked spot helps prevent the drill bit from slipping on the smooth porcelain surface. Additionally, it reduces the chance of chipping around the hole. Use multiple layers of tape for added protection, ensuring the tape is laid flat and without bubbles.
4. Start with a Pilot Hole
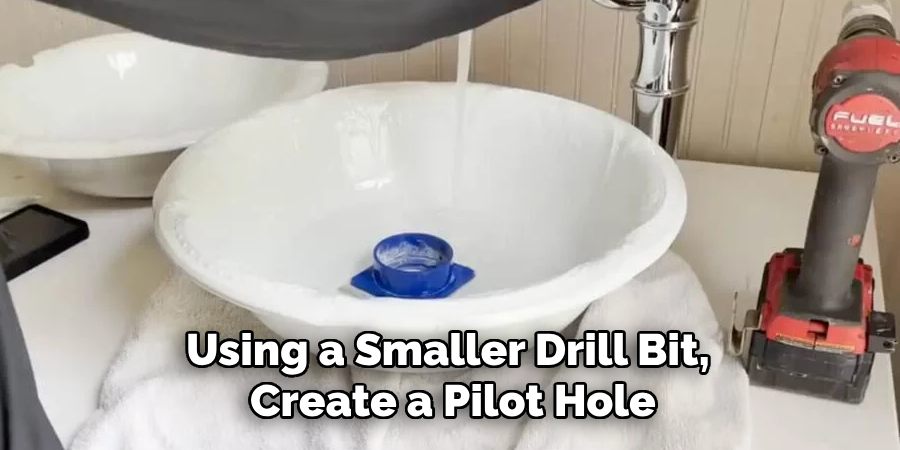
Using a smaller drill bit, create a pilot hole at the marked spot. This initial hole guides the larger bit and minimizes the risk of cracking. Keep the drill speed low to maintain control and avoid overheating.
5. Apply Gentle Pressure
When using the diamond-tipped bit, maintain gentle, consistent pressure on the drill. Rushing the process increases the risk of cracking the porcelain. Patience is key; allow the bit to do the work without forcing it.
6. Keep the Drill Bit Cool
Overheating can cause the porcelain to crack. Periodically pause to cool the drill bit using water or a specialized drill bit lubricant. A spray bottle filled with water can be a handy tool for this purpose. This simple step extends the life of your drill bit and protects your sink.
7. Use a Variable Speed Drill
A drill with a variable speed setting provides greater control over the drilling process. Start at a slow speed to make the initial cut, then gradually increase as needed. This approach minimizes the risk of slipping and enhances precision.
8. Drill from Both Sides
For a cleaner hole, consider drilling halfway through from the front and then completing the hole from the back side. This method reduces chipping on the exit side of the porcelain. Align your drill carefully to ensure both holes meet perfectly.
9. Use a Steady Hand
Keep your hand steady and your body balanced while drilling. If necessary, brace yourself against a stable surface. A firm, steady hand reduces wobbling, which can lead to uneven holes or cracks.
10. Inspect and Clean the Hole
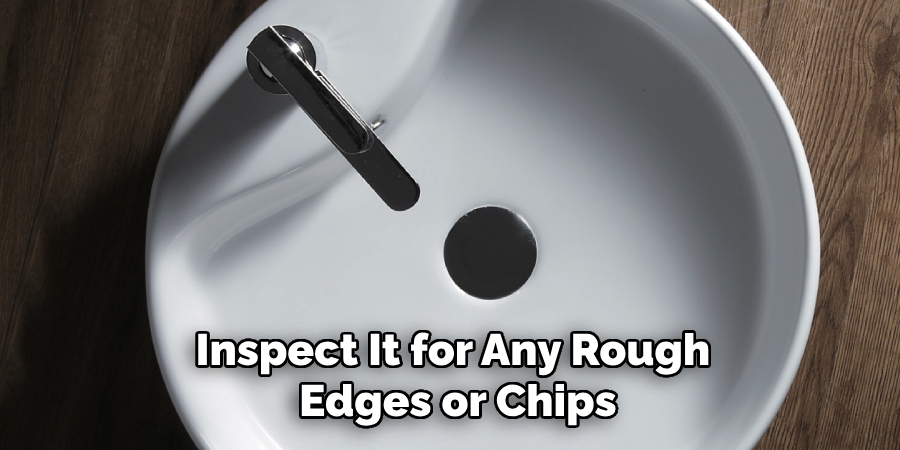
Once the hole is drilled, inspect it for any rough edges or chips. Use a fine-grit sandpaper or a file to smooth out sharp edges, ensuring the fixture will sit flush against the sink. Clean the area thoroughly to remove any debris before installing hardware.
Maintenance and Upkeep
Once you’ve successfully drilled a hole in your porcelain sink and installed the necessary fixtures, it’s crucial to ensure proper maintenance to prolong the lifespan of both the sink and the attachments. Regularly inspect the installed hardware for signs of wear or leaks, tightening any loose components as needed to prevent damage to the sink or surrounding area.
Clean the drilled hole’s edges with a soft, damp cloth to remove any dust or residue that may accumulate over time, which can affect the seal of the fitting. Avoid using harsh chemicals or abrasive materials that may scratch or damage the porcelain surface; instead, opt for non-abrasive, porcelain-safe cleaners. Periodically check the protective coatings on the sink for any signs of wear and consider reapplying them if necessary to maintain the sink’s appearance and prevent stains.
Common Mistakes to Avoid
Drilling a hole in a porcelain sink can be a precise task, and avoiding common mistakes ensures a successful and damage-free outcome. One prevalent mistake is rushing the process by applying excessive force or speed, which significantly increases the risk of cracking the porcelain. Always maintain gentle, consistent pressure and use a variable speed drill for better control.
Another mistake is neglecting to cool the drill bit, as overheating can cause cracks or damage to the drill itself. Regularly spray water to keep the bit cool. Furthermore, using the wrong drill bit, such as a standard one meant for wood or metal, is an error that will likely cause damage, so make sure to use a diamond-tipped bit specifically designed for ceramic materials. Not securing the work area with masking tape might result in slippage and chipping, so always apply multiple layers of tape before drilling.
Conclusion
Drilling a hole in a porcelain sink is a task that requires patience, precision, and the right tools. By carefully following the outlined steps, one can achieve a professional finish without damaging the fragile material. Remember to prepare by gathering essential tools, marking and securing the area, and maintaining steady control throughout the process. Thanks for reading, and we hope this has given you some inspiration on how to drill a hole in a porcelain sink!
Check it out: How to Touch Up Painted Ceramics
Specialization:
- Master of wheel-throwing, hand-building, and advanced glazing techniques
- Focus on creating both functional pottery and decorative art pieces
Recognition:
- Celebrated by collectors and art enthusiasts for creating one-of-a-kind pieces that blend artistry with functionality
- Participates in local and national exhibitions, earning accolades for his innovative designs and craftsmanship
Passion:
- Deeply committed to exploring and pushing the boundaries of ceramic artistry
- Continuously experiments with new materials, firing techniques, and artistic concepts to evolve his craft
Personal Philosophy:
- Believes in the transformative power of art, aiming to evoke emotions and connections through his ceramic creations
- Advocates for sustainability in ceramics, using eco-friendly materials and practices whenever possible


