Are you tired of looking at a plain, dull ceramic lamp in your living room? If so, why not give it a new lease on life by painting it with some vibrant colors and designs?
Painting a ceramic lamp can be a rewarding and creative experience, allowing you to personalize a functional piece into a unique work of art. Whether you are revamping an old lamp or designing a new one, the process involves careful preparation, choosing suitable materials, and employing various painting techniques to achieve the desired look.
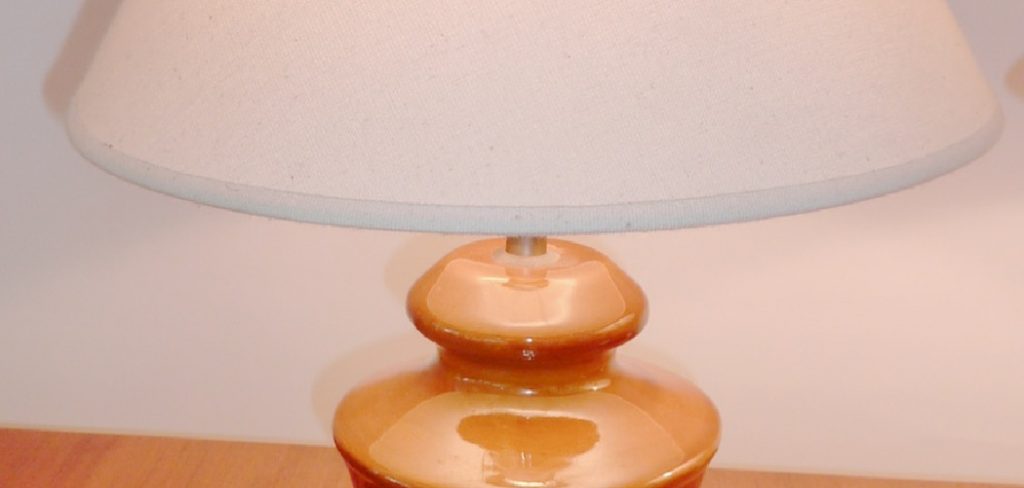
This guide will walk you through each step on how to paint a ceramic lamp, ensuring that even beginners can successfully transform their lamp with confidence and creativity. From selecting the perfect color palette to applying finishing touches, you’ll learn how to turn a simple ceramic lamp into a standout piece that complements your interior decor.
What Will You Need?
Before you begin painting, make sure to gather all the necessary materials to ensure a smooth and efficient process. Here’s a list of items you’ll need:
- Ceramic lamp
- Acrylic or ceramic paint
- Paintbrushes in various sizes and shapes
- Primer (if needed)
- Paper towels or old rags
- Painter’s tape
- Water container for cleaning brushes
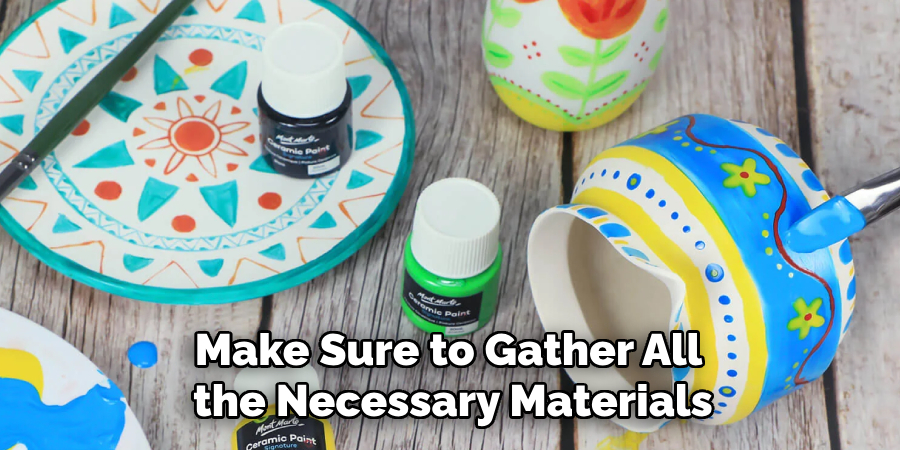
Additionally, it’s recommended that you protect your work area with a drop cloth or newspaper and wear protective gloves to avoid accidental spills or stains on your hands.
10 Easy Steps on How to Paint a Ceramic Lamp
Step 1: Clean and Prep the Lamp
To kick off the painting process, thoroughly cleaning and preparing the ceramic lamp is crucial to ensure that the paint adheres properly and lasts longer. To remove dust or debris, begin by wiping the lamp with a damp cloth. Pay special attention to crevices or decorative elements, as these areas can quickly accumulate dirt. For stubborn spots, a gentle cleanser or rubbing alcohol can be used, but ensure the lamp is completely dry before moving on to the next step. Once the lamp is clean, inspect its surface for any existing gloss or finish that might hinder paint adhesion.
Step 2: Choose Your Color Palette
Selecting the colors for your ceramic lamp is an exciting part that sets the tone for your entire project. Consider the room’s decor where the lamp will be placed, and choose a palette that complements or contrasts in harmony with other elements in the space. It’s essential to test your colors on a piece of paper or a hidden part of the lamp to see how they look in combination and under the light. No matter your style choice—whether it’s bold and bright, soft pastels, or a monochromatic scheme—ensure the colors you choose resonate with the mood or theme you wish to achieve. Once you have your selected paints, arrange them according to application to streamline your painting process.
Step 3: Start with the Base Coat
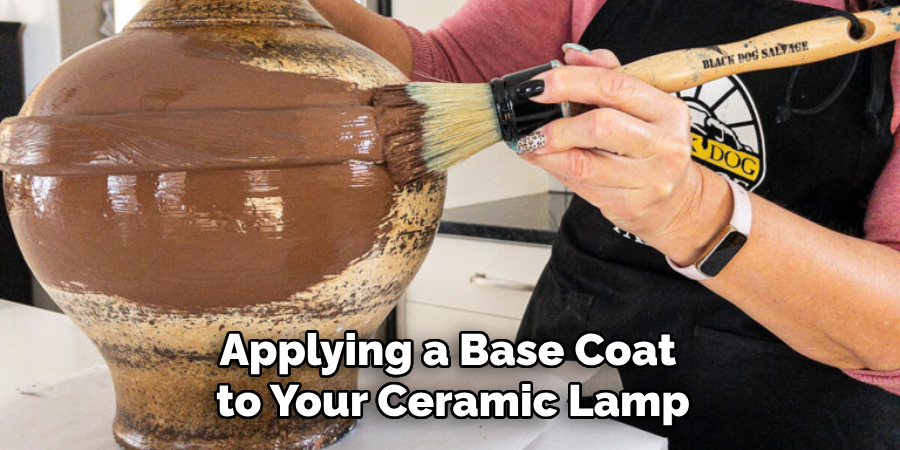
Applying a base coat to your ceramic lamp creates an even, consistent foundation to build your design. Choose a color from your palette that serves as the background for your overall design. Using a wide, flat paintbrush, cover the entire lamp with smooth, even strokes, ensuring no streaks are left behind. Depending on the opacity of the paint, you may need to apply a second coat once the first has dried completely. Allow ample drying time between coats to achieve a professional-looking finish. A well-applied base coat acts as the canvas for your creative expressions, unifying the subsequent layers and allowing your chosen design to stand out vibrantly against a solid backdrop.
Step 4: Add the Main Design
Now that the base coat has been applied and thoroughly dried, it’s time to incorporate the main design elements that will define the aesthetic of your ceramic lamp. Start lightly sketching your design with a pencil or chalk on the lamp’s surface. This step acts as a guide and helps you visualize the arrangement of your patterns or motifs. When satisfied with the outline, carefully begin painting the design using small, detail-oriented brushes. Painter’s tape can mask areas and ensure clean, sharp lines for intricate details or geometric shapes. Remember to work from light to dark colors, allowing each section to dry thoroughly before starting a new location. Take your time with this step, as precise and deliberate strokes will produce a polished and professional finish.
Step 5: Incorporate Additional Details
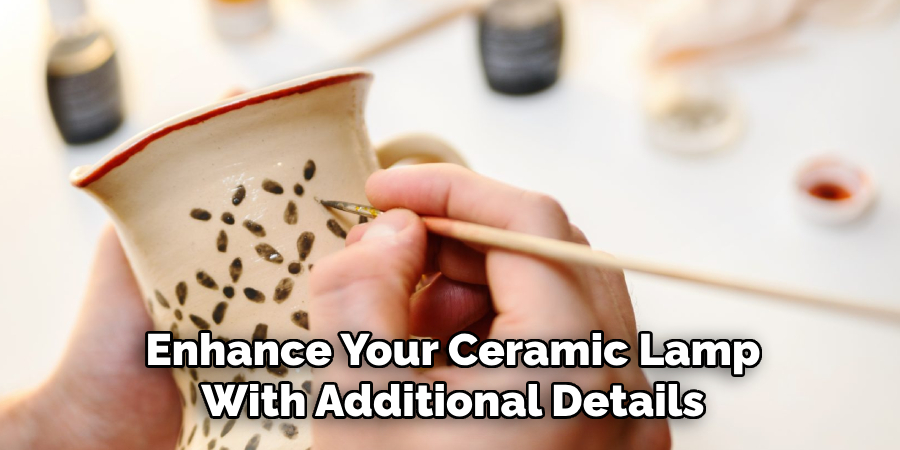
Once the main design is complete and dry, you can enhance your ceramic lamp with additional details that add depth and complexity to your artwork. Consider techniques such as layering colors, adding highlights, or incorporating textures to create a visually captivating piece. Use smaller brushes for intricate details, such as fine lines or dots, which can elevate your design with sophistication. If you want to add a shimmer, metallic paints or glitter can be carefully applied to highlight specific areas. Be mindful during this step, as the details should complement the main design without overwhelming it. Let each layer dry before proceeding to avoid smudging, ensuring a crisp and vibrant final result.
Step 6: Apply a Protective Sealant
After completing your design and additional details, it’s crucial to protect your hard work with a sealant. A clear acrylic sealer will help ensure the longevity and durability of the paint on your ceramic lamp, guarding against scratches and wear. Choose a sealant that suits your desired finish, whether it’s glossy, satin, or matte, depending on the look you wish to achieve. Apply the sealant in light, even coats, maintaining a safe distance to prevent drips or pooling. Allow ample drying time between coats for the best results. This final touch not only preserves the vibrancy of your colors but also gives your ceramic lamp a professional, polished look.
Step 7: Reassemble and Display Your Lamp
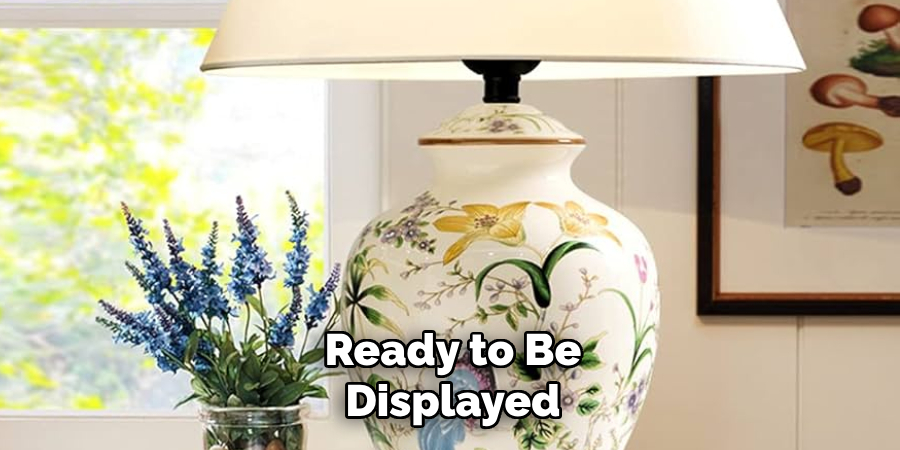
Once the sealant has dried completely and your ceramic lamp is ready to be reassembled, carefully remove any painter’s tape from the masked areas to reveal clean edges and preserved sections like the lamp socket or electrical fittings. Gently reattach any components removed during the painting process, such as the lampshade or detachable parts. Ensure all pieces are securely in place and the lamp is functioning correctly. Now, your beautifully customized lamp is ready to be displayed. Choose a prominent spot in your room that allows your artistic efforts to shine and complements the surrounding décor. Turn on your lamp and admire the customized touch it brings to your space, illuminating the room and your creative spirit.
Step 8: Enjoy Your Creative Masterpiece
With your ceramic lamp fully painted, sealed, and reassembled, it’s time to enjoy the fruits of your artistic endeavor. Take a moment to appreciate the unique and personal touch you’ve added to your space with this customized piece. The transformation of an ordinary lamp into a vibrant work of art showcases the beauty of handmade creations and your creative vision. Whether this project served as a relaxing hobby, a personal challenge, or a way to enhance your home decor, it stands as a testament to individual expression and creativity. Share the story of your lamp with friends and family, and inspire others to bring their creative projects to light.
Step 9: Maintenance and Care
To ensure the longevity of your newly customized ceramic lamp, routine maintenance and care are important. Dust the lamp gently using a soft, lint-free cloth to keep its surface clean and vibrant. If the lamp requires deeper cleaning, use a slightly damp cloth and mild soap, avoiding harsh chemicals that might damage the paint or sealant. It’s also beneficial to regularly check the lamp’s electrical components to ensure they remain secure and functional. By observing these simple care practices, you will preserve your unique piece’s integrity and aesthetic appeal for years to come, allowing it to continue illuminating your home and showcasing your creative flair.
Step 10: Share Your Experience
Consider sharing your creative process and the story behind your customized ceramic lamp with a broader audience. You can showcase your work on social media platforms, art forums, or within creative communities, offering insight into your techniques and the inspiration behind your design. Sharing photos of each step, along with tips and lessons learned, not only serves as a source of inspiration for others but also establishes a sense of community and collaboration among fellow hobbyists. Additionally, documenting your project can serve as personal motivation for future endeavors and a valuable resource for yourself and others who embark on similar artistic journeys. Engaging with an audience can open up conversations, provide feedback, and even spark new ideas for your next creative project.
By following these steps and incorporating your unique style and vision, you can transform an ordinary ceramic lamp into a personalized work of art.
Conclusion
How to paint a ceramic lamp is a rewarding process that brings your artistic vision to life and adds a distinctive touch to your home decor.
You can ensure a successful transformation by following the outlined steps, from preparation to finishing touches. The process not only involves careful planning and execution but also allows for personal expression through colors, textures, and design details. Ultimately, the painted lamp stands as a testament to your creativity, attention to detail, and the joy that comes from crafting something uniquely your own.
Whether as a standalone piece or part of a cohesive decor scheme, your customized ceramic lamp will illuminate your space with light and artistic flair.
Specialization:
- Master of wheel-throwing, hand-building, and advanced glazing techniques
- Focus on creating both functional pottery and decorative art pieces
Recognition:
- Celebrated by collectors and art enthusiasts for creating one-of-a-kind pieces that blend artistry with functionality
- Participates in local and national exhibitions, earning accolades for his innovative designs and craftsmanship
Passion:
- Deeply committed to exploring and pushing the boundaries of ceramic artistry
- Continuously experiments with new materials, firing techniques, and artistic concepts to evolve his craft
Personal Philosophy:
- Believes in the transformative power of art, aiming to evoke emotions and connections through his ceramic creations
- Advocates for sustainability in ceramics, using eco-friendly materials and practices whenever possible


