Creating molds for clay is an indispensable technique for artisans and hobbyists who seek to enhance their crafting efficiency and precision. The practice of mold-making allows for the creation of multiple identical pieces, making it an essential process in both pottery and sculpture, as well as various other crafts. Different types of molds can be employed depending on the project’s requirements, including rigid molds, flexible molds, and two-part molds.
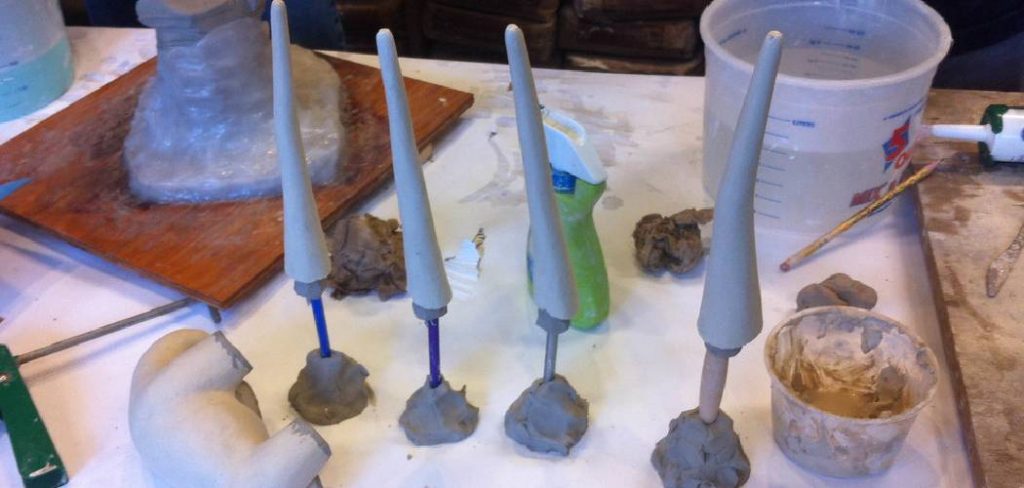
Rigid molds are often used for straightforward, durable designs, while flexible molds are ideal for more intricate details, allowing for easy release of the clay form. Two-part molds facilitate the crafting of complex shapes by encasing the object in two separate sections. Understanding how to make mold for clay is crucial for achieving desired results, minimizing material waste, and saving time. Mastery of this skill opens up a world of creative possibilities for anyone working with clay.
Materials Needed
To create effective molds for clay, choosing the right materials and tools is vital. For clay, you have several options: earthenware, stoneware, or modeling clay. Earthenware is ideal for beginners due to its workability, while stoneware offers more durability. Modeling clay is versatile for intricate designs. For mold materials, consider plaster, silicone rubber, or latex. Plaster is cost-effective and great for rigid molds, while silicone rubber or latex is perfect for flexibility and capturing detail.
Essential tools include mixing containers, spatulas, and measuring cups to ensure accurate mixing. A mold-release agent, like petroleum jelly, helps prevent the clay from sticking. Carving tools aid in achieving the desired design intricacies. Remember the importance of safety gear; gloves, masks, and goggles are crucial to protect against dust and fumes when mixing or handling materials. Prioritizing safety ensures a smooth crafting experience.
Preparing the Original Model
Step 1: Choose Your Model
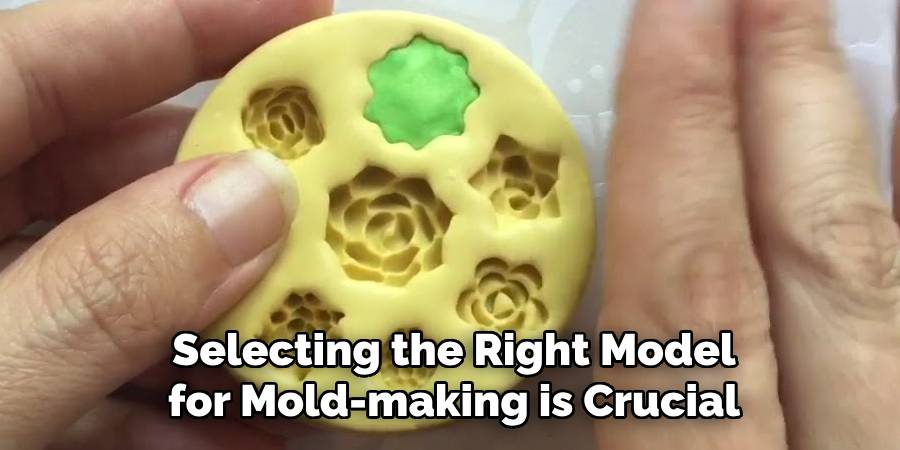
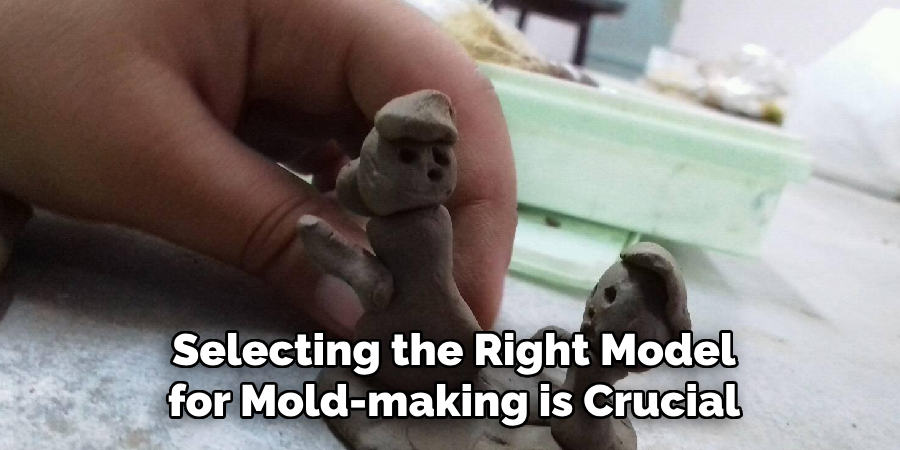
Selecting the right model for mold-making is crucial for achieving the desired results in your final clay pieces. Consider the complexity and the amount of detail you want to capture in the mold; simple shapes require less detail and are easier for beginners, while intricate models necessitate additional care and expertise. Opt for a solid, non-porous material, such as plastic, metal, or thoroughly finished wood, to ensure a clean and smooth cast. Avoid materials that can absorb moisture or become damaged during the mold-making process, as these may lead to imperfections in the mold.
Step 2: Prepare the Model Surface
Before beginning the mold-making process, thoroughly clean your model to remove any dust, grease, or moisture that could interfere with the mold’s quality. This step is crucial to ensure a seamless surface on your mold. Next, a mold release agent is applied to the entire surface of the model to prevent sticking and facilitate easy removal once the mold is set. Common mold release agents include petroleum jelly, commercial mold release sprays, and silicone-based agents. Each type of release agent may slightly influence the final texture of the mold’s interior; hence, testing on a small area can be beneficial.
Step 3: Secure the Model
If your project requires a two-part mold, securing the model to a flat, sturdy base is essential to prevent any movement while pouring the mold material. This can be achieved by attaching the model using a strong adhesive or screws if the material allows. Crafting a barrier or wall around the model may also be necessary, using clay or tape to ensure the mold material remains contained, especially when working with liquid mold mediums. This stability is key to achieving a high-quality mold with precise contours and edges.
How to Make Mold for Clay: Making a Rigid Mold with Plaster
Creating a rigid mold with plaster is a cost-effective method that yields durable results suitable for various crafting projects. Here’s a step-by-step guide to crafting a plaster mold.
Step 1: Prepare Plaster Mix
Begin by measuring the plaster powder and water according to the manufacturer’s instructions. Accurate measurements are crucial for a successful mold, as incorrect ratios can lead to either a too-stiff or too-runny mixture. Once measured, mix the plaster and water thoroughly until you achieve a smooth, lump-free consistency, typically resembling pancake batter. Mixing is a key stage, so ensure there are no pockets of dry powder left within the mix, as this can lead to weak spots in your mold.
Step 2: Apply Plaster to the Model
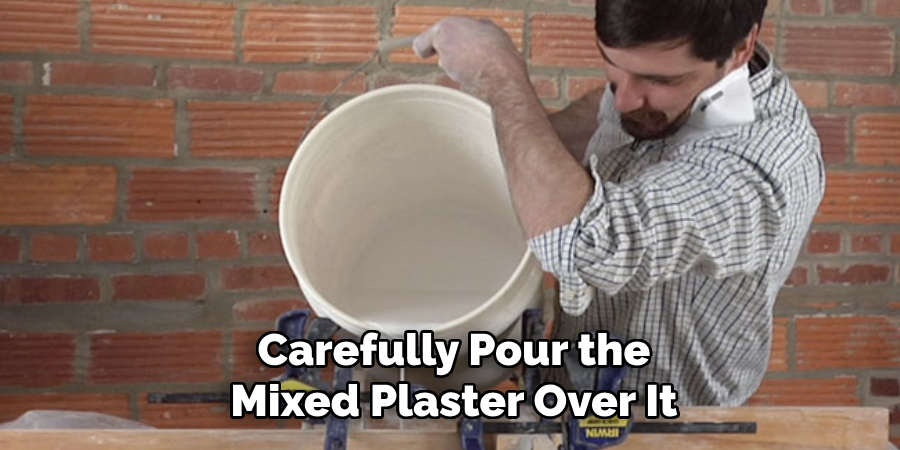
With your model secured and prepared, carefully pour the mixed plaster over it. Ensure the plaster covers the entire surface evenly. Use a spatula to aid in spreading the plaster, and gently tap or vibrate the surface to remove any air bubbles – air bubbles can compromise the integrity of the mold. For those creating a two-part mold, only cover the model halfway at this stage. Make sure the plaster covers all details by carefully observing for any uncovered spots and adjusting as necessary. Allow the plaster to set until it’s firm enough to handle but still slightly damp so it creates a strong bond with the second half.
Step 3: Create the Second Half
Once the first half of your mold has set, typically within 30-60 minutes, remove any barriers used to contain the plaster and reapply your mold release agent to all exposed surfaces. Carefully prepare a new plaster mix, ensuring consistent proportions and texture. Pour the plaster over the already set half, aligning it carefully to ensure a proper and precise fit. Continue to spread evenly and eliminate any air bubbles that may arise. Allow both halves of the mold to cure fully for at least 24 hours before attempting to remove them from the model. Patience at this stage ensures a durable and finely detailed mold ready to craft your desired clay pieces.
How to Make Mold for Clay: Making a Flexible Mold with Silicone Rubber
Step 1: Prepare the Silicone Rubber
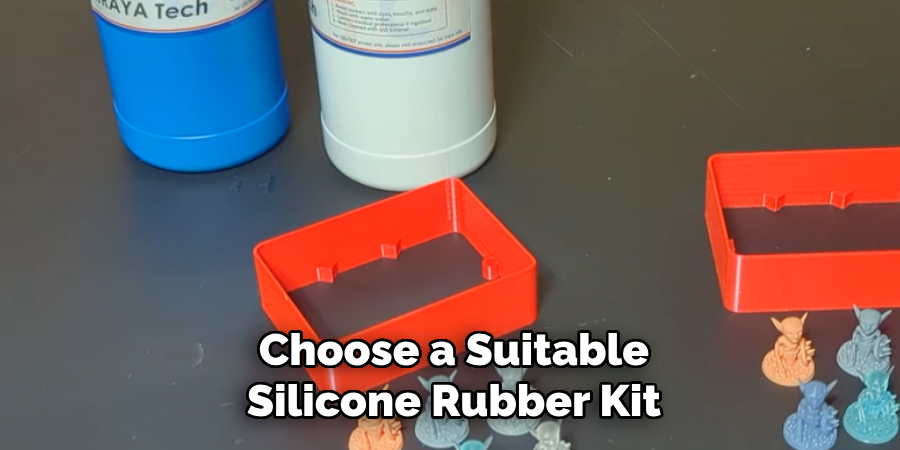
Choose a suitable silicone rubber kit and carefully read the manufacturer’s guidelines. Measuring the components accurately is crucial to ensure the proper cure and flexibility. Typically, silicone rubber kits include two parts—a base and a catalyst—that you need to mix. Combine the components in a clean container and mix them thoroughly to achieve a uniform color and consistency. Ensuring the mixture is homogeneous is essential for creating a mold that captures all the details of your model.
Step 2: Apply the Silicone to the Model
With your silicone rubber prepared, pour a small amount onto the model’s surface, which has been meticulously cleaned and coated with a mold release agent. Make sure the silicone covers the entire surface evenly to preserve textures and fine details. For intricate designs or models with complex features, use a brush or spatula to carefully maneuver the silicone into every crevice and corner. For larger models, consider applying the silicone in layers—allow each layer to partially cure before adding the next—to better control the mold’s thickness and ensure a more robust structure.
Step 3: Build a Support Shell
Once the silicone has partially cured, which usually takes a few hours, depending on the product, you can begin constructing a support shell. This shell is vital for maintaining the shape and structure of the flexible mold. Use plaster bandages or another rigid material to form the shell around the silicone mold. Ensure that the support shell is sturdy enough to hold the mold in its proper shape during the casting process. Allow the silicone to fully cure within the support shell as specified by the curing time in the product instructions.
Step 4: Demold the Silicone
After the silicone has fully cured, it’s time to carefully remove the mold from the original model. Take care during this step to avoid tearing or damaging the delicate silicone mold. Gently peel the silicone mold away, checking for any imperfections. If necessary, trim any excess silicone or patch minor flaws to ensure your mold is perfect for future use. This durable and detailed mold is now ready to produce high-quality clay casts.
Finishing the Mold
Step 1: Clean the Mold
Begin the finishing process by thoroughly cleaning your mold. Gently remove any excess material or debris that may have accumulated during the crafting process. Use a soft brush or cloth to carefully sweep away remnants, paying close attention to maintaining the mold’s delicate details and contours. As you clean, examine the mold for imperfections or areas needing additional trimming. Addressing these issues now will ensure smoother use during casting and improve the quality of your finished product.
Step 2: Test the Mold
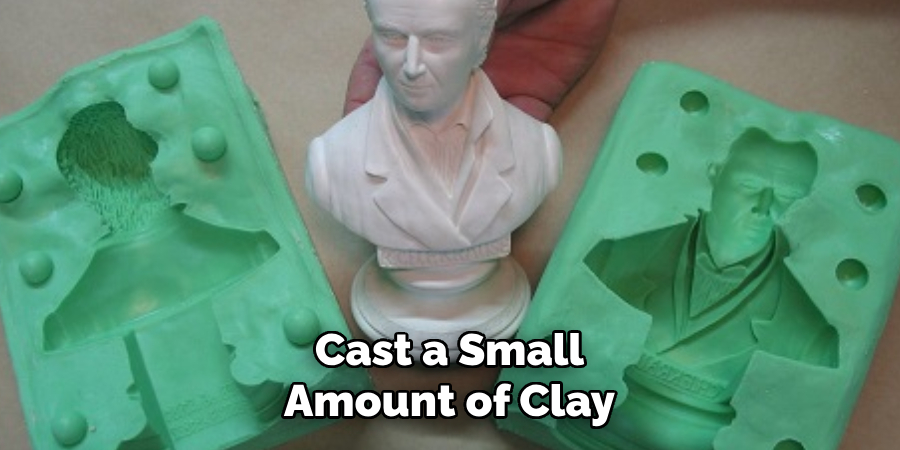
Once the mold is clean, it’s time for a test run. Cast a small amount of clay or your chosen material into the mold to test its functionality. This trial run is crucial to ensure the mold produces the desired results without any unforeseen issues. Carefully evaluate the outcome for any discrepancies or flaws. Should you encounter problems with the casting, make any necessary adjustments to the mold or refine your casting technique. This testing phase is an important step in confirming that your mold is ready for full-scale production.
Step 3: Store the Mold Properly
Proper storage is essential to preserve the quality and longevity of your mold. Store the mold in a cool, dry place and protect it from direct sunlight or extreme temperatures, which can degrade the material over time. If you’re working with a flexible mold, lightly dust the interior with cornstarch or talcum powder to prevent sticking during storage. Following these storage guidelines will help maintain the mold’s integrity, ensuring it’s in optimum condition for future projects.
Conclusion
In summary, learning how to make mold for clay is a valuable skill that enhances the craftsperson’s ability to create consistent and intricately detailed pieces. The process, from selecting the right materials to carefully preparing and finishing the mold, requires attention to detail and patience. Using molds in pottery and crafting allows for efficiency, design exploration, and the replication of complex shapes that would be difficult to achieve by hand.
Molds unlock a world of creative possibilities and enable artisans to expand their repertoire with varied and unique designs. Aspiring mold-makers are encouraged to experiment with different types of molds and materials, which can greatly enrich their projects and foster innovation. Through practice and persistence, enthusiasts can master the art of mold-making, experiencing both artistic satisfaction and the pleasure of community engagement. We invite readers to share their adventures and insights in mold-making, supporting a vibrant community of clay craft lovers.
Check it out: How to Find Wild Clay for Moulding Ceramic
Specialization:
- Master of wheel-throwing, hand-building, and advanced glazing techniques
- Focus on creating both functional pottery and decorative art pieces
Recognition:
- Celebrated by collectors and art enthusiasts for creating one-of-a-kind pieces that blend artistry with functionality
- Participates in local and national exhibitions, earning accolades for his innovative designs and craftsmanship
Passion:
- Deeply committed to exploring and pushing the boundaries of ceramic artistry
- Continuously experiments with new materials, firing techniques, and artistic concepts to evolve his craft
Personal Philosophy:
- Believes in the transformative power of art, aiming to evoke emotions and connections through his ceramic creations
- Advocates for sustainability in ceramics, using eco-friendly materials and practices whenever possible


