Ceramic sinks, with their sleek appearance and durable nature, are a popular choice for many homeowners. However, over time, these sinks can accumulate unsightly scratches that diminish their aesthetic appeal. These scratches are often caused by everyday use and can be challenging to avoid completely.
Fortunately, there are effective methods on how to clean ceramic sink scratches to address these imperfections and restore the sink’s original luster. By understanding the right techniques and materials to use, you can keep your ceramic sink looking pristine for years to come.
Why Do Ceramic Sinks Get Scratched?
Before we delve into the methods of cleaning ceramic sink scratches, it’s essential to understand why they occur in the first place. Ceramic sinks are made of a type of clay that is fired at high temperatures, making them extremely durable and resistant to staining or chipping. However, certain materials, such as metal utensils or abrasive cleaners, can still cause scratches on the surface.
Additionally, regular wear and tear from daily use can also lead to scratches over time. When dishes are placed in the sink or moved around during washing, small particles of dirt and debris can get caught between the dish and the sink’s surface, causing tiny scratches.
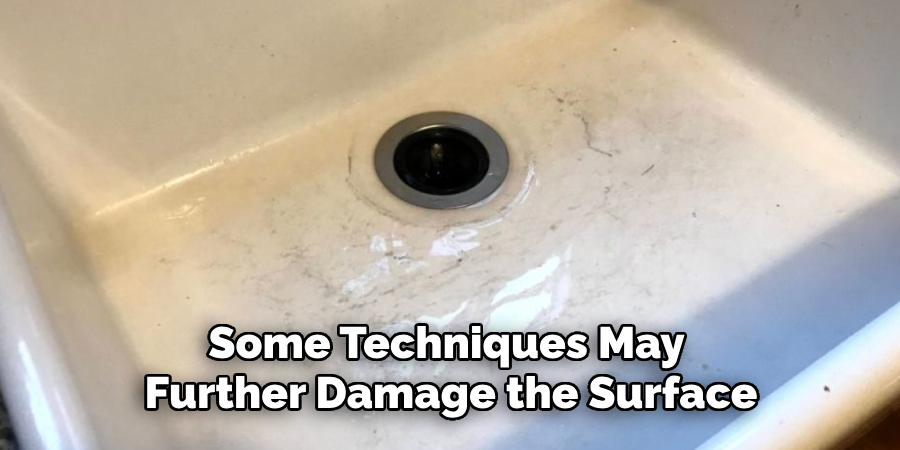
Methods for cleaning ceramic sink scratches will depend on the severity of the scratches and the material that caused them. It’s essential to assess the damage before deciding on a cleaning method, as some techniques may further damage the surface if not done correctly.
Needed Materials
Soft Cloth or Sponge:
Using a soft cloth or sponge is essential when cleaning ceramic sink scratches as it will prevent further damage to the surface. Avoid using harsh materials, such as steel wool or abrasive sponges, as they can cause more scratches.
Baking Soda:
Baking soda is an excellent natural cleaner that can help remove light scratches on the surface of your ceramic sink. It’s non-abrasive and gentle, making it safe to use on delicate surfaces.
White Vinegar:
White vinegar is another natural ingredient that is effective in removing tougher stains and deeper scratches on ceramic sinks. Its acidic properties make it an excellent solution for breaking down tough grime and dirt on the surface.
Hydrogen Peroxide:
For deeper scratches, hydrogen peroxide can be used as a mild abrasive cleaner to help remove them. It’s important to dilute the peroxide with water before use and to test it on an inconspicuous area of the sink first to avoid any potential damage.
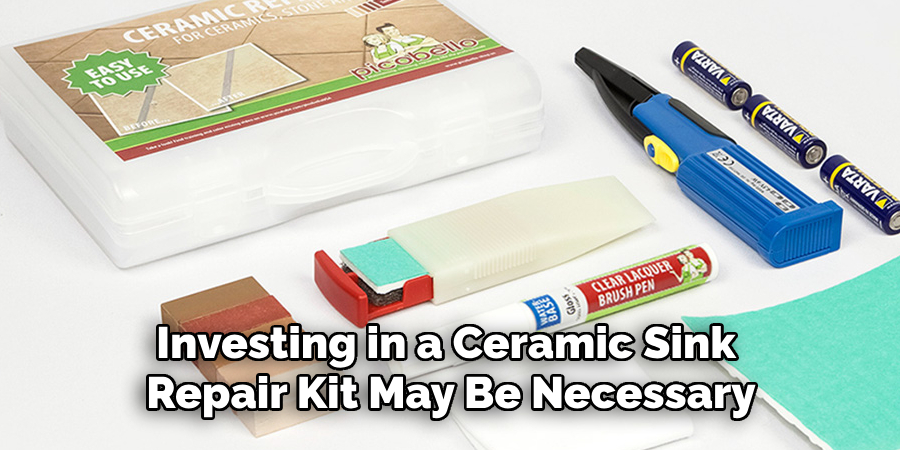
Ceramic Sink Repair Kit:
If your sink has deep or multiple scratches, investing in a ceramic sink repair kit may be necessary. These kits typically come with specialized tools and materials designed specifically for repairing ceramic sinks and restoring their surface.
8 Step-by-step Guidelines on How to Clean Ceramic Sink Scratches
Step 1: Assess the Damage
Before proceeding with any cleaning or repair methods, it’s crucial to carefully assess the damage to your ceramic sink. Begin by thoroughly inspecting the scratches under good lighting to determine their depth and extent. Categorize the scratches as light, moderate, or deep, as this will guide you in selecting the appropriate materials and techniques for treatment. Light scratches are generally surface-level and can often be addressed with gentle cleaning methods using baking soda or vinegar.
Moderate scratches may require a combination of natural cleaners and a gentle abrasive action, such as diluted hydrogen peroxide. Deep scratches often necessitate the use of a ceramic sink repair kit. By accurately assessing the damage, you can ensure that the cleaning process will be effective and safe for your sink’s surface.
Step 2: Clean the Sink Surface
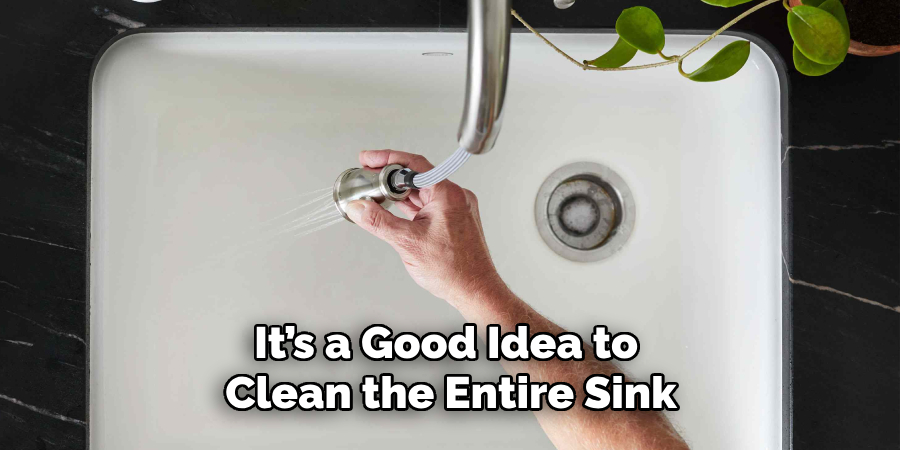
Before targeting specific scratches, it’s a good idea to clean the entire sink surface with warm water and a mild dish soap. This will help remove any dirt or debris that may be hiding in the scratches and can also provide you with a better view of the damage. Rinse thoroughly and dry with a soft cloth.
The sink should be completely dry before proceeding with the cleaning methods to avoid any potential reactions between the materials.
Step 3: Use Baking Soda for Light Scratches
For light scratches, create a paste by mixing baking soda with water until it forms a thick consistency. Apply the paste directly onto the scratch and gently rub it in a circular motion using a soft cloth or sponge. Continue this process until the scratch starts to fade, then rinse thoroughly with warm water and dry.
It’s important to note that this method may not be suitable for deeper scratches, as the baking soda is not abrasive enough to remove them effectively.
Step 4: Use Vinegar for Tougher Stains and Scratches
For more stubborn stains and moderate scratches, soak a cloth or sponge in white vinegar and place it directly onto the affected area. Let it sit for a few minutes before gently scrubbing in a circular motion. If the stain or scratch persists, mix equal parts of vinegar and water and spray it onto the surface. Let it sit for 10-15 minutes before rinsing thoroughly with warm water and drying.
The acidic properties of vinegar make it an effective cleaner for removing tough stains and scratches on ceramic sinks.
Step 5: Dilute Hydrogen Peroxide for Deeper Scratches
For deeper scratches, dilute hydrogen peroxide with equal parts water and test it on an inconspicuous area of the sink first. If there is no damage or discoloration, apply the solution directly onto the scratch and gently rub in a circular motion with a soft cloth or sponge. Rinse thoroughly with warm water and dry.
It’s important to be cautious when using hydrogen peroxide as it can potentially cause damage if used incorrectly.
Step 6: Use a Ceramic Sink Repair Kit for Deep Scratches
For deep scratches that are difficult to remove with cleaning methods, a ceramic sink repair kit may be necessary. These kits often come with specialized tools and materials designed specifically for repairing ceramic sinks and restoring their surface. Follow the instructions provided with the kit carefully, as each product may have different application methods.
The repair kit should only be used for deep or multiple scratches, as it may cause further damage to the surface if not used correctly.
Step 7: Rinse and Dry Thoroughly
After using any cleaning or repair methods on your ceramic sink, make sure to rinse thoroughly with warm water and dry with a soft cloth. This will remove any residue from the cleaning agents and prevent any potential damage to the surface.
Step 8: Prevent Future Scratches
To maintain your newly cleaned and restored ceramic sink, it’s essential to take preventive measures against future scratches. Avoid using harsh materials or abrasive cleaners on the surface, as these can cause more damage. Use a cutting board when preparing food instead of directly on the sink, and be careful when handling heavy or sharp objects near the sink.
Additionally, regularly cleaning your sink with gentle methods such as baking soda or vinegar can help prevent dirt and grime from building up and causing scratches over time.

Following these guidelines on how to clean ceramic sink scratches can help you effectively clean and repair scratches on your ceramic sink, keeping it looking like new for years to come. By being proactive and using gentle methods, you can maintain the beauty and functionality of your sink without any costly repairs or replacements.
Additional Tips for Maintaining a Clean and Scratch-free Ceramic Sink
- Avoid using steel wool or harsh scrubbing pads on the sink surface, as these can cause scratches.
- For tough stains or build-up, use a non-abrasive cleaner specifically designed for ceramic sinks.
- Rinse your sink after each use and dry with a soft cloth to prevent water spots or build-up.
- To remove stubborn mineral deposits, soak a cloth in white vinegar and place it on the affected area for 15 minutes before rinsing and drying.
- Regularly cleaning and maintaining your ceramic sink can also help prevent discoloration and keep it looking shiny and new. By following these tips on how to clean ceramic sink scratches, you can ensure that your ceramic sink stays clean and scratch-free for years to come.
Remember, prevention is key when it comes to keeping your ceramic sink looking its best. By being mindful of what products you use on
Conclusion
Maintaining a clean and scratch-free ceramic sink doesn’t have to be a daunting task. By utilizing the appropriate cleaning methods on how to clean ceramic sink scratches and products, you can effectively manage scratches and keep your sink in pristine condition. It’s crucial to treat your sink with care, avoiding harsh materials that could cause further damage.
Additionally, adopting regular maintenance habits can help prevent scratches and prolong the lifetime of your sink. Embracing these effective practices ensures your ceramic sink remains a beautiful and functional feature in your home for many years. Remember, a little diligence and attention to detail go a long way in preserving the elegance of your ceramic fixtures.
Specialization:
- Master of wheel-throwing, hand-building, and advanced glazing techniques
- Focus on creating both functional pottery and decorative art pieces
Recognition:
- Celebrated by collectors and art enthusiasts for creating one-of-a-kind pieces that blend artistry with functionality
- Participates in local and national exhibitions, earning accolades for his innovative designs and craftsmanship
Passion:
- Deeply committed to exploring and pushing the boundaries of ceramic artistry
- Continuously experiments with new materials, firing techniques, and artistic concepts to evolve his craft
Personal Philosophy:
- Believes in the transformative power of art, aiming to evoke emotions and connections through his ceramic creations
- Advocates for sustainability in ceramics, using eco-friendly materials and practices whenever possible


