Creating a birdbath from ceramic pots is a simple and rewarding project that invites nature into your garden. With just a few materials and some creativity, you can transform ordinary pots into a charming sanctuary for birds. Not only does a birdbath add aesthetic appeal to your outdoor space, but it also provides essential water for bathing and hydration to local wildlife, supporting their well-being.
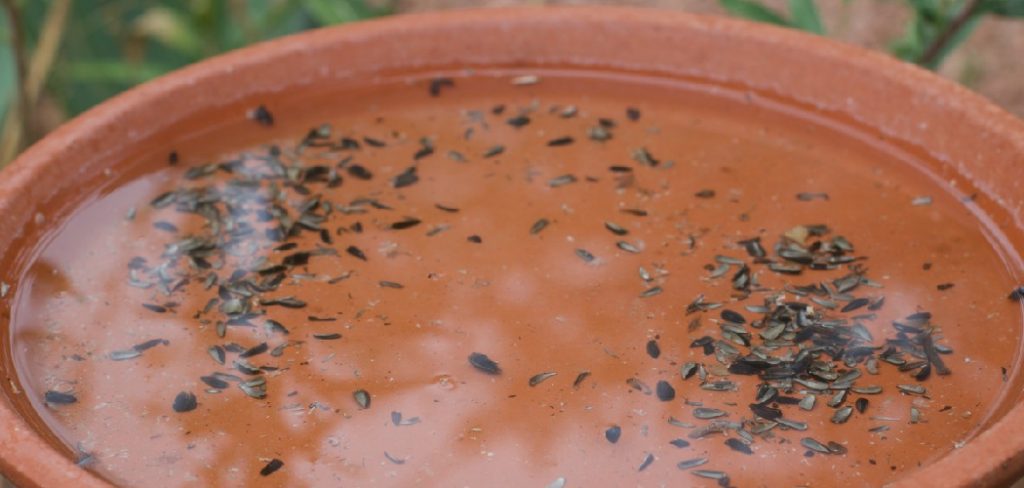
In this guide on how to make a birdbath out of ceramic pots, we will walk you through the process of assembling a unique birdbath that is both functional and decorative.
Why Use Ceramic Pots?
Ceramic pots are a popular choice for making birdbaths because they are durable, visually pleasing, and come in a variety of sizes and designs. They also retain water well and are less likely to crack or break in extreme temperatures compared to other materials.
It is important to choose pots that are large enough for birds to comfortably bathe in and have a wide base for stability. You can use different sizes of pots to create a tiered birdbath or stick with one size for a more classic look.
Materials Needed
- 3 Ceramic Pots of Varying Sizes (Small, Medium, and Large)
- Waterproof Adhesive
- Spray Paint (Optional)
- Gravel or Rocks
- Water Sealant Spray (Optional)
8 Step-by-step Guides on How to Make a Birdbath Out of Ceramic Pots
Step 1: Choose Your Pots
The first step in creating your birdbath is to select the ceramic pots you will use. Consider using three pots of varying sizes—small, medium, and large—to create an attractive tiered effect. Ensure that the pots are sturdy and have a wide base to prevent tipping. When choosing pots, think about the color and design that will complement your garden aesthetic.
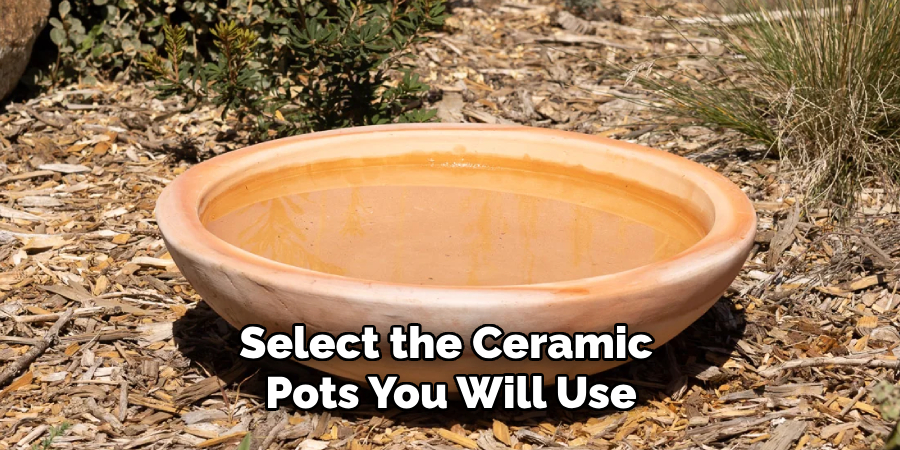
You might want opt for pots with a glaze that matches your garden’s theme or that contrasts for a striking look. Ensure the pots are in good condition with no cracks, as this will ensure durability and the longevity of your birdbath.
Step 2: Prepare Your Pots
Before assembling your birdbath, you will need to prepare your pots for the project. Clean them thoroughly with water and a mild soap to remove any dirt or debris. Rinse well and let them dry completely before moving on to the next step.
If you want to add some color to your birdbath, this is the time to spray paint your pots. Choose a color that complements your garden and let it dry according to the instructions on the paint can.
Step 3: Arrange Your Pots
Once your pots are clean and dry, it’s time to assemble your birdbath. Start by placing the largest pot upside down on a flat surface. Then, apply waterproof adhesive to the bottom of the medium-sized pot and carefully place it on top of the first pot, right-side up. Repeat this process with the smallest pot.
It’s important to make sure the pots are aligned and centered, so take your time and adjust as needed. Allow the adhesive to dry completely before moving on to the next step.
Step 4: Add Weights
To prevent your birdbath from tipping over, it’s essential to add weights inside the top pot. You can use gravel or rocks for this purpose, filling the pot about one-third full. This will also help stabilize your birdbath against wind or other outdoor elements.
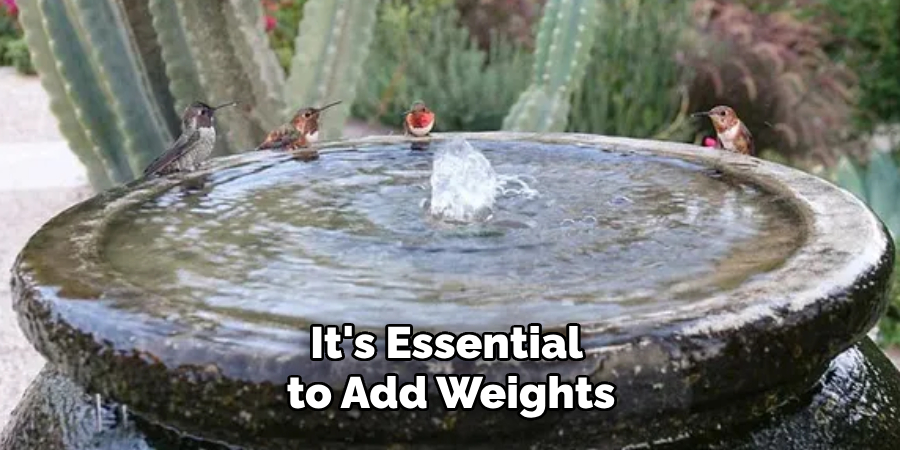
The additional weight will not only make your birdbath more durable but also provide a solid base for the birds to perch on while they bathe.
Step 5: Seal the Pots (Optional)
If you want to ensure that your birdbath is completely waterproof, you can use a water sealant spray to seal the inside of each pot. This will help prevent water from seeping through the clay and potentially causing damage over time.
Be sure to use a non-toxic sealant that is safe for birds and other wildlife.
Step 6: Decorate Your Birdbath
Now that your birdbath is assembled, you can get creative with decorating it. You can add decorative stones, shells, or even paint designs on the pots to make your birdbath unique and attractive.
Be mindful of the items you use to decorate your birdbath as they should be safe for birds and not pose a choking hazard.
Step 7: Place in Your Garden
Choose a location in your garden that is visible to birds and where they can easily access the water. It’s best to place your birdbath in a shaded area to prevent the water from evaporating too quickly or becoming too hot for birds.
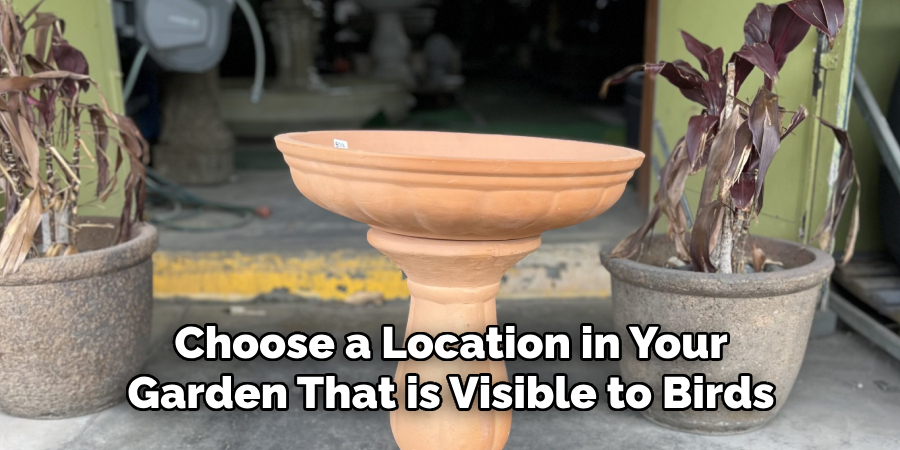
Make sure the birdbath is on a level surface, and use bricks or stones underneath if needed for stability.
Step 8: Keep it Clean
To keep your birdbath inviting and safe for birds, it’s important to clean it regularly. Empty and refill with fresh, clean water every few days, especially during warmer months when bacteria can build up quickly. You can also scrub the pots with a mild soap and rinse well before refilling.
The simple act of providing clean water in your birdbath can attract a variety of birds to your garden, bringing beauty and joy to your outdoor space. With these easy steps on how to make a birdbath out of ceramic pots, you can create a beautiful birdbath that not only adds character to your garden but also supports the well-being of local wildlife. So grab some ceramic pots and get creative – you’ll soon have feathered friends flocking to enjoy their new home!
Additional Tips
Select Non-Toxic Materials:
Always ensure that any materials or paints you use are non-toxic and safe for wildlife. Avoid materials that can leach harmful chemicals into the water.
Seasonal Adjustments:
During winter, you might need to consider moving your birdbath indoors or using a heated birdbath accessory to prevent water from freezing.
Plant Surroundings:
Plant native shrubs or flowers around your birdbath to provide birds with cover and a natural environment, making them feel more secure.
Pest Control:
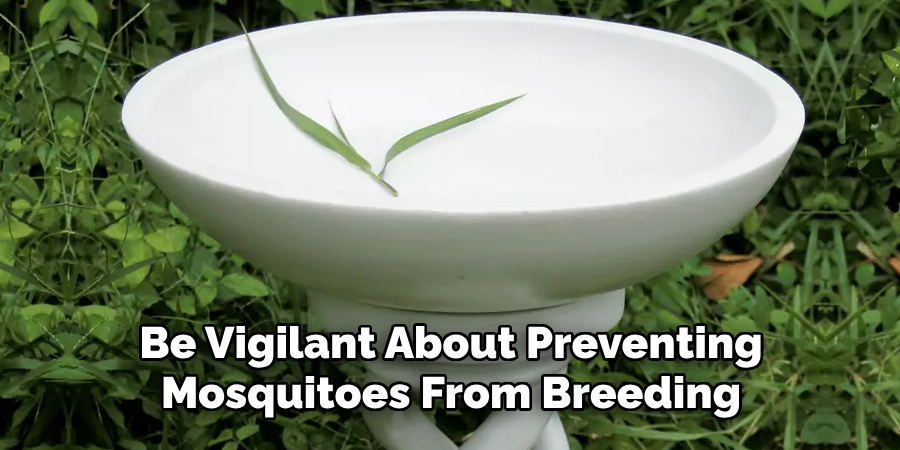
Be vigilant about preventing mosquitoes from breeding in your birdbath by changing the water regularly and keeping it clean.
Observation Space:
Place a bench or create a small seating area near your birdbath to enjoy birdwatching and the peaceful ambiance of your garden.
These additional tips will help enhance your birdbath experience, ensuring it remains a welcoming and safe oasis for local birds throughout the year. Remember to keep your birdbath clean and well-maintained, and enjoy the beauty of nature in your backyard! Happy birdwatching!
Frequently Asked Questions
Q: Can I Use Other Types of Pots for a Birdbath?
A: Yes, you can use other materials such as plastic or terra cotta pots. However, ceramic pots are often preferred for their durability and aesthetic appeal. It’s important to choose pots that are stable and large enough for birds to comfortably bathe in.
Q: How Often Should I Clean My Birdbath?
A: It’s best to clean your birdbath every few days, especially during warmer months when bacteria can grow quickly. This will ensure the water stays clean and safe for birds to use.
Q: Will Birds Avoid Using a Tiered Birdbath?
A: No, birds are adaptable creatures and will use any source of water available. A tiered birdbath provides different levels for birds of different sizes, making it accessible for a variety of species.
Q: How Do I Prevent My Birdbath from Tipping Over?
A: Adding weights to the top pot, as described in Step 4, will help stabilize your birdbath and prevent it from tipping over. Make sure the pots are centered and aligned before adding the weights. You can also place your birdbath on a flat surface or use bricks/stones for added stability if needed.
Q: What Can I Do If Mosquitoes Breed in My Birdbath?
A: To prevent mosquitoes from breeding, make sure to change the water regularly and keep your birdbath clean. You can also add a small mesh bag filled with sand or gravel to the bottom of your birdbath to prevent mosquitoes from laying eggs in the water. Additionally, consider using a mosquito dunk (a non-toxic larvicide) if needed. Remember to always follow safety precautions when using any products for wildlife in or near water sources.
Conclusion
Crafting a birdbath out of ceramic pots is a rewarding and straightforward project that enhances the beauty of any garden space. By following the steps outlined in this guide on how to make a birdbath out of ceramic pots, you can create a functional and decorative feature that not only attracts a diverse range of bird species but also supports their well-being with a reliable source of water.
With minimal materials and effort, you can construct a birdbath that stands up to the elements and complements your garden aesthetic. Remember, a clean, well-maintained birdbath is crucial for the safety and enjoyment of your feathered visitors. Through this creative endeavor, you can enjoy the sights and sounds of nature right from your own backyard.
Check it out: How Do You Use a Ceramic Teapot
Specialization:
- Master of wheel-throwing, hand-building, and advanced glazing techniques
- Focus on creating both functional pottery and decorative art pieces
Recognition:
- Celebrated by collectors and art enthusiasts for creating one-of-a-kind pieces that blend artistry with functionality
- Participates in local and national exhibitions, earning accolades for his innovative designs and craftsmanship
Passion:
- Deeply committed to exploring and pushing the boundaries of ceramic artistry
- Continuously experiments with new materials, firing techniques, and artistic concepts to evolve his craft
Personal Philosophy:
- Believes in the transformative power of art, aiming to evoke emotions and connections through his ceramic creations
- Advocates for sustainability in ceramics, using eco-friendly materials and practices whenever possible


