Porcelain dolls have long captivated collectors and enthusiasts, admired for their intricate craftsmanship and timeless beauty. These elegant, hand-crafted art pieces are celebrated as collectibles and cherished heirlooms that reflect meticulous attention to detail and artistic expression. Traditionally, making porcelain dolls involves several detailed steps: sculpting the initial design, molding the form, firing the porcelain to achieve durability, and painting delicate facial features and details.
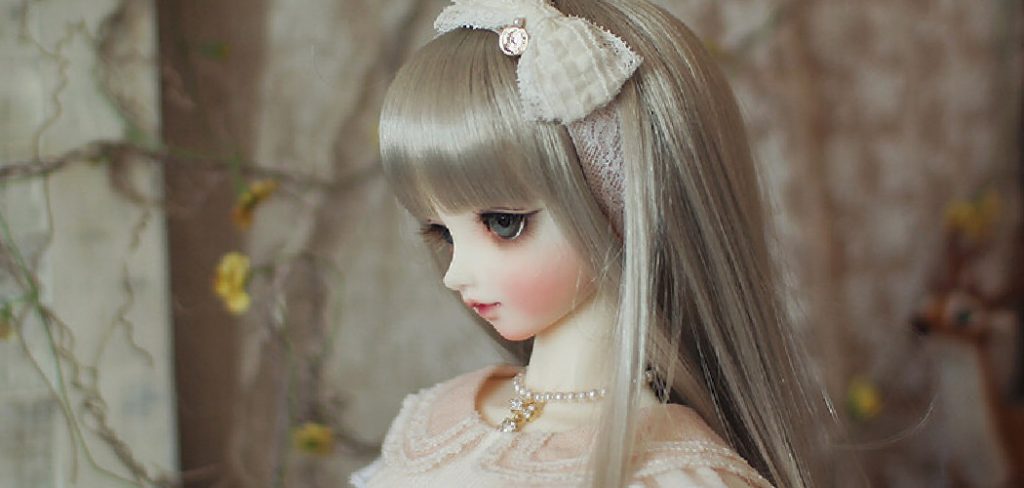
This article aims to guide readers through the entire creation process, providing a comprehensive understanding of how to make porcelain dolls. From selecting the finest materials to the final assembly and finishing touches, this guide ensures that even beginners can master the skills necessary to create stunning, personalized dolls. Whether for a collector’s display or a lasting memento, crafting a porcelain doll is a deeply rewarding artistic endeavor.
Materials and Tools Needed
Creating a porcelain doll requires a selection of materials and tools to ensure the finished piece is both durable and beautifully crafted. Below is a comprehensive list of what you’ll need:
Materials:
- Porcelain Slip (Liquid Clay): Essential for forming the doll parts, high-quality porcelain slip is vital for achieving durability and smoothness in your dolls, resulting in a more polished and professional look.
- Mold for Doll Parts: Choose between pre-made molds, which offer convenience and uniformity, or custom molds for a unique and personalized appearance.
- Kiln: Necessary for firing the porcelain, which hardens and strengthens the doll parts.
- China Paint: Used for painting facial details, adding character and life to your doll with precision.
- Fabric and Stuffing: These materials provide suppleness and softness when creating the doll’s body.
- Wig or Doll Hair: Optional materials for styling hair, enhancing the doll’s aesthetic.
- Doll Clothing: Either purchase ready-made attire or craft personalized garments to reflect the doll’s style and character.
Tools:
- Pouring Funnel: Facilitates the precise pouring of porcelain slip into molds.
- Soft Brushes: Essential for applying china paint accurately for detailed features.
- Scalpel or Trimming Knife: This cleans edges and removes excess material around seams.
- Sponge or Cloth: Used to smooth seams on the porcelain parts for flawless joins.
- Sewing Machine or Needle and Thread: Required for stitching the fabric body or creating custom clothing.
- Pliers: These are used to attach the porcelain limbs securely to the fabric body.
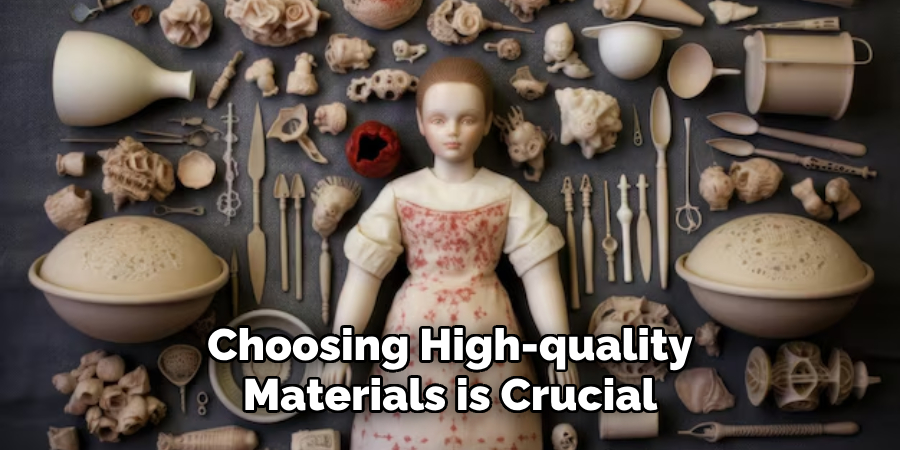
Choosing high-quality materials is crucial for creating a doll that will stand the test of time and capture the elegance inherent in porcelain artistry. The type of mold you select can significantly affect the doll’s final appearance, with custom molds offering a personalized touch for those seeking to express their creativity uniquely.
How to Make Porcelain Dolls: Creating the Porcelain Parts
Step 1: Pour the Porcelain Slip into Molds
Begin by preparing the porcelain slip and thoroughly stirring it to remove any air bubbles that can cause imperfections. Using a funnel, pour the slip slowly and steadily into each section of the mold, ensuring that all cavities—head, arms, legs, and torso—are filled completely. Gently tap the sides of the mold to help release any trapped air, promoting even coverage and reducing the risk of weak spots in the final porcelain form.
Step 2: Let the Porcelain Set
Once the slip has been poured, allow it to sit in the mold for a set period, typically a few hours. This will enable the outer layers of the slip to harden into a shell while the inner slip remains liquid. It is important to periodically check the shell’s thickness by tilting the mold slightly. The thickness should be even throughout, ensuring a uniform and sturdy structure.
Step 3: Drain the Mold
After the outer shell has reached the desired thickness, carefully drain the excess slip from the mold back into your container. This step leaves a hollow porcelain shell in each section of the mold, which is essential for creating lightweight yet durable doll parts. Handle the mold with care, as the new shells are delicate and can be damaged easily.
Step 4: Allow the Parts to Dry
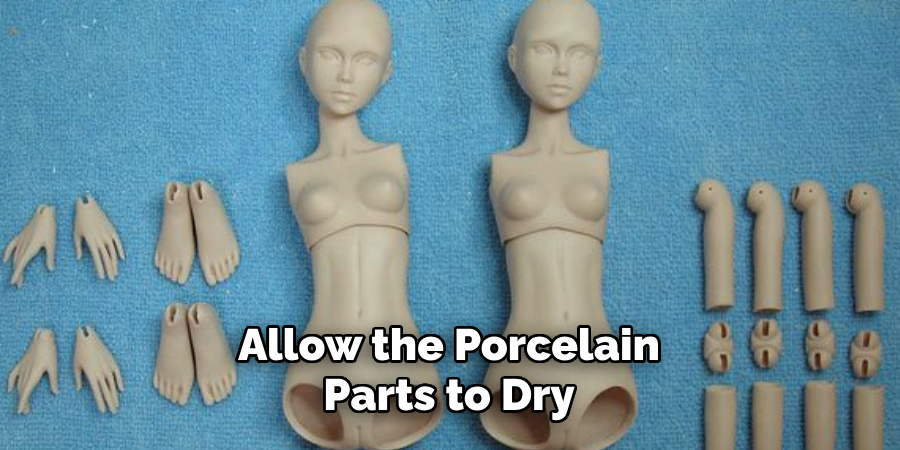
Next, allow the porcelain parts to dry within the molds for 24-48 hours. They will firm up during this time but remain soft enough for trimming. For optimal results, place the molds in a cool and dry location. This helps to prevent the risk of cracks or unwanted deformations, ensuring that the final parts maintain their desired shape and finish.
Step 5: Trim and Clean the Parts
Once the drying period is complete, carefully remove each doll part from its mold. Use a trimming knife or scalpel to clean up any seams and excess material that might have formed during the pouring and setting process. Smooth out any rough edges by gently running a damp sponge over the surface of each part. This not only perfects the shape but also ensures a seamless appearance, preparing the parts for the next steps in the assembly process.
How to Make Porcelain Dolls: Firing the Porcelain in a Kiln
Step 1: Prepare the Kiln

To begin firing the porcelain parts, first, ensure the kiln is properly set up. This involves checking that the kiln shelves are clean and free of debris, as these can mar the surface of the porcelain. Preheat the kiln according to the manufacturer’s instructions, gradually increasing the temperature to ensure a consistent environment. Firing is critical as it transforms the soft porcelain shells into solid, durable components, enhancing their strength and longevity.
Step 2: Fire the Porcelain Parts
Carefully arrange the dried porcelain parts inside the kiln, ensuring they are evenly spaced to prevent contact during firing. This spacing is crucial, as close proximity can lead to cracking or warping. Set the kiln to reach temperatures typically between 1200°C and 1400°C, depending on the specific requirements of your porcelain slip. Follow a controlled firing schedule, allowing the temperature to increase gradually. This controlled environment promotes even firing and prevents deformation.
Step 3: Cool the Fired Parts
Once the firing cycle is complete, allow the kiln to cool down gradually before opening it. This gradual cooling is crucial to prevent thermal shock, which can lead to cracking or other damage. Once cool, remove each part carefully and inspect them for smoothness, hardness, and the absence of cracks. Properly fired parts will be resilient and maintain their intended shape, ensuring a solid foundation for further assembly and finishing.
Painting and Detailing the Doll
Step 1: Paint the Doll’s Face

Begin with the most expressive part of the doll: the face. Using china paints, you can add intricate facial details like eyes, eyebrows, and lips, enhancing the doll’s personality and character. Choose fine-tipped brushes to achieve precision, allowing you to carefully shape delicate features such as eyelashes and pupils. For realistic eyes, layer the paint gradually, building depth and adding highlights to mimic natural reflection. Start with light colors and darken them incrementally to add shadow and dimension. Don’t rush the process; let each layer dry slightly before adding the next to prevent smudging and to achieve a professional, lifelike finish.
Step 2: Paint the Doll’s Body
Next, move on to the body, adding detail and depth to the cheeks, hands, and feet. A subtle blush on the cheeks and delicate shading on the hands and feet can bring vitality to the doll, making it appear more lifelike. When painting, use a palette of natural flesh tones, blending them smoothly to avoid any harsh lines. This requires a delicate hand and patience; achieving a seamless color transition involves gently feathering the paint. Building layers can also introduce the illusion of soft shadows and contours that mimic the human body, enhancing the realism of your creation.
Step 3: Re-fire the Doll Parts (Optional)
Once the paint has been applied, consider re-firing the parts to set the paint permanently. This step is optional but offers durability and resistance to fading. For a successful re-firing, set the kiln to a lower temperature than used for the initial firing, carefully following the recommendations for china paint. This process demands precise temperature control to avoid damaging the painted surfaces or the porcelain itself. By re-firing, you effectively bond the paint to the porcelain, creating a finish that endures through handling and time, maintaining the doll’s beauty and authenticity.
Step 4: Attach a Wig or Hair (Optional)
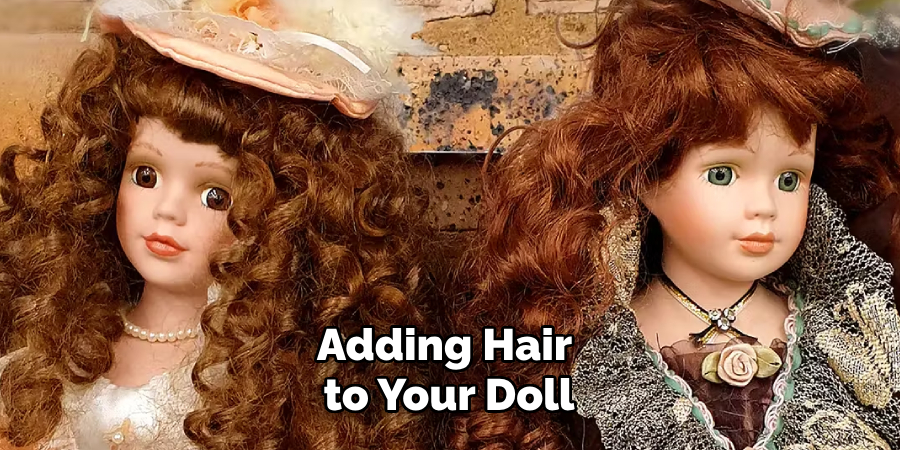
Adding hair to your doll can significantly affect its character and style. If opting for this step, choose between a pre-made wig or loose strands of doll hair. Secure the wig or hair using a strong adhesive made for craftsmanship, ensuring it sets properly and holds during styling. Once attached, style the hair to fit the character or era you envision for your doll. You can embrace Victorian-style curls for a classic look or shape modern hairstyles for a contemporary doll. Use gentle tools, like a small brush or comb, and avoid heat styling to prevent damaging the hair or the adhesive bonds. By carefully considering these details, you can enhance the aesthetic impact of your porcelain doll, imbuing it with unique charm and character.
Assembling the Doll
Step 1: Create the Fabric Body
To start assembling your doll, create a soft fabric body by selecting material that complements the porcelain parts. Choose a durable fabric that matches the doll’s overall appearance and personality, such as muslin or cotton in neutral tones. Cut the fabric into patterns replicating the torso and limbs, then sew the pieces together, leaving a gap for stuffing. Fill the body with fiberfill to achieve the desired firmness, ensuring it can support the weight of the porcelain limbs without sagging. This core will serve as the main structure for your doll, offering stability and softness.
Step 2: Attach the Porcelain Limbs
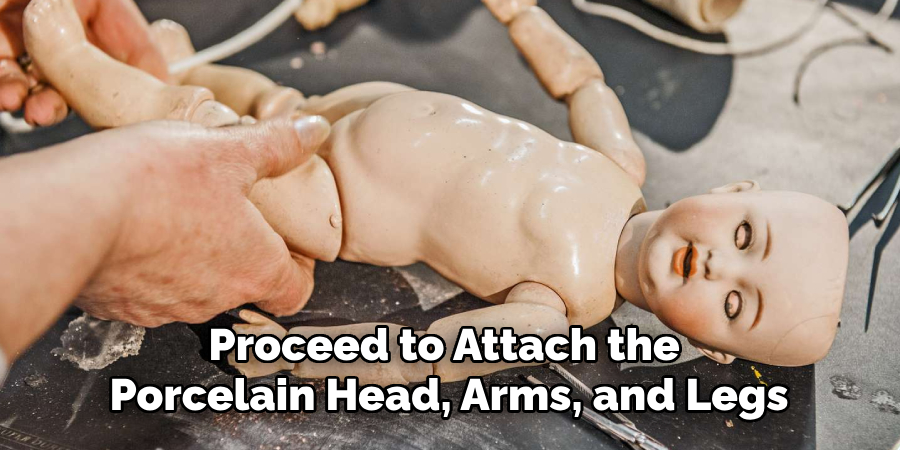
Once the body is complete, proceed to attach the porcelain head, arms, and legs using elastic cords or the stringing method. Begin by threading the elastic through the hollow sections of each porcelain piece, using pliers to guide and secure the cords neatly. Adjust the tension of the elastic to ensure that the limbs are firmly attached, allowing for some flexibility while preventing any loose fittings. This secure but flexible attachment enables your doll to maintain poses and adds interactivity that enhances its lifelike quality.
Step 3: Final Touches
For the final touches, dress the doll in carefully selected clothing and add any desired accessories, like hats or miniature jewelry, to complete its look. Ensure each piece of clothing is tailored to fit snugly, complementing the doll’s proportions and style. Double-check that all parts of the doll, including accessories, are securely attached and polished for a professional finish. A well-dressed doll enhances its visual appeal and highlights your craftsmanship, making it a truly personalized creation.
Creating Custom Clothing for the Doll
Step 1: Choose a Design
Creating custom clothing for your doll starts with choosing a design that fits its theme, whether it be historical, modern, or fantasy. Take inspiration from the doll’s style to guide your selection of fabrics, trims, and embellishments, ensuring they harmonize with the overall aesthetic. Opt for fabrics appropriately scaled for the doll size, such as lightweight cotton for a delicate and refined look or luxurious velvet for a richer appearance. Consider adding unique details like lace trim, satin ribbons, or tiny beads to enhance the outfit, reflecting the doll’s character.
Step 2: Sew the Doll’s Clothing
Once the design is chosen, sew the doll’s clothing using either a sewing machine or hand stitching, depending on your skill level and preference. Begin with simple patterns to create basic pieces such as dresses, pants, or tops. Focus on precision and neatness, as small-scale sewing requires meticulous attention to detail. Incorporate elements like buttons, lace, and embroidery to add character to the outfit. Use fine needles and thread suitable for delicate fabrics to avoid damaging them and ensure durability.
Step 3: Dress the Doll
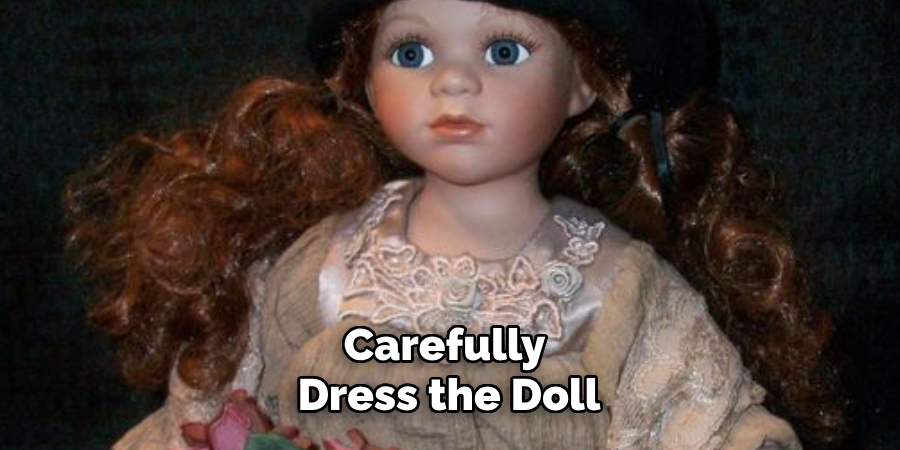
After completing the clothing, carefully dress the doll, making any necessary adjustments for a perfect fit. Ensure that the clothing is secure yet easy to remove for future outfit changes without causing damage to the porcelain parts. Use gentle methods such as hook-and-eye closures or snaps, which offer secure fastening without stress to the material. Double-check all attachments for stability and appearance, guaranteeing that accessories complement without overshadowing the craftsmanship. This final touch elevates the doll’s presentation and brings your creative vision to life.
Creating Custom Clothing for the Doll
Step 1: Choose a Design
Designing custom clothing for your doll begins with selecting a theme that aligns with the doll’s character, such as historical, modern, or fantasy. Consider the doll’s style as a foundation for your creative choices. Select fabrics that suit the scale and theme of your doll, opting for lightweight materials like cotton for a delicate appearance or velvet for a luxurious touch. Trims and embellishments are crucial in enhancing the outfit—incorporate elements like lace, ribbons, or beads to add texture and detail. These components should harmonize with the overall aesthetic, ensuring that every piece contributes to the doll’s narrative and personality.
Step 2: Sew the Doll’s Clothing
After finalizing your design, proceed to sew the doll’s clothing. Whether using a sewing machine or hand stitching, precision and attention to detail are paramount, especially in small-scale projects. Start by crafting simple garments such as dresses, shirts, or pants, following patterns tailored to your chosen design. Enhance each piece with details such as buttons, lace trimmings, or embroidery to add depth and individuality to the garment. This embellishment process allows you to personalize each outfit, reflecting the doll’s unique character while demonstrating your craftsmanship.
Step 3: Dress the Doll
Once the clothing is completed, carefully dress the doll, ensuring each garment fits perfectly. Adjust the clothing to achieve the ideal fit that complements the doll’s proportions. Secure the clothing with gentle fasteners like hook-and-eye closures or snaps to prevent stress or damage to the delicate materials. Ensure all pieces are stable and harmonize with the overall look, keeping the porcelain parts intact. This careful dressing process highlights the doll’s beauty and showcases the effort and creativity in crafting its wardrobe.
Conclusion
Creating a porcelain doll is a detailed and rewarding endeavor, from the initial stage of pouring porcelain slip into molds to the careful assembly and painting of the final doll. Essential steps include attaching limbs, choosing custom clothing designs, and sewing intricate garments to enhance the doll’s appearance. Patience and meticulous attention to each phase are crucial, as they ensure a high-quality, beautifully crafted result. The process of “how to make porcelain dolls” ultimately provides immense satisfaction, yielding a unique, hand-crafted piece that serves as a beloved keepsake or collector’s item, showcasing your skill and creativity.
Check it out to Repair Ceramic Figurine , How to Touch Up Painted Ceramics
Specialization:
- Master of wheel-throwing, hand-building, and advanced glazing techniques
- Focus on creating both functional pottery and decorative art pieces
Recognition:
- Celebrated by collectors and art enthusiasts for creating one-of-a-kind pieces that blend artistry with functionality
- Participates in local and national exhibitions, earning accolades for his innovative designs and craftsmanship
Passion:
- Deeply committed to exploring and pushing the boundaries of ceramic artistry
- Continuously experiments with new materials, firing techniques, and artistic concepts to evolve his craft
Personal Philosophy:
- Believes in the transformative power of art, aiming to evoke emotions and connections through his ceramic creations
- Advocates for sustainability in ceramics, using eco-friendly materials and practices whenever possible


