Ceramic hair rollers are popular for their exceptional ability to create smooth, voluminous curls while minimizing heat damage. Unlike traditional rollers, these innovative tools use far-infrared heat technology, which helps lock in moisture and significantly reduce frizz, resulting in shiny and bouncy hair.
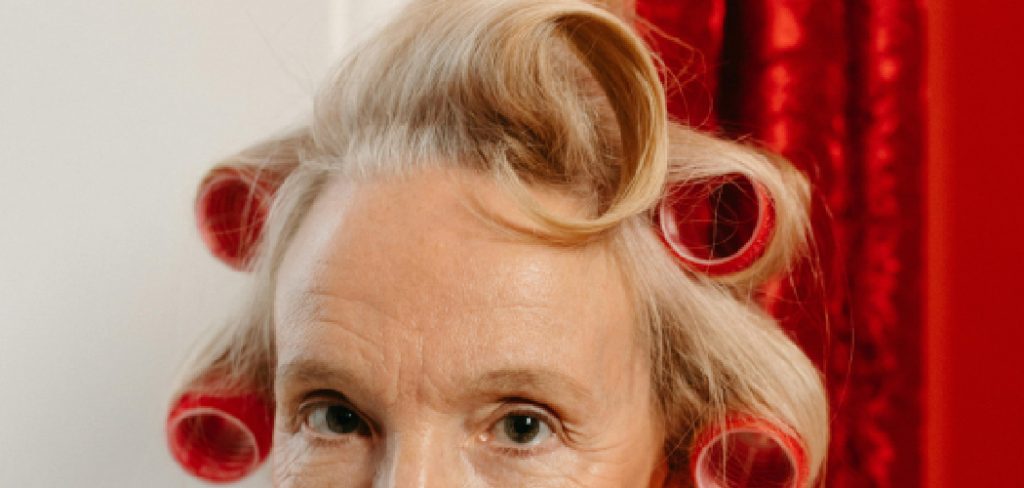
One of the main reasons to choose ceramic rollers is their ability to evenly distribute heat, thus minimizing hot spots that can cause damage to your hair. These rollers cater to all hair types and offer versatility with various curl sizes, ranging from tight ringlets to loose, flowing waves. The goal of this guide is to provide you with a comprehensive tutorial on how to use ceramic hair rollers effectively. By following the steps outlined, you can achieve beautiful and long-lasting curls while ensuring minimal damage to your hair.
Tools and Materials You Will Need
Having the right tools and materials is crucial to achieve the best results with ceramic hair rollers. First and foremost, select the right size of ceramic rollers depending on your desired curl type—smaller rollers for tighter curls and larger ones for looser waves.
A heat protectant spray is essential to shield your hair from heat damage and enhance the longevity of the curls. Use clips to securely hold the rollers in place; many roller sets conveniently include clips or pins. A comb or hairbrush will assist in detangling and sectioning your hair for even application. Although optional, a hair dryer can expedite the setting process if you’re on a tight schedule. Finally, consider using hair spray to set the curls for a longer-lasting hold. Equipping yourself with these tools will ensure a smooth styling experience and gorgeous, long-lasting curls.
Prepping Your Hair
Step 1: Wash and Condition
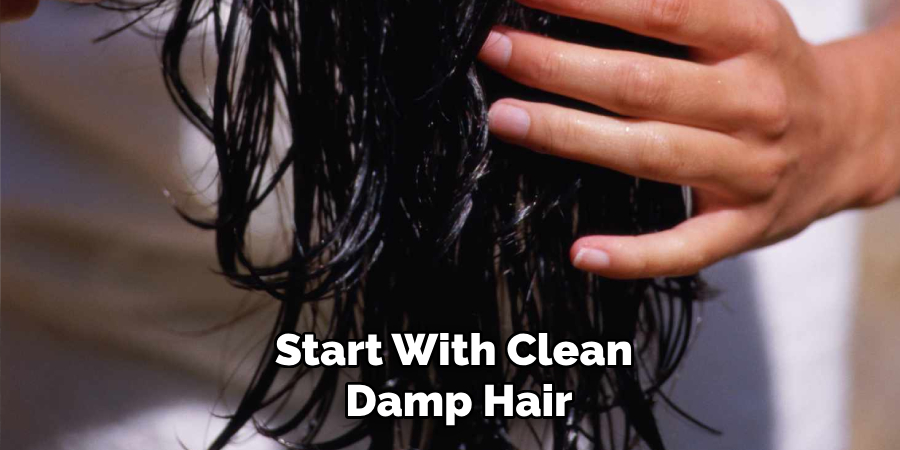
Start with clean, damp hair. Use a hydrating shampoo and conditioner to moisturize and soften your hair. This will help your curls look smoother and shinier. Tip: If you have fine hair, opt for a volumizing shampoo to add body to your curls.
Step 2: Apply Heat Protectant
Before using any heated rollers, it’s essential to apply a heat protectant spray to your hair. This product creates a protective barrier against heat and reduces the risk of damage. Tip: Make sure to distribute the product evenly throughout your hair, especially focusing on the ends that are most susceptible to damage.
Step 3: Detangle and Section Hair
Use a wide-tooth comb or brush to detangle your hair, ensuring it’s smooth and free of knots. Section Your Hair: Depending on the thickness and length of your hair, divide it into manageable sections. Typically, 4–6 sections are ideal, starting from the back and working your way forward.
How to Use Ceramic Hair Rollers: Step-by-Step Guide
Step 1: Heat the Rollers
Plug in your ceramic hair rollers and allow them to heat up. Most roller sets come with an indicator light that lets you know when they’ve reached the optimal temperature. It typically takes about 5–10 minutes for the rollers to heat fully. Tip: Avoid touching the rollers directly with your hands once they’re hot; use the handles or ends to avoid burns.
Step 2: Roll the Hair
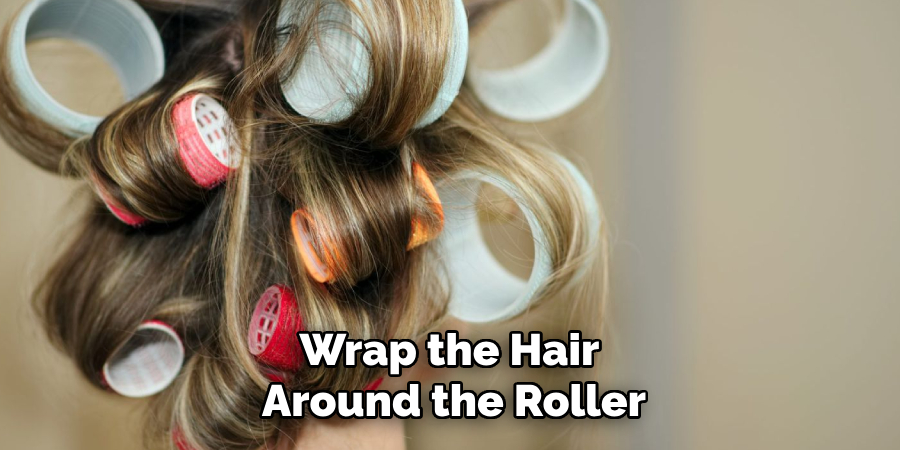
Starting at the Roots: Take a 1-inch section of hair (or smaller for tighter curls), and starting at the end of the section, wrap the hair around the roller.
Roll the hair toward your scalp, keeping the tension tight but comfortable. Secure the Roller: Once the roller is close to the scalp, use a clip or pin to secure it in place. Make sure the roller is tightly secured to prevent it from sliding out. Tip: For natural-looking curls, roll the hair in different directions—some towards your face and some away from it.
Step 3: Continue Rolling
Repeat the process on each section of hair, starting from the back and working your way forward. Ensure that all sections are evenly rolled to achieve uniform curls. Tip: If you’re going for a specific style, use larger rollers for the top sections and smaller rollers on the sides and bottom for a voluminous look.
Step 4: Let the Rollers Set
Allow the ceramic rollers to set in your hair for at least 15–20 minutes, or until the rollers have completely cooled down. The longer you leave them in, the more defined the curls will be. Optional: Speed up the process using a low heat hairdryer to help the curls set faster.
By following these steps, you can achieve beautifully defined curls with the use of ceramic hair rollers, enhancing your hairstyle with minimal heat damage.
Removing the Rollers and Styling
Step 1: Gently Unroll the Hair
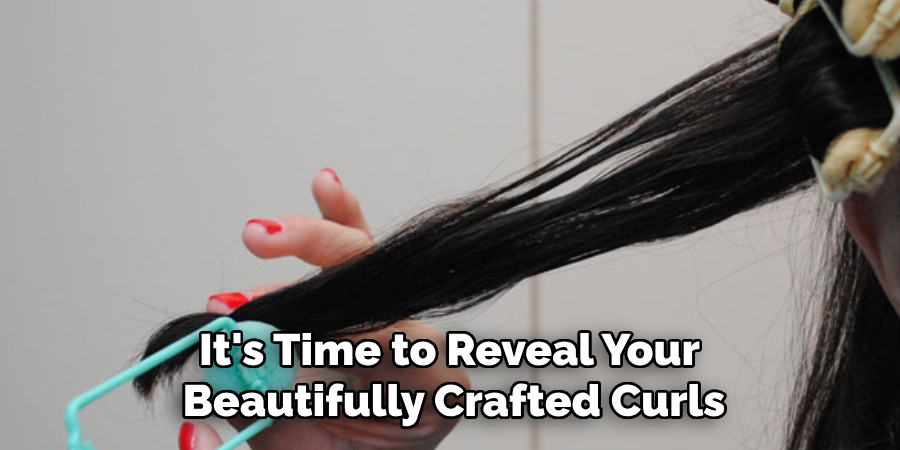
Once the rollers have cooled, it’s time to reveal your beautifully crafted curls. Begin by carefully removing the clips or pins holding the rollers. Start with the bottom sections and gradually work your way up toward the top of your head. As you unroll each section, do so gently to avoid any pulling or tugging that might lead to frizz or damage.
Tip: To help each curl set more firmly, hold it in your hand for a few seconds after unrolling, allowing it to cool and retain its shape.
Step 2: Style the Curls
With all the rollers removed, you can style your curls. Depending on your desired look, you can embrace the structured curls as they are, achieving a polished and defined hairstyle. Alternatively, for a softer, more natural appearance, use your fingers to gently separate the curls and soften their look. Tip: Steer clear of brushes at this stage, as they can induce frizziness. Instead, gently run your fingers through your hair to loosen the curls, or use a wide-tooth comb if you prefer a more relaxed wave.
Step 3: Set with Hair Spray (Optional)
Consider applying a light mist of flexible-hold hair spray to ensure your curls stay vibrant and maintain their form throughout the day. This extra step helps lock in the curls, providing a lasting hold without the unwanted stiffness or crunchiness that some sprays might cause. Your curls will remain touchable and full of life, ready to complement any occasion. Tip: Avoid overdoing it with the hair spray to prevent any buildup or stiffness. A little goes a long way.
Tips for Long-Lasting Curls
Achieving long-lasting curls involves a combination of the right techniques and tools. Start by choosing the right roller size; smaller rollers are perfect for creating tight curls, whereas larger rollers are ideal for soft, flowing waves. It’s also crucial to manage the heat effectively. While ceramic rollers are gentler on hair, avoid excessive heat or leaving the rollers in for too long to maintain hair health.
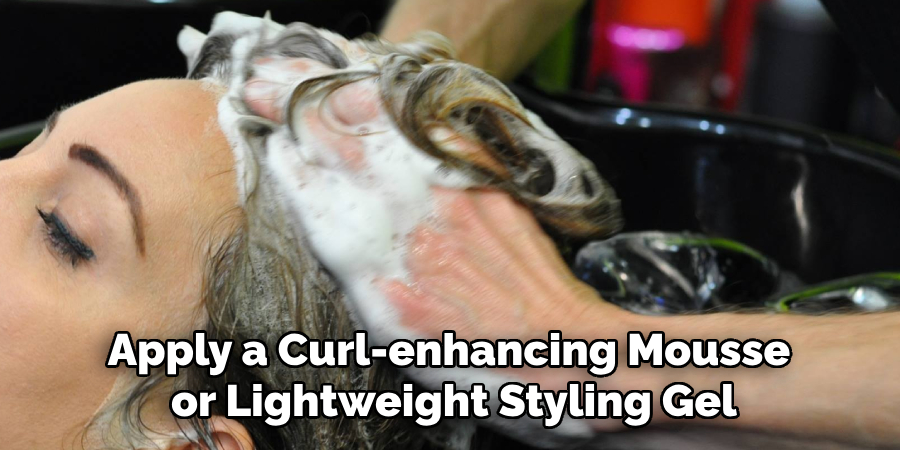
Utilizing the right products can significantly enhance the durability of your curls. Apply a curl-enhancing mousse or lightweight styling gel before you begin rolling your hair; this helps hold the curls in shape throughout the day. To prolong the life of your curls overnight, opt for a silk or satin pillowcase. These materials help minimize friction, reducing the risk of frizz and flattened curls.
Tip: Another effective method is to gently tie your hair into a loose bun or “pineapple” before bed, which helps maintain the curl structure. By incorporating these tips into your routine, you can enjoy beautiful, long-lasting curls that stay vibrant and fresh.
Maintaining Your Ceramic Rollers
Clean After Each Use
After the rollers have cooled down, it’s essential to clean them to ensure they continue to perform effectively. Start by wiping off any product residue with a damp cloth. This step prevents product buildup, impacting the rollers’ ability to heat and style efficiently. Regular cleaning will also prolong the life of your rollers, maintaining their quality and appearance.
Store Properly
Proper storage is key to keeping your ceramic rollers in top condition. Store the rollers in their designated case or another dry location to prevent dust accumulation. Ensuring they are stored correctly will help avoid any potential damage.
Tip: Keep the clips and pins together with the rollers to avoid misplacing them. Keeping all your styling tools organized ensures a smooth and efficient styling process each time you use them.
Conclusion
Using ceramic hair rollers is a straightforward way to achieve salon-worthy curls at home. The process includes prepping your hair, applying the rollers, and allowing them to set before gently unrolling and styling your curls. These steps ensure that you can create beautiful, defined curls with ease. “How to use ceramic hair rollers” begins with understanding the benefits of ceramic rollers.
Thanks to their even heat distribution, they are gentler on the hair, reducing the risk of heat damage while providing long-lasting results. This makes them an excellent choice for anyone seeking to achieve professional-quality curls without a trip to the salon. As a final tip, remember that with proper care and routine use, ceramic hair rollers can become a versatile part of your styling routine, continually offering consistent and exceptional results.
Specialization:
- Master of wheel-throwing, hand-building, and advanced glazing techniques
- Focus on creating both functional pottery and decorative art pieces
Recognition:
- Celebrated by collectors and art enthusiasts for creating one-of-a-kind pieces that blend artistry with functionality
- Participates in local and national exhibitions, earning accolades for his innovative designs and craftsmanship
Passion:
- Deeply committed to exploring and pushing the boundaries of ceramic artistry
- Continuously experiments with new materials, firing techniques, and artistic concepts to evolve his craft
Personal Philosophy:
- Believes in the transformative power of art, aiming to evoke emotions and connections through his ceramic creations
- Advocates for sustainability in ceramics, using eco-friendly materials and practices whenever possible


