Ceramic art encompasses many items, from intricate plates and tiles to elaborate sculptures, each adding a unique aesthetic appeal to any space. These pieces, however, tend to be both heavy and fragile, presenting a challenge when it comes to hanging them securely on walls. Whether you want to display small decorative pieces or larger sculptural art, selecting the right hanging technique is vital to prevent any damage to the art or your walls.
The importance of secure hanging cannot be overstated, as ceramic art requires careful handling and appropriate support. This guide will equip you with the necessary insights on how to hang ceramic art safely and attractively, with tips tailored to accommodate various weights and sizes. By following these guidelines, you’ll be able to display your ceramic treasures with confidence and style, ensuring they maintain their beauty and integrity for years to come.

Tools and Materials You Will Need
When preparing to hang ceramic art, having the right tools and materials is critical to ensure the safety and stability of your display. Essential tools include a measuring tape to accurately determine placement, a level to ensure straight hanging, and a drill for installing hardware on heavier pieces. A screwdriver is also handy for securing screws into place. As for materials, light ceramic pieces can often be hung with adhesive picture hooks, while heavier pieces may require the use of hanging wire, drywall anchors, or toggle bolts.
Plate hangers or tile clips can offer additional support. Depending on the piece’s design, optional D-rings or specialized hanging hardware might be beneficial. It’s also useful to have painter’s tape or a pencil for marking positions on walls, and a stud finder is recommended for safely installing heavy items onto wall studs. With these tools and materials, you’ll be well-equipped for the task.
Considerations Before Hanging Ceramic Art
Before hanging ceramic art, it’s important to assess several critical factors to ensure both the safety of the artwork and the security of your walls.

Weight of the Piece:
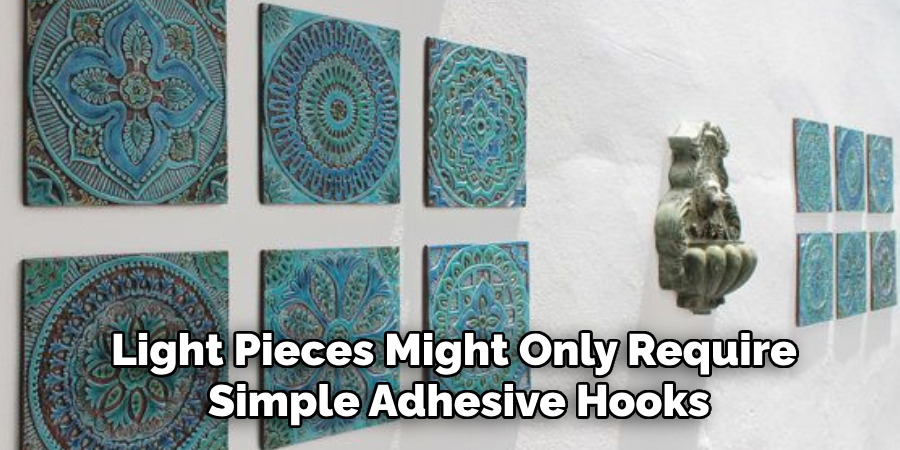
Ceramic art can range from light, small tiles to large, heavy sculptures. The weight of the piece will determine which hanging method is most appropriate. Light pieces might only require simple adhesive hooks, whereas more substantial works may necessitate the use of heavy-duty anchors or hanging wire.
Type of Wall:
Different types of walls (drywall, plaster, brick, etc.) call for specific hardware and installation techniques. For instance, drywall studs can support heavier pieces, but when hanging on plaster or brick, appropriate anchors or drilled holes may be necessary to safely secure the art.
Size and Shape of the Art:
Large or irregularly shaped pieces often require special consideration. They may need more than one hanging point to distribute the weight evenly across the wall, reducing the risk of damage or instability.
Fragility:

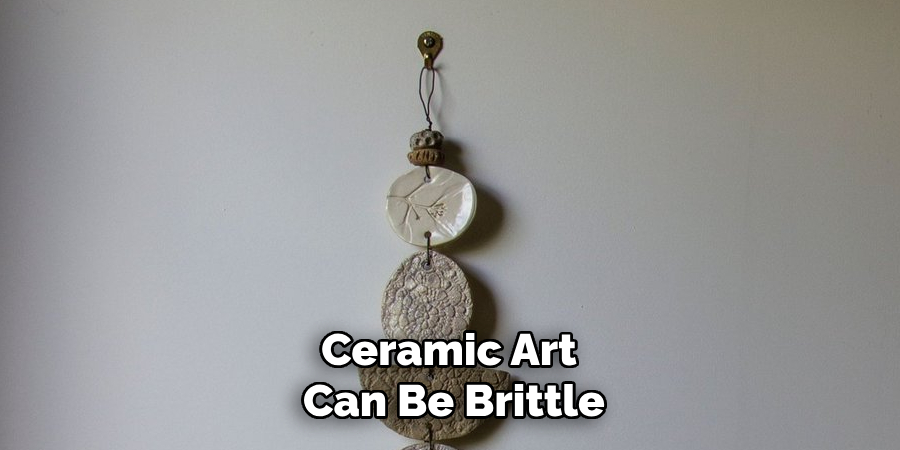
Ceramic art can be brittle, making it crucial to choose hanging materials that won’t scratch or chip the surface. Protective coverings on any wire or hooks in direct contact with the ceramic should be considered to preserve the integrity and beauty of the piece. Proper planning and selection of materials can help ensure your ceramic art remains a stunning focal point for years to come.
How to Hang Ceramic Art: Hanging Lightweight Ceramic Art
Hanging lighter ceramic pieces can be a straightforward task when approached methodically, ensuring both the safety of the art and the integrity of your wall. Here’s a detailed guide to help you through the process:
Step 1: Choose an Adhesive Hook or Hanging Strip
For smaller, lightweight pieces, adhesive picture hooks or Velcro-like hanging strips are ideal choices. These options are user-friendly and designed to avoid damaging walls while offering adequate support. It’s crucial to select a hook or strip that is rated for the weight of your ceramic piece. Tip: Hanging strips are especially effective for flat-backed items like small tiles or plaques, providing a discreet and reliable holding method.

Step 2: Clean the Wall and Art Surface
Before mounting, meticulously clean both the wall and the back of the ceramic piece with rubbing alcohol. This step is essential to remove any dust, dirt, or residues that might prevent the adhesive from sticking properly. Sufficient cleaning ensures that the adhesive achieves maximum contact and strength, reducing the risk of detachment.
Step 3: Measure and Mark the Placement
Precision is key when positioning your artwork. Use a measuring tape and a level to determine the exact spot where you intend to hang the ceramic art. Lightly mark this spot with a pencil to act as a visual guide during installation, ensuring that your art is placed precisely as intended.
Step 4: Apply the Adhesive Hook/Strip
With your placement marked, follow the instructions provided by the adhesive hook or strip manufacturer. Carefully attach both the wall side and the ceramic side of the fixing, ensuring proper alignment with your predetermined marks. Tip: When affixing the ceramic piece, hold it firmly against the wall for the recommended duration to build a secure bond between surfaces.
Step 5: Let the Adhesive Set
Adhesive products require time to cure properly. Allow the adhesive to set undisturbed for the specified period before attempting to hang the ceramic piece. This waiting period is crucial for ensuring that the bond reaches full strength, which minimizes the risk of the piece detaching.
Step 6: Hang the Ceramic Art
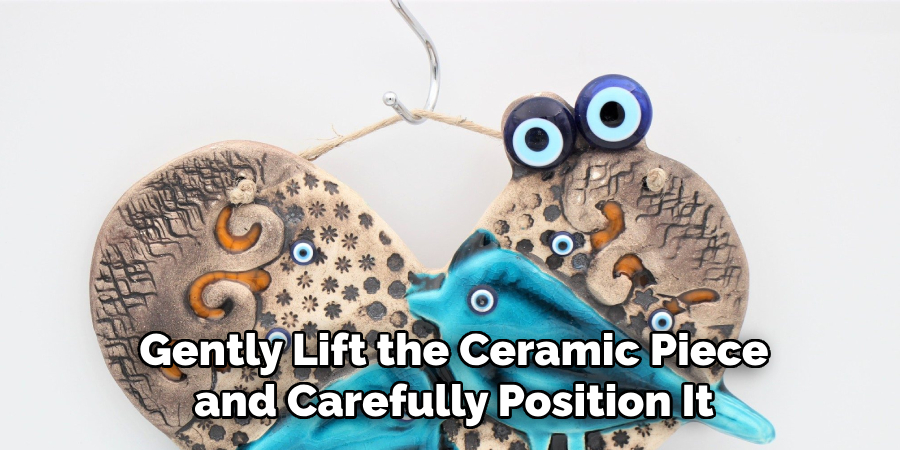
Once the adhesive has set, gently lift the ceramic piece and carefully position it onto the mounted hook or strip. Take a moment to observe your work, confirming that the art is not only stable but also level to maintain an attractive presentation. If necessary, make any minor adjustments to align the piece perfectly and ensure a harmonious display.

By following these steps, you can confidently showcase your lightweight ceramic art, enjoying the aesthetic enhancement it brings to your space, while ensuring safety and stability.
How to Hang Ceramic Art: Hanging Heavier Ceramic Art
Step 1: Install Wall Anchors or Find a Stud
For heavier ceramic art, adhesive hooks are inadequate in providing the necessary support. Begin by using a stud finder to locate a stud within your wall, which offers the most secure hold for heavy items. If a stud is unavailable where you’d like to hang the art, you’ll need to install drywall anchors or toggle bolts to ensure sufficient stability. Stud Finder Tip: For accurate readings, slowly move the stud finder across the wall. Once located, mark the stud’s position with a pencil to guide your drilling.
Step 2: Use a Hanging Wire
When dealing with larger or bulkier pieces, a hanging wire effectively secures your ceramic art. Attach sturdy D-rings to the back of the art piece and thread a high-strength picture hanging wire between them. This method allows you to hang the piece on one or two screws in the wall, depending on its size and weight. Tip: Verify that the wire’s weight rating is appropriate for your ceramic piece to prevent accidental falls.
Step 3: Drill Holes in the Wall

Next, mark the locations on the wall where you’ve identified studs or where you’ve decided to install anchors. Drill small pilot holes in these locations to make it easier to insert the screws or anchors. If you’re using wall anchors, insert them into the holes before proceeding, and then carefully screw in the screws to ensure a snug fit.
Step 4: Attach the Ceramic Art
Gently lift your ceramic art and hang it using the wire, ensuring that it rests securely on the installed screws. Use a level to double-check that the piece is hanging straight, making any minor adjustments necessary to achieve an optimal and balanced presentation.
Step 5: Double-Hanging for Larger Pieces
For ceramic art that is particularly wide or irregularly shaped, employing two screws or hanging points may be advisable to evenly distribute the weight. This approach reduces the likelihood of the art tilting or exerting undue force on a single screw, which could lead to imbalance or instability over time.
Tip: For large or cumbersome pieces, consider enlisting a second pair of hands to help maneuver the art, preventing mishaps or inaccuracies during the hanging process.
By carefully following these steps, you can confidently mount your heavier ceramic art, ensuring that it remains a safe and stunning focal point within your space.
Specialized Methods for Plates or Tiles
Step 1: Use Plate Hangers
For ceramic plates, plate hangers offer a practical and effective solution. These spring-loaded hangers hook securely around the edges of the plate and allow it to be hung using a single hook or nail. They are designed to hold plates firmly in position while ensuring that they remain visually appealing when displayed on the wall.
Step 2: Install Tile Clips for Ceramic Tiles
Tile clips are specifically designed for hanging decorative ceramic tiles. These clips grip the corners of the tile effectively and can be fastened to the wall using nails or screws. Tip: Ensure that the clips are a snug fit around the tile, which prevents any slippage and guarantees a firm hold.
Step 3: Ensure the Art is Secure
Once the plate hanger or tile clips are installed, carefully hang the ceramic piece, confirming that it sits flat against the wall without any wobble or shift. Ensuring stability is crucial for both safety and aesthetic purposes.
Tip: For a polished appearance, consider adding a decorative frame around the mounted tiles or plates, which can enhance their visual impact and give your arrangement the feel of a formal gallery display.
Conclusion
Understanding how to hang ceramic art is a process that involves careful planning and the proper tools to ensure both safety and stability. As we’ve detailed, lightweight ceramic art can be effectively displayed using adhesive hooks, while heavier pieces will require the more robust support of drywall anchors or studs. It’s essential to handle ceramic art carefully during the hanging and adjusting phases to prevent damage.
For larger or bulkier pieces, it’s wise to enlist additional help to avoid accidents during installation. Once your ceramic art is securely hung, it will introduce a striking visual element to your space, uniquely fusing art with the craftsmanship of ceramics. Following these guidelines will allow you to display your ceramic creations with confidence, enriching the ambiance and character of any room in your home.
Specialization:
- Master of wheel-throwing, hand-building, and advanced glazing techniques
- Focus on creating both functional pottery and decorative art pieces
Recognition:
- Celebrated by collectors and art enthusiasts for creating one-of-a-kind pieces that blend artistry with functionality
- Participates in local and national exhibitions, earning accolades for his innovative designs and craftsmanship
Passion:
- Deeply committed to exploring and pushing the boundaries of ceramic artistry
- Continuously experiments with new materials, firing techniques, and artistic concepts to evolve his craft
Personal Philosophy:
- Believes in the transformative power of art, aiming to evoke emotions and connections through his ceramic creations
- Advocates for sustainability in ceramics, using eco-friendly materials and practices whenever possible


