Are you looking to repaint your old ceramic vase and give it a fresh look? Repainting your ceramic vase is a simple and cost-effective way to revamp its appearance. With some basic materials and techniques, you can transform your dull and worn-out vase into a beautiful piece of art.
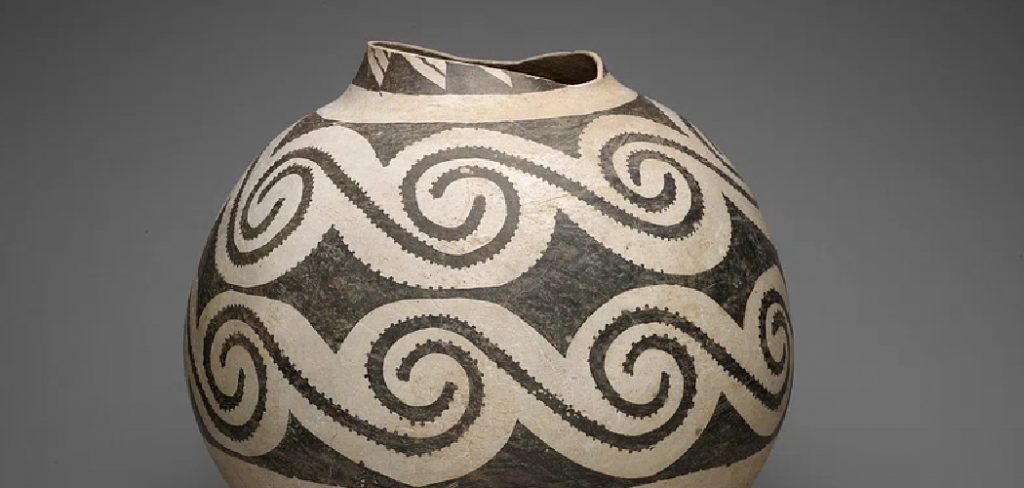
How to repaint ceramic vase is a creative way to breathe new life into an old piece and customize it to match your décor or personal style. Whether you’re looking to restore a vase with fading colors, disguise imperfections, or transform it entirely with a fresh design, the process is both rewarding and straightforward. With suitable materials and a step-by-step approach, even a novice can achieve stunning results.
This guide will walk you through the necessary preparation, painting techniques, and finishing touches to ensure the success of your ceramic vase project.
What Will You Need?
Before you begin, gathering all the necessary materials and tools is essential. Here’s a list of items that will come in handy:
- Ceramic vase
- Paint stripper (if the vase has an existing paint or glaze)
- Sandpaper (fine grit)
- Primer suitable for ceramic surfaces
- Acrylic paint or ceramic-specific paint
- Paintbrushes in various sizes
- Painter’s tape (optional)
- Clear coat sealant
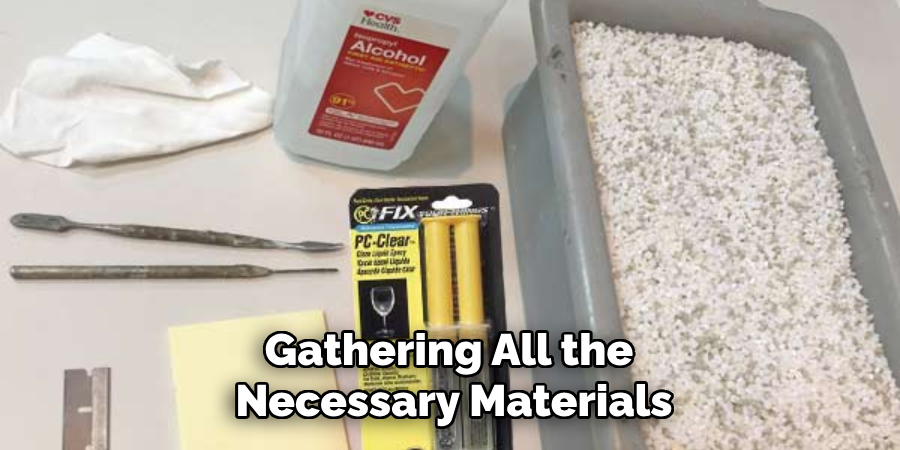
Once you have all the materials, work in a well-ventilated area and wear protective gear such as gloves and goggles, especially if working with a paint stripper.
10 Easy Steps on How to Repaint Ceramic Vase
Step 1: Prepare Your Workspace
Ensure your workspace is clean, well-lit, and adequately ventilated to minimize inhaling harmful fumes, especially when using solid solvents like paint strippers. Cover your work surface with protective sheets or newspapers to avoid stains or damage from paint splatters. Arrange all your materials and tools within easy reach to maintain a smooth workflow throughout the project. Organizing your workspace ahead of time will make the repainting process more efficient and help prevent accidents or mishaps. Additionally, wearing old clothes or an apron can protect your attire from being damaged by accidental paint spills or splashes. A focused and organized environment will set the tone for a successful and enjoyable creative endeavor.
Step 2: Remove Old Paint or Glaze
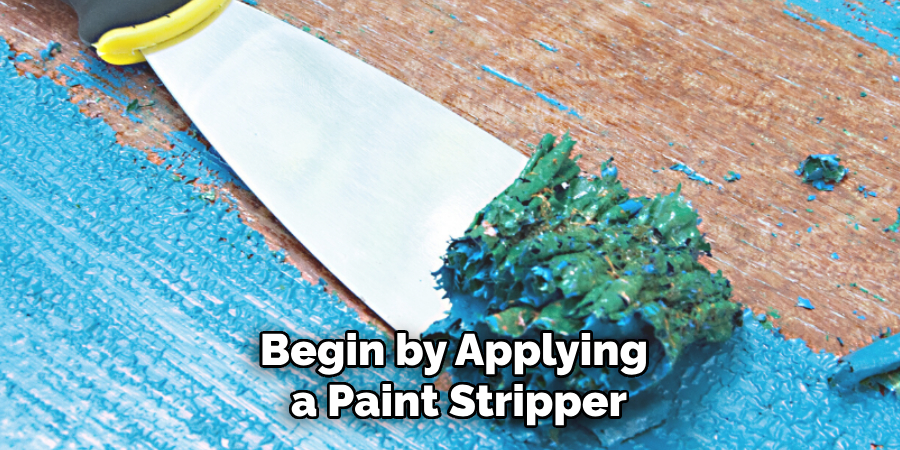
If your ceramic vase has an existing layer of paint or glaze, it’s crucial to remove it to ensure the new paint adheres properly. Begin by applying a paint stripper designed for ceramics according to the manufacturer’s instructions. Allow it to sit for the recommended time, softening the old paint or glaze. Using a scraper or an old cloth, carefully remove the softened paint. Be gentle to avoid scratching the ceramic surface underneath. Once the old paint is removed, thoroughly rinse the vase with water to eliminate any residue from the stripper, then let it dry completely before moving on to the next step.
Step 3: Sand the Surface
After removing the old paint or glaze, it’s essential to sand the vase’s surface to create a smooth base for the primer and paint. Use fine-grit sandpaper to gently sand the entire surface of the vase, focusing on areas where old paint or glaze was removed. Sanding will help roughen up the surface slightly, improving the primer’s adhesion. Be thorough but gentle, as pressing too hard can scratch or damage the ceramic.
Step 4: Apply Primer
A primer is crucial to ensure the paint adheres well to the ceramic surface. Choose a primer formulated explicitly for ceramics, as it will bond better and prevent future paint peeling. Use a paintbrush or small roller to evenly apply a thin layer of primer to the entire surface of the vase. Ensure complete coverage, paying particular attention to intricate details and hard-to-reach areas. Allow the primer to dry thoroughly according to the manufacturer’s instructions, which typically takes several hours. A well-primed surface provides a solid foundation for the layers of paint that will follow, contributing to a durable and professional-looking finish.
Step 5: Begin Painting
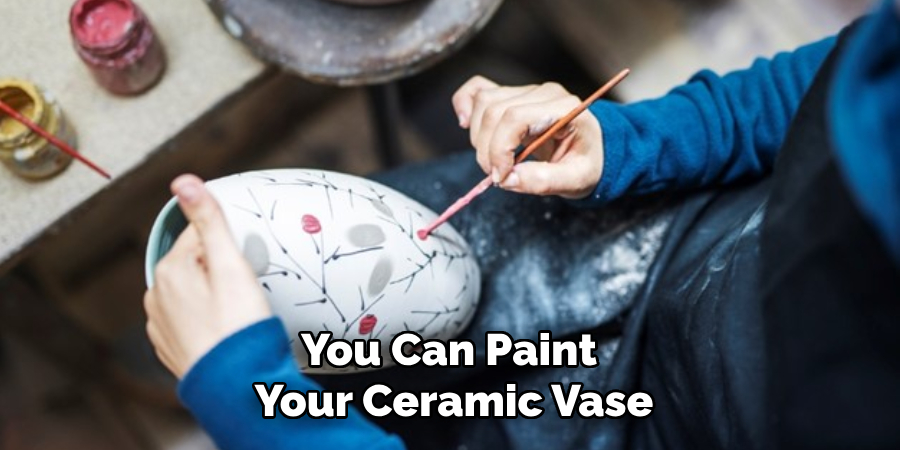
Once the primer has completely dried, you can paint your ceramic vase. Select your desired colors of acrylic or ceramic-specific paints, and prepare your brushes. Begin with a base coat, applying the paint evenly across the surface. Use broad strokes for larger areas and smaller brushes for detailed parts.
If you plan to use multiple colors or intricate designs, outline your design with a pencil first. Allow each layer of paint to dry thoroughly before applying the next to prevent smudging. Depending on the opacity of the paint and the intensity of the color desired, you may need to use multiple coats.
Step 6: Add Designs or Patterns
With the base coat applied and dried, you can add any designs or patterns to your ceramic vase. Use painter’s tape to create clean lines or stencils for uniform shapes and motifs. A steady hand can work wonders to bring your creative visions to life if you’re skilled in freehand drawing. Experiment with different techniques such as sponging, splattering, or using fine-tipped brushes for intricate details.
Depending on the complexity of your design, you can sketch it lightly with a pencil first. Remember to allow adequate drying time between different colored layers or sections to prevent any unintentional color mixing. Unleashing your creativity at this stage can transform your vase into a personalized piece of art that perfectly reflects your style.
Step 7: Apply a Clear Coat Sealant
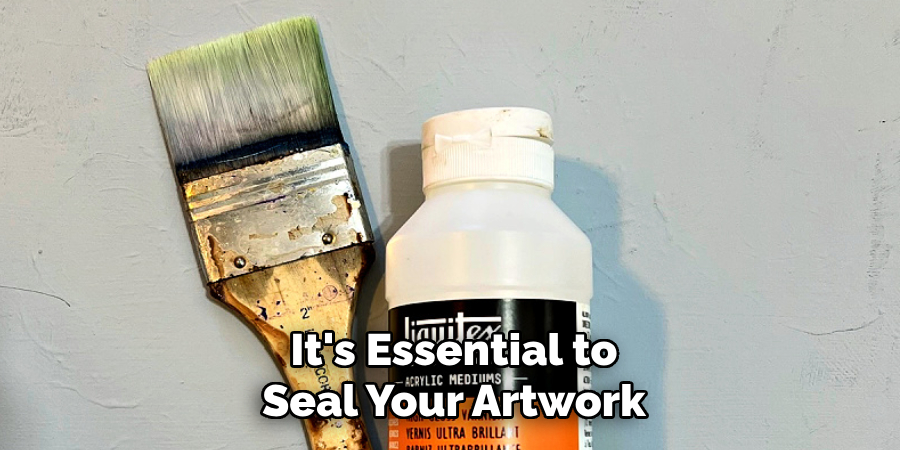
After finishing your designs and allowing the paint to dry completely, it’s essential to seal your artwork with a clear coat sealant. This step will protect the painted surface from chips, scratches, and wear, ensuring your design lasts long. Choose a clear coat sealant appropriate for ceramics and apply it using a clean brush or spray, following the manufacturer’s directions.
Ensure an even application by covering the entire vase, paying extra attention to areas with high detail or potential contact points. Allow the sealant to dry fully, which might take several hours or overnight. A properly sealed vase not only enhances the durability of your project but also gives it a polished and professional finish.
Step 8: Final Touches and Display
Once the clear coat sealant has dried completely, the vase is ready for any final touches that can enhance its aesthetic appeal. Inspect the vase for any areas needing touch-ups, such as small spots that might have been missed or areas where paint may have pooled. Use a fine brush to make these adjustments carefully. After completing any minor refinements, choose the perfect location to display your newly painted ceramic vase.
Whether it’s a centerpiece on your dining table, a decorative element on a bookshelf, or a focal point on a mantel, ensure the vase is showcased in a well-lit area to highlight its intricate details and vivid colors. Celebrate your artistry and enjoy the unique home decor piece you’ve created through this thoughtful and methodical process.
Step 9: Care and Maintenance
Regular care and maintenance are essential to keep your newly painted ceramic vase looking its best. Dust the vase occasionally with a soft cloth to maintain its luster and prevent the accumulation of dirt. Avoid using abrasive cleaners or scrubbing pads that could damage the paint or sealant.
If necessary, gently wipe down the vase with a damp cloth and mild soap, then dry it immediately to avoid water spots. Be cautious when handling the vase to prevent chipping or scratching the surface. Understanding and attending to these maintenance needs will help preserve the beauty of your ceramic vase for years to come, ensuring it remains a striking piece in your decor.
Step 10: Repairing Chips and Scratches
Over time, it’s natural for a ceramic vase to encounter minor chips or scratches, which can detract from its appearance. To address these imperfections, gently clean the affected area with a damp cloth to remove dirt or dust. For minor chips, consider using a repair kit specifically designed for ceramics, available at most craft or home improvement stores. Follow the instructions provided with the kit to fill and smooth over the chip.
For scratches, a touch-up paint matching your vase’s color can be carefully applied with a fine brush to blend the affected area. Once the repairs are complete, allow all materials to dry thoroughly before handling. Finally, consider using another sealant layer over the repaired area to protect it and maintain the vase’s cohesive look.
Following these steps, you can successfully transform a plain ceramic vase into stunning and personalized home decor.
Conclusion
How to repaint ceramic vase can be both a rewarding and fulfilling project that allows you to inject a personal touch into your home decor.
By following the steps outlined, from preparation and priming to painting, detailing, sealing, and maintaining, you ensure a beautiful end product and its longevity. This meticulous process demonstrates the transformation power of creativity and attention to detail. Whether your goal is to refresh an old vase or create a new focal point within a room, the effort put into repainting will be evident in the vibrant, custom piece of art that will grace your living space.
Remember, the key to success lies in patience, using quality materials, and a willingness to unleash your artistic spirit, ensuring that each stroke of paint fully expresses your unique style and vision.
Specialization:
- Master of wheel-throwing, hand-building, and advanced glazing techniques
- Focus on creating both functional pottery and decorative art pieces
Recognition:
- Celebrated by collectors and art enthusiasts for creating one-of-a-kind pieces that blend artistry with functionality
- Participates in local and national exhibitions, earning accolades for his innovative designs and craftsmanship
Passion:
- Deeply committed to exploring and pushing the boundaries of ceramic artistry
- Continuously experiments with new materials, firing techniques, and artistic concepts to evolve his craft
Personal Philosophy:
- Believes in the transformative power of art, aiming to evoke emotions and connections through his ceramic creations
- Advocates for sustainability in ceramics, using eco-friendly materials and practices whenever possible


