Ceramic spoons combine functionality with aesthetic appeal, making them popular in cooking and serving. These spoons serve practical purposes in the kitchen and add a touch of elegance to any table setting. Made from clay and typically glazed for durability and sheen, ceramic spoons come in various shapes, colors, and designs to complement any culinary theme.
The process of how to make a ceramic spoon involves several techniques, including shaping the clay, firing it in a kiln, and applying a glaze. Crafting a ceramic spoon is rewarding and versatile, as it transforms raw clay into a piece of functional art. This medium allows for endless creativity, enabling artisans to create unique, personalized pieces that stand out in any collection. Embracing the process of making ceramic spoons offers both artistic satisfaction and a deeper appreciation for this time-honored craft.
Materials You Will Need
Creating a ceramic spoon involves gathering several essential materials and tools. First, choose a suitable clay body, such as earthenware or stoneware, based on your desired finish and the firing temperature required. Each type of clay offers different textures and colors, which can influence the final appearance of your spoon.
Essential pottery tools include a pottery knife for cutting and trimming, a rib tool for smoothing and shaping, a sponge for maintaining moisture, and a needle tool for adding fine details and piercing the clay where needed. A rolling pin is crucial for flattening the clay to a uniform thickness, ensuring a consistent shape and structural integrity.
Molds can be particularly helpful when striving for consistent spoon shapes; you may opt for pre-made spoon molds or experiment by creating your own custom designs.
For the finishing touch, select a food-safe glaze to coat your spoon, adding a glossy, durable layer that enhances both appearance and usability. The final step in the process requires a kiln, which is critical for firing the clay to harden it and set the shape. To ensure safety during your crafting, always wear gloves and a mask to protect yourself from clay dust exposure, which can be hazardous to your health.
Preparing the Clay
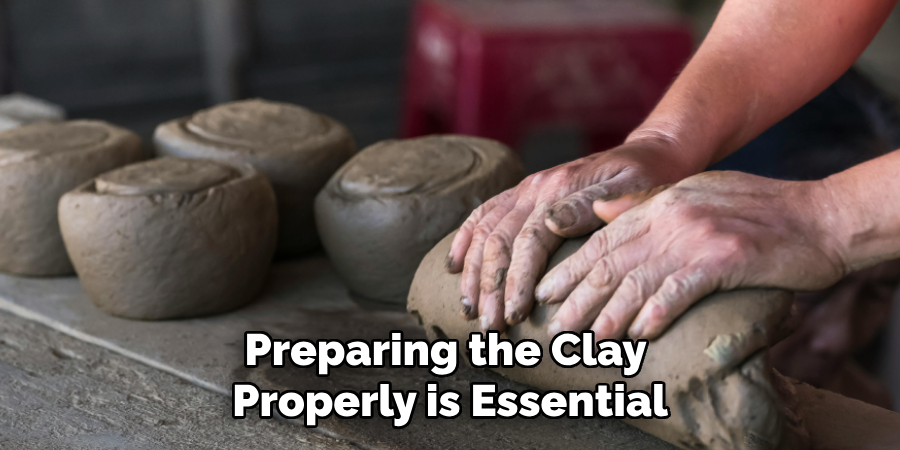
Before shaping, preparing the clay properly is essential to ensure the best outcomes in your ceramic spoon crafting. Start with wedging the clay, a process where you knead it thoroughly. This step is vital for removing any entrapped air bubbles and creating a uniform texture throughout the clay mass.
Air bubbles can lead to cracks or imperfections during firing, so this step cannot be overlooked. Next, determine the amount of clay you will need. You typically require around 1 to 2 cups of clay for a standard-sized spoon. However, the exact quantity may vary based on the specific dimensions and style of the spoon you intend to create.
Once you’ve measured the appropriate amount of clay, shape it for ease of handling. Depending on your preference and the initial techniques you plan to employ, you can manipulate the clay into a ball or a rectangular block. After shaping, allow the clay to rest for a few minutes. This rest period is crucial as it helps the clay become more pliable, making it easier to work with as you move on to your ceramic spoon project’s detailed shaping and crafting stages.
How to Make a Ceramic Spoon: Shaping the Spoon
Rolling Out the Clay
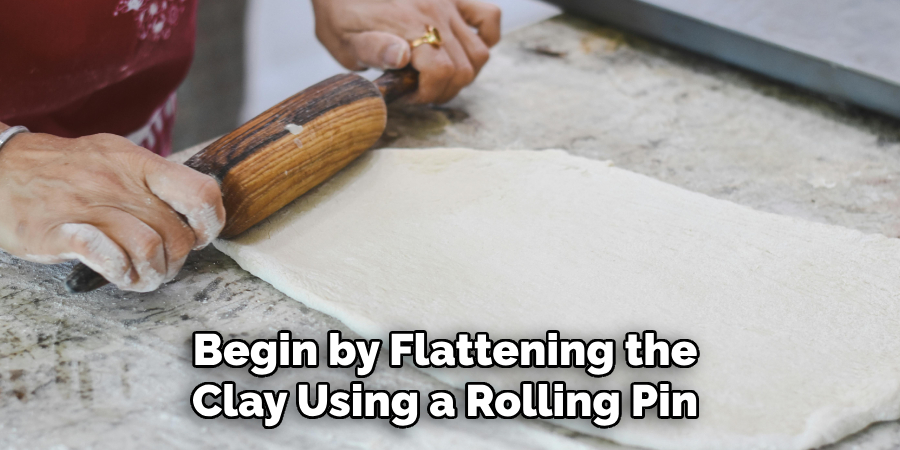
Begin by flattening the clay using a rolling pin until it reaches a consistent thickness of about 1/4 inch. This step is crucial for ensuring uniformity and structural integrity in your ceramic spoon. Place clay guides or wooden slats on either side of the clay to achieve precise thickness. These guides help maintain an even thickness as you roll, preventing parts of the clay from becoming too thin, which can lead to weakness or breakage.
Cutting the Spoon Shape
Once the clay is evenly rolled, it’s time to outline and cut the basic shape of the spoon. Utilize a sharp knife or a pre-made spoon template to define the shape, including both the bowl, which will hold food and the handle for holding. Pay attention to the size and symmetry, as these initial cuts will dictate the proportion and balance of the finished spoon. Carefully remove excess clay around the shape, saving it for future projects or additional pieces.
Forming the Bowl
To form the concave shape characteristic of a spoon’s bowl, gently press your thumb into the center of the cut-out shape. This pressure will create a natural dip, which you can further mold with your fingers to achieve the desired depth and curvature. Continue refining the bowl by smoothing the interior and exterior edges, ensuring a comfortable and functional design that can easily hold liquids or solids without spilling.
Creating the Handle
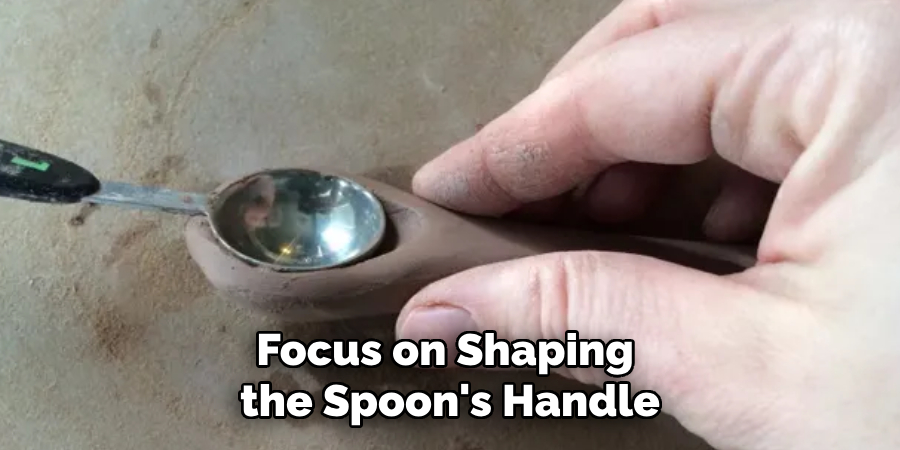
Next, focus on shaping the spoon’s handle by carefully pulling and elongating the clay. The handle should be comfortable, allowing for easy grip and use. Pay close attention to the thickness and strength as you refine the handle since a too-thin handle may break easily, while a too-thick one might be cumbersome. Consider the spoon’s overall balance, ensuring that the handle complements the bowl in proportions, making it functional and appealing.
Refining Details
Finally, refine your spoon by addressing any imperfections in shape and finish, using diverse pottery tools to add decorative elements. Experiment with carvings, textures, or even inscribed patterns, personalizing the spoon to reflect your unique artistic vision. These details enhance the spoon’s aesthetic appeal and add a tactile element that can make your ceramic spoon stand out as both a functional kitchen tool and a piece of art.
How to Make a Ceramic Spoon: Drying and Firing
Initial Drying
Allow the shaped spoon to dry at room temperature for several hours or until it becomes leather-hard. This stage is crucial for maintaining the spoon’s shape during handling and for any additional refining required before the final drying.
Trim Excess Clay
Once the spoon reaches the leather-hard stage, trim any excess clay from the edges to refine its shape and enhance its overall finish. Use a sharp pottery knife for precision, ensuring that the design stays intact and aesthetically pleasing.
Final Drying
After trimming, the spoon needs to undergo a final drying phase until it becomes bone dry, meaning no moisture is left in the clay. This step could take 24 hours or more, depending on the ambient humidity and the thickness of the clay. Ensuring complete dryness is crucial before firing to prevent cracking.
Firing in a Kiln
Place the bone-dry spoon in the kiln for the bisque firing. Follow the manufacturer’s guidelines for the correct temperature and firing schedule, which is typically around 1825°F (998°C) for earthenware. This process strengthens the clay and prepares it for glazing.
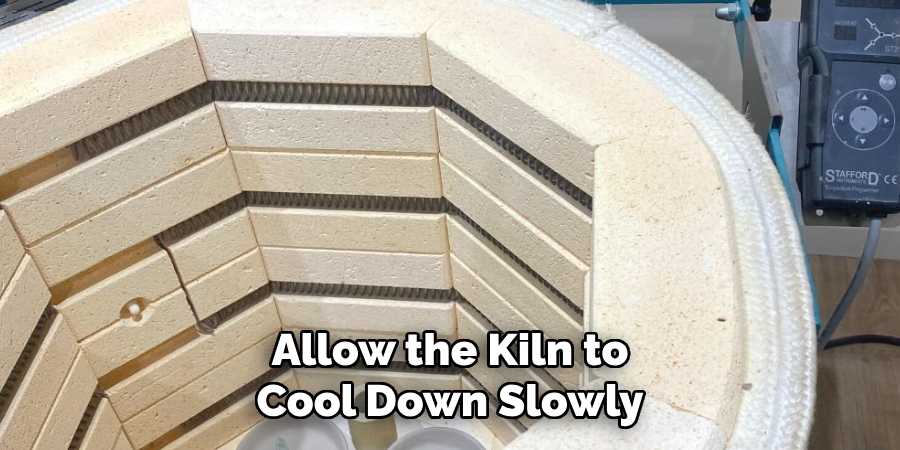
After the firing process, allow the kiln to cool down slowly before removing the spoon. This gradual cooling period is vital for preventing thermal shock and cracking, ensuring that the spoon remains intact and ready for any additional decorative glazes or finishes.
Cooling Period
Glazing the Spoon
Choosing a Glaze
Select a food-safe glaze that enhances the appearance of your spoon and matches the type of clay used. Food-safe glazes are essential to ensure that the spoon can be safely used for culinary purposes without leaching harmful substances.
Applying the Glaze
Once the spoon has cooled following the bisque firing, gently clean it to remove any residual dust or debris. This ensures a smooth surface for the glaze. Use a brush, sponge, or dipping method to apply the glaze uniformly across the spoon’s surface, carefully covering every area evenly. A consistent glaze application is crucial for obtaining a smooth, glossy finish.
Avoiding Glaze on the Bottom
Ensure the bottom is entirely free from glaze to prevent the spoon from sticking to the kiln shelf during glaze firing. You can achieve this by applying a resist medium, such as wax, to the bottom or manually removing any unwanted glaze. This step is crucial to avoid damaging both the spoon and kiln shelf.
Firing the Glazed Spoon
Place the glazed spoon carefully back into the kiln for the final glaze firing. Adhere strictly to the specific temperature and schedule instructions for the glaze type. This glazing firing typically ranges from 1830°F (1000°C) to 2340°F (1280°C), where the glaze melts and vitrified, creating a glossy, durable coating on the finished spoon.
Final Inspection and Finishing Touches
Once the kiln has cooled completely, carefully remove the spoon and conduct a thorough inspection to check for any imperfections. Look closely for tiny cracks or glaze defects, as these can affect both aesthetic quality and usability. If you find any rough edges or bumps, gently sand them using fine sandpaper until you achieve a uniformly smooth finish. This step is crucial for ensuring the spoon is comfortable and safe to use.
After sanding, wash the spoon gently with mild soap and water to eliminate any lingering dust from the glazing process. This final clean enhances the spoon’s appearance and prepares it for food use. By paying attention to these finishing touches, you ensure that your handmade spoon functions well and serves as a unique piece of art in any kitchen setting.
Conclusion
Every step in creating a ceramic spoon—from shaping and drying to glazing and firing—demands creativity and craftsmanship, capturing the essence of functional art. This hands-on journey, which we have detailed under “how to make a ceramic spoon,” transforms simple clay into a personalized kitchen tool. The craft process produces a practical utensil and brings immense satisfaction and joy. It’s a tangible expression of patience and artistry that elevates everyday dining experiences.
The beauty of ceramics lies in the potential for endless innovation and personal expression. Embrace this art, refine your skills, and boldly explore new ceramic projects. As in any craft, practice fosters improvement, enabling you to develop a unique style and confidence. Ultimately, the thrill of using items made by your own hands is unmatched, encouraging a deeper appreciation of the intricacies involved in their creation.
Specialization:
- Master of wheel-throwing, hand-building, and advanced glazing techniques
- Focus on creating both functional pottery and decorative art pieces
Recognition:
- Celebrated by collectors and art enthusiasts for creating one-of-a-kind pieces that blend artistry with functionality
- Participates in local and national exhibitions, earning accolades for his innovative designs and craftsmanship
Passion:
- Deeply committed to exploring and pushing the boundaries of ceramic artistry
- Continuously experiments with new materials, firing techniques, and artistic concepts to evolve his craft
Personal Philosophy:
- Believes in the transformative power of art, aiming to evoke emotions and connections through his ceramic creations
- Advocates for sustainability in ceramics, using eco-friendly materials and practices whenever possible


