Alcohol ink offers a vibrant and creative medium for decorating ceramics, providing endless possibilities for one-of-a-kind designs. However, to preserve these intricate designs and ensure their longevity, sealing the ink properly is crucial. Without adequate sealing, the artwork is prone to wear and damage, diminishing its visual appeal.
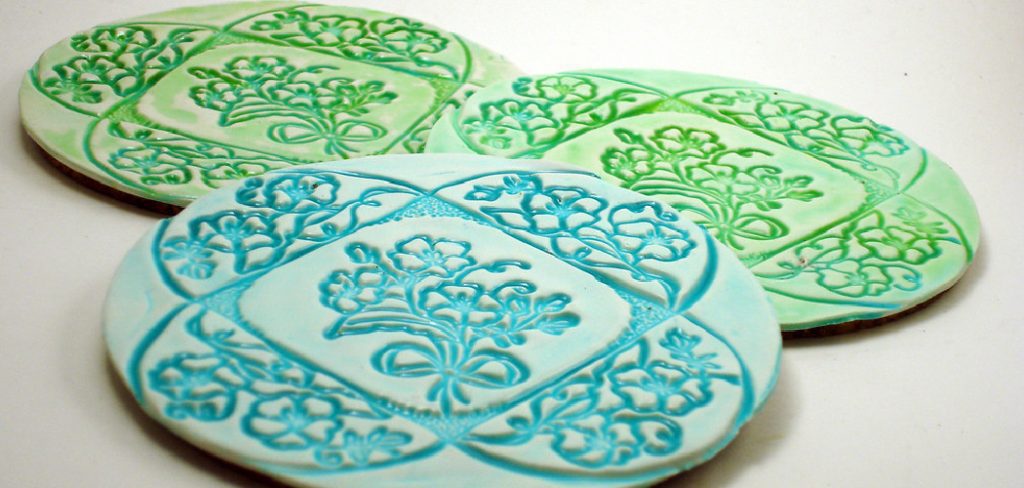
This guide on how to seal alcohol ink on ceramic will walk you through the steps needed to effectively seal alcohol ink on ceramic surfaces, ensuring your creations remain beautiful and vibrant for years to come. Whether you’re a seasoned artist or a beginner experimenting with alcohol inks, understanding the sealing process will enhance the durability and aesthetic quality of your work.
Why Seal Alcohol Ink on Ceramic?
Sealing alcohol ink on ceramic is essential for protecting your artwork from external elements that can cause damage, such as moisture and physical abrasion. Alcohol ink designs are beautiful but susceptible to fading over time if left unsealed.
By applying a protective seal, you not only enhance the vibrancy of the colors but also create a barrier that guards against scratches and smudges. Additionally, sealing your artwork makes the ceramic surfaces easier to clean, allowing you to maintain their pristine condition with minimal effort. Ultimately, sealing ensures that your intricate designs retain their integrity and continue to be a source of joy and inspiration for years to come.
Needed Materials
Before you begin the sealing process, make sure to gather all the necessary materials. Here’s a list of items you’ll need:
- Ceramic Surface or Object Decorated With Alcohol Ink
- Alcohol Ink
- Sealer (Polyurethane or Resin)
- Paintbrush
- Disposable Gloves
- Respirator Mask (for safety)
- Protective Drop Cloth
8 Step-by-step Guidelines on How to Seal Alcohol Ink on Ceramic
Step 1: Prepare Your Workspace
Before you start sealing your alcohol ink designs, it’s important to set up a workspace that’s safe and conducive to crafting. First, choose a well-ventilated area to work in, as some sealers can emit strong fumes. Lay down a protective drop cloth over your work surface to catch any spills or splatters and protect the underlying area.
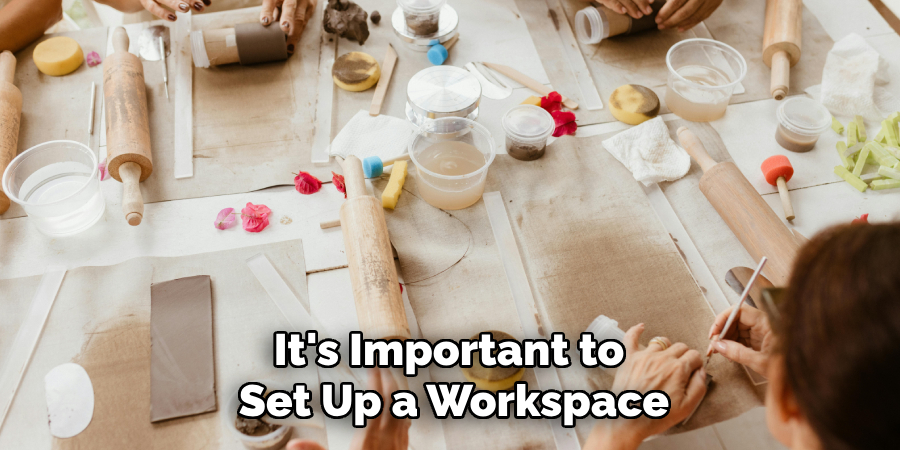
Make sure all your materials are within easy reach, including the ceramic piece, sealer, paintbrush, and safety gear such as disposable gloves and a respirator mask. Having an organized and prepared workspace ensures a smoother sealing process and minimizes potential mishaps.
Step 2: Choose the Right Sealer
Selecting the appropriate sealer is crucial for ensuring the longevity and appearance of your alcohol ink artwork on ceramic. Two popular types of sealers to consider are polyurethane and resin. Polyurethane sealers are available in both water-based and oil-based formulas, each offering different finishes. Water-based polyurethane dries quickly and provides a clear finish, making it ideal for maintaining the vibrancy of your colors. Oil-based polyurethane, on the other hand, offers a more durable and resistant finish but may impart a slight amber hue to your artwork.
Resin sealers, such as epoxy resin, provide a thick, glossy finish that enhances color depth and offers superior protection against scratches and wear. However, they require careful mixing and application to avoid bubbles and uneven coverage. Consider the level of protection you need, the desired finish, and your comfort with application processes when choosing your sealer. Selecting the right one will greatly impact the durability and beauty of your final piece.
Step 3: Protect Yourself
Ensuring your safety is a vital aspect of working with alcohol inks and sealers. Before proceeding with the application, make sure you wear disposable gloves to protect your skin from potential irritation caused by the chemicals in the sealer. Additionally, don a respirator mask to safeguard your respiratory system from inhaling any harmful fumes emitted during the sealing process.
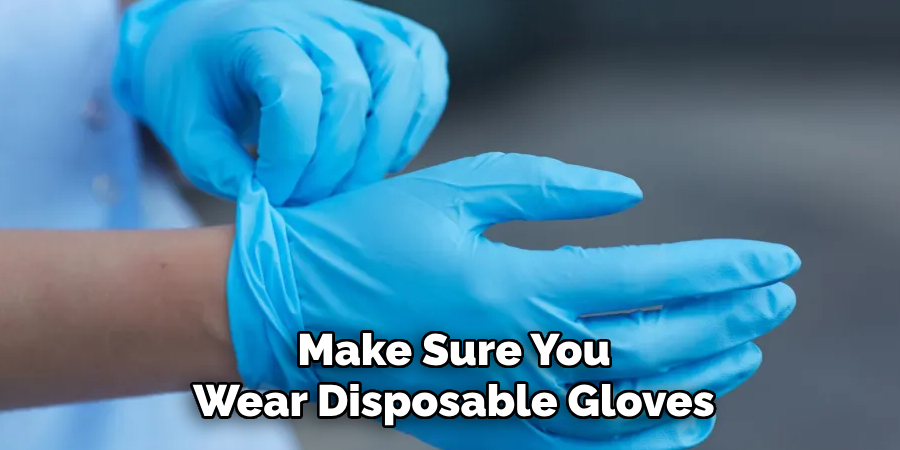
It’s also a good idea to wear protective eyewear to shield your eyes from splashes or accidental drips. Remember, taking these precautions not only ensures your personal safety but also allows you to focus on the meticulous task of sealing your artwork without distraction.
Step 4: Prepare Your Sealer
If using a resin sealer, follow the manufacturer’s instructions to prepare the resin for application. It’s crucial to mix the resin thoroughly and evenly, while also ensuring that no air bubbles are introduced in the process. For polyurethane sealers, stir well before use to ensure even consistency.
The general rule of thumb is to mix only the amount you’ll need for one application, as most sealers have a limited working time before they start to harden. This will prevent any wastage and help achieve a smooth and even finish on your artwork.
Step 5: Apply the Sealer
Using a clean paintbrush or foam brush, apply an even layer of sealer over your ceramic piece decorated with alcohol ink. Start from one corner and work your way across the surface, making sure not to miss any sections. Aim for a thin and even coat to avoid drips, runs, or bubbles in the final finish.
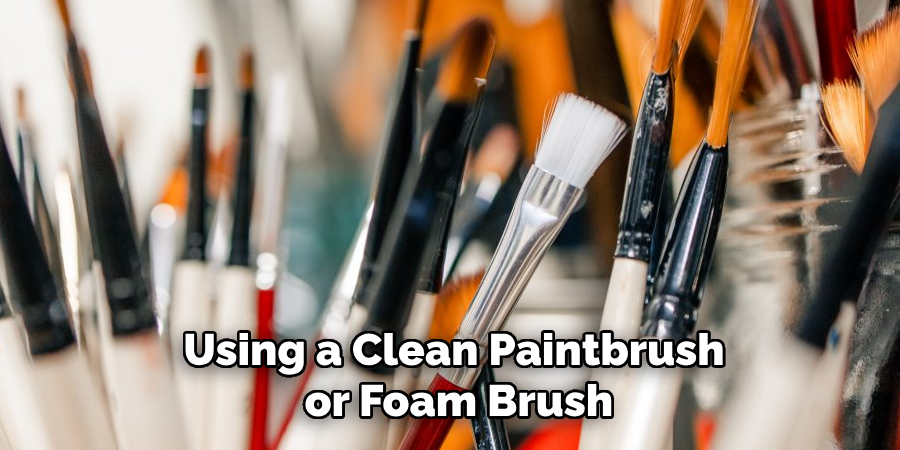
If using a resin sealer, use a disposable mixing cup and stir stick to mix the resin according to the manufacturer’s instructions. Then, pour a small amount onto your ceramic piece and spread it evenly with a foam brush or heat gun. Be sure to work quickly but carefully as the resin can start to harden within minutes.
Step 6: Allow Time for Drying
After applying the first coat of sealer, allow sufficient time for drying before proceeding with additional layers. The drying times may vary depending on the type of sealer used, as well as environmental factors such as humidity and temperature. Generally, polyurethane sealers take 24-48 hours to dry completely, while resins may require up to 72 hours.
During this time, make sure the piece is kept in a dust-free and well-ventilated area to avoid any imperfections in the finish. If using a resin sealer, you may also want to rotate the ceramic piece every few minutes during the first hour of drying to prevent drips from forming.
Step 7: Apply Additional Coats (Optional)
Depending on your desired level of protection and finish, you may choose to apply additional coats of sealer. For polyurethane sealers, lightly sand down the surface with fine-grit sandpaper between coats for optimal adhesion.
If using a resin sealer, follow manufacturer’s instructions for adding multiple layers without disturbing previous layers or creating air bubbles. Keep in mind that adding more coats will also add to the overall drying time, so plan accordingly.
Step 8: Enjoy Your Sealed Alcohol Ink Artwork!
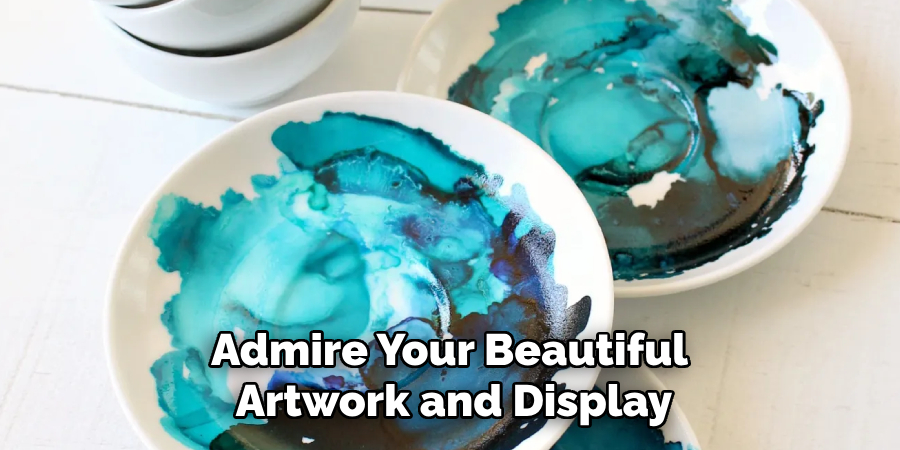
After allowing ample time for drying and curing, your ceramic piece decorated with alcohol ink is now sealed and ready for use. Admire your beautiful artwork and display it proudly in your home, or give it as a thoughtful gift to a loved one.
Sealing your alcohol ink designs on ceramic not only enhances their appearance but also increases their durability and longevity. With these step-by-step guidelines on how to seal alcohol ink on ceramic, you can confidently seal your creations and enjoy them for years to come. Happy crafting!
Frequently Asked Questions
Q: Can I Use Any Type of Sealer for Alcohol Ink on Ceramic?
A: It’s best to use sealers specifically designed for sealing alcohol ink on ceramic, such as polyurethane or resin sealers. Other types of sealers may not adhere well or provide sufficient protection to your artwork.
Q: How Many Coats of Sealer Should I Apply?
A: It depends on personal preference and the level of protection you desire. Generally, 2-3 coats are recommended for polyurethane sealers, while resin sealers may require only one coat.
Q: Can I Seal Alcohol Ink on Ceramic with a Spray Sealer?
A: While spray sealers may be convenient to use, they are not recommended for sealing alcohol ink on ceramic. They can cause the colors to bleed and may not provide enough protection compared to brush-on or pour-on sealers.
Q: Do I Need to Seal My Alcohol Ink Artwork on Ceramic?
A: Sealing your alcohol ink designs is not mandatory but highly recommended for added protection and longevity of the artwork. It also enhances the colors and brings out their vibrancy. So, if you want your artwork to last and look its best, sealing is a crucial step.
Q: Can I Use Other Types of Finishes Such as Wax or Varnish, Instead of Sealer?
A: While wax or varnish may add a glossy finish to your ceramic piece, they may not provide adequate protection against scratches or wear compared to sealers designed specifically for alcohol ink. It’s best to use sealers for optimal results.
Conclusion
Sealing alcohol ink artwork on ceramics not only enhances the visual appeal of your creations but also safeguards them from damage over time. By following these detailed steps on how to seal alcohol ink on ceramic, you can ensure that your designs remain vibrant and durable, perfectly preserved for display or gifting. Remember to always prioritize safety by wearing appropriate protective gear and carefully selecting the right type of sealer for your project.
Whether you are a seasoned artist or a beginner, these guidelines provide a comprehensive understanding of the sealing process, enabling you to confidently create and preserve stunning ceramic pieces. Craft with joy and let your creativity shine!
Specialization:
- Master of wheel-throwing, hand-building, and advanced glazing techniques
- Focus on creating both functional pottery and decorative art pieces
Recognition:
- Celebrated by collectors and art enthusiasts for creating one-of-a-kind pieces that blend artistry with functionality
- Participates in local and national exhibitions, earning accolades for his innovative designs and craftsmanship
Passion:
- Deeply committed to exploring and pushing the boundaries of ceramic artistry
- Continuously experiments with new materials, firing techniques, and artistic concepts to evolve his craft
Personal Philosophy:
- Believes in the transformative power of art, aiming to evoke emotions and connections through his ceramic creations
- Advocates for sustainability in ceramics, using eco-friendly materials and practices whenever possible


