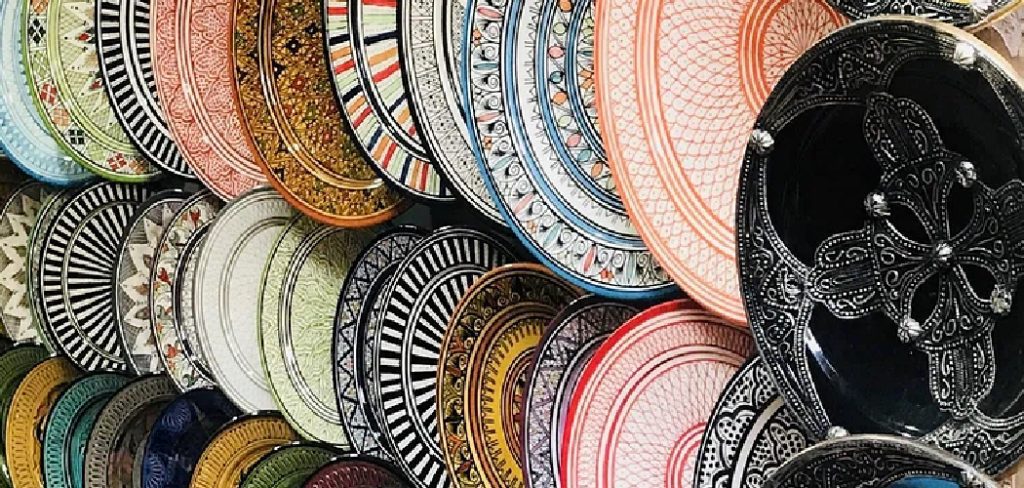
Decorating walls with ceramic plates is a timeless way to add character and visual interest to any room. This method of embellishment not only enhances the aesthetic appeal but also creates a unique focal point that reflects personal style. Whether you are displaying heirlooms, collectibles, or merely adding a splash of color to a blank space, mounting ceramic plates is an accessible DIY project.

This guide will walk you through how to put ceramic plates on wall, providing tips and techniques to help simplify the task. With the right tools and techniques, you can transform a simple wall into an engaging art display that showcases the beauty and craftsmanship of ceramic designs.
Benefits of Using Plates for Wall Décor
Using ceramic plates for wall décor offers a plethora of advantages that can enhance any living space. Firstly, plates come in a wide variety of designs, colors, and patterns, allowing for a versatile and customizable approach to decorating. Whether you’re aiming for a classic, modern, or eclectic look, there’s likely a plate to match your vision. Additionally, using plates as wall art is a cost-effective solution.
Often less expensive than traditional artwork or framed paintings, plates provide an affordable way to add artistic flair without compromising on style. Moreover, they are easy to maintain, requiring only occasional dusting to keep them looking vibrant. Plates can also evoke a sense of nostalgia or tradition, especially if they are heirlooms or pieces with personal significance. As a result, they not only decorate but also tell a story, infusing your space with character and personal history.
Tools and Materials for Hanging Ceramic Plates
Gathering the right tools and materials is essential to ensure that your ceramic plate display is both secure and visually appealing. Here is a list of what you’ll need to get started:

- Plate Hangers or Adhesive Disc Hangers: Choose plate hangers for a secure grip or adhesive disc hangers for an invisible mounting solution.
- Measuring Tape: Use this to ensure accurate placement and spacing for a balanced look on the wall.
- Pencil: Handy for marking spots where you need to install hooks or nails.
- Level: Ensure that your plates are hung straight for a professional finish.
- Hammer or Drill: Depending on your wall type, a hammer for nails or a drill for screws or anchors will be necessary.
- Wall Anchors or Nails: Choose appropriate fasteners based on the wall material to ensure sturdy support for your plates.
- Screwdriver: Needed if you’re using screws and anchors to attach hangers to the wall securely.
- Clean Cloth: Wipe the plates and the wall before hanging for optimal adhesion and presentation.
Having these tools and materials on hand will streamline the hanging process and contribute to an artful and enduring ceramic plate arrangement.
10 Methods How to Put Ceramic Plates on Wall
1. Select the Right Wall Space

Begin by carefully selecting the area where you want to display your plates. Consider factors like lighting, wall color, and nearby decor items to create an arrangement that complements the room’s overall aesthetic. Plates displayed in well-lit areas, either natural or artificial, can highlight their colors and details, creating a striking visual display. Also, avoid high-traffic zones to reduce the risk of accidental damage. Planning the layout before installation ensures that the display will be visually appealing and well-integrated into the space.
2. Use Adhesive Plate Hangers for a Seamless Look
Adhesive plate hangers are a fantastic option if you want to keep the mounting hardware invisible. These disk-style hangers attach directly to the back of the plate and come with a metal loop for hanging. To apply, wet the adhesive side, press it firmly on the plate, and allow it to dry for 24 hours. Once dry, simply hang the plate on a nail or hook. Adhesive plate hangers work best for lightweight plates and provide a clean, minimalist appearance without any visible hooks.
3. Choose Metal Plate Hangers for Secure Support
Metal plate hangers offer sturdy support and come in various sizes to fit different plate diameters. These hangers have flexible arms that wrap around the plate’s edge and a hook for wall mounting. Metal hangers are ideal for heavier plates as they offer a strong grip and provide added security. Additionally, the metal arms can be adjusted to hold the plate snugly. When using this method, ensure the hanger fits well and doesn’t put too much pressure on the edges to avoid cracking.
4. Install Wall Hooks or Anchors for Larger Plates

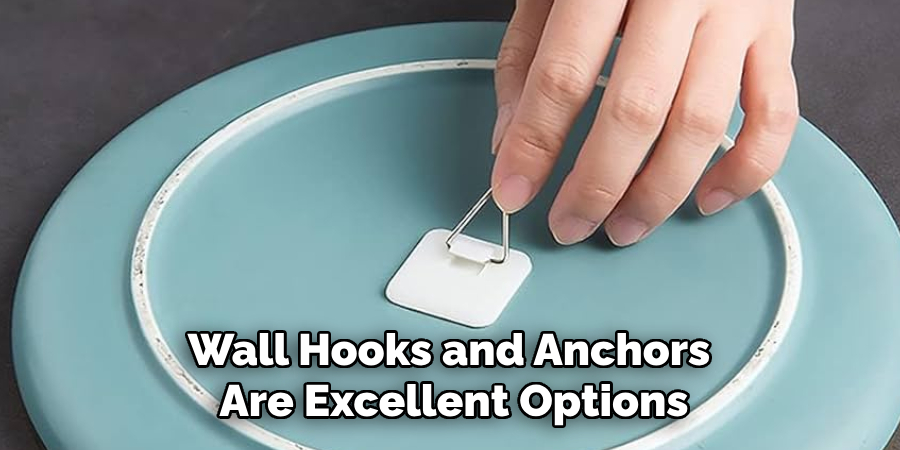
Wall hooks and anchors are excellent options for larger, heavier plates that may not work with adhesive or metal hangers alone. Choose a hook or anchor that matches your plate’s weight and size, and install it at the desired height. Once securely in place, you can use fishing wire, thin cords, or even plate hangers with hooks to hang the plate. Wall anchors offer extra stability and are ideal for creating a dramatic statement with large centerpiece plates.
5. Use Display Racks for a Shelf-Like Setup
Display racks provide a shelf-like surface for showcasing plates while securely holding them in place. These racks often have two to three tiers, allowing you to arrange plates vertically or horizontally. Simply place the plate on each tier, and it rests securely without the need for hooks or adhesives. Display racks are especially useful for plate collections that may need to be moved frequently, as they provide flexibility without committing to fixed wall mounting.
6. Create a Plate Arrangement on Floating Shelves
Floating shelves are another great solution for displaying ceramic plates without directly mounting them to the wall. Arrange plates on shelves in a layered, overlapping design or line them up symmetrically. Choose shelves with a ledge or slight lip to prevent plates from sliding off. This method allows you to experiment with different arrangements and is easy to adjust without additional wall damage. It also makes it simple to add or remove plates from your display over time.
7. Hang Plates with Fishing Wire for an Invisible Effect
For a nearly invisible hanging effect, use fishing wire to hang your plates. Attach the fishing wire securely to the back of the plate, ideally using adhesive hooks or tabs that hold well under the plate’s weight. Hang the wire on a small wall hook, adjusting the length of the wire so the plate hangs flush against the wall. This approach is especially effective for a floating look, and the wire can hold lighter to medium-weight plates securely.
8. Use Double-Sided Mounting Tape for Lightweight Plates
For lightweight ceramic plates, double-sided mounting tape provides an easy and clean mounting solution. Choose a tape rated for the weight of your plate, as some tapes are designed specifically for heavier objects. Apply the tape to the back of the plate, pressing firmly, and then position it on the wall, applying pressure to secure it. Mounting tape works well for temporary displays, but keep in mind it may not be suitable for heavy or valuable plates.
9. Arrange Plates in a Grid or Cluster Pattern
Deciding on a specific arrangement style, such as a grid or cluster pattern, creates a cohesive and visually appealing display. Plan the layout on the floor before mounting, marking the wall where each plate will go. Grid patterns offer a more formal, symmetrical look, while clusters lend a casual, eclectic feel. Use a ruler or measuring tape to ensure even spacing and consistent alignment. Mapping out the arrangement beforehand helps avoid mistakes and ensures your display looks well-balanced.
10. Secure Valuable Plates in Glass Wall-Mounted Cases
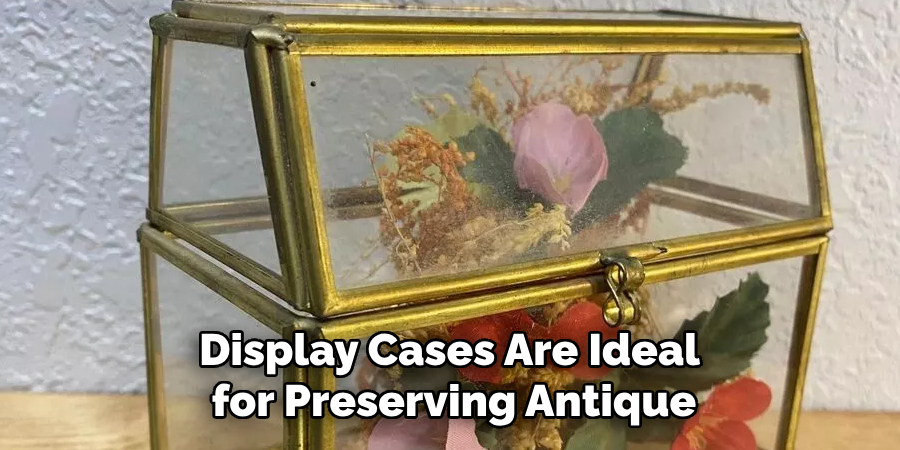
For highly valuable or fragile ceramic plates, consider using glass wall-mounted display cases. These cases provide extra protection from dust and accidental bumps while allowing the plates to be displayed visibly. Look for cases with a locking feature if you’re displaying valuable collectibles. Cases can be wall-mounted with anchors or brackets, giving the plates a museum-like presence. Display cases are ideal for preserving antique or delicate plates, adding sophistication to the presentation.

Things to Consider When Displaying Ceramic Plates
When planning to display ceramic plates, several important considerations can enhance both the aesthetics and longevity of your collection. Firstly, evaluate the weight and fragility of your plates to determine the best mounting method. Heavier or more fragile plates may require more secure options like metal plate hangers or wall anchors. Additionally, consider the overall style and atmosphere of the space to ensure your display complements existing decor.
The lighting in the room also plays a crucial role; well-placed lighting can highlight the plates’ colors and patterns, making them stand out more vividly. Lastly, think about ease of access and potential movement of the display, especially if you plan to refresh or adjust your collection periodically.
Conclusion
Displaying ceramic plates can transform them from simple dishes into captivating pieces of art that enhance the aesthetic of any room. By considering the variety of mounting methods and arrangement styles, you can showcase your plates in a way that highlights their beauty while ensuring their safety and maintenance. Follow these simple instructions outlined in this blog post about how to put ceramic plates on wall, and you’ll be able to get the job done with ease.
Specialization:
- Master of wheel-throwing, hand-building, and advanced glazing techniques
- Focus on creating both functional pottery and decorative art pieces
Recognition:
- Celebrated by collectors and art enthusiasts for creating one-of-a-kind pieces that blend artistry with functionality
- Participates in local and national exhibitions, earning accolades for his innovative designs and craftsmanship
Passion:
- Deeply committed to exploring and pushing the boundaries of ceramic artistry
- Continuously experiments with new materials, firing techniques, and artistic concepts to evolve his craft
Personal Philosophy:
- Believes in the transformative power of art, aiming to evoke emotions and connections through his ceramic creations
- Advocates for sustainability in ceramics, using eco-friendly materials and practices whenever possible


