Repairing a ceramic pot can seem daunting, but with the right materials and a steady hand, it’s a straightforward task. Whether it’s a cherished decorative piece or a functional pot for your plants, knowing how to properly glue ceramic items can save them from being discarded. This guide will walk you through how to glue ceramic pot, ensuring your ceramic pot stays intact and continues to be a part of your space.

Common Issues of Broken Ceramic Pots
Ceramic pots are susceptible to various forms of damage, primarily due to their brittle nature. One of the most common issues is accidental dropping, which can cause significant cracks or shattering. Even slight knocks can lead to chips along the edges, affecting both the practicality and aesthetics of the pot. Thermal shock is another issue, where sudden changes in temperature cause the material to crack. This is often observed when hot water is poured into a cold pot or vice versa. Additionally, prolonged exposure to water or moisture can weaken the pot over time, making it more prone to cracking or breaking. Understanding these common problems can help in taking preventive measures to protect your ceramic items.
Why Choose Glue for Ceramic Repair
Choosing glue for ceramic repair is an efficient and effective method for several reasons. Firstly, it provides a seamless solution that maintains the aesthetic integrity of the repaired item. Unlike some other repair methods, high-quality ceramic adhesives are designed to be clear or opaque, ensuring that joints or cracks are barely visible once the repair is complete.
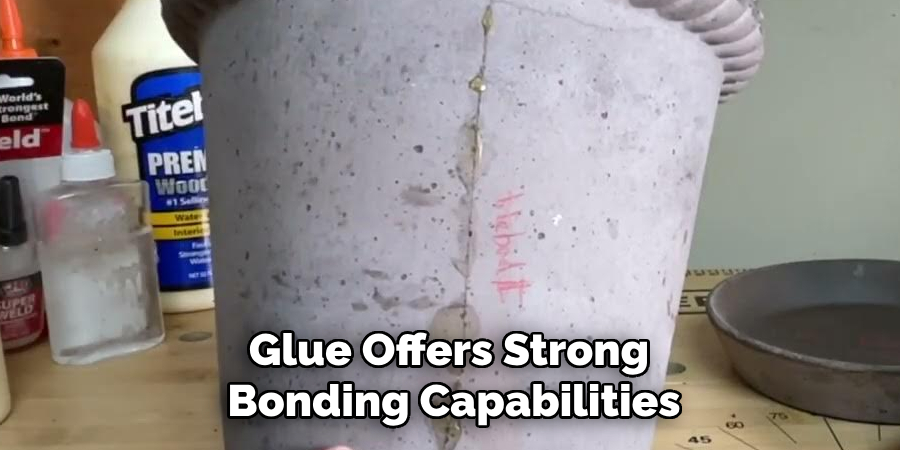
Additionally, glue offers strong bonding capabilities specifically formulated to handle the ceramic’s porous nature, ensuring the repaired piece can withstand everyday use. For those seeking a cost-effective solution, using glue is far more economical compared to replacing the entire item or seeking professional repair services. Lastly, the process is relatively quick and straightforward, allowing even novice DIY enthusiasts to achieve professional-looking results with minimal tools and resources.

10 Methods How to Glue Ceramic Pot
1. Choosing the Right Glue for Ceramic Repair
The type of glue you use is crucial for a successful repair. Epoxy adhesives and cyanoacrylate (super glue) are commonly used for ceramic because they provide a strong, durable bond. Epoxy is ideal for larger breaks or more delicate pieces as it fills gaps and holds heavy pieces securely. Super glue works well for small cracks and minor chips. Choosing the right adhesive ensures your ceramic pot will hold together well and withstand daily use.
2. Cleaning the Ceramic Surfaces Thoroughly
Before gluing, it’s important to clean each piece to remove any dust, dirt, or residue that could weaken the adhesive bond. Use a soft cloth and a mixture of warm water and mild dish soap to gently clean the broken edges. For stubborn residue, use a cotton swab dipped in rubbing alcohol to clean the edges. Allow the pieces to dry completely before applying glue. Clean surfaces ensure the adhesive sticks well, providing a more durable repair.
3. Laying Out the Pieces for Assembly
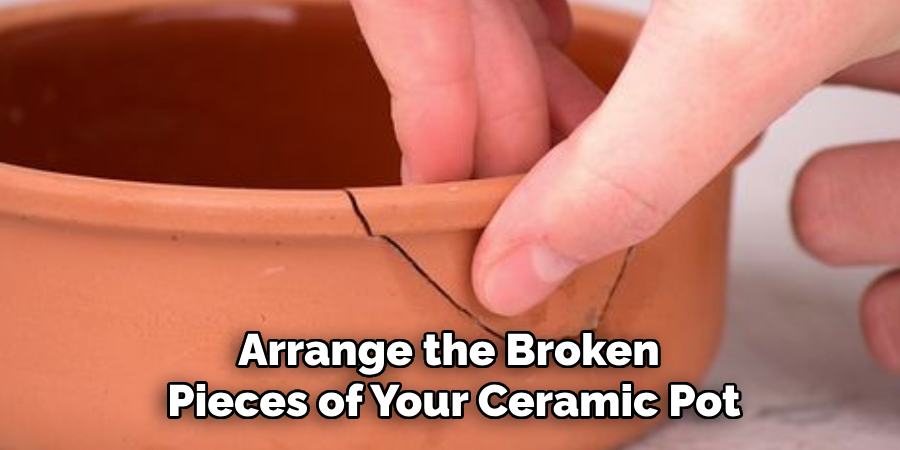
Arrange the broken pieces of your ceramic pot in their proper positions before applying glue. This “dry fit” allows you to see how the pieces align and identify the sequence in which they need to be glued. Take note of any particularly tight or tricky fits. Arranging the pieces beforehand reduces the risk of misalignment during the gluing process, ensuring a smoother, more accurate repair.

4. Applying the Glue Carefully to Each Edge
Apply the adhesive to one edge of the broken pieces, using a small brush or a fine nozzle for precision. For epoxy, mix equal parts of the resin and hardener before applying, as instructed on the packaging. Spread a thin, even layer on each edge, avoiding excess glue that could squeeze out and leave a visible mark. Applying the glue carefully allows for a neater finish and a more secure bond between the pieces.
5. Joining the Pieces Firmly for Bonding
Press the broken pieces together firmly and hold them in place for several seconds to allow the glue to start bonding. Check the alignment and adjust if necessary, as some glues provide a few seconds of working time before setting. If you’re using an epoxy that takes longer to cure, consider using clamps or rubber bands to hold the pieces together until the glue dries. Proper alignment and pressure ensure a seamless fit, making the repair less visible.
6. Using Masking Tape to Secure the Pieces During Drying
For added stability while the glue sets, use masking tape to secure the pieces. Gently wrap the tape around the repaired areas, keeping the pieces aligned without shifting. Masking tape holds the pieces firmly without damaging the ceramic surface, especially if the drying time is prolonged. This extra support helps the adhesive cure properly, creating a strong, lasting bond.
7. Allowing Adequate Drying Time for a Strong Bond

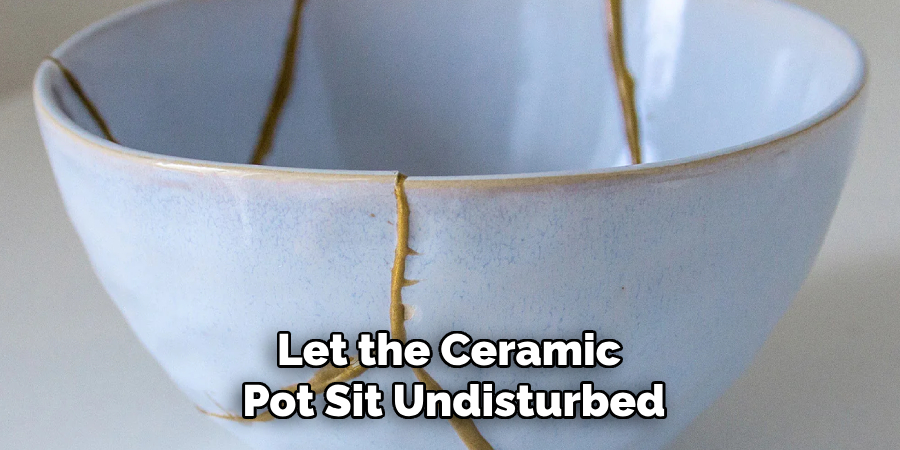
After gluing, let the ceramic pot sit undisturbed for the full drying or curing time recommended by the adhesive manufacturer. Epoxies may take several hours to cure completely, while super glue may dry in minutes. However, giving the repair additional time to cure fully can enhance the strength of the bond. By allowing adequate drying time, you ensure that the repair holds up to handling and everyday use.
8. Filling Gaps with Extra Epoxy for a Seamless Repair
If there are small gaps or missing fragments, mix a bit of epoxy and carefully fill the gaps to create a smooth finish. Use a toothpick or a small tool to apply the epoxy precisely, making sure it fills the area evenly. Once dried, the epoxy can be sanded gently for a smooth surface. Filling gaps with epoxy not only improves the appearance of the repair but also reinforces the bond, adding strength to the repaired pot.
9. Sanding the Repaired Area for a Smooth Finish
Once the glue is fully cured, you can lightly sand the repaired area to smooth out any uneven glue lines or rough spots. Use fine-grit sandpaper (400-600 grit) and work carefully to avoid scratching the ceramic surface. Sanding gives a polished look to the repair, making the glued areas blend seamlessly with the rest of the pot. This step is especially useful if you plan to repaint or glaze the pot for an even finish.
10. Sealing or Repainting for a Finished Look
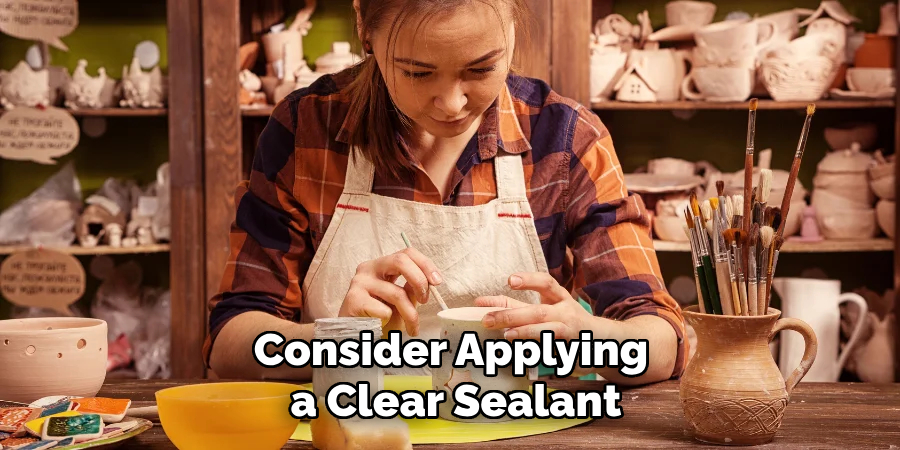
To complete the repair, consider applying a clear sealant or repainting the ceramic pot. If you used epoxy for the repair, a clear, waterproof sealant can add durability and protect the repaired areas from moisture. If the pot has a specific color or design, use ceramic-safe paint to restore its appearance. A sealant or fresh coat of paint not only makes the repair less visible but also extends the life of the pot, protecting it from wear and tear.

Things to Consider When Repairing Ceramics
When embarking on ceramic repair, several factors should be taken into account to ensure the best results. First and foremost, assess the extent of the damage and determine if repair is feasible or if replacement is a more practical solution. If proceeding with repair, always use the appropriate safety gear, such as gloves and eye protection, to safeguard against sharp edges or adhesive exposure.
Additionally, consider the environment in which the repair is to be completed; a clean, well-ventilated area is ideal to prevent inhaling fumes or introducing particles to the adhesive. Lastly, be mindful of the pot’s intended use and the strength requirements of the repair, as heavily used or decorative items may influence the type of adhesive chosen and the level of detail in the repair process.
Common Mistakes to Avoid
When repairing ceramics, certain pitfalls can undermine the success of your efforts. One common mistake is rushing the cleaning process. Failing to thoroughly clean the broken edges can prevent the adhesive from forming a strong bond. Another frequent error is applying too much adhesive, which can lead to unsightly drips or an uneven finish. It’s important to apply just enough glue to cover the surfaces being joined.
Overlooking the importance of alignment during assembly is another error to watch out for, as poor alignment can result in visible seams and weakened joints. Additionally, impatience with drying times can compromise the integrity of the repair. Allowing each step to fully cure is crucial for ensuring a robust hold. Lastly, neglecting to wear protective gear, such as gloves, can expose you to harmful chemicals found in some adhesives. Avoiding these common mistakes will ensure a more professional and durable repair.
Conclusion
Repairing ceramics can be a rewarding and sustainable alternative to replacing beloved items that suffer from chips or breaks. Following a detailed repair process not only restores the original aesthetic and function of the ceramic piece but also reinforces its structural integrity. By carefully cleaning, applying the right adhesives, ensuring proper alignment, and allowing adequate curing time, you can achieve professional-looking results. Attention to detail, patience, and the use of the appropriate materials are key to a successful repair. Be sure to follow all instructions on how to glue ceramic pot carefully, and always consult an expert when in doubt.
Specialization:
- Master of wheel-throwing, hand-building, and advanced glazing techniques
- Focus on creating both functional pottery and decorative art pieces
Recognition:
- Celebrated by collectors and art enthusiasts for creating one-of-a-kind pieces that blend artistry with functionality
- Participates in local and national exhibitions, earning accolades for his innovative designs and craftsmanship
Passion:
- Deeply committed to exploring and pushing the boundaries of ceramic artistry
- Continuously experiments with new materials, firing techniques, and artistic concepts to evolve his craft
Personal Philosophy:
- Believes in the transformative power of art, aiming to evoke emotions and connections through his ceramic creations
- Advocates for sustainability in ceramics, using eco-friendly materials and practices whenever possible


