


Polymer clay is a versatile medium favored by artists and hobbyists for its ability to be sculpted into intricate details and vibrant designs. Its adaptability makes it ideal for creating anything from jewelry to decorative art pieces. However, understanding how to condition polymer clay is essential to achieve the best results. Conditioning polymer clay is kneading and softening it to enhance its flexibility and workability.
Proper conditioning is crucial to ensure the clay blends colors smoothly and maintains its integrity throughout crafting and baking, preventing unsightly cracks. This step helps to distribute plasticizers evenly within the clay, ensuring that it remains pliable and easy to shape. By dedicating time to properly condition your clay, you improve its quality and broaden the potential for creativity in your projects.
Gathering Tools and Materials
Types of Polymer Clay and Their Characteristics
When delving into the craft of polymer clay art, choosing the right type of clay is crucial, as each brand offers distinct textures and conditioning needs. Sculpey is popular for beginners due to its softer texture, making it easier to condition, though it may require more delicate handling during intricate work. Fimo, known for its firmness, retains detail well and is favored by professional artists, though it can be more challenging to condition initially. Premo combines flexibility and strength, offering a balance between ease of use and durability, suitable for both beginner and advanced projects. Understanding these characteristics helps artists select the best clay for their specific project needs.
Essential Tools for Conditioning
Having the right tools to effectively condition polymer clay makes the process more efficient and less strenuous. A pasta machine is invaluable for those who work with clay regularly, as it simplifies the conditioning process and ensures even thickness. A roller or acrylic rod can help flatten the clay manually, while a sharp blade is essential for clean cuts. A dedicated work surface, such as a ceramic tile or glass mat, provides a smooth area conducive to rolling and cutting. For those dealing with particularly stiff clay, a heat pad can gently warm it, making it easier to manipulate. These tools collectively aid in achieving perfectly conditioned polymer clay that is ready for crafting.
Understanding When and Why Polymer Clay Needs Conditioning
Signs of Stiff or Brittle Clay
Polymer clay can become stiff or brittle when it has been stored for an extended period or exposed to cold temperatures. When the clay is too hard to work with, it may crumble or crack when manipulated, making sculpting and detailing difficult. Recognizing these signs early is crucial, as stiff clay needs to be warmed up slightly before it can be conditioned effectively. Gentle warming, either by hand-kneading or a heating pad, soften the clay, allowing for easier manipulation and shaping.
Benefits of Properly Conditioned Clay
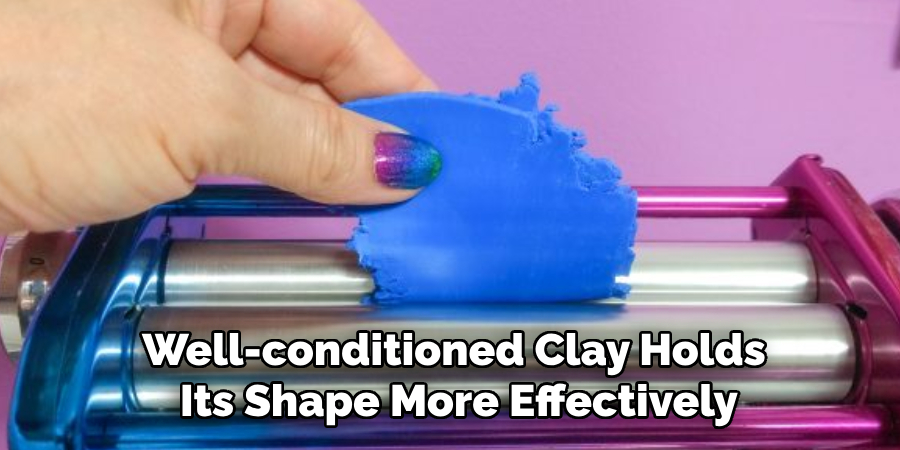
Properly conditioning polymer clay is imperative for achieving optimal results in your projects. Well-conditioned clay holds its shape more effectively during sculpting and avoids the risk of cracking during the baking process. Additionally, it allows colors to blend seamlessly, producing even and vibrant tones throughout your creation. The improved pliability and smooth texture of conditioned clay make it easier to achieve fine details, ensuring a professional and polished look in all your polymer clay endeavors.
How to Condition Polymer Clay: Methods for Conditioning Polymer Clay
Hand-Kneading Method
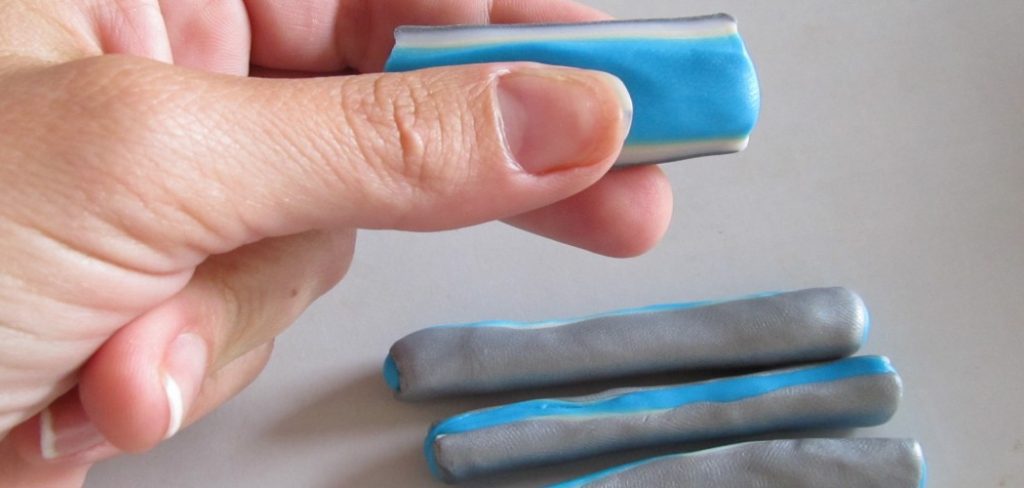
Hand-kneading is a traditional and effective method for conditioning polymer clay. To begin, warm a small piece of clay in your hands to make it more pliable. As the clay warms, start kneading it, folding and pressing it with your fingers or the heel of your hand. Continue this process until the clay becomes soft and malleable. This manual method softens the clay and helps distribute plasticizers evenly, enhancing the clay’s workability. Take breaks and work with manageable amounts of clay to prevent hand strain. Additionally, kneading by hand offers the advantage of evenly blending colors, allowing for smooth transitions and custom shades in your projects.
Using a Pasta Machine for Conditioning
Using a pasta machine is a popular method among polymer clay enthusiasts for its efficiency and ability to ensure consistent results. Begin by setting up your pasta machine and starting with the thickest setting available. Run the clay through the machine to flatten it, then fold it in half and feed it through again. Gradually adjust the machine to thinner settings as you continue rolling and folding the clay repeatedly. This method compresses the clay layers, effectively conditioning them to a smooth texture. Pay attention to the alignment as you fold the clay to avoid trapped air bubbles. Using a pasta machine saves time and reduces physical effort, making it an invaluable tool for large batches or repetitive work.
Alternative Techniques for Hard Clay
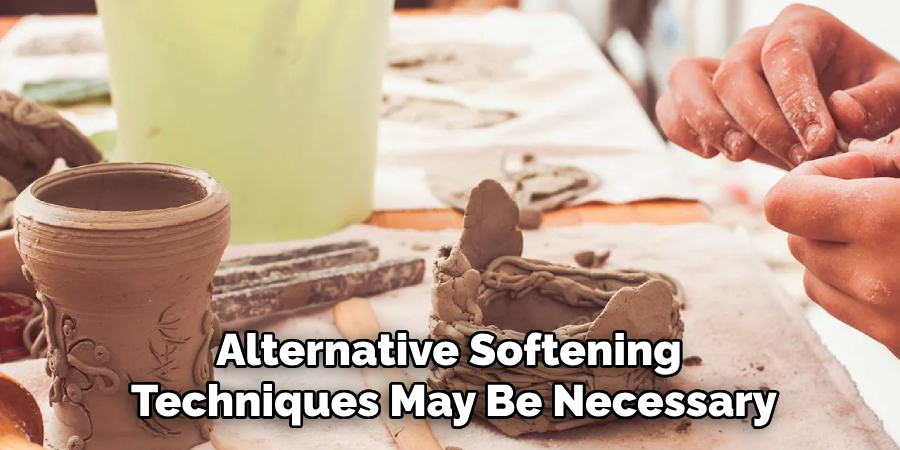
For particularly stiff clay, alternative softening techniques may be necessary. Clay softeners, available commercially, can be mixed into the clay to increase its workability—start with small amounts to avoid over-softening. Alternatively, gently warming the clay using a heat pad can make it more flexible and easier to handle. Another option is to mix in small quantities of compatible oil, such as baby oil, which can help soften the clay. Begin by adding a few drops and kneading thoroughly until evenly distributed. These methods provide solutions for reviving hard or crumbly clay, ensuring that it becomes suitable for detailed crafting and manipulation.
Troubleshooting Common Conditioning Issues
Addressing Crumbly or Brittle Clay
Crumbly or brittle clay can be frustrating, but several effective methods exist to restore its pliability. One solution is to use a clay softener—add small amounts and knead thoroughly until the clay becomes manageable. If a softener is unavailable, mixing the crumbly clay with a small amount of fresher clay can enhance its flexibility. Ensure even distribution by kneading both types together until fully integrated. Another technique is incorporating a tiny drop of baby oil into the clay, providing additional moisture. Knead thoroughly to evenly blend the oil. These methods can help you salvage dry clay, making it suitable for crafting again.
Avoiding Over-Conditioning and Air Bubbles
Recognizing clay that is over-conditioned is crucial to ensuring quality in your projects. Over-conditioned clay tends to be excessively soft and sticky, posing challenges during sculpting and increasing the likelihood of distortion. To address this, allow the clay to rest for a while to regain a more workable texture. To minimize air bubbles—which can disrupt the surface of your creations—maintain a consistent folding direction during conditioning and use rolling techniques gently. Pay attention to avoid trapping air in folds, and consider using a needle to pierce and release any bubbles that do form. These tips help achieve smooth, bubble-free clay, ready for detailed work.
Testing for Properly Conditioned Clay
Stretch and Fold Test
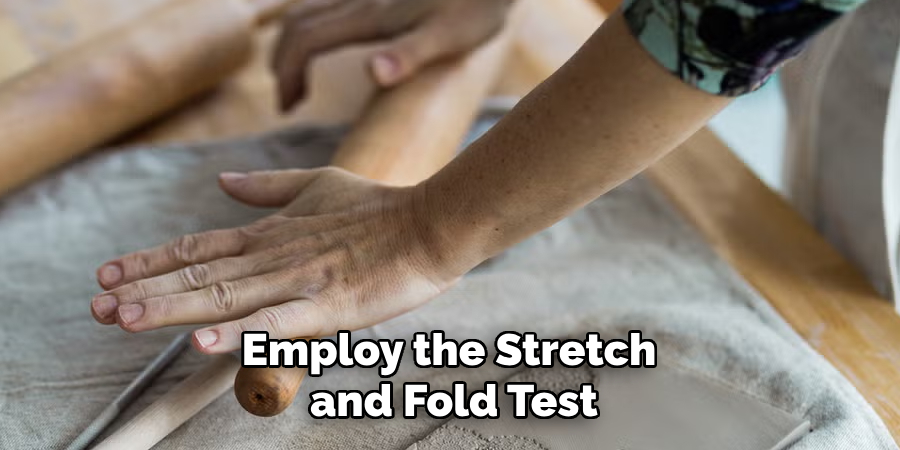
Employ the stretch and fold test to determine if polymer clay is adequately conditioned. Begin by stretching a small piece of clay gently between your fingers. Properly conditioned clay should stretch smoothly, exhibiting elasticity without cracking. Next, fold the clay piece onto itself. It should remain pliable and fold easily without breaking or crumbling. If the clay passes this test, it indicates that the conditioning is optimal and ready for intricate crafting and sculpting.
Roll Test for Pliability
Another method to assess the conditioning quality is the roll test. Roll a small piece of clay into a thin, snake-like shape using consistent, gentle pressure. A well-conditioned clay should roll smoothly without any rough spots or cracks appearing along its length. Consistency and uniformity in the rolled shape are key indicators of effective conditioning, ensuring the clay is well-prepared for detailed work and precision.
Tips for Storing Conditioned Clay
Proper Storage Techniques
It’s crucial to store conditioned clay properly to maintain its softness and pliability. Use airtight containers or resealable plastic bags to prevent exposure to air, which can cause the clay to harden over time. Ensure the containers or bags are sealed tightly to minimize moisture loss. Label each container with the clay’s color and conditioning date for easy tracking and organization.
Preventing Re-Hardening and Dust Contamination
To avoid re-hardening, store clay in a cool, dry place away from direct sunlight or heat sources. Wrap the clay in plastic wrap or wax paper before placing it in containers to keep it clean and free from dust or lint. Regularly wiping down surfaces can also help keep your storage area tidy and dust-free. This practice ensures your conditioned clay remains in optimal condition and ready for use in any project.
Conclusion
Mastering how to condition polymer clay is essential for achieving smoother and more professional-looking creations. By thoroughly following the conditioning process—using techniques like the pasta machine method, softening hard clay, and conducting stretch and roll tests—you ensure your clay remains pliable and ready for intricate crafting. Proper conditioning enhances the clay’s workability and minimizes issues like air bubbles and brittleness. As you continue experimenting with various techniques, you’ll discover the methods that best suit your projects, empowering you to create confidently and creatively.
Specialization:
- Master of wheel-throwing, hand-building, and advanced glazing techniques
- Focus on creating both functional pottery and decorative art pieces
Recognition:
- Celebrated by collectors and art enthusiasts for creating one-of-a-kind pieces that blend artistry with functionality
- Participates in local and national exhibitions, earning accolades for his innovative designs and craftsmanship
Passion:
- Deeply committed to exploring and pushing the boundaries of ceramic artistry
- Continuously experiments with new materials, firing techniques, and artistic concepts to evolve his craft
Personal Philosophy:
- Believes in the transformative power of art, aiming to evoke emotions and connections through his ceramic creations
- Advocates for sustainability in ceramics, using eco-friendly materials and practices whenever possible