


Creating a mold from polymer clay is a rewarding and useful skill for artists and crafters alike. Whether you’re looking to duplicate small figurines, jewelry pieces, or other intricate designs, polymer clay molds offer a flexible and cost-effective solution. This guide will walk you through how to make a mold from polymer clay, from selecting the right type of polymer clay to curing and using your finished mold. With a little patience and practice, you can produce high-quality molds that capture fine details and enhance your creative projects.

Why Use Polymer Clay to Make a Mold
Polymer clay is an excellent choice for mold making due to its versatility and ease of use. One of its primary advantages is that it is readily available in craft stores and comes in a variety of forms with differing textures and firmness levels, allowing you to choose the perfect type for your project. Additionally, polymer clay can capture intricate details, making it ideal for molds of delicate or elaborate designs.
Unlike other mold-making materials, polymer clay doesn’t require any specialized equipment, which makes it accessible to beginners and experienced crafters alike. Furthermore, once cured, polymer clay molds are durable and reusable, providing long-term value for frequent projects. This affordability, combined with the ability to personalize and perfect your mold-making process, makes polymer clay a preferred choice for artists seeking both quality and simplicity in their creations.
Importance and Benefits of Making Your Own Molds
Making your own molds using polymer clay is not only a cost-effective solution, but it also allows for greater customization and control over your creative projects. By crafting your own molds, you can replicate intricate designs that are uniquely suited to your artistic vision.
This process empowers artists and crafters to experiment with new patterns and textures without relying on store-bought alternatives, which may not meet specific needs or preferences. Furthermore, creating molds at home promotes sustainability by allowing you to use and reuse materials efficiently. This hands-on approach fosters innovation and enhances skill development, offering endless possibilities for personalized art and crafting endeavors.
10 Methods How to Make a Mold from Polymer Clay
1. Select the Right Type of Polymer Clay for Your Mold
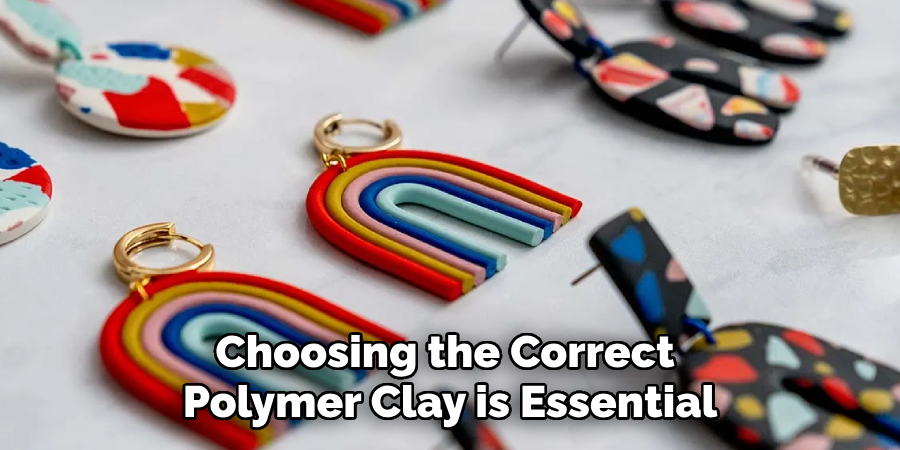
Choosing the correct polymer clay is essential for mold-making. Look for a firmer polymer clay, like Sculpey’s Original or Premo, which holds shape well and captures details. Softer clays may warp when pressure is applied, which can lead to a distorted mold. The firmer clays are easier to handle and maintain their structure, making them ideal for detailed molds that will last through multiple uses.
2. Prepare the Object for Mold Making
The object you’ll use as a model for your mold should be clean and free of dust or dirt, as any particles on its surface will transfer to the mold. To prevent the polymer clay from sticking to the object, apply a thin layer of cornstarch or a non-stick agent like petroleum jelly. This step will help you remove the object without damaging the shape, making it easier to produce a precise mold.
3. Condition the Polymer Clay Thoroughly
Conditioning polymer clay is necessary for improving its flexibility and removing any air bubbles that could interfere with the mold’s surface. Knead the clay until it’s soft and workable, and then roll it out to an even thickness. Conditioning also helps the clay hold onto the object’s details better, creating a mold that accurately replicates the original design.
4. Shape the Polymer Clay Base
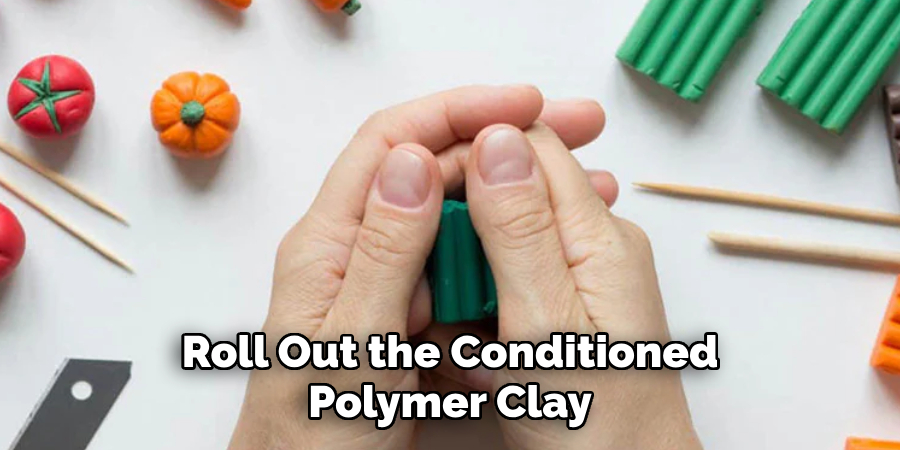
Roll out the conditioned polymer clay to form a base that is slightly thicker than the item you’re molding. The thickness of the clay should be substantial enough to capture all the details and hold its form during and after pressing. Aim for a thickness that matches the size of your item, as a thin layer might be too fragile and prone to tearing or cracking when in use.
5. Press the Object Gently but Firmly into the Clay
To create the mold, place your object on top of the prepared clay and press it firmly but gently to avoid distorting the shape. Make sure to press evenly around the entire object, ensuring all areas are adequately imprinted into the clay. If needed, use a rolling pin or other flat object to help apply pressure. The goal is to capture every detail without distorting the original shape.
6. Carefully Remove the Object to Reveal the Mold
Once you’ve pressed the object into the clay, slowly remove it by lifting it straight up. This minimizes the risk of smudging the design or altering the shape of the mold. If the object sticks, use a gentle twisting motion or a small tool to loosen it. For delicate designs, take extra time to avoid damaging the intricate details, as these will be crucial to the quality of your mold.
7. Smooth and Refine the Mold’s Edges
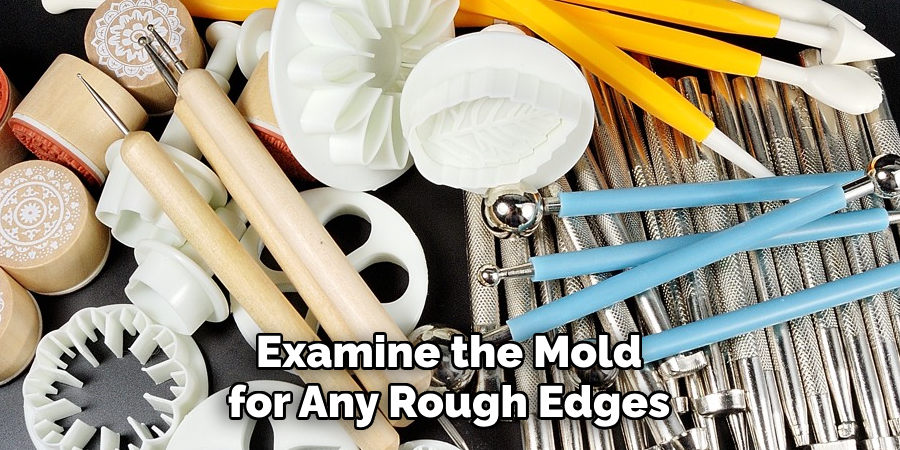
With the object removed, examine the mold for any rough edges or imperfections. Use a small tool or a damp finger to smooth the mold’s edges and remove any accidental marks. This step ensures that the mold’s surface is clean and will produce consistent, professional-looking results. For very fine details, a small paintbrush or silicone sculpting tool can help refine the mold without disturbing its intricate parts.
8. Bake the Mold for Durability
Bake the polymer clay mold according to the clay manufacturer’s instructions. Most polymer clays cure at around 265–275°F (130°C) for 15-30 minutes, depending on thickness. Proper baking solidifies the mold, making it durable and capable of withstanding repeated use. Allow it to cool fully before using it; this helps prevent any warping or bending while it’s still warm.
9. Apply a Non-Stick Agent for Easy Release
If you’re planning to use the mold for casting or pressing additional clay, applying a non-stick agent helps prevent sticking and makes removal easier. Cornstarch or a very light coating of petroleum jelly works well for this purpose, ensuring that your replicated pieces come out smoothly without damage. Lightly dust the inside of the mold with your chosen non-stick agent before pressing new material into it.
10. Store and Use the Mold Properly
To make sure your mold lasts for a long time, store it properly and avoid exposing it to extreme temperatures, as this can affect the polymer clay’s strength and shape. Keep your molds in a cool, dry place, ideally inside a storage box to avoid dust accumulation. When you’re ready to use the mold again, press your clay or casting material gently, and clean the mold after each use to keep it in optimal condition.
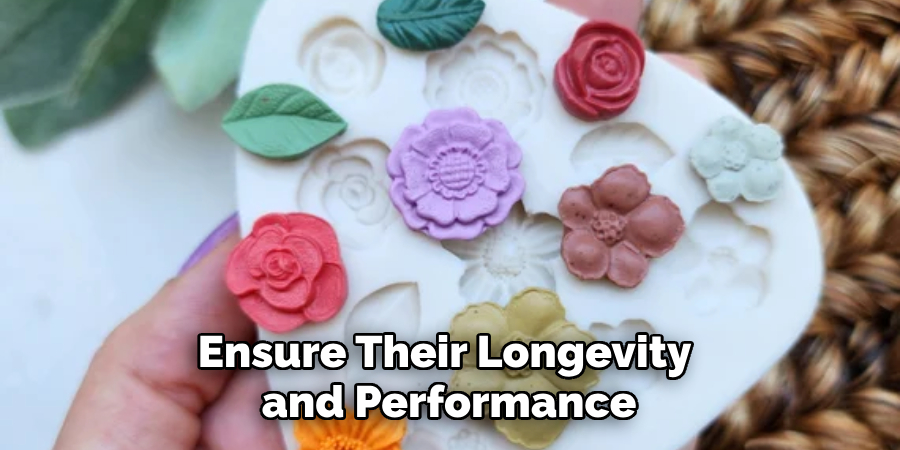
Maintenance and Upkeep
Proper maintenance and upkeep of your polymer clay molds are essential to ensure their longevity and performance. First and foremost, always clean your molds after each use. Gently wash them with warm, soapy water and a soft brush to remove any residual material, then let them air dry completely before storage. Avoid harsh chemicals or abrasive cleaners, as these can damage the surface of the mold.
Additionally, inspect your molds regularly for signs of wear or damage, such as cracks or loss of detail, and address any issues promptly to prevent further deterioration. When storing molds, keep them in a cool, dry environment away from sunlight, as prolonged exposure to heat or UV rays can compromise the integrity of the polymer clay. By following these care practices, you’ll ensure that your molds remain functional and effective for all your creative projects.
Troubleshooting Common Issues
When working with polymer clay molds, several issues may arise, impacting the quality and usability of your molds. Here, we cover some common problems and their solutions:
1. Mold Sticking to the Object: If your mold consistently sticks to the objects you’re trying to replicate, insufficient application of a non-stick agent might be the cause. Ensure that you apply enough cornstarch or petroleum jelly to create a barrier between the clay and the object.
2. Air Bubbles in the Mold: Air bubbles can create unwanted holes and textures in your mold. To address this, make sure to thoroughly condition the clay before beginning. Carefully knead and press the clay to eliminate air pockets. Uneven pressure when pressing the object into the clay can also contribute to this issue.
3. Distorted Mold Shapes: If your molds lose shape, it might be due to uneven pressure or an unsuitable clay consistency. Ensure that you use firm clay and distribute pressure evenly when imprinting the object. Also, consider reinforcing thin areas to prevent them from warping or tearing.
4. Cracks or Breaks After Baking: This can occur if the clay is not thoroughly conditioned or if it undergoes extreme temperature changes. Make sure to follow the baking instructions precisely, allowing the mold to cool gradually for structural integrity.
Conclusion
Creating polymer clay molds is a rewarding process that allows for endless creativity and customization in your projects. By following the detailed steps and tips outlined in this guide, you can produce reliable and durable molds that fit your specific needs. Ensuring meticulous attention to pressure, detail, and maintenance will help avoid common issues like air bubbles and distortions. Thanks for reading our blog post on how to make a mold from polymer clay! We hope you found it helpful and informative.
You may also check it out: Seal Clay Pots
Find Wild Clay for Moulding Ceramic
Specialization:
- Master of wheel-throwing, hand-building, and advanced glazing techniques
- Focus on creating both functional pottery and decorative art pieces
Recognition:
- Celebrated by collectors and art enthusiasts for creating one-of-a-kind pieces that blend artistry with functionality
- Participates in local and national exhibitions, earning accolades for his innovative designs and craftsmanship
Passion:
- Deeply committed to exploring and pushing the boundaries of ceramic artistry
- Continuously experiments with new materials, firing techniques, and artistic concepts to evolve his craft
Personal Philosophy:
- Believes in the transformative power of art, aiming to evoke emotions and connections through his ceramic creations
- Advocates for sustainability in ceramics, using eco-friendly materials and practices whenever possible