


The world of DIY ceramics has surged in popularity, making handmade smoking accessories a treasured craft among enthusiasts. With the guidance of this comprehensive tutorial on how to make a ceramic bong, you’ll discover the joys of creating a piece tailored to your aesthetic and functional desires.
Crafting your own bong provides numerous benefits, such as the freedom to innovate unique designs, select safe, high-quality materials, and indulge in the fulfilling process of seeing your creation come to life. While the journey involves some skills and tools, from sketching and shaping to glazing and firing, the rewards are immense. This project results in a custom functional piece and serves as a vessel for creative expression. As you advance through the steps outlined, you’ll gain both the pleasure of crafting and the pride of using a self-made artistic achievement.
Gathering Materials and Tools
Clay Selection: Types and Benefits
Choosing the right clay is essential for crafting a successful ceramic bong. Earthenware, stoneware, and porcelain are the three main types of clay, each with its unique attributes. Earthenware is a great choice for beginners due to its flexibility and low firing temperature, making it easier to work with and more forgiving. Stoneware, known for its durability and strength, is ideal if you’re looking for a more robust finish, though it requires more skill. Porcelain offers a delicate and refined appearance but demands higher precision and experience due to its fine texture and higher firing temperature. For those new to ceramic crafting, starting with earthenware or stoneware can provide a smoother learning curve.
Essential Tools for Shaping and Detailing
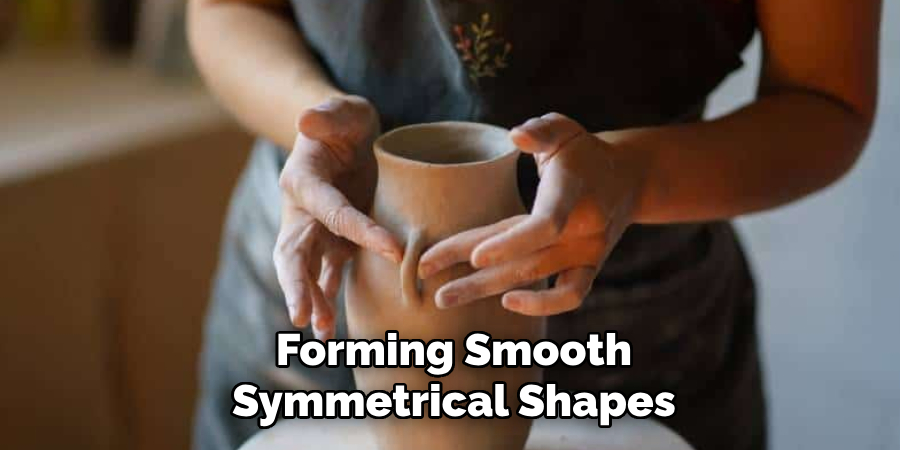
To bring your ceramic bong to life, you’ll need a set of essential tools that facilitate shaping and detailing. A pottery wheel, while optional, can assist in forming smooth, symmetrical shapes. Shaping tools like rib and loop tools help refine the clay’s structure. Sponges are useful for smoothing surfaces and controlling moisture levels. Paintbrushes are handy for applying underglazes or fine details, and carving tools allow for custom textural effects. Lastly, access to a kiln is crucial for firing your piece, ensuring it achieves the strength and finish necessary for functional use. These tools give you the foundation to craft a unique and personalized bong.
Planning Your Bong Design
Sketching and Measuring Your Design
Starting with a simple sketch is crucial in bringing your ceramic bong to life. Begin by visualizing the basic structure, focusing on key components such as the neck, chamber, and mouthpiece. These elements will define the overall size and shape of your bong. Using graph paper can help maintain proportionality in your design. Remember to take precise measurements to ensure each part fits together seamlessly, particularly if you’re integrating multiple sections. This initial sketching stage allows you to explore various shapes and styles while considering aesthetics and functionality.
Important Functional Elements to Consider
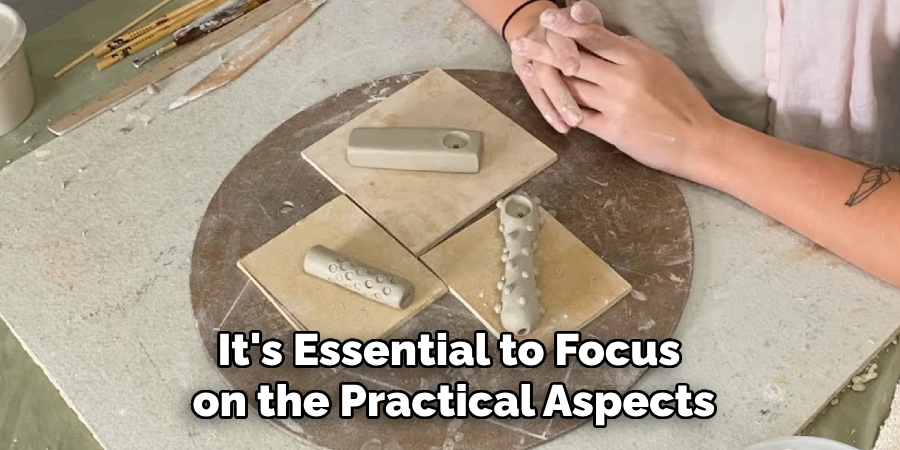
When planning your ceramic bong design, it’s essential to focus on the practical aspects that contribute to its usability. The bowl should be easy to access and properly positioned for efficient packing and burning. Consider the placement of the downstem to optimize airflow and enhance the smoothness of each draw. Proper ergonomics are also crucial; ensure that the bong is easy to hold and comfortable to use. The chamber size should balance volume with stability, preventing tipping while providing adequate space for smoke. By thoughtfully integrating these functional elements, you’ll create a bong that offers both an enjoyable and efficient smoking experience.
How to Make a Ceramic Bong: Shaping the Bong Body
Using a Pottery Wheel for the Main Shape
Creating the main body of your ceramic bong with a pottery wheel allows for smooth, symmetrical shapes. Begin by centering your clay on the wheel, using both hands to ensure it’s balanced. Gradually shape the clay into a cylinder by applying steady pressure while wheel-throwing. To achieve symmetry, maintain consistent speed and pressure, adjusting as needed to refine the form. Focus on achieving even thickness throughout, as this contributes to structural integrity during firing. Regularly check and adjust the shape to prevent any unexpected warping or unevenness. This practice simplifies the process and allows for innovative and personalized designs.
Hand-Building Techniques
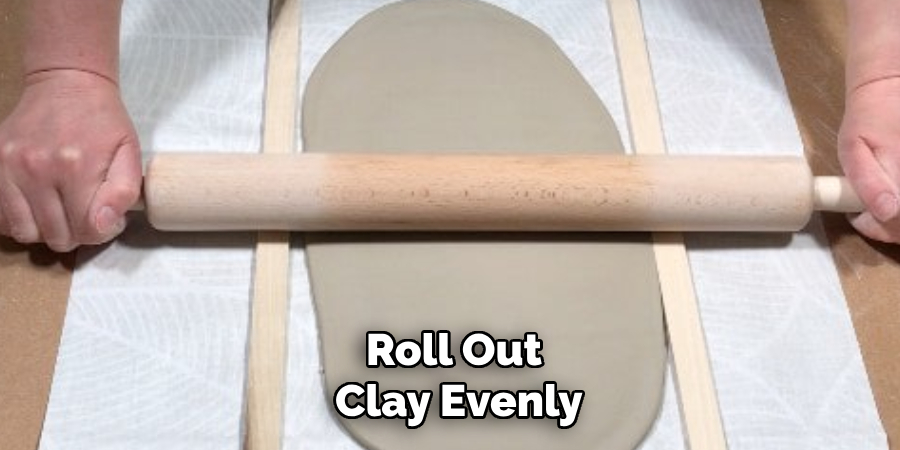
If a pottery wheel is unavailable, hand-building techniques like slab-building or coil-building offer alternative methods for creating your bong. To use slab-building, roll out clay evenly and cut it into your desired shapes, then form the bong by joining the edges using a slip. For coil-building, roll clay into uniform coils and stack them to form the bong’s body, smoothing the surface with tools or your fingers. These techniques provide greater flexibility in creating unique shapes and textures. Remember to monitor the thickness of your creation throughout, ensuring it’s stable enough to withstand the firing process. These manual methods encourage creativity and custom designs tailored to your preferences.
How to Make a Ceramic Bong: Adding the Downstem and Bowl
Forming and Attaching the Downstem
To create an efficient downstem, start by rolling a thin, even slab of clay that will form the tube. Measure and cut the slab to your desired length, ensuring it reaches the water inside the chamber for optimal filtration. Carefully shape the slab into a cylindrical form, smoothing the seams to ensure no air leaks. Position the downstem at a slight angle to the bong body in order to facilitate easy airflow and smooth draws. To attach it securely, score both the contact area on the bong body and the downstem, then apply slip before pressing them together to form a strong bond. Ensure the joint is seamless to avoid structural weaknesses.
Creating the Bowl and Joint
Crafting the bowl begins with forming a small, deep dish from a ball of clay. Use your fingers or a small tool to hollow it out, ensuring it’s large enough to hold your desired quantity of material without overflowing. For a removable bowl, create a separate joint by shaping a smaller tube that fits snugly into the downstem, similar to creating the downstem itself. If a fixed bowl is preferred, directly attach it to the top of the downstem, ensuring both are aligned for optimal function. Check that all parts are proportionate and fit together smoothly to guarantee effective airflow and ease of use.
Drying and Firing the Bong
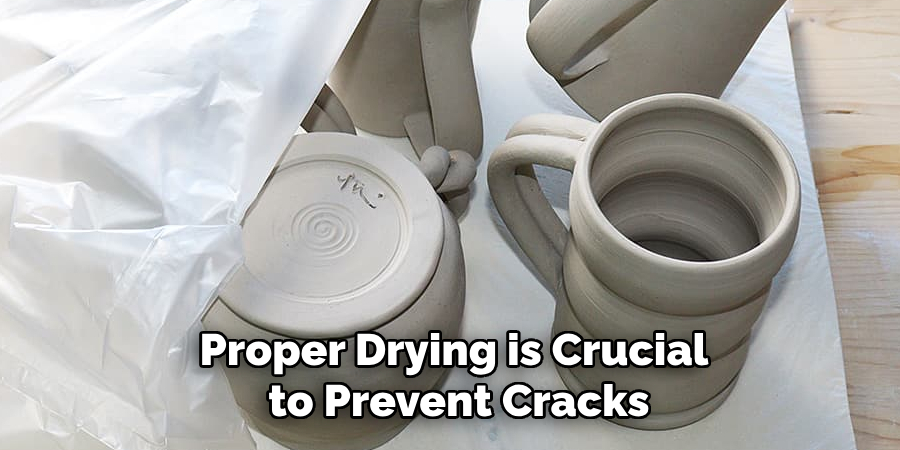
Proper Drying Techniques to Prevent Cracks
After shaping and assembling your ceramic bong, proper drying is crucial to prevent cracks and ensure structural integrity. Place the bong in a well-ventilated area, away from direct sunlight or drafts, which can cause uneven drying. It’s important to let the piece dry slowly and evenly. Check for moisture by gently touching the surface; if it feels cool, it’s still wet. Rotate the bong periodically to expose all sides to airflow, promoting even moisture evaporation. Patience is key, as rushing this process might lead to cracks that can compromise the piece during firing.
Using a Kiln to Fire the Bong
Once your bong is thoroughly dried, it’s ready to be fired in a kiln. Begin by preheating the kiln to eliminate any remaining moisture. For stoneware or earthenware, consider firing at a temperature between 1,800°F and 2,200°F, though specific clay bodies may have precise requirements. Always follow the kiln manufacturer’s guidelines for safe operation. For first-time users, it’s advisable to perform a test firing with a small piece to gauge the kiln’s behavior. Remember to wear appropriate safety gear like gloves and goggles while operating the kiln. Proper firing techniques will ensure your bong is durable and ready for functional use.
Glazing and Decorating Your Bong
Choosing Food-Safe Glazes
When selecting a glaze for your ceramic bong, prioritize non-toxic, food-safe options to ensure safe and enjoyable use. Look for glazes labeled as lead-free and suitable for surfaces that come into contact with consumables. These glazes ensure no harmful chemicals leach into the smoke. Available in various colors and finishes—such as glossy, matte, or satin—they allow for personalization while maintaining safety standards. When choosing a color, consider how it complements your design and enhances the visual appeal of your bong, providing both aesthetic value and practicality in its use.
Techniques for Adding Decorative Touches
To infuse your bong with personality, explore various painting, texturing, and decorating techniques. You might opt to paint intricate designs or motifs using ceramic paints that are compatible with your chosen glaze. Carving or etching patterns into the surface before glazing can add a layer of texture and interest. Additionally, for a distinct finish, consider experimenting with layering different glazes to achieve unique effects, such as crystalline or reactive glazes. Whether it’s through detailed artwork or subtle embellishments, decorating your bong offers endless possibilities to create a truly personalized and functional piece.
Final Firing and Testing
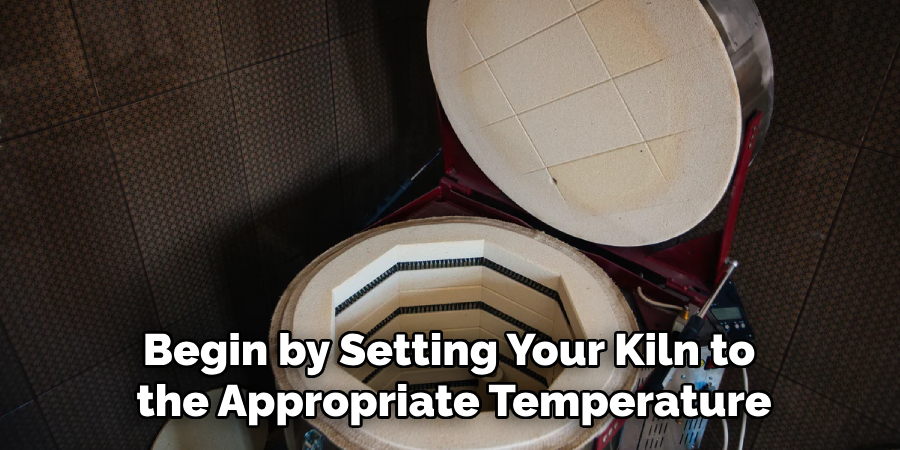
Glaze Firing Process
After applying your chosen glaze, prepare for the final firing. Begin by setting your kiln to the appropriate temperature for glaze firing, typically between 1,800°F and 2,300°F, depending on the glaze requirements. Gradually increase the kiln temperature to prevent thermal shock and maintain it for the recommended duration to properly melt and set the glaze. Watch for peephole observations to ensure even glaze maturity, checking regularly for imperfections or glaze flow, which can affect the piece’s aesthetics and surface finish.
Testing for Airtightness and Functionality
Once the bong cools and is safe to handle, check for airtightness by covering the bowl and downstream openings and performing a suction test from the mouthpiece. Listen for air leaks and make necessary adjustments like smoothing joint edges or sealing cracks with non-toxic sealants. Test the airflow and smoke quality by simulating usage, ensuring smooth, unobstructed airflow. These checks are crucial for a satisfying smoking experience, guaranteeing both functionality and an enhanced user experience.
Caring for Your Ceramic Bong
Cleaning and Maintenance Tips
To clean your ceramic bong safely without damaging the glaze or structure, use warm water and gentle dish soap to ensure all soap residue is thoroughly rinsed. For tougher stains or residue, a mixture of isopropyl alcohol and coarse salt can be used as a mild abrasive. Avoid using sharp tools that might scratch the surface. Regular cleaning after each use is advised to maintain optimal performance and appearance.
Proper Storage to Ensure Longevity
Safely storing your ceramic bong can prevent chips or cracks and ensure longevity. Store it upright on a flat, stable surface to avoid tipping over. Use a padded mat or foam lining to cushion the base. Keep the bong away from the edges of shelves or tables to prevent accidental falls, and avoid exposing it to extreme temperature changes, which can weaken the ceramic. Regular inspections for any damage will help maintain its structural integrity.
Conclusion
Congratulations on completing your journey of crafting a ceramic bong, from the initial design to the final phases of testing. This rewarding process involves critical steps such as shaping your material, firing it in a kiln to achieve hardness, and applying glaze for both aesthetic and practical purposes. Each phase requires meticulous attention to detail, ensuring your creation looks beautiful and functions effectively.
This guide on “how to make a ceramic bong” empowers you with the knowledge to create a personalized piece. As you gain more experience, feel free to embrace and explore various styles and techniques, honing your craft with each attempt. There’s immense satisfaction in using and showcasing a self-made piece that reflects your personality and creativity. Celebrate your accomplishment by proudly displaying your unique ceramic art, knowing it embodies your efforts and vision.
Specialization:
- Master of wheel-throwing, hand-building, and advanced glazing techniques
- Focus on creating both functional pottery and decorative art pieces
Recognition:
- Celebrated by collectors and art enthusiasts for creating one-of-a-kind pieces that blend artistry with functionality
- Participates in local and national exhibitions, earning accolades for his innovative designs and craftsmanship
Passion:
- Deeply committed to exploring and pushing the boundaries of ceramic artistry
- Continuously experiments with new materials, firing techniques, and artistic concepts to evolve his craft
Personal Philosophy:
- Believes in the transformative power of art, aiming to evoke emotions and connections through his ceramic creations
- Advocates for sustainability in ceramics, using eco-friendly materials and practices whenever possible