


Handmade ceramic ornaments have become increasingly popular for adding a personal touch to holiday celebrations, special occasions, and home decor. These charming creations offer a unique opportunity for customization, allowing crafters to design ornaments that reflect personal style and sentiment. By learning how to make ceramic ornaments, individuals can produce one-of-a-kind pieces that stand out in any setting.

The process involves selecting the right materials, such as air-dry or kiln-fired clay, and gathering essential tools like rolling pins and carving instruments. With a basic understanding of designing and shaping techniques, anyone can create beautiful ornaments tailored to their preferences. Whether it’s for hanging on a Christmas tree or adorning a special gift, ceramic ornaments crafted with care become treasured keepsakes, celebrated for their character and creativity. Embracing this craft enhances artistic skills and brings joy and satisfaction to creating personalized decorations.
Gathering Materials and Tools
Types of Clay to Consider
When embarking on creating ceramic ornaments, choosing the right clay is essential for both the process and the final product. Air-dry clay is a convenient option that doesn’t require a kiln, making it perfect for beginners or those without access to specialized equipment. It’s easy to work with but less durable than other types.
Polymer clay offers vibrant colors and can be hardened in a standard oven, providing more flexibility and durability, but it may require more manipulation skills. Kiln-fired clay, like earthenware or stoneware, delivers a professional and lasting finish but demands access to a kiln and some experience in handling clay due to shrinkage and firing techniques. Each type of clay presents specific characteristics; thus, carefully considering the desired outcome and available resources is important before starting the ornament-making project.
Essential Tools for Ornament Making
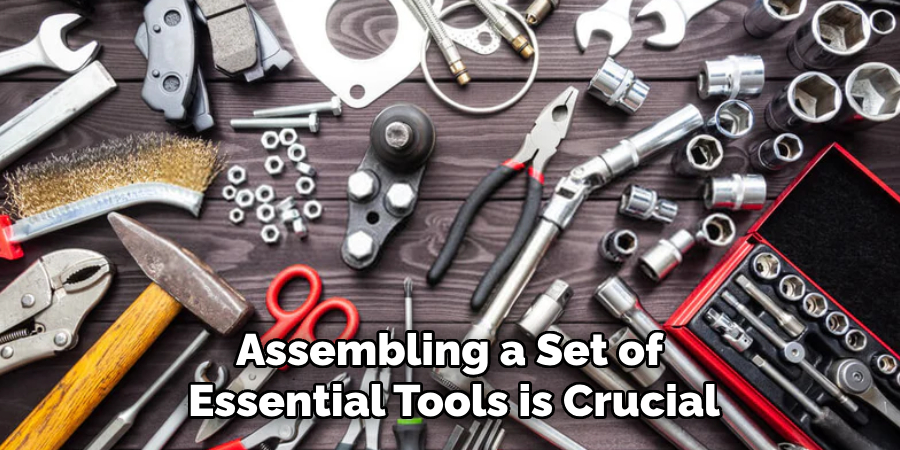
To create ceramic ornaments successfully, assembling a set of essential tools is crucial. A sturdy rolling pin is used to flatten clay to the desired thickness, ensuring uniformity across ornaments. Cookie cutters of various shapes come in handy for cutting the clay into consistent designs, while carving tools allow for detailed work and customization. Sponges and brushes are used to smooth out imperfections and apply decorative elements. If you opt for kiln-fired clay, access to a kiln is necessary for the firing process, solidifying the clay into its final form. By having these tools at your disposal, making ceramic ornaments becomes feasible, enjoyable, and creatively satisfying.
Planning Your Ornament Design
Sketching and Choosing Shapes
When planning your ornament design, begin by sketching potential shapes and sizes. Common choices like stars, hearts, and trees are always popular but don’t hesitate to experiment with custom designs that hold personal meaning. Consider the context in which your ornaments will be displayed and select shapes that complement the environment’s theme or mood. Sketching your ideas allows you to visualize the layout and adjust proportions before working with the clay. Remember, the sky’s the limit—your imagination is your only boundary when creating unique and meaningful ornaments.
Considering Decorative Elements
Incorporating decorative elements into your ornaments adds individuality and depth to your creations. Consider techniques like engraving, where you can inscribe names or messages for a personal touch. Textures can also enhance visual interest; using tools like lace or textured fabrics can imprint intricate patterns onto the clay surface. Additionally, consider cut-out designs that allow light to pass through the ornament, casting beautiful shadows. Combining different techniques can elevate your ceramic pieces, making them truly one-of-a-kind. Whether subtle or bold, these elements reflect your style and give each ornament a personalized flair.
How to Make Ceramic Ornaments: Shaping and Cutting the Ornaments
Rolling Out the Clay
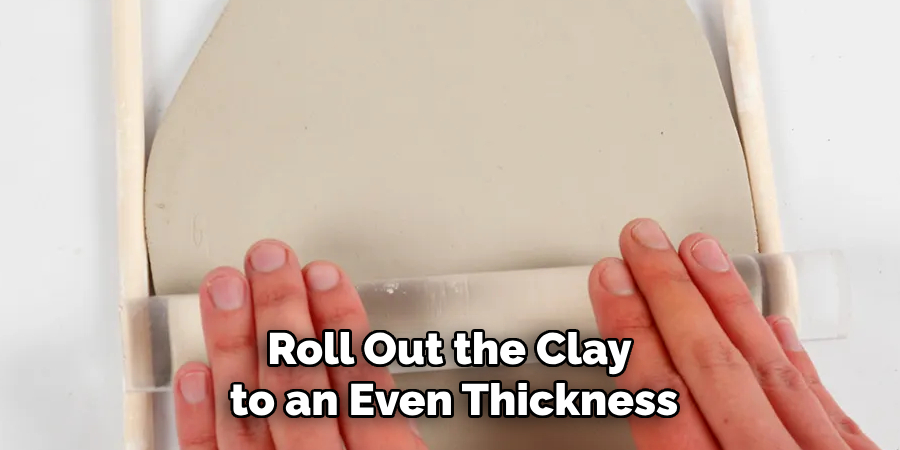
To begin shaping your ceramic ornaments, roll out the clay to an even thickness, generally around 1/4 inch, which is ideal for durability and ease of handling. Begin by placing the clay on a clean, non-stick surface. Using a sturdy rolling pin, apply gentle pressure as you roll over the clay. Each pass should be made with care to maintain uniform thickness throughout. To ensure an even spread, rotate the clay periodically, and don’t hesitate to use wooden slats as guides on either side of the clay piece. This technique offers a consistent thickness, which is critical for evenly drying and firing the ornaments.
Using Cutters and Hand-Shaping Techniques
Once the clay is rolled out, the next step is to cut shapes using cookie cutters or to sculpt freehand designs. Choose cookie cutters in your desired shapes, pressing them firmly into the clay to create clean edges. Use a knife or sculpting tools to carefully cut out unique shapes for freehand designs, keeping your lines smooth and precise. To finish, use a damp sponge or brush to gently smooth the edges of each shape, ensuring a tidy and professional appearance. Properly shaping and smoothing your ornaments will enhance their visual appeal and longevity.
How to Make Ceramic Ornaments: Adding Holes and Decorative Details
Creating Hanging Holes
Creating a proper hanging hole is essential to ensure your ceramic ornaments can be hung. Using a straw or a small clay hole puncher, gently press into the top portion of each ornament while the clay is still soft. Aim for a consistent placement across ornaments to maintain balance during hanging. The hole should be large enough to accommodate a ribbon or hook but not so large that it jeopardizes the ornament’s structural integrity. Typically, a diameter of 1/8 to 1/4 inch works well. Remember to smooth the edges of the hole with a damp sponge to avoid rough surfaces.
Adding Texture and Personalization
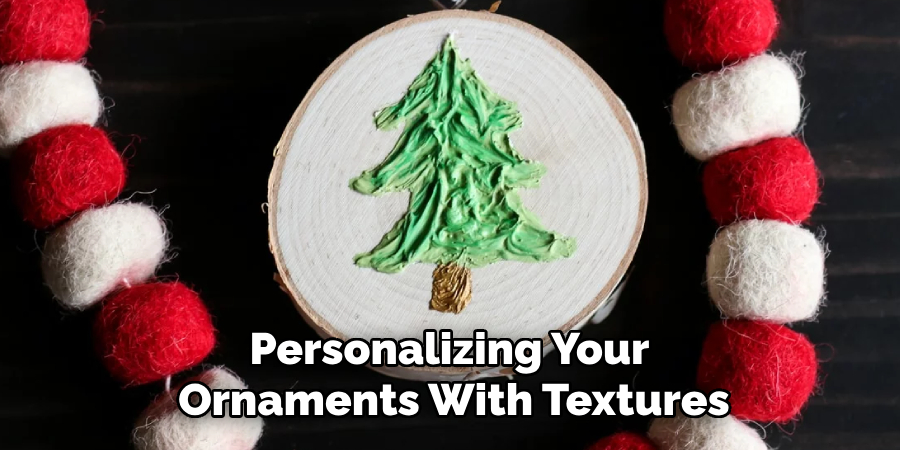
Personalizing your ornaments with textures and designs creates unique and memorable pieces. Use stamps or carving tools to press patterns or images into the clay before it hardens, adding depth and character. Consider using textured fabrics, such as lace, to imprint intricate designs on the surface by gently pressing them onto the clay and rolling over them with a rolling pin. Personal inscriptions or names can be added using a fine carving tool for a custom touch. Combining these techniques allows for endless creativity, enabling you to craft ornaments that are truly one-of-a-kind and reflective of your personal style.
Drying and Firing the Ornaments
Air-Drying vs. Kiln-Firing
When it comes to finishing your ceramic ornaments, both air-drying and kiln-firing are viable methods. Air-dry clay typically requires a drying period of 24 to 72 hours, depending on the thickness of the piece and the humidity of the environment. For kiln-firing, after allowing a preliminary drying time of a few days, the ornaments are fired at high temperatures to achieve durability. To check for dryness, gently press a corner of the ornament to feel if any softness remains. A thoroughly dry ornament will feel firm and cool to the touch, indicating it is ready for the next step.
Tips for Preventing Warping and Cracks
To prevent warping and cracks during drying, ensure your ornaments dry evenly by laying them on a flat, non-stick surface and turning them over periodically. Handle each piece with care to avoid bending or stressing the clay, especially in delicate areas. Controlling the drying environment by maintaining consistent temperatures and humidity helps minimize drying defects. Different clay types may require tailored approaches; for instance, stoneware might need a slower drying process than porcelain. By gently monitoring and adjusting as needed, you can maintain the quality and integrity of your crafted ornaments.
Glazing and Decorating Your Ornaments
Applying Paint or Glaze
Once your ceramic ornaments are dry and fired, if necessary, you can enhance their beauty by applying paint or glaze. Acrylic paints offer a vibrant selection of colors and are easy to use, making them ideal for intricate designs. Be sure to apply multiple thin layers to build up rich tones, allowing each layer to dry completely before adding the next. Alternatively, ceramic glazes provide a glossy and durable finish when fired again in a kiln, available in a wide range of colors and effects. You might also consider using stains to achieve more subtle and natural hues. Each method of coloring adds a distinct texture and visual depth, allowing your creativity to shine.
Sealing and Adding Final Touches
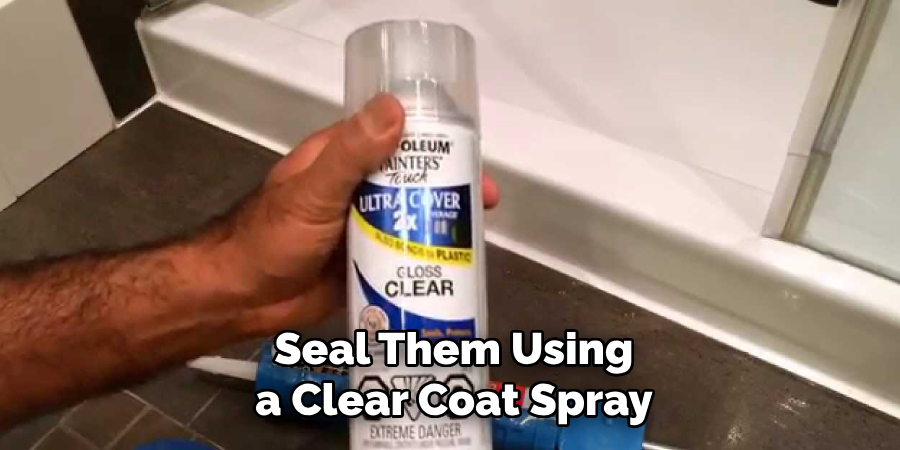
To protect your ornaments and ensure their lasting beauty, seal them using a clear coat spray or brush-on sealant. This step shields the colors from fading and adds a polished finish to your pieces. For added flair, consider accentuating details with a sprinkle of glitter or metallic paint accents to shimmer in the light. You can highlight edges or intricate patterns using fine brushes, giving your ornaments a sophisticated and eye-catching appeal. These final touches transform your crafted items into dazzling pieces of art, perfect for display or gifting.
Attaching String or Ribbon for Hanging
Choosing the Right Hanging Material
Selecting the appropriate hanging material enhances your ceramic ornaments’ aesthetic and function. Twine offers a rustic charm, ribbon provides elegance, and thin wire gives a modern, minimalist finish. Consider the ornament’s design and intended setting when choosing the material to ensure it complements the overall look.
Properly Securing the Hanging Material
To effectively secure the hanging material, thread it through the hole made earlier. Tie a secure knot at the end of the twine or ribbon, and for added strength, double-knot it. If using wire, twist the ends tightly to form a loop that ensures lasting durability.
Caring for Your Ceramic Ornaments
Cleaning and Storage Tips
To clean your ceramic ornaments, gently wipe them with a soft, damp cloth to remove dust and grime. Avoid harsh chemicals and abrasive materials, which can chip or break delicate surfaces. Handle each piece with care, ensuring you support the entire ornament to prevent accidental damage.
Storing Ornaments Safely
Store your ceramic ornaments in a cool, dry place, individually wrapping each in acid-free tissue paper. Use padded boxes or containers to cushion them from impacts. Ensure there is minimal movement to maintain their pristine condition for future enjoyment.
Conclusion
Bringing your ceramic ornaments to life is a rewarding journey that begins with design and shaping, followed by careful drying, decorating, and finishing. Understanding how to make ceramic ornaments allows you to transform simple clay into stunning art pieces that reflect your creative vision and personal style. Each stage, from conceptualizing unique designs to applying final touches, enhances your skills and expands your expression in this timeless craft.
Embrace experimentation with various shapes, colors, and themes, inspiring a truly one-of-a-kind collection. The joy and satisfaction of crafting personalized, handmade ornaments are unmatched, offering you both a creative outlet and beautiful décor to cherish or share. Whether displayed in your home or gifted to loved ones, these ceramic treasures connect to your artistic journey and creativity.
Specialization:
- Master of wheel-throwing, hand-building, and advanced glazing techniques
- Focus on creating both functional pottery and decorative art pieces
Recognition:
- Celebrated by collectors and art enthusiasts for creating one-of-a-kind pieces that blend artistry with functionality
- Participates in local and national exhibitions, earning accolades for his innovative designs and craftsmanship
Passion:
- Deeply committed to exploring and pushing the boundaries of ceramic artistry
- Continuously experiments with new materials, firing techniques, and artistic concepts to evolve his craft
Personal Philosophy:
- Believes in the transformative power of art, aiming to evoke emotions and connections through his ceramic creations
- Advocates for sustainability in ceramics, using eco-friendly materials and practices whenever possible