


Creating ceramic wall art can be an enriching and therapeutic hobby that allows for artistic expression while enhancing the aesthetic appeal of any space.

This guide on how to paint ceramic wall art will provide you with step-by-step instructions to transform plain ceramic surfaces into vibrant wall pieces. Whether you’re a seasoned artist or a beginner, painting ceramic wall art offers a creative outlet that combines various techniques and styles.
From selecting the right materials to mastering the finishing touches, this tutorial will equip you with all the necessary skills to craft your own pieces of art that reflect your personal style and creativity.
What is Ceramic Wall Art?
Ceramic wall art is a form of decorative artwork created using ceramic materials, which are molded, fired, and sometimes glazed to produce intricate designs and patterns. This type of art ranges from simple, minimalist tiles to elaborate, three-dimensional sculptures, making it a versatile choice for enhancing interior spaces. Ceramic wall art can serve as a focal point, adding texture, color, and depth to walls in homes, offices, and public spaces.
It often reflects cultural or personal influences, with artists drawing inspiration from nature, history, and contemporary trends. Due to its durability and unique aesthetic, ceramic wall art has been cherished for centuries and continues to be a popular choice in modern design.
Needed Materials
Before diving into the painting process, gather all the necessary materials for your ceramic wall art project. You will need:
Ceramic Tiles or Clay Pieces:
Choose ceramic tiles or clay pieces in different sizes and shapes to create a diverse range of designs. You can also opt for pre-made ceramic wall art pieces, such as tiles with patterns or sculptures, to paint on.
Paintbrushes:
Select a variety of paintbrushes in different sizes to accommodate various painting techniques and details.
Ceramic Paint:
Ceramic paint is designed specifically for painting on ceramics and comes in a wide range of colors and finishes. It’s essential to use high-quality ceramic paint that will adhere well to the surface and withstand heat if the artwork will be displayed near sources of heat.
Palette or Container:
Use a palette or container to mix your paints before applying them to the ceramic surface. This will allow for better color control and prevent waste.
Water and Paper Towels:
Keep a container of water and some paper towels nearby to clean your paintbrushes as needed.
Protective Equipment:
It’s important to protect yourself and your work area while painting. Wear an apron or old clothes, gloves, and a mask if working with toxic materials.
8 Step-by-step Instructions on How to Paint Ceramic Wall Art
Step 1: Prepare Your Ceramic Surface

Before you start painting, it’s essential to prepare the ceramic surface properly to ensure the paint adheres well and lasts. Begin by thoroughly cleaning the ceramic tiles or clay pieces with soap and water to remove any dust, dirt, or grease. Once clean, rinse them with clean water and allow them to dry completely.
If your ceramic piece already has a glossy finish, consider lightly sanding the surface with fine-grit sandpaper to create a slightly rough texture, which helps the paint adhere better. Wipe off any sanding residue with a damp cloth, and let the surface dry again. This preparation step is crucial for achieving a smooth and durable final product.
Step 2: Choose Your Design and Colors
Before you start painting, have a clear idea of the design and colors you want to use for your ceramic wall art. You can sketch your design on paper first or directly on the ceramic surface using a pencil.
When it comes to choosing colors, consider selecting complementary or contrasting hues that will make your artwork stand out. You can also choose to paint in monochromatic shades or incorporate different finishes, such as metallic or glossy, for added dimension.
Step 3: Mix Your Paints
Once you have chosen your design and colors, it’s time to mix your paints. Using a palette or container, squeeze small amounts of your selected ceramic paints onto the surface. If you’re aiming for a specific shade, mix different colors together using a paintbrush or palette knife, adjusting the proportions as needed until you achieve the desired color. Remember, it’s always better to start with a small amount of paint and gradually add more as required, as this will help prevent waste.
Testing your mixed paints on a piece of scrap ceramic or paper can give you a better idea of how the colors will appear once they dry. This step not only ensures you have the perfect palette for your design but also allows for experimentation and creativity in your color choices.
Step 4: Start Painting
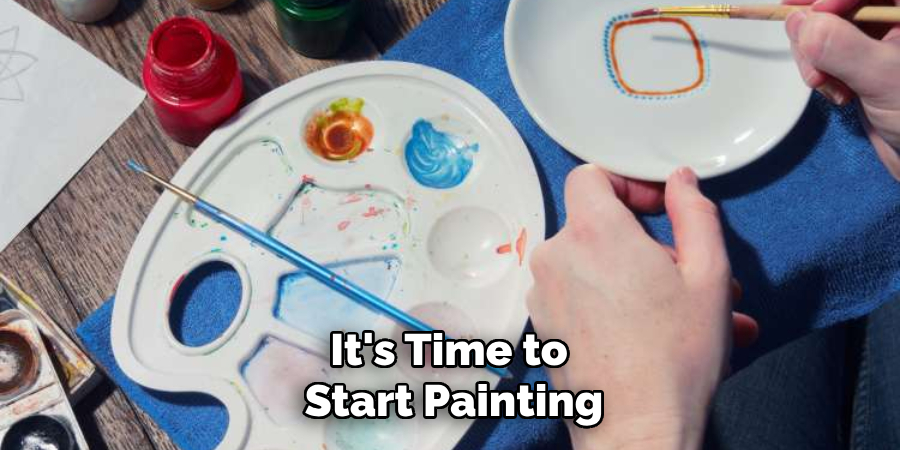
With your ceramic surface prepared, the design chosen, and the paints mixed, it’s time to start painting. Begin by applying a base layer with a large paintbrush using long and smooth brush strokes. This first coat helps create an even surface for further layers of paint while also providing a good foundation for your design.
Once the base layer is dry, you can begin adding details and different colors using smaller brushes. Experiment with various techniques such as stippling, blending, or dry brushing to add texture and depth to your artwork. Let each layer of paint dry before adding another to prevent smudging or mixing of colors.
Step 5: Add Finishing Touches
As you near completion of your ceramic wall art, carefully assess it and add any necessary finishing touches to enhance the overall look. You can use a fine-tipped brush to add intricate details or highlights, or use a sponge or cloth to create interesting textures. Play around with different techniques and tools to achieve the desired effect.
The finishing touches can make a significant difference in the final appearance of your ceramic wall art, so take your time and pay attention to detail.
Step 6: Allow Your Artwork to Dry
Once you have completed painting your ceramic wall art, it is crucial to let it dry thoroughly to ensure the durability and stability of the colors. Place your artwork in a well-ventilated area and away from direct sunlight or heat sources, as these can cause the paint to fade or crack. The drying time can vary depending on the thickness of the paint layers and environmental conditions, so it is advisable to leave your piece undisturbed for at least 24 hours.
Patience at this stage helps to prevent smudging and ensures all paint layers settle and adhere properly. After drying, inspect your artwork to ensure all areas are completely dry before handling or proceeding with any additional steps like sealing or mounting.
Step 7: Seal Your Artwork
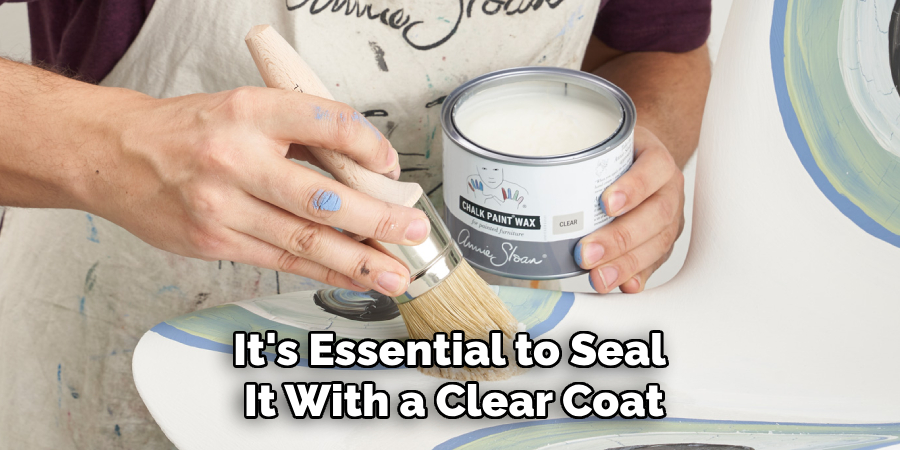
To protect and preserve your ceramic wall art for years to come, it’s essential to seal it with a clear coat. This step is especially crucial if the artwork will be displayed in areas prone to moisture or heat, such as bathrooms or kitchens, as it helps prevent damage and discoloration.
You can use a spray-on or brush-on ceramic sealer for this purpose. Ensure to follow manufacturer instructions closely when applying the sealer.
Step 8: Mount Your Ceramic Wall Art
Once your artwork is dry and sealed, it’s time to mount it on the desired surface. Tile adhesive or mounting tape can be used to secure tiles to the wall. For clay pieces, consider using adhesive hooks or wires for hanging. Choose a suitable mounting method depending on the weight and size of your artwork.
Congratulations! You have successfully completed painting your very own ceramic wall art. Proper care and maintenance will add beauty and personality to any room in your home or office. Remember to clean your brushes and workspace properly after use to ensure they last longer and are ready for your next creative project. Happy painting!
Additional Tips
- Suppose you make a mistake while painting, don’t panic! You can easily remove wet paint with a damp cloth or Q-tip and start over.
- Consider using stencils or transfer paper for intricate designs to ensure clean and precise lines.
- Use different tools such as toothbrushes, sponges, or cotton swabs to create unique textures and effects in your artwork.
- Don’t limit yourself to only painting on flat surfaces. Try adding dimension by incorporating raised elements like beads, buttons, or wire into your design.
- If you’re new to ceramic painting, start with smaller pieces before attempting larger ones to gain confidence and practice different techniques.
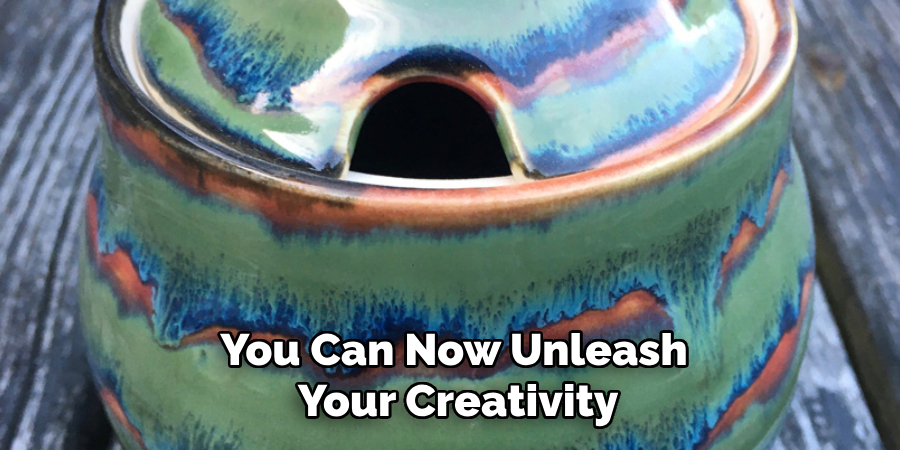
With these steps on how to paint ceramic wall art, you can now unleash your creativity and create beautiful and personalized pieces for your home or as gifts for others. Have fun experimenting with different designs, colors, and techniques to make your ceramic wall art truly one of a kind. Happy painting!
Conclusion
Creating ceramic wall art is a rewarding and enriching process that combines creativity, patience, and skill. By following a methodical approach on how to paint ceramic wall art from design selection to painting, drying, and sealing, you can produce a beautiful and lasting piece that reflects your personal style and flair. The flexibility to experiment with colors, textures, and techniques makes each project unique and offers endless opportunities for artistic expression.
Whether you’re an experienced artist or a beginner, the journey of crafting your own ceramic wall art not only enhances your space but also provides a satisfying and therapeutic experience. Embrace your creativity, trust your instincts, and enjoy the process of bringing your artistic vision to life.
Specialization:
- Master of wheel-throwing, hand-building, and advanced glazing techniques
- Focus on creating both functional pottery and decorative art pieces
Recognition:
- Celebrated by collectors and art enthusiasts for creating one-of-a-kind pieces that blend artistry with functionality
- Participates in local and national exhibitions, earning accolades for his innovative designs and craftsmanship
Passion:
- Deeply committed to exploring and pushing the boundaries of ceramic artistry
- Continuously experiments with new materials, firing techniques, and artistic concepts to evolve his craft
Personal Philosophy:
- Believes in the transformative power of art, aiming to evoke emotions and connections through his ceramic creations
- Advocates for sustainability in ceramics, using eco-friendly materials and practices whenever possible