


Glazing ceramic serving dishes is an essential step in pottery that not only enhances the aesthetic appeal but also provides a functional, food-safe finish. The process involves applying a layer of glaze, which, when fired in a kiln, melts and forms a glass-like coating.
This coating adds a vibrant sheen to the dishes and prevents liquids or food from penetrating the clay body. Whether you’re a seasoned ceramicist or a hobbyist looking to enhance your kitchenware, understanding the basics of glazing can bring your ceramic pieces to life and ensure they are both beautiful and durable. In this blog post on how to glaze ceramic serving dishes, we will discuss the steps involved in glazing, various types of glazes, and some helpful tips to achieve the desired results.
Materials Needed
Before we dive into the process of glazing, let’s first take a look at the materials you’ll need:
Ceramic Serving Dishes:
These can be in any shape or size, depending on your preference. It’s best to use a clay body specifically designed for functional wear, as it is more durable and can withstand high temperatures.
Glaze:
Glazes come in various types, colors, and finishes. You can choose from glossy, matte, or textured glazes depending on the effect you want to achieve. Make sure to select food-safe glazes that are meant for dinnerware.
Glazing Tools:
These include a kiln, glazing tongs, brushes or sprayers for applying the glaze and a pan or tray to catch any drips.
8 Step-by-step Guidelines How to Glaze Ceramic Serving Dishes
Step 1: Prepare Your Dishes
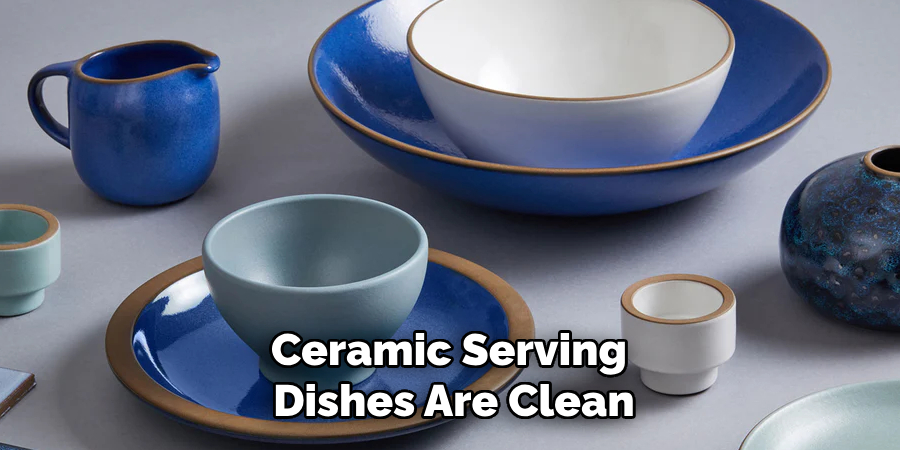
Before applying any glaze, it’s vital to ensure that your ceramic serving dishes are clean and free of any dust or debris. Begin by wiping the surface of each dish with a damp sponge or cloth to remove any particles that might interfere with the adhesion of the glaze. It’s also essential to check for any rough areas or imperfections and gently sand them down if necessary.
Allow the dishes to dry completely before proceeding to the next step, as moisture can affect the application of the glaze. This preparation step ensures that the glaze will adhere smoothly and evenly, setting the foundation for a flawless finish.
Step 2: Mixing the Glaze
Once your dishes are prepared, it’s time to mix the glaze. Start by thoroughly reading the manufacturer’s instructions for the specific glaze you’ve chosen, as different types may require varying preparation techniques. Typically, you’ll need to shake or stir the glaze to ensure an even consistency, as ingredients can settle over time. Use a clean stir stick or whisk to mix the glaze, breaking up any lumps and achieving a smooth texture. If the glaze seems too thick, you can gradually add small amounts of water to achieve the desired viscosity.
Consistency is crucial, as it will affect the evenness and thickness of the glaze coating when applied. Test the glaze’s thickness by dipping a small piece of bisque-fired clay; the glaze should coat smoothly without being too runny or too thick. Proper mixing will ensure an optimal application, contributing to a professional-quality finish on your ceramic serving dishes.
Step 3: Glazing Techniques
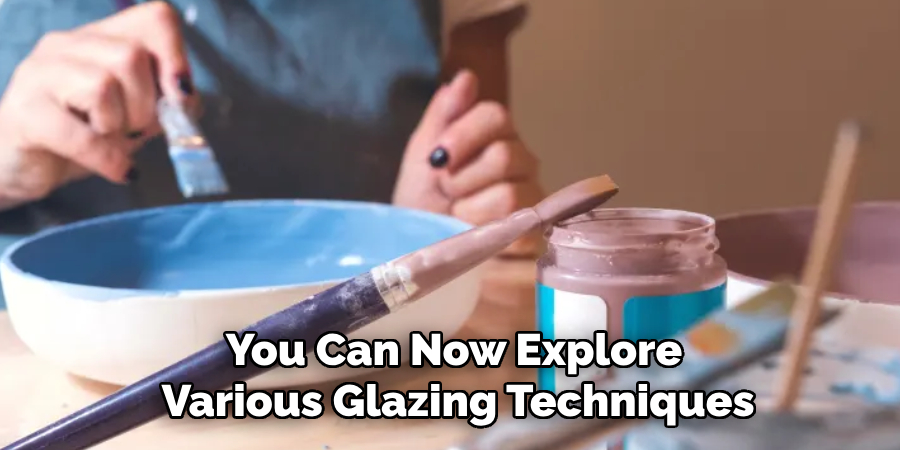
With your glaze mixed to the perfect consistency, you can now explore various glazing techniques to apply to your ceramic serving dishes. One popular method is brushing, which involves using a soft-bristled brush to apply multiple layers of glaze, allowing each layer to dry between applications to prevent streaking or uneven coverage. This technique offers precise control and is ideal for intricate designs or smaller pieces.
Alternatively, you might choose pouring, where glaze is gently poured over the surface of the dish, allowing gravity to naturally distribute it. This method is quick and effective for larger surfaces but requires a steady hand to ensure even coverage. Spraying is another technique that creates a smooth, consistent finish but requires specialized equipment and a bit of practice to master. Whichever method you choose, make sure to apply thin, even layers for the best results.
Step 4: Applying the Glaze
With your preferred glazing technique in mind, it’s time to start applying the glaze to your ceramic serving dishes. Make sure to work on a level surface and use tongs or gloves to handle the dishes without getting fingerprints or smudges on them.
Start by dipping the dish into the glaze at an angle, allowing excess glaze to drip off and avoiding any air bubbles that might form on the surface. Alternatively, you can pour, brush, or spray the glaze onto the dish, ensuring an even application. Repeat this process for each dish and allow the glaze to dry completely before proceeding to the next step.
Step 5: Second Coat of Glaze
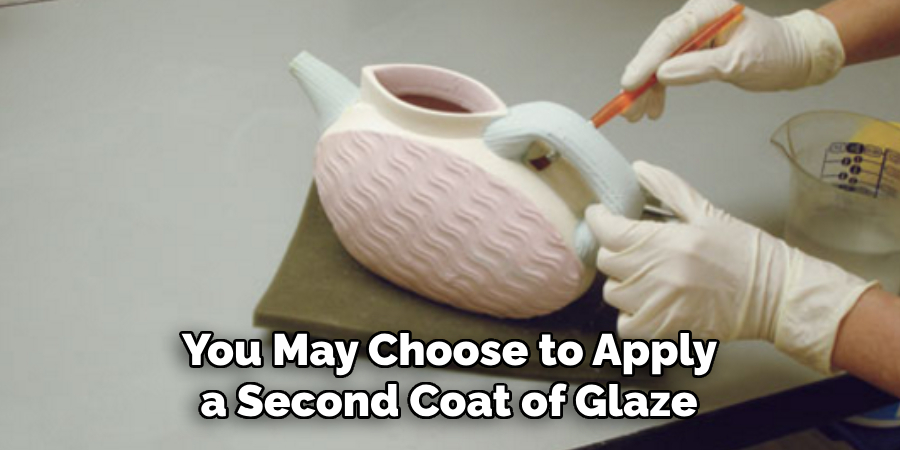
Once the first coat has dried, you may choose to apply a second coat of glaze for a richer color or more textured finish. Before applying, make sure that the first layer is completely dry to prevent any streaking or bubbling. The second coat should also be applied in thin, even layers for the best results.
You can also experiment with layering different glaze colors or techniques to create unique, one-of-a-kind designs on your ceramic serving dishes. Just make sure to test the combination on a small piece of clay first before applying it to the entire dish.
Step 6: Kiln Firing
After the glaze has been applied, it’s time for the kiln firing process. Follow the manufacturer’s instructions for your specific glaze and clay body, as firing temperatures may vary. It’s crucial to place your dishes in the kiln carefully, making sure they are not touching each other or any other object that could cause them to stick together during firing.
During this high-temperature process, the glaze will melt and fuse with the clay, creating a durable, food-safe finish. Once the kiln reaches the necessary temperature, it’s essential to monitor the firing carefully to prevent any mishaps.
Step 7: Cooling and Inspection
After firing, allow your dishes to cool for at least 24 hours before removing them from the kiln. It’s essential to handle them with care as they may still be hot or fragile. Once cooled, inspect each dish for any defects or imperfections that may have occurred during firing. If necessary, you can sand down any rough areas or touch up any missed spots with another coat of glaze.
The cooling process is also an excellent time to clean any drips or excess glaze from the bottom of your dishes using a damp sponge or cloth. This step will ensure that your dishes have a clean and professional-looking finish.
Step 8: Final Touches
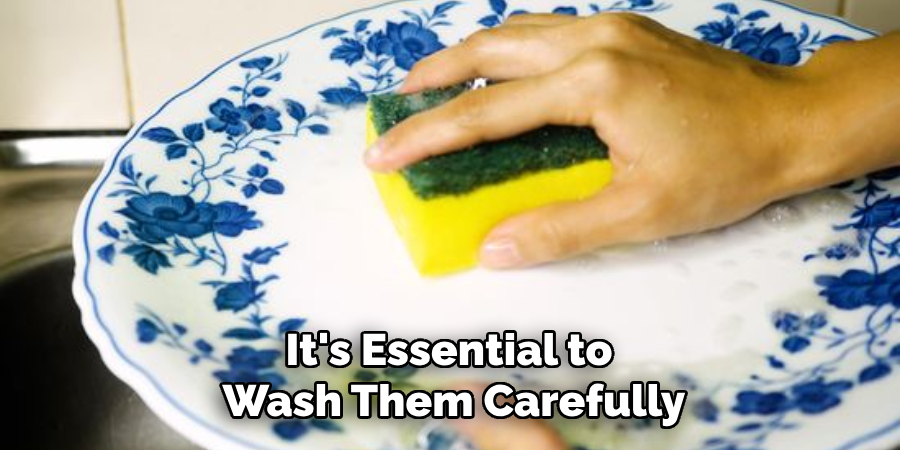
Your ceramic serving dishes are now complete and ready for use. Before serving food on them, it’s essential to wash them carefully with warm, soapy water to remove any remaining dust or debris from firing. You can also add final touches by applying food-safe sealant to the glazed surface for extra protection and shine.
With these simple steps on how to glaze ceramic serving dishes, you can successfully glaze your ceramic serving dishes at home, adding a personal touch to your dinnerware. Remember to always follow safety precautions and manufacturer’s instructions for the best results. Happy glazing!
Frequently Asked Questions
Q: Can I Use Regular Paint Instead of Glaze?
A: No, it is not recommended to use regular paint on ceramic dishes as it may contain toxic ingredients and will not withstand the high-temperature firing process required for glazing. It’s important to use food-safe glaze specifically designed for ceramic ware.
Q: Can I Glaze Already Painted or Stained Dishes?
A: It is not recommended to glaze over already painted or stained dishes as the glaze may not adhere properly and could result in an uneven finish. It’s best to start with bisque-fired clay and apply the glaze directly.
Q: Is it Safe to Eat Food from Glazed Ceramic Dishes?
A: Yes, as long as you have used food-safe glaze and followed proper firing instructions, your glazed ceramic dishes are safe for serving food. Always check the labels on your glazes to ensure they are lead-free and food-safe. So you can use your beautiful glazed ceramic to serve dishes with confidence.
Q: Can I Use the Same Glaze for Different Clay Bodies?
A: It is recommended to use glazes specifically formulated for the type of clay body you are using. Different clay bodies have different shrinkage rates and may not work well with a single type of glaze. You can experiment with different glazes on small test pieces before applying them to your entire dish.
Conclusion
Glazing ceramic serving dishes is a rewarding process that combines creativity with craftsmanship. By carefully selecting the right glaze and technique and following the outlined steps on how to glaze ceramic serving dishes, you can produce stunning and durable dinnerware that reflects your personal style. Remember, the key to successful glazing lies in patience and precision.
Each step, from applying the glaze to firing the dishes, requires attention to detail to ensure a food-safe and visually appealing final product. Embrace experimentation and don’t be afraid to explore new designs, as this will enhance your skills and yield unique pieces. With practice, your glazed ceramic dishes will become cherished additions to your kitchen and delight everyone they serve.
Specialization:
- Master of wheel-throwing, hand-building, and advanced glazing techniques
- Focus on creating both functional pottery and decorative art pieces
Recognition:
- Celebrated by collectors and art enthusiasts for creating one-of-a-kind pieces that blend artistry with functionality
- Participates in local and national exhibitions, earning accolades for his innovative designs and craftsmanship
Passion:
- Deeply committed to exploring and pushing the boundaries of ceramic artistry
- Continuously experiments with new materials, firing techniques, and artistic concepts to evolve his craft
Personal Philosophy:
- Believes in the transformative power of art, aiming to evoke emotions and connections through his ceramic creations
- Advocates for sustainability in ceramics, using eco-friendly materials and practices whenever possible