


Ceramic jewelry is prized for its unique beauty, vibrant colors, and artistic designs that make each piece a wearable work of art. However, like most delicate materials, ceramic jewelry is inherently fragile and susceptible to damage from everyday wear and accidental impacts.
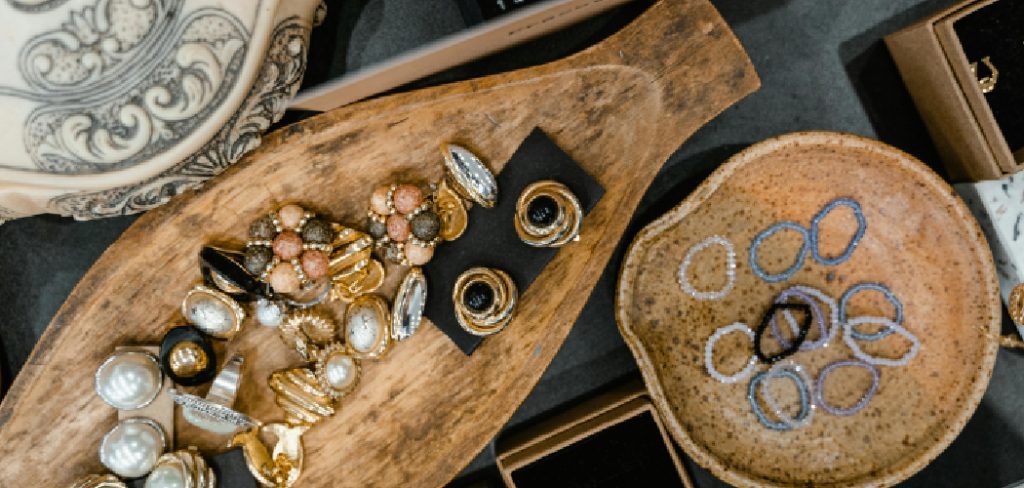
Common issues with ceramic jewelry include cracks, chips, and completely broken pieces, often caused by drops or hard knocks. For many, the question arises: how to fix ceramic jewelry without sacrificing its aesthetic appeal? This article aims to provide a comprehensive guide for addressing such challenges, offering easy-to-follow methods for repairing ceramic jewelry at home. Whether you’re dealing with minor chips or more severe breaks, this guide will equip you with the knowledge and confidence to restore your cherished pieces with minimal fuss, ensuring they continue to complement your collection beautifully.
Materials and Tools Needed
Repairing ceramic jewelry at home requires the right materials to ensure a successful outcome. First, you’ll need your ceramic jewelry piece, whether it is broken or chipped. Select a ceramic adhesive or jewelry glue suitable for the task—options include epoxy resin or cyanoacrylate, both of which offer strong, reliable bonds. If any parts of the piece are missing or beyond repair, replacement ceramic beads or components may be necessary to complete the restoration. To finish, clear resin can be used to seal or smooth the repaired surfaces, and a polish or wax will help restore the jewelry’s original shine and protect it from future damage.
In addition to materials, a few tools are essential for the repair process. A small paintbrush or applicator for glue will allow for precise adhesive application, especially in tight spaces. A precision knife or tweezers can be useful for handling small components or trimming excess glue. You’ll also need sandpaper or an emery board to smooth rough edges post-repair. Clamps or clips are necessary to hold pieces securely in place while drying, ensuring a strong bond. Finally, a soft cloth is indispensable for cleaning and preparing the surface before and after the repair.
Assessing the Damage to Ceramic Jewelry
Identifying Cracks and Chips
Begin by examining your ceramic piece meticulously to assess the extent of its damage. Use good lighting and, if necessary, a magnifying glass to identify any cracks or chips. Cracks are often visible as thin, hairline fractures, while chips may appear as missing fragments along the edges. Understanding the depth and location of these imperfections is crucial, as they can significantly impact the jewelry’s structural integrity and aesthetic appeal. Deep cracks that disrupt the jewelry’s form or intricate design might require more attention and delicate handling during the repair process.

Deciding Whether to Repair or Replace
Determining whether to repair or replace damaged parts depends on several factors. If the ceramic jewelry is too fragile or the damage is extensive—such as widespread fractures or large missing sections—it may be more practical to replace the broken components. However, if the piece is a cherished item with sentimental value or unique design elements, attempting a repair could restore its functionality and look. Evaluating the jewelry’s overall design and intended use is essential; for instance, ensuring that repaired pieces do not compromise comfort or wearability. Ultimately, balancing these considerations will help in making the most suitable decision for your ceramic jewelry.
Preparing the Jewelry for Repair
Cleaning the Ceramic Jewelry
Before starting the repair process, cleaning the ceramic jewelry thoroughly is crucial to ensure optimal adhesion of any glue or adhesive. Use a soft cloth to gently wipe away any dirt, oils, or remnants of old adhesive that may be present on the surface of the jewelry. This step helps maintain the integrity of the ceramic material and prepares it for effective bonding. It is important to avoid using harsh chemicals or abrasive tools, as these can cause additional damage or erosion to the delicate ceramic surfaces, potentially complicating the repair process.
Preparing the Repair Area
A clean, well-lit workspace is essential for precisely applying glue or adhesive when repairing ceramic jewelry. Start by choosing a surface that is comfortably accessible and clutter-free to allow full concentration on the repair task. Protect the workspace from potential spills and drips by laying down a disposable sheet of parchment paper, which can be easily discarded after use. This prevents adhesive residues from marring the work surface and provides a designated area for placing tools and components during the repair, thus ensuring an organized and efficient workflow.
How to Fix Ceramic Jewelry: Repairing Cracked or Chipped Ceramic Jewelry
Using Ceramic Adhesive
To repair cracked or chipped ceramic jewelry effectively, follow these step-by-step instructions for applying ceramic adhesive. First, ensure that all broken edges are clean and dry to optimize bonding. Using a small brush or precision applicator, carefully apply a thin layer of ceramic adhesive directly onto one edge of the broken ceramic. Applying the glue evenly is crucial, avoiding excess that may leak out when the pieces are pressed together.
This precision helps maintain the jewelry’s appearance and prevents the adhesive from becoming visible. Before pressing the pieces together, take extra care to align them accurately, ensuring they fit together seamlessly, as they did prior to breaking. Proper alignment during bonding is vital to retain the jewelry’s original shape and design.
Securing and Drying the Pieces
Once you’ve applied the adhesive and aligned the pieces, gently press them together to initiate a strong bond. Use clamps, clips, or another secure method to keep the jewelry in place while the adhesive fully cures. Most ceramic adhesives will provide specific drying times—typically ranging from a few hours to overnight. It’s important not to rush this process, as improper curing can result in a weak repair that may fail over time. Follow the manufacturer’s recommended drying times to ensure the adhesive sets firmly, maintaining the jewelry’s durability.
Filling Larger Cracks or Gaps
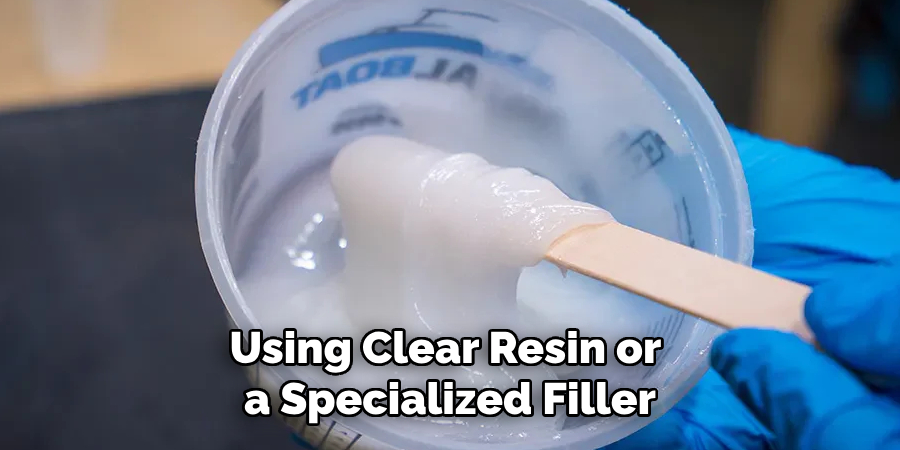
If the damage includes larger cracks or gaps that require additional filling, using clear resin or a specialized filler is recommended. Mix the resin according to the manufacturer’s instructions, ensuring it is well-combined for effective application. Using a fine tool, such as a small spatula or brush, apply the resin into the crack or gap, smoothing it out evenly across the surface. Allow the resin to fill in the entire space without over-filling, which can create an uneven surface. Once applied, follow the curing instructions, ensuring the resin hardens properly to restore the ceramic jewelry’s appearance and structural integrity.
How to Fix Ceramic Jewelry: Reassembling Broken Ceramic Jewelry
Reattaching Broken Pieces
When reassembling broken ceramic jewelry, precise alignment and attachment of components such as pendants, beads, or clasps are essential to maintain the piece’s original design and structure. Start by dry-fitting the broken parts without glue to ensure a proper match.
Carefully apply a conservative layer of ceramic adhesive to the broken edges. Press the pieces together while ensuring alignment and hold them in place using clamps or an elastic band to prevent movement during drying. Pay attention to angles and symmetry, reflecting the item’s original aesthetic and function. Allow the piece to dry following the adhesive manufacturer’s drying time guidelines.
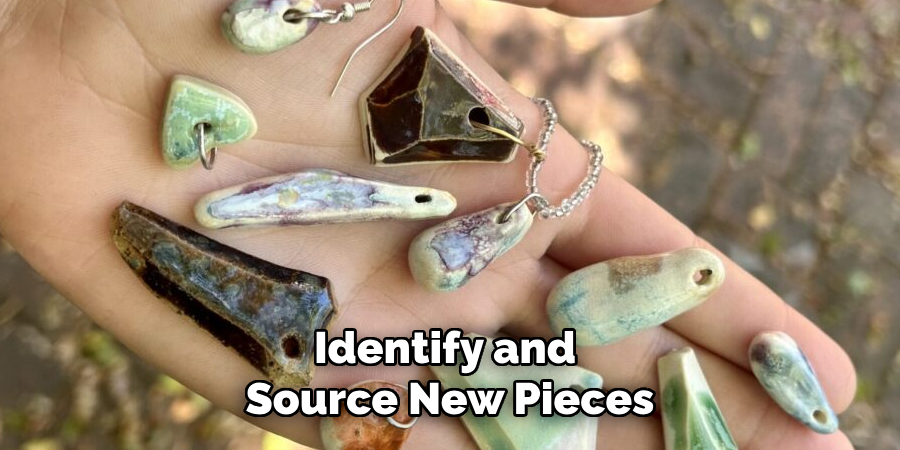
Replacing Missing Components
First, identify and source new pieces that closely match the original design in color, size, and texture to replace missing ceramic components like beads or charms. Online marketplaces, craft stores, or custom ceramic artists may offer suitable matches. Once you have the replacements, use ceramic adhesive to attach the new pieces securely to the existing design. Be meticulous when setting replacement parts flush with the original ceramic structure to ensure uniformity. After attaching the new components, allow the adhesive to cure thoroughly, following the manufacturer’s specified drying time, to ensure a durable and seamless finish.
Sanding and Smoothing the Repaired Area
Smoothing Rough Edges
Using fine sandpaper or an emery board, gently smooth out any rough or uneven edges around the repaired area of the ceramic jewelry. This careful sanding helps integrate the repaired section seamlessly with the rest of the piece, enhancing its aesthetic appeal. Be sure to work slowly and check frequently to avoid over-sanding, which might damage the repair.
Polishing the Repaired Jewelry
After smoothing, polish the repaired area with a soft cloth, restoring its shine and removing any adhesive residue. Additional polishing efforts can be made by applying a protective wax or polish over the entire piece, offering extra durability and luster. This final touch revitalizes the jewelry’s appearance and helps protect it from future wear.
Finishing Touches and Testing the Repair
Inspecting the Jewelry
After completing the repair, meticulously inspect the jewelry for any gaps, misalignments, or surface imperfections. This careful examination ensures that all aspects of the repair align with the original design and maintain structural integrity. Gently handle the piece, applying light pressure to key areas to test the strength and functionality of the repair. This step is essential to confirm that the adhesive has cured properly and the jewelry is ready for wear without the risk of breaking or coming apart.
Additional Customizations
Once satisfied with the repair’s durability, you can enhance the appearance of the jewelry piece by adding decorative elements. Consider applying a touch of paint to match or redefine the color scheme, resin coating for a high-gloss finish, or glitters to add shimmer. For additional reinforcement, incorporate jump rings or metal clasps, particularly in areas that may benefit from extra support, ensuring both aesthetic enhancement and functional strength.
Conclusion
In conclusion, learning how to fix ceramic jewelry involves several key steps: carefully assessing the damage, repairing cracks and chips with adhesives and fillers, smoothing rough edges, and thoroughly testing the final piece for durability. Taking the time to meticulously restore ceramic jewelry revives its original beauty and functionality and brings immense satisfaction. By dedicating effort to repairing cherished pieces, you extend their lifespan and preserve sentimental value, ensuring these unique items continue to be enjoyed for years.
Specialization:
- Master of wheel-throwing, hand-building, and advanced glazing techniques
- Focus on creating both functional pottery and decorative art pieces
Recognition:
- Celebrated by collectors and art enthusiasts for creating one-of-a-kind pieces that blend artistry with functionality
- Participates in local and national exhibitions, earning accolades for his innovative designs and craftsmanship
Passion:
- Deeply committed to exploring and pushing the boundaries of ceramic artistry
- Continuously experiments with new materials, firing techniques, and artistic concepts to evolve his craft
Personal Philosophy:
- Believes in the transformative power of art, aiming to evoke emotions and connections through his ceramic creations
- Advocates for sustainability in ceramics, using eco-friendly materials and practices whenever possible