


The art of crafting a ceramic glass lid merges functionality with elegance, enhancing the utility and aesthetic appeal of kitchenware and various containers. Ceramic lids are celebrated for their versatility, offering a sophisticated solution that seamlessly complements a wide range of materials, especially glass. These lids not only ensure a secure fit but also add a touch of creativity to everyday storage solutions.

This article is dedicated to guiding you through the intricate process of how to make ceramic glass lid. As you embark on this creative journey, you’ll learn to design a lid that effortlessly integrates with glass elements, providing both a practical sealing solution and a unique visual touch. Whether you’re enhancing a cherished jar or personalizing kitchenware, creating a ceramic glass lid is an opportunity to experiment with design and material, resulting in a beautiful, functional product.
Materials and Tools Needed
Essential Materials
To craft a ceramic glass lid, begin by selecting high-quality ceramic clay. Stoneware or porcelain is recommended for its durability and ability to provide a smooth finish, which is essential for functional lids. Choose a heat-resistant glass insert or glass material for the glass component, as it allows the lid to perform well under varying temperatures, especially in kitchen environments. Additionally, prepare a suitable glaze, whether clear or colored, to enhance and complement the design of your ceramic creation. This glaze will contribute both to the aesthetic finish and to the durability of the lid.
Necessary Tools
Having the right tools is crucial in creating a ceramic glass lid. Start with basic sculpting tools like a rolling pin, loop tools, and carving tools, which are indispensable for shaping and refining the lid. If you’re making a custom glass insert, you will need glass-cutting tools to achieve the precise form required for a perfect fit. A kiln is essential for firing the ceramic and setting the glaze, ensuring the lid’s final strength and appearance. Lastly, paintbrushes for glazing and any additional tools necessary for detailed work will help fine-tune and personalize the lid to your desired specifications.
Designing the Lid
Measuring and Planning the Lid Design
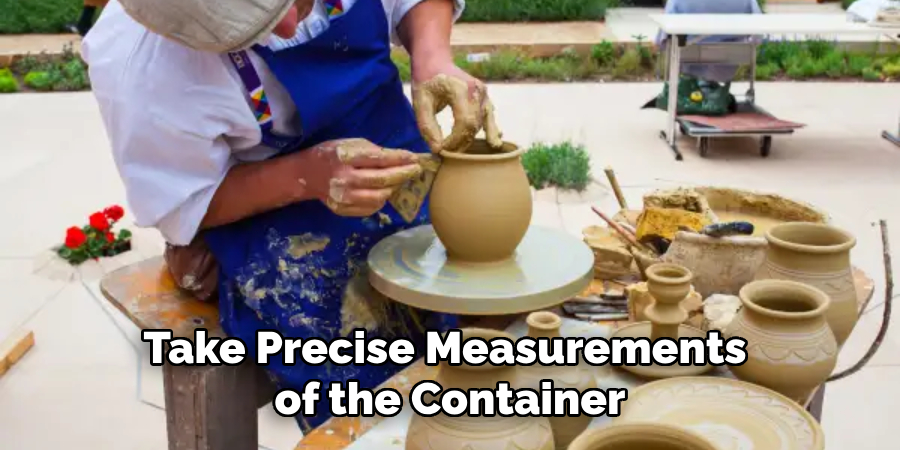
To ensure a snug and secure fit, take precise measurements of the container or jar’s opening where the lid will rest. This step is crucial to prevent any gaps that could compromise the lid’s functionality. Consider whether a decorative or minimalist design will best complement the container’s style, as this decision will guide the aesthetic direction of your ceramic glass lid. Balancing functionality with visual appeal is essential in designing a lid that enhances the overall presentation of the container.
Creating a Template or Mold
Using a template can be extremely helpful in guiding the shaping of your ceramic glass lid, ensuring consistent dimensions throughout the crafting process. Alternatively, mold construction will provide uniformity, especially useful if producing multiple lids with identical specifications. While creating the template or mold, consider the lid’s functionality alongside its aesthetics, ensuring it fits well and adds to the container’s appeal, making your creation both practical and visually pleasing.
How to Make Ceramic Glass Lid: Shaping the Ceramic Lid
Rolling and Preparing the Clay
Roll out an even slab of clay to begin shaping your ceramic glass lid. Use a rolling pin to gradually flatten the clay on a smooth, clean surface, ensuring it maintains a consistent thickness—typically around 0.25 inches. Uniformity is key, as it prevents weak spots that could lead to cracking. Once the slab is evenly rolled, use a template or the actual container to cut out the basic shape of your lid, keeping the perimeter slightly larger to accommodate the clay’s natural shrinkage during the firing process. This careful preparation lays the groundwork for a precise fit and a sturdy end product.
Shaping the Lid to Fit
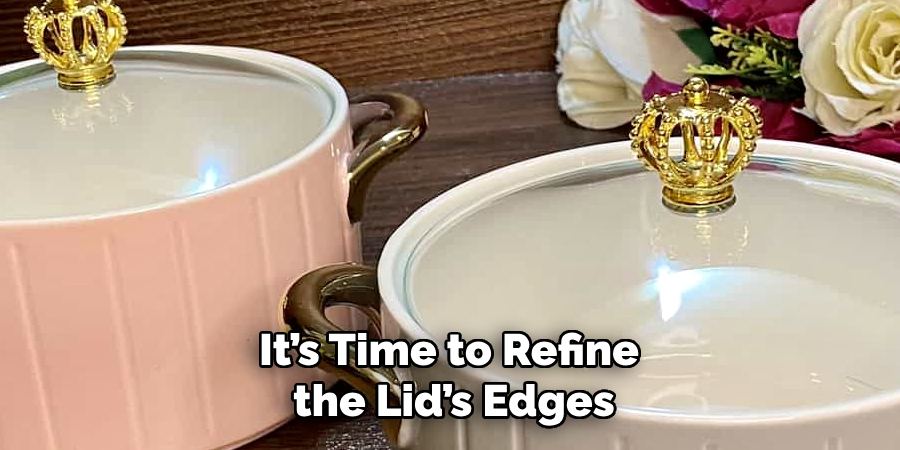
After cutting the initial shape, it’s time to refine the lid’s edges to achieve a clean, smooth finish. Using loop tools and carving implements, carefully trim and round the edges of the clay to remove any roughness. This step is essential to ensure that the lid fits seamlessly with the container, preventing any potential air gaps. To hold the glass insert securely, create a recessed edge or flange along the perimeter of the lid. This feature should be precisely measured to accommodate the glass component, ensuring a snug fit once the lid is fully assembled. A well-crafted edge not only maintains the integrity of the lid but enhances its overall functionality.
Adding Decorative Features
Enhance the visual appeal of your ceramic glass lid by incorporating optional decorative features. Techniques such as embossing, carving, or adding textured patterns can significantly elevate the design. Consider harmonizing these embellishments with the style of the container or jar for a cohesive look. Use carving tools or stamps to impress designs into the clay surface, ensuring that any details are of appropriate depth and thickness to withstand firing.
Adding texture beautifies the lid and reinforces the tactile experience, making your creation a standout piece. Remember that simplicity often speaks volumes when crafting your decor, especially if the jar has its own ornate qualities. The goal is to achieve a harmonious balance that complements rather than overwhelms, resulting in a functional and artistically integrated lid with its companion container.
Incorporating the Glass Element
Selecting the Glass for the Lid
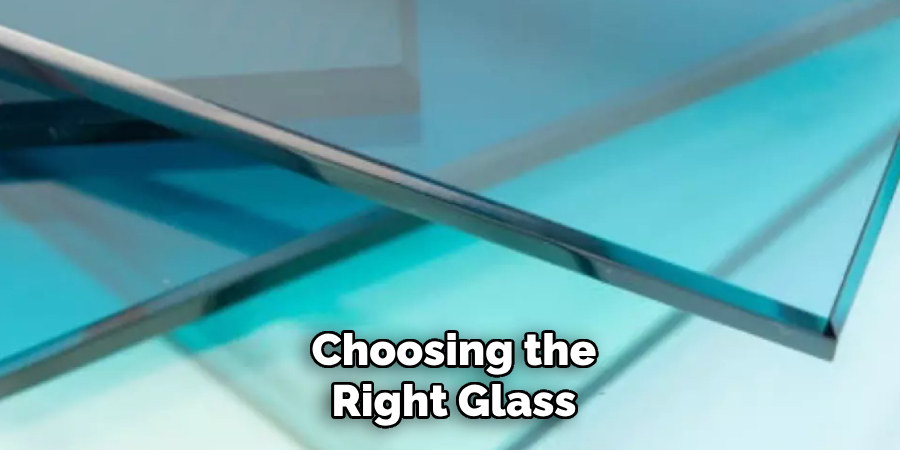
Choosing the right glass for your ceramic lid is crucial for both functionality and aesthetics. Typically, clear or frosted glass is preferred due to its versatility and ability to visually complement a wide range of ceramic designs. When selecting your glass, consider pre-made glass inserts that are already sized to fit standard lids for convenience. However, for a custom fit, cutting glass to your desired dimensions perfectly matches your unique design. Safety and durability are key, so opt for heat-resistant glass to withstand common temperature changes found in kitchen environments.
Fitting the Glass to the Ceramic Lid
Securing the glass insert within your ceramic lid involves careful placement and attachment within the flange or recessed edge crafted during the shaping phase. Ensure that the glass fits snugly within this edge to prevent movement. Techniques such as using a silicone sealant or heat-resistant adhesive can further stabilize the glass, providing a smooth, seamless integration with the ceramic. It is imperative to verify that the glass is securely attached without stressing the material, which could result in cracking or shifting during use. This process will ensure that the finished lid is both functional and aesthetically pleasing, matching the overall design intent.
Drying and Firing the Ceramic Lid
Drying the Lid
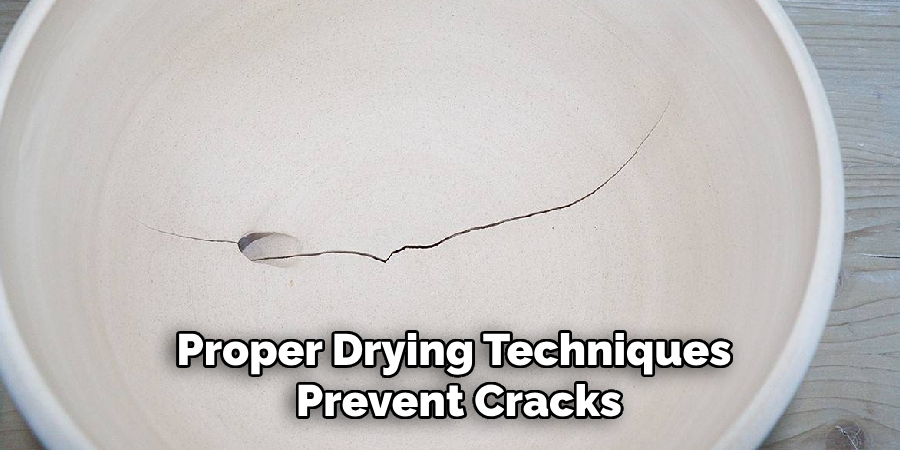
Proper drying techniques prevent cracks in your ceramic lid, particularly around the glass insert area. Place the lid on a flat, absorbent surface to facilitate slow, even drying. Cover the lid loosely with a plastic sheet or breathable fabric to control the drying rate, reducing the risk of rapid moisture loss that could lead to uneven shrinkage. It is advisable to rotate the lid occasionally, ensuring each part receives adequate air exposure. Keeping the lid in a stable, slightly humid environment will further support a gradual drying process, enhancing the overall structural stability before firing.
Firing the Lid
For the first bisque firing, preheat your kiln to remove any final traces of moisture from the ceramic. Gradually raise the temperature to around 1832°F (1000°C), where the clay transforms into a durable ceramic material. Ensure the glass element is compatible with the chosen firing temperature to prevent thermal shock. Securely position the lid with support on any sensitive areas, particularly around the flange, to maintain its shape. Monitor the firing process to avoid any abrupt temperature changes, which could stress the ceramic or glass. Taking these precautions guarantees that the ceramic lid emerges from the kiln and is both robust and aesthetically aligned with your design vision.
Glazing the Ceramic Lid
Preparing the Lid for Glazing
Before glazing your ceramic lid, thoroughly clean the surface to remove any dust or debris that could affect the final finish. Gently wipe down the entire ceramic area with a damp sponge while avoiding the glass. To protect the glass insert from unwanted glaze application, carefully apply masking tape or a wax resist over the glass areas. This ensures a clean separation between ceramic and glass, maintaining clarity and preventing glaze from spilling during firing.
Applying the Glaze
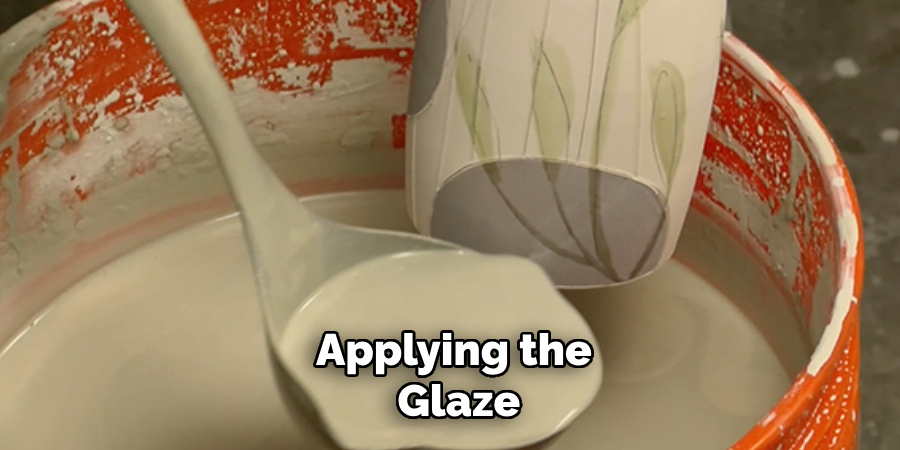
When it comes to applying the glaze, techniques such as brushing, dipping, or spraying can be employed depending on the desired effect and the intricacy of the design. A flowing glaze works well for smooth, uniform finishes, whereas textured glazes can add depth and character. For a harmonious look, choose a glaze that complements both the ceramic and glass components, whether a glossy or matte finish is desired. This approach not only enhances the aesthetic appeal but also ensures functional durability.
Conclusion
In this guide on how to make ceramic glass lid, we have walked through the detailed process, beginning with the design of the ceramic form to the careful fitting of the glass element. Each step, from preparing and shaping the clay to drying, firing, and glazing, contributes to crafting a beautiful and functional lid. As you explore this creative journey, don’t hesitate to experiment with different glass types, ceramic techniques, and finishes to personalize your project. Ultimately, the satisfaction derived from merging ceramics with glass lies in the elegance and functionality of the final piece.
Specialization:
- Master of wheel-throwing, hand-building, and advanced glazing techniques
- Focus on creating both functional pottery and decorative art pieces
Recognition:
- Celebrated by collectors and art enthusiasts for creating one-of-a-kind pieces that blend artistry with functionality
- Participates in local and national exhibitions, earning accolades for his innovative designs and craftsmanship
Passion:
- Deeply committed to exploring and pushing the boundaries of ceramic artistry
- Continuously experiments with new materials, firing techniques, and artistic concepts to evolve his craft
Personal Philosophy:
- Believes in the transformative power of art, aiming to evoke emotions and connections through his ceramic creations
- Advocates for sustainability in ceramics, using eco-friendly materials and practices whenever possible