


Are you interested in creating cute and attractive ceramic owlets? Well, you’re in luck because making your own ceramic owlet is easier than you think!
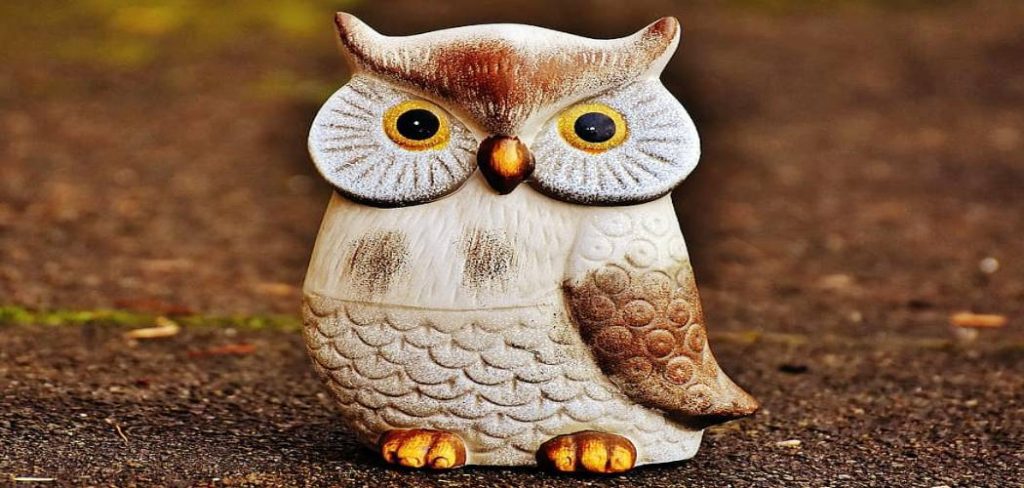
How to make ceramic owlet is a delightful project that combines creativity and craftsmanship. This process involves shaping clay into an adorable owl, adding intricate details to bring it to life, and then firing it in a kiln to ensure durability. Whether you are a beginner or an experienced ceramic artist, making a ceramic owlet allows you to explore your artistic skills while crafting a charming piece of art.
With the right tools, materials, and guidance, you can create a unique owlet that reflects your personal style and creativity. Let’s dive into the step-by-step process of making a ceramic owlet.
What Will You Need?
To make a ceramic owlet, you will need the following materials:
- Clay (air-dry or kiln-fired)
- Rolling pin
- Sculpting tools (small knife, toothpick, and needle tool)
- Glaze (optional)
Depending on your experience level and preferences, you can use additional materials such as underglazes, acrylic paint, and a kiln. If you are using air-dry clay, remember that it requires a longer drying time than kiln-fired clay. However, both types of clay can produce stunning results.
10 Easy Steps on How to Make Ceramic Owlet
Step 1: Prepare Your Workspace
Before you begin, ensure your workspace is clean, organized, and ready for the project. Choose a flat surface, such as a sturdy table, and cover it with a protective sheet or parchment paper to prevent the clay from sticking. Make sure your sculpting tools are clean and within reach, as having them scattered or dirty can disrupt your workflow. If you use air-dry clay, ensure you have a sealed container or damp cloth nearby to keep the clay moist while working.
Good lighting is also essential to help you focus on the finer details of your ceramic owlet. You’ll create an environment that fosters creativity and productivity by setting up your workspace thoughtfully.
Step 2: Gather Your Materials
To create your ceramic owlet, gather all the necessary materials beforehand. Depending on your preference, you will need clay (either air-dry or kiln-fired), sculpting tools such as a needle tool, shaping tools, and a rolling pin. Additionally, have a small bowl of water handy to help smooth out rough edges and seams in the clay.
Other valuable items include a wire cutter for slicing clay, a carving tool for adding fine details, and a ruler for measuring dimensions if needed. Optional materials such as paint, brushes, or glaze can be set aside for later if you plan to decorate your owlet after it dries. Once you have everything ready, you’re all set to start sculpting!
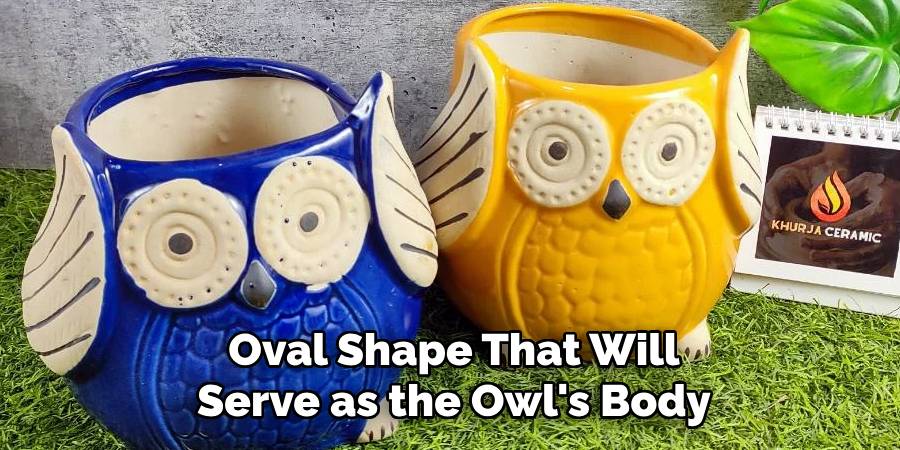
Step 3: Shape the Body of the Owlet
Start by shaping the basic form of your ceramic owlet. Take a sufficient amount of clay and roll it into a rough ball. Press and mold the clay to create a rounded, oval shape that will serve as the owl’s body. Ensure the base is slightly flattened so the owlet can stand upright. Use your fingers or shaping tools to refine the form, smoothing out any lumps or uneven areas. If needed, dip your fingers in the water bowl to smooth the surface and melt any cracks or seams. At this point, focus on achieving a solid and balanced structure, which will be the foundation for later adding details.
Step 4: Add the Wings and Tail
Once the body of the owlet is shaped, it’s time to add more character by attaching the wings and tail. Take a small piece of clay and flatten it into a thin oval or teardrop shape for one wing. Carefully press the wing onto one side of the owlet’s body, blending the edges with your fingers or a shaping tool to secure it.
Repeat the process for the other wing, ensuring both are symmetrical. For the tail, mold a small triangular or rectangular piece of clay and affix it to the back of the owlet near the base. Smooth any seams with water to ensure all parts look cohesive. These additions will start to bring your owlet to life, setting the stage for more intricate details.
Step 5: Shape the Face and Add Features
Now that the body, wings, and tail are complete, it’s time to focus on the owlet’s face. Begin by gently pressing the top of the body to form a slightly rounded head shape. Use a small ball of clay to create the beak and attach it to the center of the face, blending around the edges for a natural look.
For the eyes, press small indentations into the face using a rounded tool or your fingertip, and place tiny clay balls or disks inside the indentations to form the eyes. Using a sculpting tool to give the face personality, you can lightly press patterns or details, such as feathers or facial features. Take your time during this step, as the face will be the focal point of your owlet.
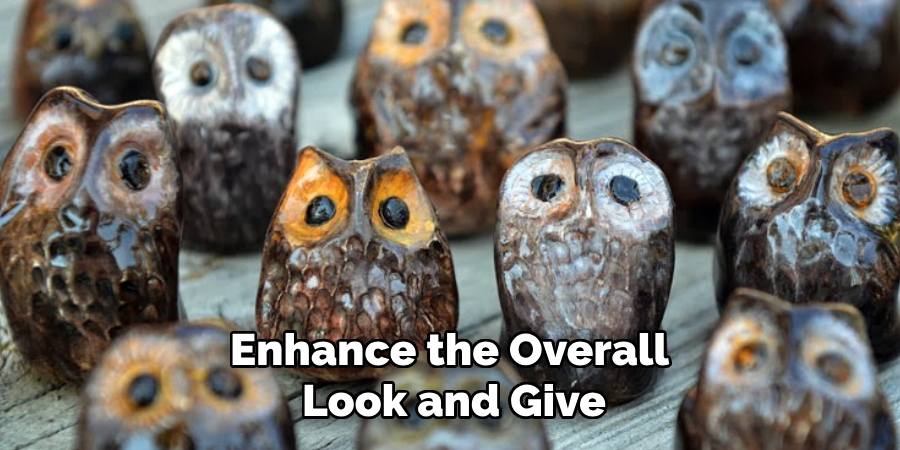
Step 6: Add Texture and Details to the Body
With the main features of your owlet in place, it’s time to add texture and refine the details. Use a sculpting tool, toothpick, or similar instrument to create small feather-like patterns across the body, wings, and tail. These textured details will enhance the overall look and give your owlet a more realistic appearance. You can also add tiny lines or curves to emphasize the feathers’ direction and flow.
Pay special attention to areas like the chest and wings, where feather patterns may naturally overlap. Once you’re satisfied with the texture, smooth the edges lightly with your fingers to maintain a cohesive and polished look.
Step 7: Bake or Harden Your Owlet
Once you’re satisfied with the shape and details of your owlet, it’s time to set it permanently. If you’re using polymer clay, preheat your oven according to the manufacturer’s instructions and carefully place the owlet on a baking sheet. Ensure the figure is stable and positioned correctly before putting it in the oven. For air-dry clay, leave the owlet in a safe, dry area and allow it to harden according to the clay’s recommended drying time. Be patient and resist the urge to handle it too soon, as this could damage your work. After hardening, your owlet should be solid and durable, ready for the final touches.
Step 8: Paint and Add Finishing Touches
Once your owlet is fully hardened, it’s time to bring it to life with some color and detail. Start by applying a base coat of acrylic paint that matches your vision for the owl’s natural tones or a more whimsical look. Allow the base coat to dry completely before adding intricate details like feather patterns, eyes, and beak highlights using fine brushes. You can also add a glossy finish with a clear sealant to protect your work and give it a polished appearance. If desired, use small embellishments like beads or glitter to enhance your owlet’s charm. This final step will elevate your creation into a truly personalized and delightful piece.
Step 9: Display Your Owlet
With your owlet beautifully painted and finished, it’s time to find the perfect spot to display it. Consider placing it on a shelf, desk, or a windowsill where it can catch the light and be admired. If you’ve created multiple owlets, arrange them to form a charming group that adds personality to your space. You could also gift your handmade owlets to friends or family as unique, heartfelt presents. Displaying your work is a rewarding way to celebrate your creative effort!
Step 10: Share Your Owlet Creation
Don’t forget to share your handmade owlets with others! Take photos of your finished pieces and post them on social media or craft forums to inspire fellow creators. Share your process, including tips and tricks, so others can learn and develop their versions. Engaging with a community of crafters can also introduce you to new techniques and ideas for your next project. Sharing your work is a fantastic way to spread joy and creativity while connecting with like-minded people.
By following these steps, you can create a charming and unique owlet figurine that will bring joy and whimsy to any space.
5 Things You Should Avoid
- Using Low-Quality Clay: Always opt for high-quality clay to ensure durability and a smooth finish. Low-quality clay can result in cracks or weak structures during the firing process.
- Skipping Proper Preparation: Avoid neglecting to wedge the clay properly. This step removes air bubbles that could cause your ceramic owlet to crack or explode in the kiln.
- Overworking the Details: While adding intricate details is tempting, avoid overworking the clay as it may weaken the structure or cause fine elements to break after firing.
- Ignoring Drying Times: Do not rush the drying process. Ensure the clay is properly dried before firing, as moisture can lead to cracking or explosions in the kiln.
- Incorrect Kiln Temperatures: Be mindful of the kiln’s firing temperature. Avoid firing your ceramic owlet at incorrect temperatures, which could cause glazing issues or even damage the piece.
Conclusion
How to make ceramic owlet requires patience, proper technique, and attention to detail.
You can craft a durable and beautifully finished piece by selecting quality materials, following essential preparation steps, and adhering to correct drying and firing practices. Avoiding common mistakes, such as rushing the process or neglecting key steps, ensures a successful outcome.
With dedication and care, your ceramic owlet can become a stunning handcrafted artwork, showcasing your creative skills and effort.
Specialization:
- Master of wheel-throwing, hand-building, and advanced glazing techniques
- Focus on creating both functional pottery and decorative art pieces
Recognition:
- Celebrated by collectors and art enthusiasts for creating one-of-a-kind pieces that blend artistry with functionality
- Participates in local and national exhibitions, earning accolades for his innovative designs and craftsmanship
Passion:
- Deeply committed to exploring and pushing the boundaries of ceramic artistry
- Continuously experiments with new materials, firing techniques, and artistic concepts to evolve his craft
Personal Philosophy:
- Believes in the transformative power of art, aiming to evoke emotions and connections through his ceramic creations
- Advocates for sustainability in ceramics, using eco-friendly materials and practices whenever possible