


Are you looking for ways to prevent kiln explosions in your ceramic studio?
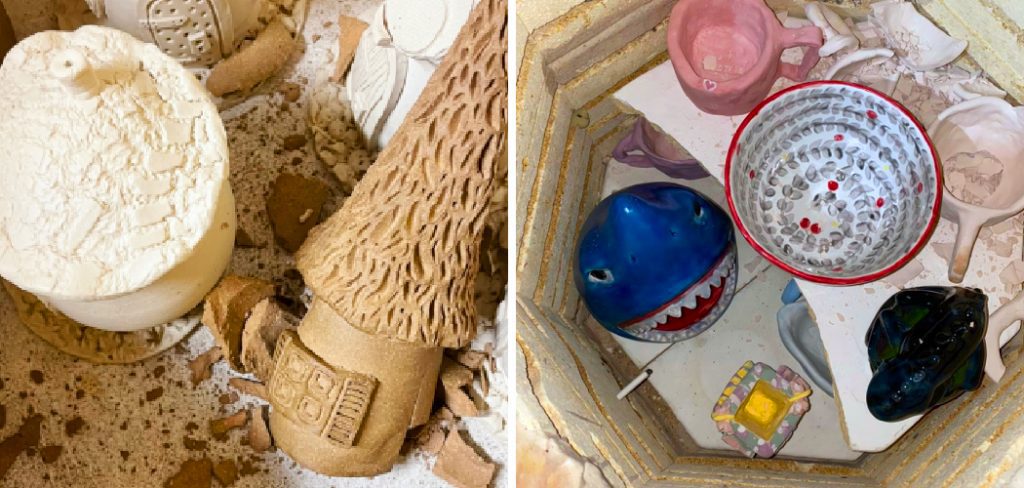
Kilns are essential tools for pottery and ceramic work, but they must be operated carefully to ensure safety and avoid potentially dangerous explosions. Kiln explosions occur primarily due to rapid temperature changes, improper loading, or the presence of moisture in the materials being fired. These incidents can cause significant damage to the kiln and the work inside and pose a danger to those nearby.
By following proper procedures, understanding the materials you are working with, and maintaining the kiln correctly, you can significantly reduce the risk of explosions and create a safer and more efficient workspace.
This guide on how to prevent kiln explosions will provide key steps and best practices to help you prevent kiln explosions and ensure successful firings.
What Are the Causes of Kiln Explosions?
Before we dive into prevention methods, it’s essential to understand the root causes of kiln explosions.
- Rapid Temperature Changes: One of the most common causes of kiln explosions is exposing the kiln to rapid temperature changes. This can happen when a hot kiln is immediately opened or loaded with cold materials, causing stress on the walls and potentially leading to cracks or even an explosion.
- Improper Loading: Loading the kiln incorrectly can also result in explosions. It’s crucial to evenly distribute the weight and ensure that shelves and posts are appropriately placed, as too much weight in one area can cause instability and damage to the kiln.
- Moisture in Materials: Another cause of kiln explosions is the fire of moisture in clay or other materials. When heated, this moisture turns into steam, which can create pressure and cause the kiln to crack or explode.
Now that we clearly understand the potential causes, let’s explore some practical steps you can take to prevent kiln explosions.
What Will You Need?
Before we get into prevention methods, having the necessary tools and supplies is crucial. Some items you may need include:
- Kiln Furniture: Shelves, posts, and kiln wash are essential for loading the kiln correctly. Regularly check these items for damage or wear and replace as needed.
- Clay: When working with clay, make sure it is adequately wedged and free of air pockets to prevent explosions caused by trapped moisture.
- Thermocouple: This device measures the temperature inside the kiln and is a critical tool for monitoring firing cycles. Regularly check your thermocouple for accuracy and replace if necessary.
- Kiln Ventilation System: Proper ventilation is essential for preventing explosions, allowing moisture and gases to escape from the kiln during firing. If your studio does not have a natural ventilation system, consider investing in a mechanical one.
Once you have these tools and supplies, it’s time to implement some best practices for preventing kiln explosions.
10 Easy Steps on How to Prevent Kiln Explosions
Step 1. Inspect Your Clay:
Inspecting your clay is the first and most crucial step in preventing kiln explosions. Start by ensuring the clay is appropriately wedged to remove air bubbles, as trapped air can expand during firing, causing cracks or explosions. Pay close attention to the texture and consistency of the clay, looking for any signs of dryness or uneven moisture. Dry or poorly mixed clay parts can create weak spots that may lead to issues under high heat. Also, avoid reusing old clay scraps that might contain contaminants or inconsistencies unless properly rehydrated and wedged. Taking extra care during this step will save time, effort, and materials in the long run while ensuring a safer firing process.

Step 2. Dry Your Pieces Thoroughly:
Proper drying is essential to avoid explosions in the kiln. Allow your clay pieces to dry completely before firing; any remaining moisture can become steam and cause cracking or bursting. To ensure even drying, place your pieces in an area with good air circulation and avoid direct sunlight, which can lead to uneven drying or warping. Depending on the size and thickness of your work, drying time may vary, so be patient and check for dryness carefully by feeling for cool spots or using a moisture meter. Taking time at this stage will help protect your kiln and creations during firing.
Step 3. Bisque Fire Your Pieces:
Bisque firing is the first stage of firing your clay projects, strengthening the pieces and preparing them for glazing. Place your completely dried pieces into the kiln, ensuring they are not touching one another to allow for proper heat flow. Set your kiln to the appropriate bisque firing temperature, typically ranging between cone 04 and cone 06, depending on the clay body you are using. Gradually increase the temperature to avoid thermal shock, and always follow the kiln manufacturer’s guidelines for best results. After the firing is complete and the kiln has cooled, your pieces will be less fragile and ready for glazing or additional decorative techniques.

Step 4. Glaze Your Bisque-Fired Pieces:
Glazing adds color, texture, and a protective finish to your pottery. Clean your bisque-fired pieces to remove any dust or debris affecting the glaze’s adhesion. Choose a glaze suitable for your project, considering whether you want a glossy, matte, or transparent finish. Apply the glaze using brushing, dipping, or spraying techniques, ensuring even coverage. Be careful to leave the bottoms of your pieces glaze-free or apply wax resistance to prevent sticking to the kiln shelf. Allow the glaze to dry completely before proceeding to the final firing step.
Step 5. Final Firing:
The final firing, known as glaze firing, transforms your glazed pottery into a finished, durable piece. Carefully load your dried, glazed pieces into the kiln, ensuring enough space between items to avoid touching during firing. Follow the glaze manufacturer’s recommended firing temperature and program the kiln accordingly. This step is crucial, as it melts the glaze, creating a smooth, glass-like surface. Remove your pottery and inspect your work after the firing cycle and the kiln has fully cooled. Your finished pieces are now ready to use or display, showcasing the culmination of your creative efforts!
Step 6. Cleaning and Finishing Touches:
After removing your pottery from the kiln, thoroughly clean each piece to remove any residual dust or kiln debris. Inspect your work closely for imperfections or rough edges that need to be sanded or smoothed. If your piece is functional, test it for leaks or cracks to ensure it is safe. For decorative pieces, consider adding additional embellishments, such as paints, stains, or sealants, to enhance their aesthetic appeal. This final step allows you to refine and perfect your creations, preparing them for their intended purpose or display.

Step 7. Displaying and Sharing Your Work:
Once your pottery is finished and perfected, it’s time to display or share your creations proudly. Arrange your pieces in a space where they can be admired, such as on shelves, mantels, or dedicated showcases. Consider photographing your work for a portfolio or sharing it on social media to connect with other pottery enthusiasts and showcase your craftsmanship. If you wish to sell your pieces, explore local markets, art galleries, or online platforms to reach potential buyers. Displaying and sharing your work not only celebrates your achievement but inspires others and fosters a deeper appreciation for pottery.
Step 8. Learning and Growing as an Artist:
The journey of pottery doesn’t end with completing a piece—it’s an ongoing process of learning and growth. Reflect on your creations and identify areas for improvement or techniques you’d like to explore further. Seek inspiration by attending workshops, following experienced artists, or experimenting with new tools and materials. Engaging with a community of fellow potters can also open doors to valuable feedback and collaboration opportunities. By continually challenging yourself and refining your skills, you evolve as an artist and deepen your connection to the timeless craft of pottery.
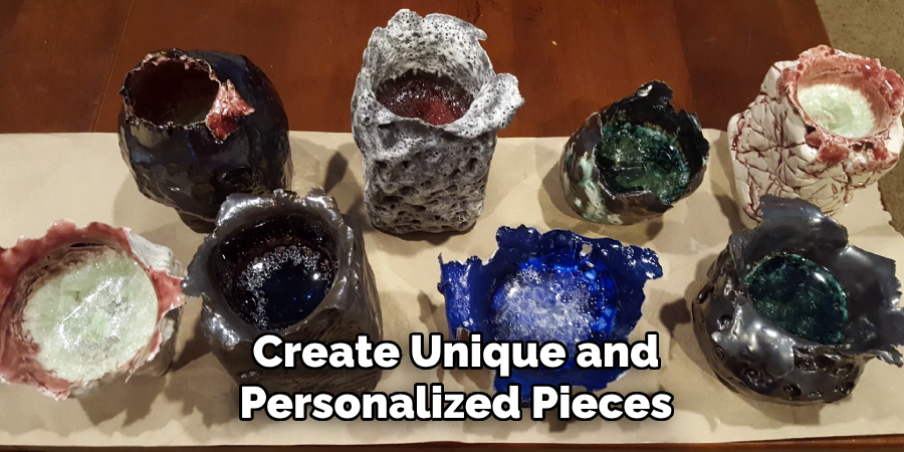
Step 9. Try New Techniques and Push Your Limits:
As you become more familiar with the basics of pottery, don’t be afraid to step out of your comfort zone and try new techniques or push your limits. Experiment with different clay bodies, glazes, firing temperatures, or decorative methods to create unique and personalized pieces. Embrace imperfections as part of the creative process and use them as opportunities for growth and learning. With each project, challenge yourself to go beyond what you thought was possible and discover the endless possibilities of this ancient art form.
Step 10: Enjoy the Process and Have Fun:
Above all, remember to enjoy the process of pottery and have fun with it. Whether throwing on a wheel, hand building, or experimenting with different glazing techniques, let go of expectations and allow yourself to be present at the moment. Embrace mistakes as opportunities for growth and appreciate the meditative qualities of working with clay.
Following these steps and continuously exploring and learning, you can create beautiful, unique pottery pieces that reflect your style and creativity.
Conclusion
It is essential to understand and manage the factors contributing to this issue to prevent kiln explosions. Ensure that your clay pieces are dehydrated before placing them in the kiln, as residual moisture turns to steam and can cause explosions. Create consistent wall thickness in your pieces to encourage even drying and firing.
Additionally, vent the kiln properly to allow gases and moisture to escape during the firing process. Slow and gradual temperature increases, particularly during the early stages of firing, are crucial for preventing thermal shock.
Hopefully, the article on how to prevent kiln explosions has provided you with valuable insights and tips for safely firing your pottery. Happy potting!
Specialization:
- Master of wheel-throwing, hand-building, and advanced glazing techniques
- Focus on creating both functional pottery and decorative art pieces
Recognition:
- Celebrated by collectors and art enthusiasts for creating one-of-a-kind pieces that blend artistry with functionality
- Participates in local and national exhibitions, earning accolades for his innovative designs and craftsmanship
Passion:
- Deeply committed to exploring and pushing the boundaries of ceramic artistry
- Continuously experiments with new materials, firing techniques, and artistic concepts to evolve his craft
Personal Philosophy:
- Believes in the transformative power of art, aiming to evoke emotions and connections through his ceramic creations
- Advocates for sustainability in ceramics, using eco-friendly materials and practices whenever possible