


Creating ceramic art is a craft that combines technical skill and creative expression. Whether you are a seasoned potter or a beginner, learning to craft ceramics into striking, star-shaped designs can add a unique touch to your work.
This guide on how to make ceramic a star will walk you through the essential steps, tools, and techniques needed to make ceramic stars that stand out as both decorative and functional pieces. Let’s explore the process and unlock the potential of this timeless material.
Why Choose Ceramic?
Ceramics has been a popular material for artists and craftsmen throughout history due to its versatility, durability, and aesthetic appeal. It can be molded into various shapes and sizes, fired at high temperatures to achieve strength and resilience, and glazed or painted with an array of colors for added beauty.
Moreover, ceramic is a non-toxic and environmentally friendly material, making it a preferred choice for many artists. It also has excellent heat retention properties, which makes it ideal for functional items such as mugs or bowls.
Materials Needed
Before we dive into the process of making ceramic stars, let’s take a look at the materials you will need:
Ceramic Clay:
This is the base material that will be shaped into stars. You can choose from various types of clay, including earthenware, stoneware, or porcelain. Each type has different characteristics, so choose one that best fits your project.
Pottery Tools:
These are essential for shaping and carving the clay. Some necessary tools include a pottery wheel, rolling pin, wire cutter, and various shaping tools.
Glaze or Paint:
This is optional but highly recommended if you want to add color and shine to your ceramic stars. You can use commercially available glazes or make your own using recipes found online.
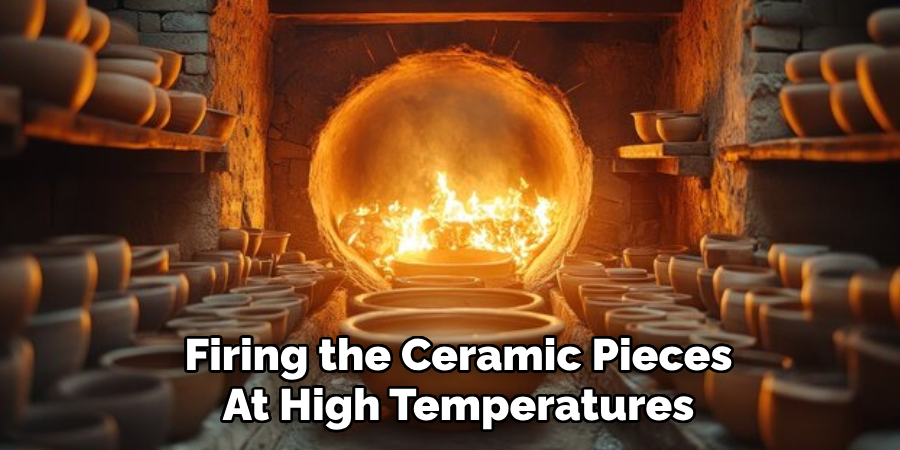
Kiln:
A kiln is essential for firing the ceramic pieces at high temperatures. If you do not have access to a kiln, you can also use air-dry clay, which does not require firing.
8 Step-by-step Guidelines on How to Make Ceramic a Star
Step 1: Prepare Your Workstation
Before beginning, set up a clean and organized workstation that promotes creativity and efficiency. Lay down a flat, sturdy surface such as a workbench or table, and cover it with canvas or a non-stick mat to prevent the clay from sticking to the surface.
Ensure all your tools, such as rolling pins, shaping tools, and wire cutters, are within easy reach. If you are using a pottery wheel, position it so you can work comfortably.
Keep a small bowl of water nearby to keep the clay moist and pliable as you work. Proper preparation of your workstation will help streamline the process and ensure a more enjoyable crafting experience.
Step 2: Knead the Clay
Kneading is an essential process that helps smooth out any air bubbles and create a uniform texture in the clay. Take a chunk of clay and roll it into a ball, then firmly press it flat on your work surface. Fold the flattened clay in half and repeat this process several times until you achieve a smooth consistency.
But remember, do not over-knead the clay as it can become too soft and difficult to work with. If this happens, let the clay sit for a while to stiffen up before continuing.
Step 3: Roll Out the Clay
Once the clay is properly kneaded, it’s time to roll it out to a consistent thickness. Place the ball of clay on your prepared work surface and use a rolling pin to flatten it. Roll the clay out evenly, turning it occasionally to maintain a uniform thickness across the surface. Aim for a thickness of about 1/4 inch, as this provides enough durability for your star while keeping it manageable for cutting and shaping.
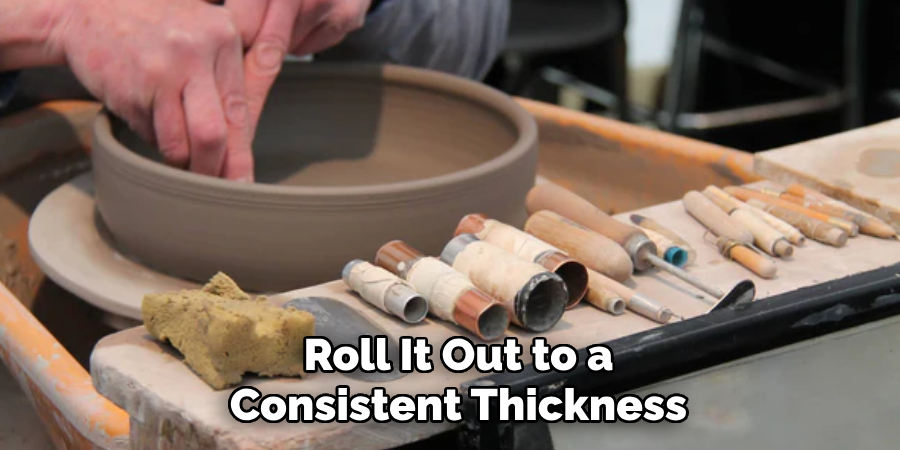
Be sure to avoid making the clay too thin, as it may become fragile and prone to breaking during the firing process. Use guide sticks or spacers if needed to ensure the clay is evenly rolled throughout.
Step 4: Cut Out the Star Shape
To create a star shape, use a cookie cutter or template as a guide to cut out the clay. Carefully press the cutter into the rolled-out clay, making sure to apply even pressure throughout. If you are making larger stars, it’s best to use templates and trace them onto the clay using a sharp knife.
But don’t worry if your star isn’t perfect; hand-cutting gives it a more unique and organic look.
Step 5: Create Texture and Pattern
This step is optional but highly recommended for adding visual interest to your stars. Use various shaping tools, such as stamps or texture mats, to press patterns into the clay’s surface. You can also use a small knife to carve intricate designs or make indents using the tip of a pencil.
Experiment with different techniques until you achieve the desired texture and pattern on your stars. Just remember not to press too hard as this may distort the shape of your star.
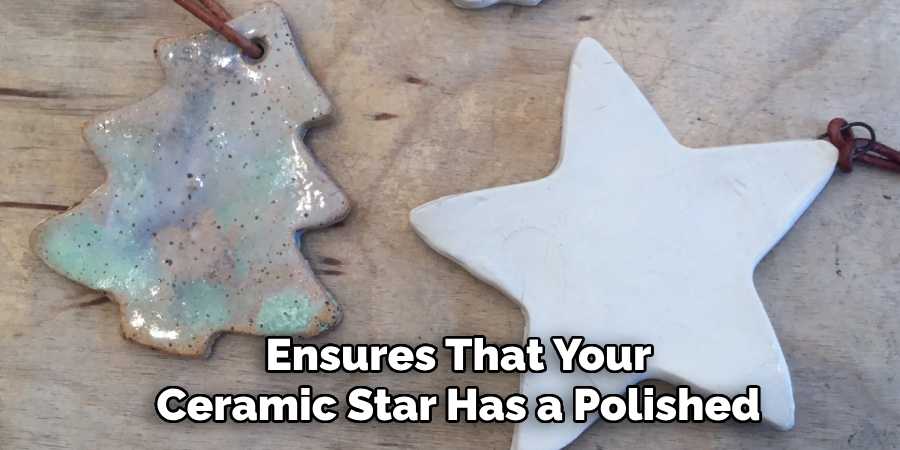
Step 6: Smooth Out Any Imperfections
Once you have shaped and textured your star, inspect it for any rough edges or imperfections. Use a damp sponge or your fingertips to gently smooth out these areas. Pay special attention to the edges of the star, as they are more likely to have uneven or jagged spots.
If necessary, you can use fine-grit sandpaper or a soft clay tool to refine the details further. This step ensures that your ceramic star has a polished and professional look, and it also helps prevent sharp edges that could become brittle or uncomfortable to handle after firing. Take your time during this process to perfect the piece before moving on to the next step.
Step 7: Let the Clay Dry
Once your stars are shaped, textured, and smoothed out, it’s time to let them dry. Place them on a flat surface, such as a drying rack or canvas-covered board, and allow them to air dry for at least 24 hours. Make sure they are not touching each other during this process to prevent any potential sticking or deformation.
If you are using air-dry clay, follow the package instructions for drying times. And remember to flip the stars over occasionally to ensure even drying.
Step 8: Firing Process
The final step in making ceramic stars is firing them in the kiln. If you don’t have access to a kiln, you can skip this step if you use air-dry clay. However, if you are using traditional ceramic clay, the firing process is essential for hardening and strengthening the piece.
Place your stars in a preheated kiln and follow the recommended temperature and firing time for your type of clay. Once fired, let the stars cool down before handling them.
Following these steps on how to make ceramic a star will result in beautiful ceramic stars that you can use as decorations, gifts, or even holiday ornaments. If desired, you can also glaze or paint your stars for a more personalized touch. Have fun and let your creativity shine through!
Frequently Asked Questions
Q1: Can I Use Any Type of Clay for Making Ceramic Stars?
A: Traditional ceramic clay is best for firing in a kiln, but you can also use air-dry clay if you don’t have access to a kiln. It’s essential to understand the differences between these two types of clay and their appropriate uses before starting your project.
Q2: How Do I Determine the Right Thickness of Clay for My Stars?
A: A thickness of 1/4 inch is ideal for durability and manageability, but you can adjust it based on your personal preference or project needs. You can also use guide sticks or spacers to ensure an even thickness throughout the clay.
Q3: Can I Use Household Items as Shaping Tools?
A: Absolutely! You can use various household items such as stamps, texture mats, and even kitchen utensils to create patterns and textures on your stars.
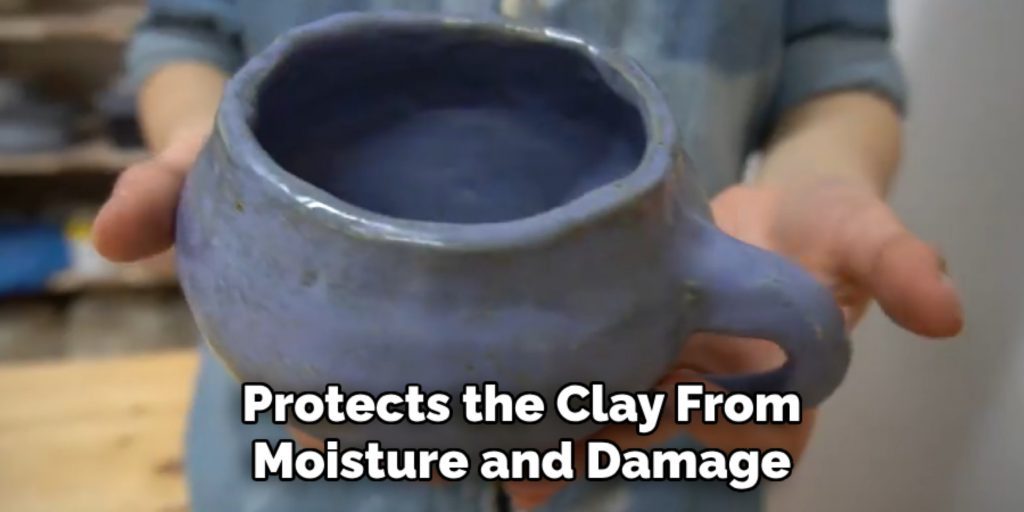
Q4: Do I Need to Glaze or Paint My Ceramic Stars?
A: It’s not necessary, but it adds a personalized touch and protects the clay from moisture and damage. You can also leave them as is for a more natural and rustic look. The choice is yours!
Conclusion
Creating ceramic stars is a rewarding and creative process that allows you to design unique pieces with endless possibilities. By following the steps on how to make ceramic a star outlined—from kneading and rolling the clay to cutting, texturing, and firing—you can craft beautiful stars that reflect your personal style and artistic flair.
Whether you use them as decorations, gifts, or keepsakes, these handmade stars are a testament to the time, effort, and care you put into crafting them. Remember, there is no right or wrong way when it comes to creativity, so have fun and enjoy the process!
Specialization:
- Master of wheel-throwing, hand-building, and advanced glazing techniques
- Focus on creating both functional pottery and decorative art pieces
Recognition:
- Celebrated by collectors and art enthusiasts for creating one-of-a-kind pieces that blend artistry with functionality
- Participates in local and national exhibitions, earning accolades for his innovative designs and craftsmanship
Passion:
- Deeply committed to exploring and pushing the boundaries of ceramic artistry
- Continuously experiments with new materials, firing techniques, and artistic concepts to evolve his craft
Personal Philosophy:
- Believes in the transformative power of art, aiming to evoke emotions and connections through his ceramic creations
- Advocates for sustainability in ceramics, using eco-friendly materials and practices whenever possible