


Building a wood-fired kiln is a rewarding project that combines craftsmanship and utility, allowing you to create a sustainable way to fire pottery or bricks. This type of kiln has been used for centuries and remains a favored choice for its ability to produce unique finishes and high temperatures.
By constructing your own kiln, you not only gain an appreciation for traditional firing methods but also enhance your creative practice or production capabilities. This guide will walk you through how to build a wood-fired kiln.
Benefits of Building Your Own Kiln
Building your own wood-fired kiln offers numerous advantages for both beginners and seasoned artisans. Firstly, it allows you to customize the design to suit your specific needs, whether you’re firing pottery, bricks, or sculptures. This level of personalization ensures you can achieve optimal results for your projects.
Secondly, the process of constructing a kiln helps cultivate a deeper understanding of firing techniques and thermal dynamics, enhancing your overall crafting skills. Additionally, a wood-fired kiln provides a sustainable and cost-effective firing option, as it relies on readily available wood instead of expensive fuels or electricity.
What Is a Wood-Fired Kiln?
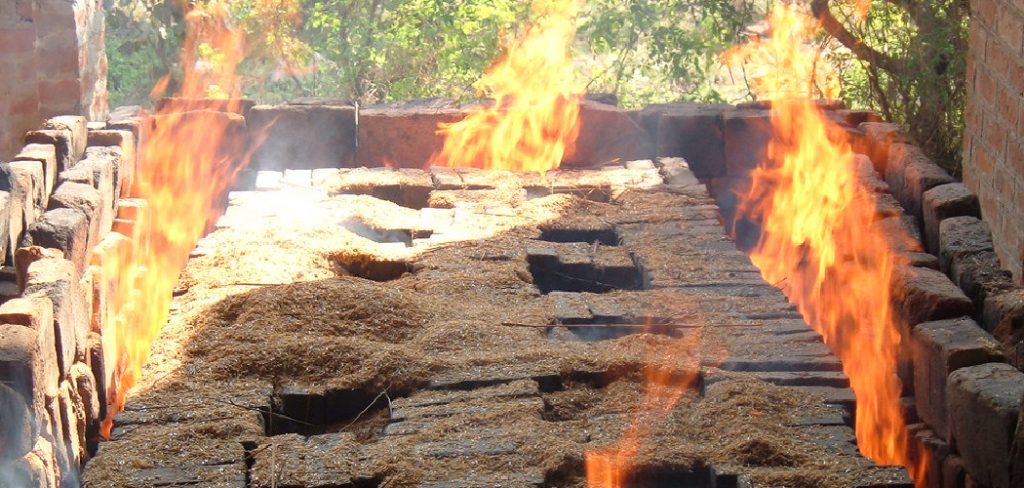
A wood-fired kiln is a type of kiln that uses wood as its primary fuel source to generate the high temperatures needed for firing ceramics or bricks. Traditionally used for centuries, these kilns operate by burning wood, which creates intense heat and allows for gradual temperature control during the firing process.
The interior of the kiln is designed to accommodate the pieces being fired while utilizing chambers or tunnels to direct the flow of heat and smoke. Unlike electric or gas-fired kilns, wood-fired kilns impart unique characteristics to the finished work, such as ash deposits, flame marks, and natural variations in texture and color.
This traditional firing method is valued for its authenticity and unparalleled aesthetic results, making it a favored choice among artisans and ceramicists seeking to combine functionality with artistic expression.

10 Methods How to Build a Wood-Fired Kiln
1. Plan and Design Your Kiln
The first step in building a wood-fired kiln is to carefully plan and design the structure. Consider factors such as the kiln’s size, shape, and intended use. Will it be a small, portable kiln for personal use, or a larger one for firing multiple pieces at once?
The most common types of wood-fired kilns are the traditional “anagama” kiln, which is typically a long, sloping tunnel kiln, or the “soda kiln,” which introduces a soda ash glaze during the firing process. It’s essential to sketch a design that accommodates your needs while also ensuring enough ventilation for airflow. Understanding your space and the materials you will need is crucial to this initial step.
2. Choose the Right Location
Selecting the right location for your wood-fired kiln is essential to ensure safety, accessibility, and proper airflow. The kiln needs to be situated in an open, non-combustible area, away from any buildings or vegetation that could catch fire. The kiln should also be placed in an area that allows for easy wood storage and safe operation.
Be sure the location is level and well-ventilated, as this will help ensure that the kiln reaches the proper firing temperatures. Additionally, make sure the area complies with local zoning regulations or permits related to outdoor combustion.
3. Gather the Materials
Building a wood-fired kiln requires a variety of materials, some of which are quite specialized. The primary materials include refractory bricks, which are designed to withstand high temperatures without breaking down, and insulating bricks or materials to help retain heat.
You’ll also need fireclay, cement, mortar, and steel for constructing the structure and maintaining the integrity of the kiln. Additionally, make sure to have wood storage racks or a simple area to store the fuel for the fire. Depending on your kiln’s design, you may also need metal pipes for the chimney and a heat-resistant door for the kiln’s opening.
4. Prepare the Foundation
The foundation is the most critical part of your wood-fired kiln’s structure, as it will provide the necessary stability and levelness for the entire build. Start by marking the area for the kiln on the ground, ensuring it is level and free from obstructions. Excavate the area slightly, then lay a concrete slab or build a gravel base.
This solid foundation ensures that your kiln stays stable during firing, preventing any shifts or settling that could compromise its structure. The foundation should also be fireproof, as the kiln will generate significant heat during operation. Allow the foundation to cure fully before proceeding to the next stage.
5. Build the Kiln’s Walls
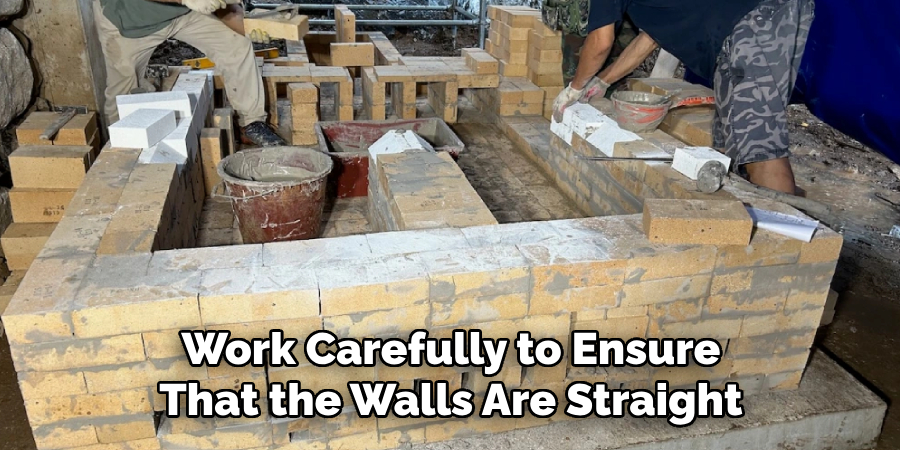
With the foundation in place, the next step is to construct the kiln’s walls. Using refractory bricks, begin laying the bricks in a circle or rectangular shape, depending on your design. Be sure to stagger the seams between the bricks for added strength and stability.
Refractory mortar, which can withstand high temperatures, should be used to hold the bricks together. Work carefully to ensure that the walls are straight and even, leaving openings for the door and ventilation. The walls of the kiln are essential for trapping heat and providing insulation, so it’s important to maintain precision during this process.
6. Construct the Door and Ventilation System
A properly designed door and ventilation system are key to controlling airflow within the kiln. The door must be large enough to load and unload your ceramic pieces but also designed to close securely to retain heat. You can construct the door using firebrick or metal, ensuring that it fits tightly to prevent heat loss.
The ventilation system, which can be built into the kiln walls or added as a separate feature, is responsible for directing the airflow during firing. Proper ventilation allows for a consistent temperature and reduces the buildup of harmful gases. A chimney or flue system should be added to the top of the kiln for smoke and gases to escape, ensuring safe operation.
7. Insulate the Kiln
Insulating your kiln is crucial for achieving and maintaining the high temperatures required for wood firing. Once the basic structure is in place, use insulating bricks or fire-resistant insulation to line the inside of the kiln walls. This insulation helps to keep heat from escaping and ensures an efficient firing process.
Insulating the roof and floor of the kiln is also important for maintaining an even temperature throughout the chamber. Insulating your kiln can increase fuel efficiency, reduce the amount of wood needed for firing, and make the process more environmentally friendly by reducing heat loss.
8. Install the Chimney and Flue
A well-designed chimney is essential for safely venting smoke and gases from the kiln during firing. The chimney should be positioned at the top of the kiln, allowing smoke to rise and exit the structure. The flue, a pipe or duct that connects the chimney to the kiln, should be made from heat-resistant material to handle the extreme temperatures.
The size of the chimney and flue will depend on the size of the kiln and the type of wood being used for firing. Make sure that the chimney is tall enough to create the necessary draft and provide adequate ventilation for the combustion process. Proper chimney installation ensures a safer, more efficient kiln.
9. Test Firing and Adjustments
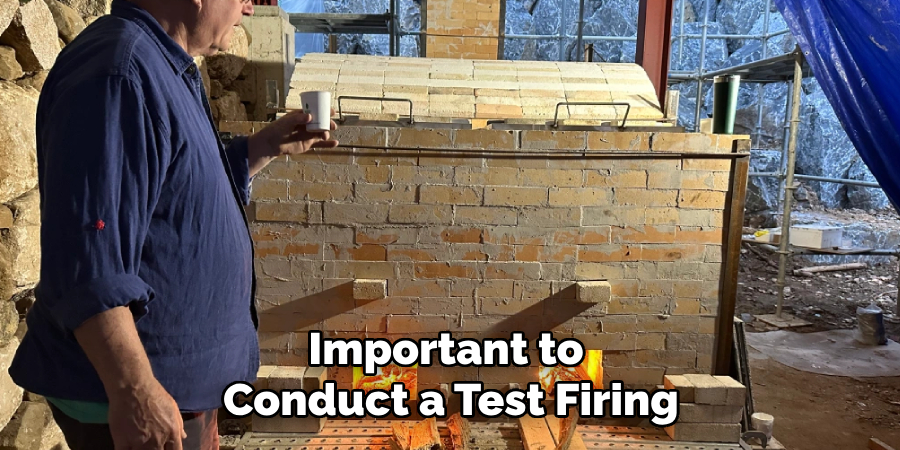
After completing the kiln, it’s important to conduct a test firing before using it for actual ceramic projects. Start with a small load and use a lower temperature to gradually test the kiln’s ability to hold and regulate heat. Monitor the temperature closely using a pyrometer or kiln thermometer to ensure the kiln reaches and maintains the desired temperature for the firing process.
During the test firing, observe the airflow, flame patterns, and any potential issues with the chimney or ventilation. Make any necessary adjustments to ensure consistent heat distribution and proper ventilation. This phase helps identify any weak points in the design and ensures the kiln is functioning safely.
10. Start Firing and Maintain the Kiln
Once your wood-fired kiln is fully constructed and tested, you can begin firing your ceramic pieces. The firing process involves adding wood to the firebox in controlled amounts, stoking the fire regularly to maintain an even temperature throughout the kiln. It’s important to continuously monitor the temperature and airflow during the firing process.
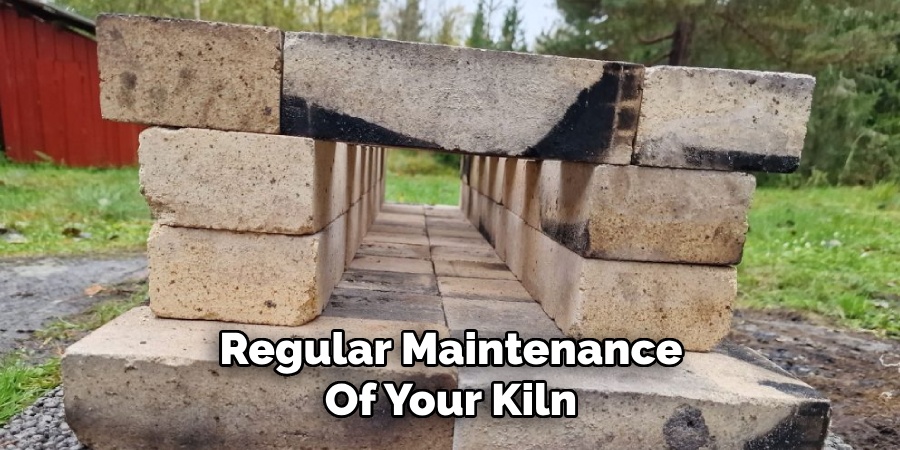
Make adjustments to the amount of wood or airflow as needed to achieve the desired temperature. After the firing is complete, allow the kiln to cool down slowly before unloading your pieces. Regular maintenance of your kiln is essential for its longevity. Check the mortar joints for any cracks or damage, and replace any worn-out insulation as needed.
Conclusion
Building a wood-fired kiln at home is a challenging but rewarding project that provides you with the tools to create traditional ceramics using natural heat. From planning and gathering materials to constructing the kiln’s walls and ventilation system, each step requires attention to detail and care.
By following these ten methods, you can create a kiln that produces high-quality fired ceramics while also offering a deeper connection to the art of pottery. So, there you have it – a quick and easy guide on how to build a wood-fired kiln.
Specialization:
- Master of wheel-throwing, hand-building, and advanced glazing techniques
- Focus on creating both functional pottery and decorative art pieces
Recognition:
- Celebrated by collectors and art enthusiasts for creating one-of-a-kind pieces that blend artistry with functionality
- Participates in local and national exhibitions, earning accolades for his innovative designs and craftsmanship
Passion:
- Deeply committed to exploring and pushing the boundaries of ceramic artistry
- Continuously experiments with new materials, firing techniques, and artistic concepts to evolve his craft
Personal Philosophy:
- Believes in the transformative power of art, aiming to evoke emotions and connections through his ceramic creations
- Advocates for sustainability in ceramics, using eco-friendly materials and practices whenever possible