Decorating ceramic ornaments can be a delightful and personalized way to add charm to your home or create meaningful gifts. Whether you want to commemorate a special event, express your artistic flair, or simply label your creations, knowing how to write on ceramic surfaces is key.

In this guide on how to write on ceramic ornaments, we’ll explore effective techniques and tools needed to achieve beautiful results. From selecting the right markers and paints to preparing the ceramic surface for writing, these insights will ensure your creativity shines on every ornament.
Why Write on Ceramic Ornaments?
Writing on ceramic ornaments offers a unique way to personalize and enhance your decorative pieces. These handwritten details can transform simple blank ceramics into cherished heirlooms, celebrating holidays, milestones, or personal messages that make each piece special.
Unlike premade designs, adding your text allows for complete customization, enabling you to create bespoke items that truly reflect your personality or the sentiments you wish to convey. Whether it’s adding a name, a date, or a meaningful quote, writing on ceramic ornaments elevates them from mere decorations to keepsakes imbued with personal significance and warmth.
Needed Materials
Before you start writing on ceramic ornaments, it’s important to have the right materials for the job. The type of markers or paints you choose will depend on your personal preference and the style you want to achieve.
Permanent Markers:
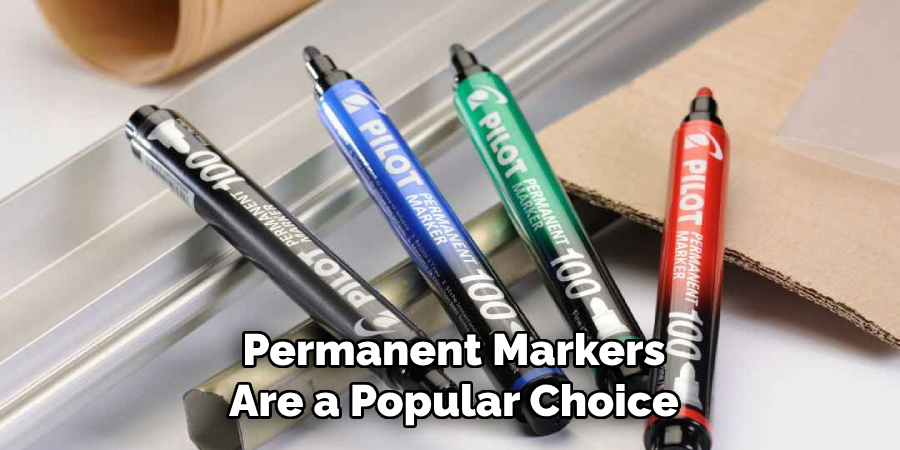
Permanent markers are a popular choice for writing on ceramic ornaments due to their ease of use and vibrant colors. These markers are water-resistant, making them suitable for use on surfaces that may come into contact with moisture.

When purchasing permanent markers, make sure they are specifically designed for writing on ceramics or other non-porous surfaces. Look for ones labeled as “ceramic” or “porcelain” markers and avoid using regular sharpies as they will not be permanent on these materials.
Acrylic Paints:
Acrylic paints are another option for writing on ceramic ornaments, especially if you want a wider range of color options. These paints can be applied with a brush or pen and dried to a waterproof finish, making them suitable for use on ceramic surfaces.
When choosing acrylic paints for writing, look for ones labeled as “multi-surface” or “porcelain” paints and make sure they are suitable for writing on non-porous surfaces.
Other Materials:
In addition to markers and paints, you may also need some additional materials when writing on ceramic ornaments:
- Isopropyl Alcohol: Used to Clean the Ceramic Surface Before Writing
- Cotton Swabs or Paper Towels: Used to Apply the Isopropyl Alcohol
- Stencils or Stickers: Can Help Achieve Precise and Consistent Designs
- Pencil: Can Be Used to Lightly Sketch Your Design Before Using Markers or Paint
7 Step-by-step Guidelines on How to Write on Ceramic Ornaments
Step 1: Clean the Ceramic Surface
Before you begin writing on your ceramic ornament, it’s crucial to ensure the surface is clean and free of any dust, oils, or residues that could affect the adhesion of your markers or paints. Start by applying a small amount of isopropyl alcohol to a cotton swab or paper towel. Gently wipe the entire surface of the ceramic ornament, focusing especially on the areas where you plan to write or apply your design.
This step not only cleans the surface but also removes any handling oils that could cause the paint or ink to smudge. Allow the ornament to dry completely before proceeding to the next step.
Step 2: Prepare Your Design
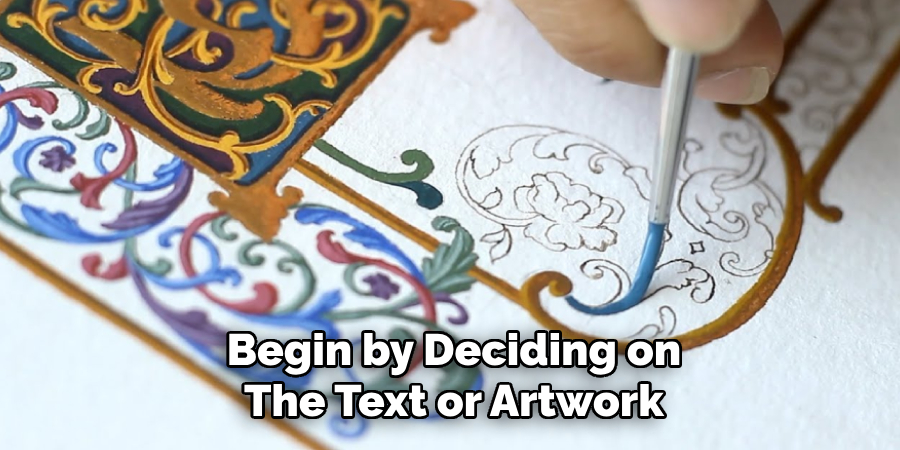
Once the ceramic surface is clean and dry, it’s time to prepare your design. Begin by deciding on the text or artwork you want to place on the ornament. If you’re feeling confident, you can sketch your design directly onto the ceramic ornament using a pencil. This allows you to make adjustments easily without committing to permanent markings. If you prefer a more precise or intricate design, consider using stencils or stickers to guide your artwork.

These tools can help maintain consistency and symmetry, especially if you’re decorating multiple ornaments with similar designs. Remember to keep the placement in mind, ensuring your design fits well within the ornament’s shape and contours. Once you’re satisfied with the layout, you’ll be ready to move on to the actual writing or painting of your design.
Step 3: Use Your Markers or Paints
With your design prepared, it’s time to use your markers or paints to write on the ceramic surface. If you’re using permanent markers, shake them well before starting and test them on a scrap piece of paper to ensure they are working properly. When writing, apply pressure on the marker for consistent ink flow, but avoid pushing too hard as this can cause smudging.
If you’re using acrylic paints, follow the instructions on the packaging for proper mixing and application. Depending on the type of paint and desired effect, you may need multiple coats for full coverage. Allow each coat to dry completely before applying another one.
Remember to use your prepared design as a guide and work slowly and carefully to prevent any mistakes. If you do make a mistake, don’t worry – isopropyl alcohol can also be used to remove wet paint or ink from the ceramic surface before it dries. Once you’re finished writing or painting, allow the ornament to dry completely before moving on to the next step.
Step 4: Cure Your Design (Optional)
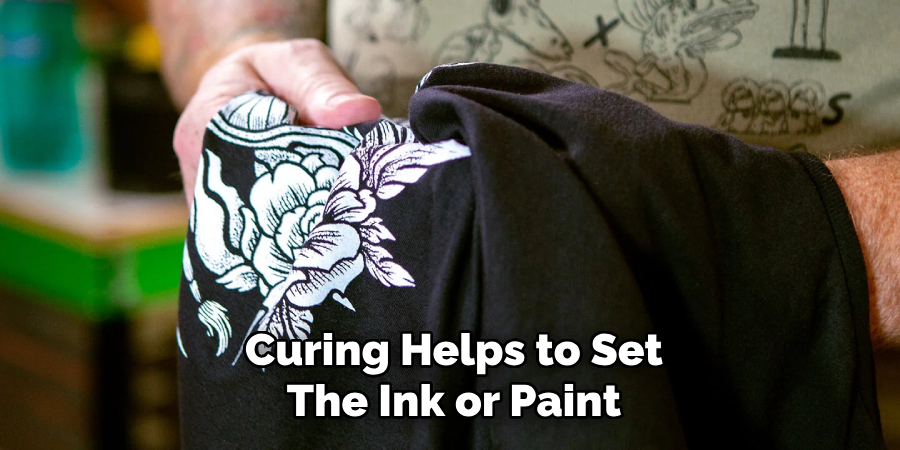
Once you have finished writing or painting on the ceramic ornament and it has dried completely, you may choose to cure the design for added durability. Curing helps to set the ink or paint, making it more resilient against wear and washing. To cure the ornament, place it in a cool oven, then set the oven to 350°F (175°C). Allow the ornament to warm gradually as the oven preheats.

Once the temperature is reached, bake the ornament for 30 minutes. Afterward, turn off the oven and let the ornament cool down inside without opening the door. This gradual heating and cooling process helps prevent the ceramic from cracking. While curing is optional, it can extend the lifespan of your design, ensuring it remains vibrant and intact through the years.
Step 5: Add Finishing Touches (Optional)
Once your design has been cured and cooled, you may choose to add some finishing touches to enhance its appearance. For example, if you use acrylic paint, you can apply a coat of clear sealant on top for added protection and shine.
You can also use glitter or other embellishments to give your ornament a unique and festive touch. Allow the finishing touches to dry completely before displaying or gifting your ceramic ornament.
Step 6: Proper Care for Your Ceramic Ornament
To ensure your ceramic ornament lasts for years to come, it’s essential to take proper care of it. Avoid using harsh chemicals or abrasive materials when cleaning, as this could damage the design. Instead, gently hand-wash the ornament with a mild soap and warm water. Do not soak or scrub the ornament and pat it dry with a soft cloth.
To prevent chipping or scratching, avoid placing the ornament in high-traffic areas where it could get knocked over easily. When storing, wrap the ornament in tissue paper or bubble wrap to protect it from potential damage.
Step 7: Enjoy Your Handmade Ceramic Ornament!
Congratulations! You have successfully written on your ceramic ornament and created a unique and personalized decoration. Whether you’re keeping it for yourself or gifting it to someone special, your beautiful artwork will surely be cherished for years to come.
Remember to have fun and be creative with your designs, and don’t be afraid to try different techniques or materials. With these step-by-step guidelines on how to write on ceramic ornaments, you can confidently write on ceramic ornaments and add a personal touch to any holiday or special occasion. Happy crafting!
Frequently Asked Questions
Q: Can I Use Any Type of Marker or Paint for Writing on Ceramic Ornaments?
A: It’s best to use permanent markers or acrylic paints specifically designed for writing on ceramics. Regular markers or water-based paints may not adhere properly or may smudge and fade over time. The key is to use materials that are designed for the specific surface and purpose.
Q: How Do I Clean my Ceramic Ornament if it Gets Dirty?
A: Avoid using harsh chemicals or abrasive materials when cleaning your ceramic ornament, as this could damage the design. Instead, gently hand-wash the ornament with a mild soap and warm water. Do not soak or scrub the ornament and pat it dry with a soft cloth.

Q: Can I Write on Already-Glazed Ceramic Ornaments?
A: Yes, you can write on already-glazed ceramic ornaments, but keep in mind that the glaze may affect how well markers or paints adhere to the surface. You may need to apply more pressure when writing or use multiple coats of paint for full coverage. You can also lightly sand the surface with fine-grit sandpaper before decorating to improve adhesion. Remember to test on a small area first to ensure the marker or paint will work as desired.
Q: Can I Use Other Materials Besides Markers and Paints?
A: While markers and paints are the most commonly used materials for writing on ceramic ornaments, you can also use other mediums such as chalkboard markers, metallic pens, or even calligraphy ink. Again, it’s essential to test these materials on a scrap piece of paper first before using them on your ornament.
Conclusion
Creating personalized ceramic ornaments allows for a unique expression of creativity while making meaningful gifts or decorations for special occasions. By carefully selecting the right materials and following the steps outlined in this guide on how to write on ceramic ornaments, you can ensure that your designs are both vibrant and durable. Whether you’re a novice or an experienced crafter, experimenting with different techniques and finishes can not only enhance the beauty of your ornaments but also provide a rewarding crafting experience.
Remember, patience and precision are key to achieving the best results. With practice, you’ll develop a collection of cherished keepsakes that capture the joy and spirit of your creative endeavors. Happy crafting!
Specialization:
- Master of wheel-throwing, hand-building, and advanced glazing techniques
- Focus on creating both functional pottery and decorative art pieces
Recognition:
- Celebrated by collectors and art enthusiasts for creating one-of-a-kind pieces that blend artistry with functionality
- Participates in local and national exhibitions, earning accolades for his innovative designs and craftsmanship
Passion:
- Deeply committed to exploring and pushing the boundaries of ceramic artistry
- Continuously experiments with new materials, firing techniques, and artistic concepts to evolve his craft
Personal Philosophy:
- Believes in the transformative power of art, aiming to evoke emotions and connections through his ceramic creations
- Advocates for sustainability in ceramics, using eco-friendly materials and practices whenever possible


