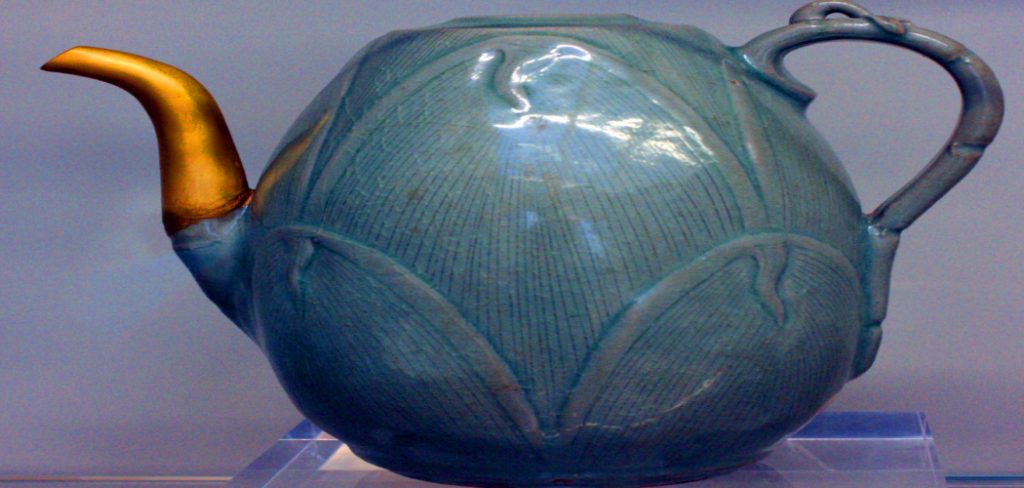
Are you having issues with your ceramic pieces? If you’re noticing blemishes or imperfections on the surface of your glazed pottery, you may be dealing with glaze defects.
Glaze defects can significantly impact ceramic pieces’ aesthetic and functional qualities. Identifying these defects early is essential for troubleshooting and improving the glazing process. This process involves careful observation, understanding the common causes of issues, and implementing measures to mitigate them. Whether the problem originates from improper application, firing conditions, or the glaze composition itself, recognizing the signs of glaze defects is the first step in ensuring consistently high-quality results in ceramic work.

In this guide on how to identify glaze defects, we’ll discuss some of the most common types of glaze defects and how to recognize them.
What Are the Benefits of Identifying Glaze Defects?
Identifying glaze defects helps ceramic artists and potters produce high-quality pieces that meet their desired aesthetic and functional standards. By recognizing the signs of glaze defects, you can troubleshoot the underlying cause and find a solution to improve your glazing process. This ensures consistency in your work and saves time and materials by avoiding potential issues in future pieces.
Moreover, identifying glaze defects early on allows for timely intervention before more significant damage occurs. For example, a small crack or pinhole may lead to water absorption issues or breakage during use if left unnoticed. Catching these defects early on can prevent costly mistakes and save valuable pieces from being ruined.
What Will You Need?
To identify glaze defects, you’ll need the following materials:
- Ceramic pieces with glazes applied
- Adequate lighting (natural or artificial)
- Magnifying glass or loupe
Once you have these items ready, you can start inspecting your glazed pieces for any potential defects.
10 Easy Steps on How to Identify Glaze Defects
Step 1. Examine the Surface Under Good Lighting
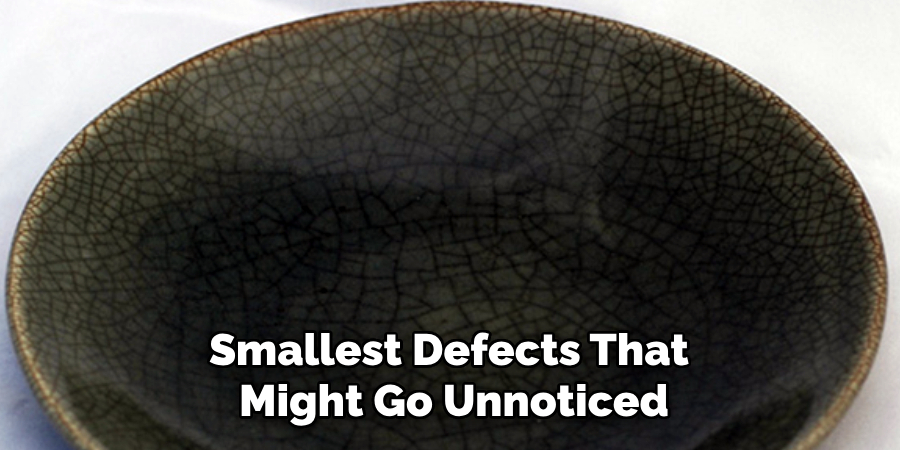
Under proper lighting, carefully observe the surface of your ceramic piece to identify any irregularities. Good lighting is crucial because it helps highlight even the smallest defects that might go unnoticed. Position the ceramic piece at different angles to allow light to reflect off the surface, making it easier to spot inconsistencies. Look for signs such as uneven glaze application, discoloration, cracks, pinholes, or bubbles. It’s essential to take your time during this step, as a thorough examination can reveal details that might determine the root cause of the defect. A magnifying glass or loupe can further enhance your ability to see fine imperfections, ensuring a more accurate inspection process.

Step 2. Check for Crazing
Crazing appears as a network of fine cracks on the glaze surface and is often caused by a mismatch in thermal expansion between the clay body and the glaze. Inspect the surface closely under good lighting to identify crazing, and gently run your fingers over the piece to feel for any fine cracks. Pay extra attention to areas where the glaze is thicker, as these spots are more prone to crazing. If you suspect crazing but can’t see it try wiping the surface with a damp cloth and looking again, as the cracks may stand out more when the surface is slightly moist. This step is crucial for pinpointing structural issues that could impact the durability of the ceramic piece.
Step 3. Examine for Pinholes
Pinholes are tiny holes or pits in the glaze surface that can occur during the firing process. These imperfections are often caused by trapped gases escaping the glaze as it melts. To check for pinholes, inspect the surface under intense, direct light. Move the piece at different angles to see how the light reflects off the glaze, which can help reveal these minor flaws. Additionally, running your fingers gently over the surface can help you feel any texture changes caused by pinholes. Identifying pinholes is critical to ensure the functionality and aesthetic quality of the ceramic item, as they can compromise its ability to hold liquids or its overall appearance.

Step 4. Assess the Color Consistency
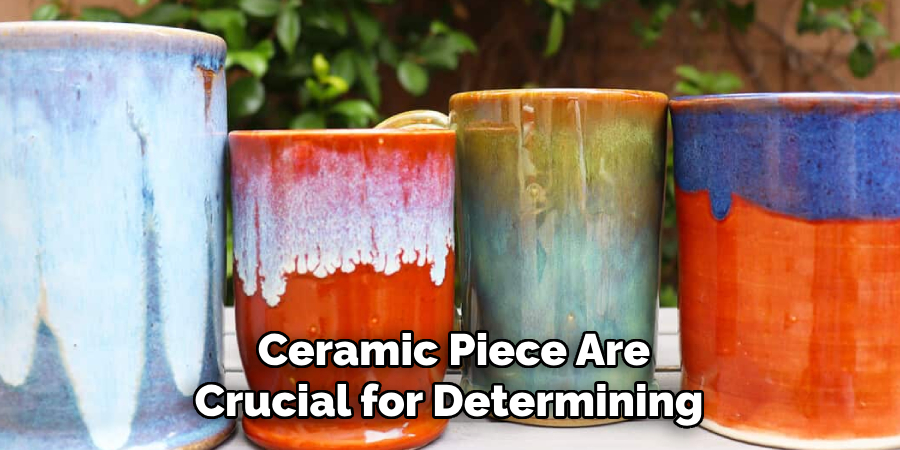
Color consistency is essential when evaluating ceramic pieces, mainly if they are part of a larger set. Uneven glaze application, improper firing temperatures, or chemical reactions during the firing process can lead to variations in color. Place the ceramic piece under natural light to assess this and look for any irregularities or discolorations. Compare it to other pieces, if applicable, to ensure uniformity. Paying attention to color consistency enhances the visual appeal and indicates a well-executed production process.
Step 5. Examine the Shape and Symmetry
The shape and symmetry of a ceramic piece are vital indicators of its craftsmanship. A well-made ceramic item should have a balanced and uniform form without noticeable distortions. To assess this, place the piece on a flat surface to check its stability and ensure it does not wobble. Additionally, it can be observed from various angles to confirm its proportions are cohesive and symmetrical. Flaws in shape and symmetry can detract from the functionality and aesthetic charm of the ceramic piece, making this step essential in the evaluation process.
Step 6. Inspect the Surface and Texture
The surface and texture of a ceramic piece are crucial for determining its quality and visual appeal. A high-quality ceramic should have a smooth, even surface free from cracks, chips, or other imperfections. Run your fingers gently over the piece to feel for inconsistencies, as a well-crafted item will exhibit uniformity in texture. Pay close attention to glazed areas, ensuring they are properly finished without bubbles or peeling. Inspecting the surface and texture not only highlights the artistic skill involved but also provides the durability and usability of the piece.

Step 7. Assess the Weight and Balance
The weight and balance of a ceramic piece are essential factors in evaluating its functionality and craftsmanship. A well-made ceramic should feel balanced when held, with its weight evenly distributed. For items like bowls or mugs, ensure they are neither too heavy nor too light for their intended use, as this can impact practicality and comfort. If the piece is designed to stand on a flat surface, check that it rests securely without tilting, which could indicate uneven construction. Assessing weight and balance helps confirm the practical design and usability of the item.
Step 8. Examine the Details and Design
A ceramic piece’s finer details and design elements often reflect the artisan’s creativity and attention to craftsmanship. Look for intricate patterns, embellishments, or unique designs that set the item apart. Ensure that any decorative elements are well-executed and consistent with the overall style of the piece. Check for clean lines, smooth transitions, and precise detailing, as these aspects can enhance the ceramic item’s aesthetic and functional quality. Assessing these nuances will deepen your appreciation for the artistry involved in its creation.
Step 9. Evaluate the Glazing and Finish
The glazing and finish of a ceramic piece significantly impact its overall appearance and durability. Inspect the surface for an even, smooth glaze application, free from bubbles, drips, or uneven patches. Pay attention to the gloss, matte, or textured finish to ensure it aligns with the intended use and aesthetic of the item. High-quality glazing enhances visual appeal and provides a protective layer, making the piece resistant to wear, stains, and moisture. Checking the finish ensures the ceramic’s beauty and functionality are preserved over time.
Step 10. Consider the Weight and Balance
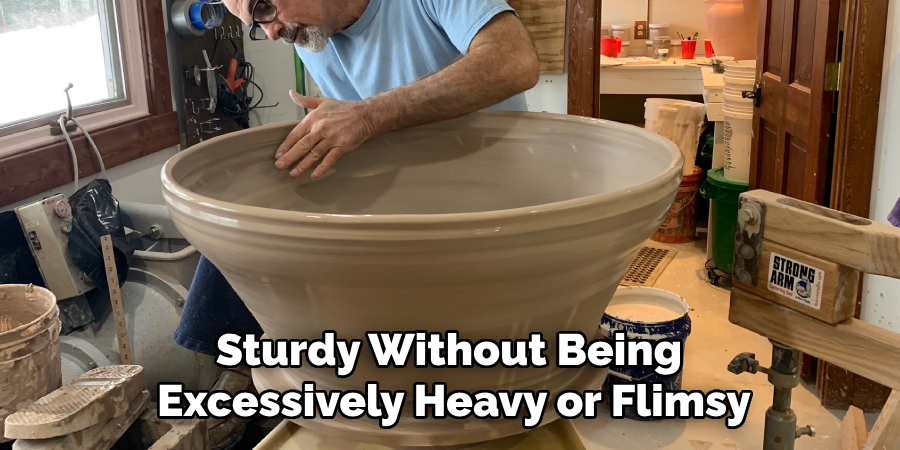
The weight and balance of a ceramic piece play a crucial role in its usability and appeal. When evaluating, hold the item to assess whether it feels well-proportioned and sturdy without being excessively heavy or flimsy. Proper balance ensures that the piece, especially functional ceramics like bowls or mugs, sits evenly on a surface without tilting or wobbling. A thoughtfully crafted item will distribute weight evenly, offering both comfort and practicality in daily use.

By following these steps, you can thoroughly evaluate the quality of a ceramic piece and appreciate the artistry and craftsmanship involved in its creation.
5 Things You Should Avoid
- Skipping Proper Inspection: Failing to examine the glaze surface closely can lead to missed defects such as pinholes, crazing, or crawling. Always inspect the object under good lighting and from different angles.
- Not Understanding the Cause of the Defect: Without identifying the root cause, such as issues with firing, application, or materials, the same defects are likely to occur repeatedly.
- Ignoring Test Tiles: Skipping test tiles for new glazes or firing schedules increases the risk of defects on final products. Always test before committing to a whole batch.
- Using Inconsistent Application Techniques: Applying the glaze too thickly or unevenly can often lead to irregularities. Consistency in application ensures a smoother, defect-free surface.
- Overlooking Kiln Conditions: Neglecting to monitor kiln temperature, firing time, or atmospheric conditions may result in unexpected glaze issues. Continuously track and maintain consistent firing practices.
Conclusion
How to identify glaze defects requires a methodical approach, attention to detail, and a willingness to experiment and learn from mistakes.
Many common issues can be mitigated by carefully inspecting finished pieces, understanding potential root causes, and maintaining consistent glazing and firing practices. Utilizing tools like test tiles and keeping detailed records of materials, application techniques, and kiln settings further aids in diagnosing and preventing defects.
With patience and persistence, identifying and resolving glaze defects becomes integral to improving the quality and reliability of ceramic work.
Specialization:
- Master of wheel-throwing, hand-building, and advanced glazing techniques
- Focus on creating both functional pottery and decorative art pieces
Recognition:
- Celebrated by collectors and art enthusiasts for creating one-of-a-kind pieces that blend artistry with functionality
- Participates in local and national exhibitions, earning accolades for his innovative designs and craftsmanship
Passion:
- Deeply committed to exploring and pushing the boundaries of ceramic artistry
- Continuously experiments with new materials, firing techniques, and artistic concepts to evolve his craft
Personal Philosophy:
- Believes in the transformative power of art, aiming to evoke emotions and connections through his ceramic creations
- Advocates for sustainability in ceramics, using eco-friendly materials and practices whenever possible


