Are you a potter looking to reduce waste and costs? The answer might be in recycling old pottery glaze. By reusing your used glaze, you save money and help the environment by reducing waste.
How to recycle old pottery glaze is a sustainable practice that reduces waste and helps potters save on materials. Over time, leftover glazes can accumulate in jars or buckets, posing a disposal challenge and potential environmental hazard if discarded improperly.

Instead of throwing them away, old glazes can be repurposed, remixed, or even transformed into new finishes. With simple steps and careful attention to materials, potters can breathe new life into their unused glazes while fostering an eco-friendly studio practice. Let’s dive into recycling old pottery glaze in more detail.
What Are the Benefits of Recycling Old Pottery Glaze?
Recycling old pottery glaze has several benefits, making it a worthwhile practice for every potter. First and foremost, it reduces waste and promotes sustainability. By reusing materials, you reduce the need for new resources and minimize your environmental impact.
Additionally, recycling old glazes can save you money by cutting material costs. Instead of purchasing new glazes or throwing away unused ones, you can repurpose them into different finishes or mix them to create unique colors.
Furthermore, recycling old pottery glaze allows potters to experiment and be creative. Artists can achieve unexpected and exciting results by remixing or transforming old glazes, adding depth and character to their pottery.
Lastly, recycling old glazes can also save time as it eliminates the need to clean up unused glazes or dispose of them properly. This leaves more time for creating and honing your craft.
What Will You Need?
You will need a few essential items before you begin recycling old pottery glaze. These include:
- Old Pottery Glazes: Gather all your leftover or unused glazes to be recycled.
- Containers: Ensure enough containers for storing and mixing the glazes.
- Water: You will need water for cleaning tools and diluting thick glazes if necessary.
- Sieve or Strainer: This removes impurities or lumps from the old glaze.
- Measuring Tools: Having precise measuring tools such as a scale, measuring cups, and spoons will help remix or create new finishes.
Once you have all these items, you can recycle your old pottery glaze.
10 Easy Steps on How to Recycle Old Pottery Glaze
Step 1: Gather Your Materials
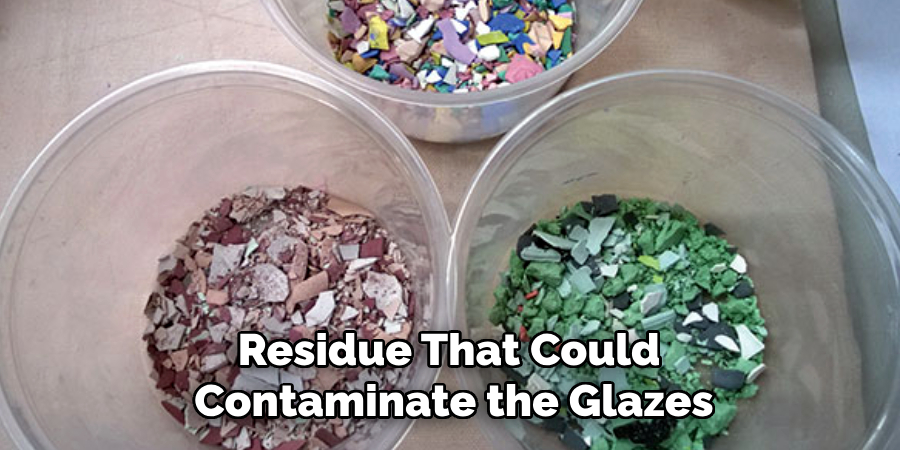
Before you start, take the time to collect all the materials listed above in one place. This includes your old pottery glazes, containers, water, a sieve or strainer, and measuring tools. Ensure the containers you use are clean and free of any residue that could contaminate the glazes. If you have multiple leftover glazes, consider sorting them based on color or type to make the process more organized. Having everything ready and within reach will make recycling smoother and more efficient. This step sets the foundation for the entire process, ensuring you can focus fully on each subsequent task without interruptions.

Step 2: Assess the Condition of Your Old Glazes
Carefully inspect the old pottery glazes you’ve gathered. Look for any signs of contamination, such as mold, debris, or strange odors. Stir each glaze thoroughly to check for lumps or separation. If a glaze has hardened significantly or has an unusual consistency, it may require additional processing or might not be salvageable. This assessment will help you determine if any adjustments, such as adding water or straining, will be needed to restore usability. Document your observations for each glaze to keep track of its condition as you progress.
Step 3: Revive Usable Glazes
Once you’ve assessed the condition of your old glazes, begin the process of reviving those deemed usable. For glazes that have thickened or dried out slightly, gradually add small amounts of water while stirring thoroughly until you achieve a smooth, workable consistency. Use a fine mesh strainer to eliminate any unwanted particles or lumps that could affect the final application. If needed, add a small amount of deflocculant to improve flow and reduce separation. Be patient during this process, as proper mixing and adjustment are crucial to restoring the glaze’s original quality and performance.
Step 4: Test Your Revived Glazes
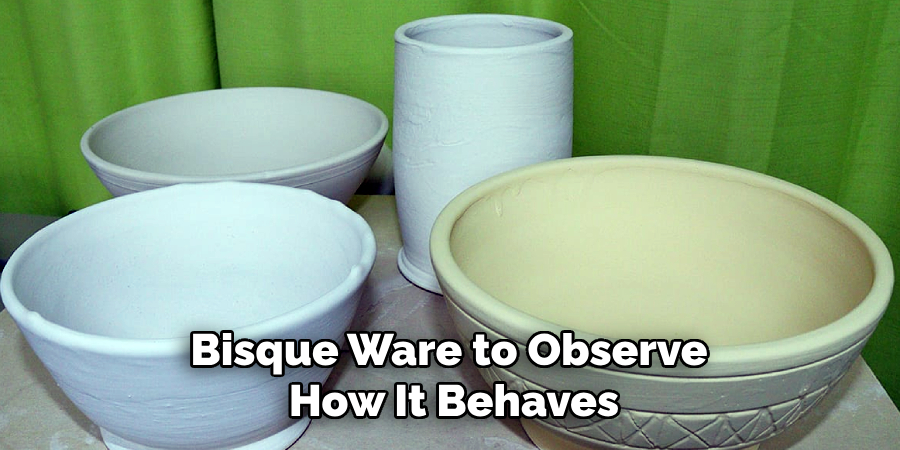
Before applying the revived glazes to any crucial pieces, testing them first is essential. Apply a small amount of each glaze to a test tile or an unimportant piece of bisque ware to observe how it behaves during firing. Pay attention to factors such as color, texture, coverage, and flow. This step ensures that the glaze performs as expected and identifies any adjustments needed before use on final projects. Record the results for future reference, making note of any modifications or issues encountered.

Step 5: Apply the Glaze to Your Final Pieces
Once you are satisfied with the test results, you can proceed to apply the glaze to your final pieces. Use the appropriate glazing technique, such as dipping, brushing, or spraying, depending on your project requirements and the glaze’s consistency. Ensure even application by applying multiple thin layers if necessary, allowing each layer to dry before adding the next. Avoid overloading the glaze, as this can lead to issues like dripping or uneven firing results. Handle each piece carefully to maintain a smooth surface and prevent any damage before firing.
Step 6: Fire Your Glazed Pieces
After applying the glaze, the next step is to fire your pieces in a kiln. Carefully follow the recommended firing schedule for your specific glaze and clay body, including ramp rates, peak temperature, and cooling. Proper firing ensures that the glaze matures correctly, achieving the desired finish and durability. Monitor the kiln closely during firing, and allow the pieces to cool gradually to prevent thermal shock. Once the firing is complete and the kiln has cooled, you can remove your finished pieces and evaluate the results.

Step 7: Evaluate and Refine Your Process
Once your glazed pieces are removed from the kiln, take time to inspect them carefully. Look for any flaws such as pinholes, crawling, or uneven glaze application, as these can indicate areas for improvement in your glazing or firing process. Keep notes on what worked well and what could be adjusted for future projects, such as tweaking the glaze formula, adjusting application techniques, or modifying the firing schedule. Experimentation and refinement are key components of mastering the craft, helping you achieve consistently beautiful and functional results.
Step 8: Care and Maintenance of Finished Pieces
After successfully creating your glazed pieces, it’s important to ensure their longevity through proper care and maintenance. Handwashing is often the preferred method for cleaning handmade ceramics, as dishwashers can be too harsh and may damage the glaze over time. Avoid exposing pieces to sudden temperature changes, such as placing a hot item in cold water, as this can cause cracking or crazing in the glaze. Regularly inspect your items for any signs of wear or damage, and handle them with care to preserve their beauty and functionality. By maintaining your handcrafted ceramics thoughtfully, you can enjoy their charm and utility for years to come.
Step 9: Troubleshooting Common Glazing Issues
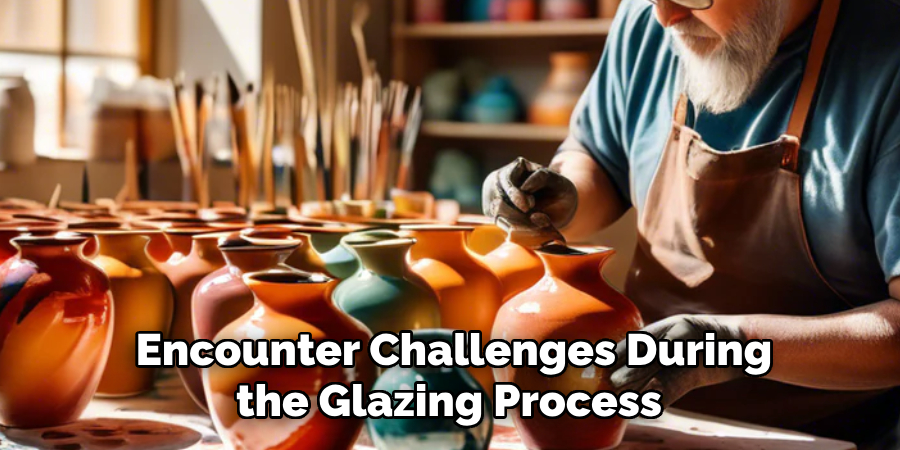
Even with careful preparation, you may encounter challenges during the glazing process. Common issues include pinholes, crawling, or uneven glaze application. To address pinholes, ensure that your bisqueware is thoroughly cleaned and free of dust before applying the glaze. Crawling, where the glaze pulls away from certain areas, can often be remedied by adjusting the thickness of the glaze or ensuring even application. If the glaze appears uneven, consider applying additional coats or experimenting with different tools and techniques. Documenting your process and results can help identify patterns and improve your glazing approach over time. Learning from these challenges is an essential part of growing as a ceramic artist.

Step 10: Keep Learning and Exploring
The art of glazing is a continuous learning process, and there are always new techniques, materials, and tools to discover. Keep exploring different combinations of glazes, clay bodies, firing methods, and decorative elements to find what works best for you. Joining a ceramics community or attending workshops and classes can also be valuable resources for expanding your knowledge and skills. Embrace the experimentations and challenges that come with glazing, knowing that each piece is a unique representation of your artistic journey.
By following these steps and continuously learning, you can master the art of glazing and create beautiful, functional ceramic pieces that showcase your creativity and expertise.
Conclusion
How to recycle old pottery glaze is a sustainable and cost-effective approach that benefits both your art and the environment.
By carefully assessing and mixing leftover glazes, you can create unique finishes while reducing waste. It involves understanding the composition of your old glazes, testing combinations, and documenting results to ensure consistency.
The process may require some trial and error, but it is a rewarding exercise that encourages creativity and resourcefulness. Incorporating recycled glazes into your work not only helps extend the life of your materials but also reflects a mindful, eco-friendly practice in your craft.
Specialization:
- Master of wheel-throwing, hand-building, and advanced glazing techniques
- Focus on creating both functional pottery and decorative art pieces
Recognition:
- Celebrated by collectors and art enthusiasts for creating one-of-a-kind pieces that blend artistry with functionality
- Participates in local and national exhibitions, earning accolades for his innovative designs and craftsmanship
Passion:
- Deeply committed to exploring and pushing the boundaries of ceramic artistry
- Continuously experiments with new materials, firing techniques, and artistic concepts to evolve his craft
Personal Philosophy:
- Believes in the transformative power of art, aiming to evoke emotions and connections through his ceramic creations
- Advocates for sustainability in ceramics, using eco-friendly materials and practices whenever possible


