Are you a pottery lover or an artist who frequently works with ceramics? If so, you know how important it is to properly dry your pottery glaze before firing it in the kiln.
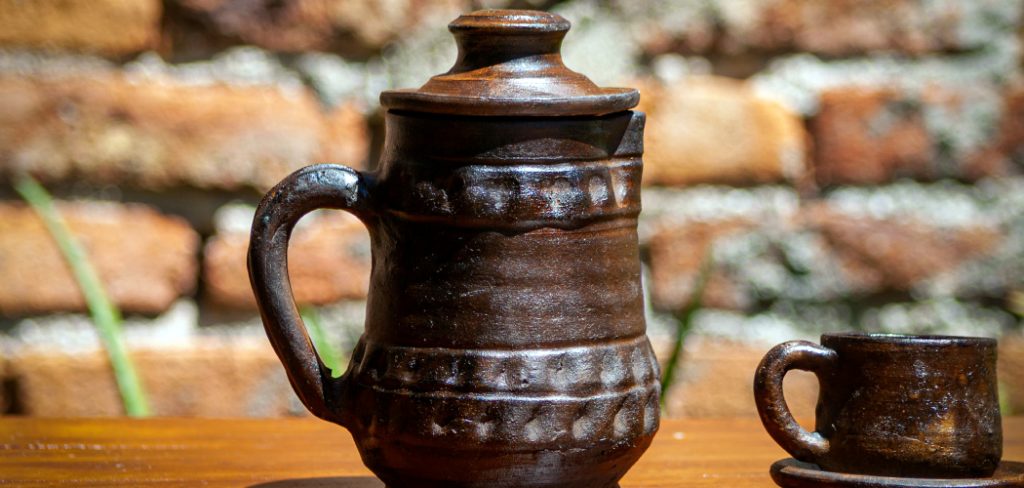
How to dry pottery glaze quickly is a crucial step for many ceramic artists who are working on tight timelines or need to speed up the production process. Glaze drying times can vary depending on factors such as the type of glaze, environmental conditions, and the thickness of the application. While patience is often key in ceramics, some practical techniques and tools can help you achieve faster results without compromising the quality of your work.
This guide provides helpful tips and methods to accelerate the glaze drying process while ensuring your pottery remains in optimal condition.
What Are the Benefits of Drying Pottery Glaze Quickly?
Before diving into the techniques and tools for speeding up glaze drying, let’s first understand why it’s important. Here are some benefits of drying pottery glaze quickly:
- Saves Time: This is the most apparent benefit. By reducing the time needed for glaze drying, you can complete your projects faster and have more time for other tasks or projects.
- Minimizes Handling Damage: Wet or semi-dried glazes are highly susceptible to damage from accidental touch or contact with other objects. When you dry your pottery glaze quickly, you reduce the risk of ruining your hard work due to mishandling.
- Allows for Faster Firing: By quickly drying your pottery glaze, you can move on to the firing process. This is especially helpful if you have limited access to kilns or are working under a tight deadline.
- Ensures More Consistent Results: Uneven drying of glazes can result in different shades or textures upon firing, making it difficult to achieve consistent results. Fast and uniform drying helps to eliminate these variations and allows for greater control over the outcome.
These are just a few of the advantages of drying pottery glaze quickly. Now, let’s explore some methods and techniques to help you achieve faster results.
What Will You Need?
Before we get into specific techniques, having the necessary tools and materials is helpful. Here are some things you may need:
- A Fan: A fan is a simple but effective tool for speeding up glaze drying. It helps to circulate air around your pottery, promoting quicker moisture evaporation.
- Heat Gun or Hair Dryer: Using a heat gun or hair dryer can be a game-changer if you’re in a time crunch. These devices emit hot air that can quickly dry out the surface of your glaze.
- Dehumidifier: If you live in a humid climate or work in a damp environment, investing in a dehumidifier can be wise. It helps to remove excess moisture from the air and reduce drying time.
- Heat Lamp or Infrared Heat Lamp: Similar to using a heat gun or hair dryer, a heat lamp or infrared heat lamp can provide targeted heat to specific areas of your pottery that need faster drying.
- Clay Body: The type of clay body you use can also affect the drying time of your glaze. For example, porcelain dries much faster than stoneware due to its lower water content. Consider experimenting with different clay bodies to see which works best for your needs.
Now that you know what you may need, let’s dive into specific techniques for quickly drying pottery glaze.
9 Easy Steps on How to Dry Pottery Glaze Quickly
Step 1. Apply Thin Layers of Glaze
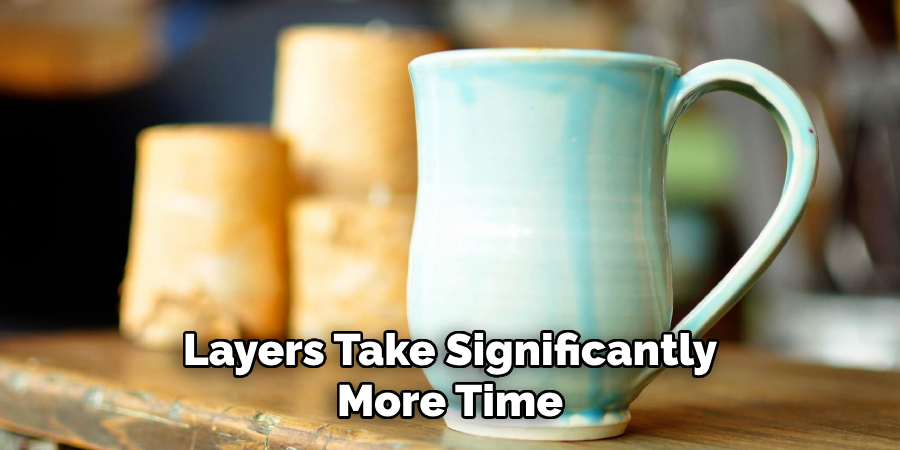
Always aim for thin, even layers rather than thick applications when applying glaze to your pottery. Thicker layers take significantly more time to dry, increasing the risk of cracking or uneven drying. Thin layers allow for faster evaporation of moisture and ensure that the glaze adheres more uniformly to the surface of your piece. To achieve this, use a soft brush spray gun, or simply dip your pottery into the glaze while controlling the amount collected on the surface. Make sure to allow the first layer to dry slightly before applying subsequent layers. This technique expedites the drying process, and results in a smoother, more consistent finish once fired.
Step 2. Use a Fan or Hairdryer
To speed up the drying process, consider using a fan or a hairdryer in a low heat setting. Position the fan to circulate air around the pottery, ensuring even drying without direct, intense heat that might cause cracking. If you opt for a hairdryer, keep it at least 6-8 inches away from the surface and use a gentle, sweeping motion to avoid concentrating heat in one spot. This method works particularly well in controlling moisture levels and achieving faster results without compromising the glaze’s integrity. Always monitor the drying process to ensure that the glaze is drying evenly.
Step 3. Allow Natural Drying Time
While accelerating the drying process can be helpful, it’s equally important to allow adequate natural drying time. Place the glazed pottery in a well-ventilated area with consistent room temperature and low humidity. Avoid exposing the piece to direct sunlight, which can cause uneven drying or cracks. Giving the glaze sufficient time to settle and bond to the pottery ensures a more durable and high-quality finish after firing. Patience during this step can make a significant difference in the outcome.
Step 4. Firing the Pottery
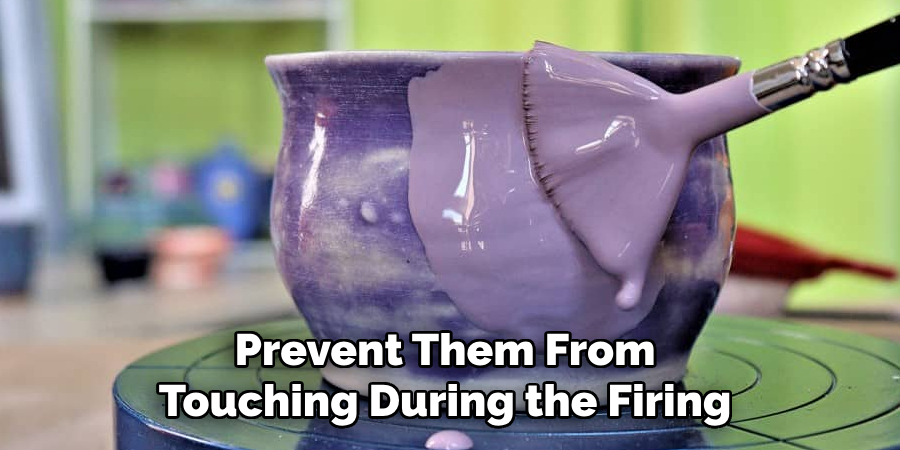
Once the glaze has dried completely, the next step is to fire the pottery in a kiln. Carefully load the pottery into the kiln, ensuring pieces are adequately spaced to prevent them from touching during the firing process. Follow the recommended firing schedule for the specific glaze and clay body type, typically dictated by their temperature requirements. Gradually raise the temperature to avoid thermal shock, which can lead to cracking or damage. Allow the kiln to cool completely before removing the pottery. This step solidifies the glaze, giving the piece its final appearance and creating a durable, finished surface.
Step 5. Inspecting and Finishing the Pottery
After the pottery has been fired and cooled, it is crucial to scrutinize each piece. Look for any imperfections such as pinholes, uneven glaze, or cracks that might have developed during the firing process. Minor touch-ups can be made if necessary, such as sanding rough edges or applying additional glaze for a second firing. Proper finishing techniques, like polishing or adding protective bases, can enhance the appearance and usability of the piece. This final step ensures that your pottery is ready for display, functional use, or sale with a professional and polished look.
Step 6. Cleaning and Storing Your Pottery
Once the finishing touches are complete, it’s time to clean and store your pottery properly. Gently wipe each piece with a damp, lint-free cloth to remove dust or residue from the finishing process. Ensure the pottery is completely dry before storing it to prevent moisture damage. Choose a cool, dry place for storage, and if stacking pieces, use padding such as felt or foam to avoid scratching or chipping. Proper storage will protect your creations and maintain their quality over time, ensuring they remain pristine for years.
Step 7. Showcasing and Sharing Your Pottery
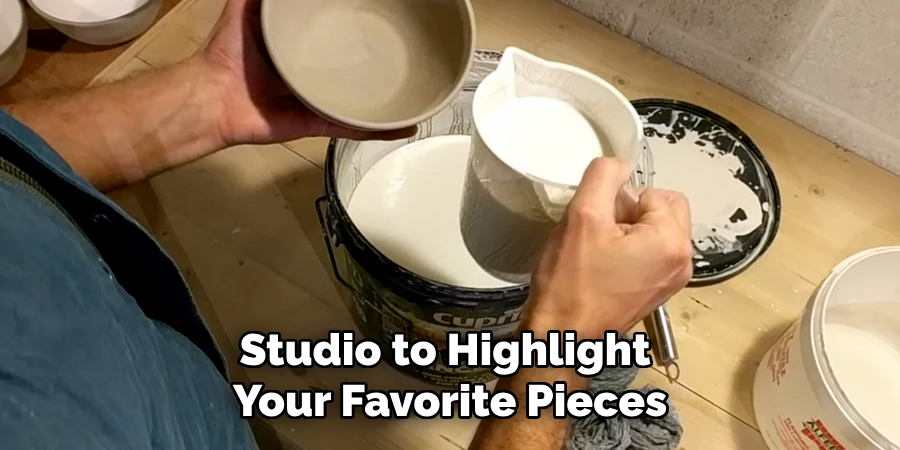
Now that your pottery is complete and properly stored, it’s time to showcase and share your work. Consider setting up a dedicated display area in your home or studio to highlight your favorite pieces. For those looking to share their creations with a wider audience, local art fairs, online marketplaces, or social media platforms can be excellent options. Sharing your pottery allows you to gain feedback and appreciation and connects you with a community of fellow enthusiasts who value handmade art. By presenting your work thoughtfully, you can inspire others and celebrate the unique charm of your craft.
Step 8. Continuing to Learn and Grow
Pottery is a craft where growth and learning never truly stop. To refine your skills and expand your creativity, consider taking advanced workshops, exploring new techniques such as wheel throwing or glazing methods, and experimenting with different clay types. Engage with other potters through community events, clubs, or online forums to exchange ideas and experiences. Regular practice and seeking inspiration from various sources will enhance your craftsmanship and keep your passion for pottery alive. Remember, every creation brings an opportunity to improve and explore new possibilities in this timeless art form.
Step 9. Sharing Your Knowledge
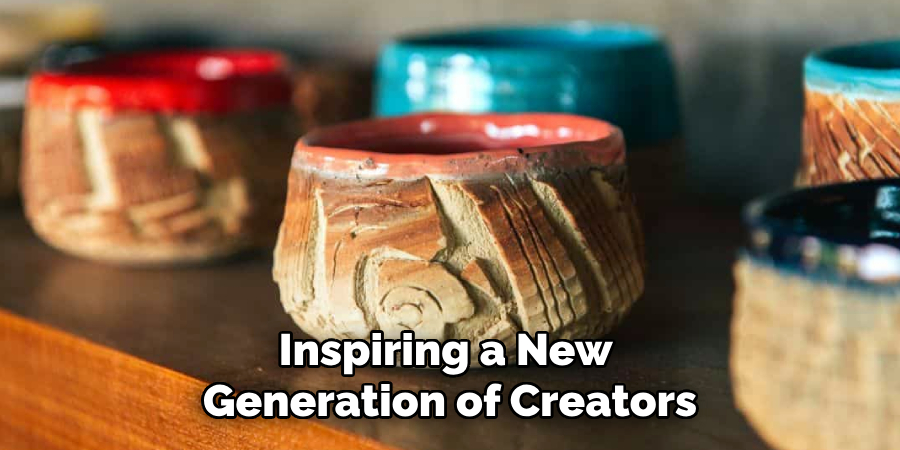
As you continue to hone your pottery skills, consider sharing your knowledge with others. Teaching can be a rewarding way to solidify your techniques while inspiring a new generation of creators. You can offer workshops, create online tutorials, or even mentor beginners in your local community. Sharing your expertise builds connections and fosters a deeper appreciation for the art form.
By following these steps, you can successfully glaze and fire your pottery with confidence, creating beautiful pieces that reflect your style and creativity.
Conclusion
How to dry pottery glaze quickly requires careful attention to environmental factors and proper technique.
Start by choosing a well-ventilated and dry workspace, as airflow significantly impacts drying time. Tools like fans or dehumidifiers can help speed up the process while avoiding excessive heat, which may cause cracking. Additionally, applying thinner coats of glaze ensures faster and more even drying. Patience and consistency are key—rushing the process can compromise the final quality.
By implementing these strategies, you can achieve beautifully glazed pottery in a more efficient timeframe, all without sacrificing the integrity of your work.
