


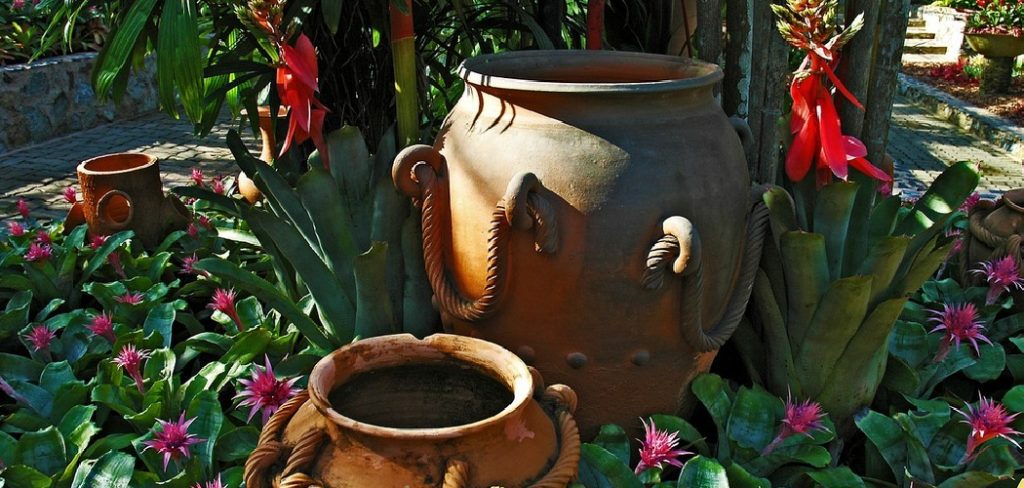
Creating ceramic garden decor is a fun and fulfilling way to bring personality and charm to any outdoor space. Whether you’re an experienced ceramic artist or a beginner, crafting unique pieces like planters, garden sculptures, or decorative tiles allows you to customize your garden with handmade touches.
This guide on How to create ceramic garden decor will walk you through the basic steps, materials, and tips necessary to create beautiful ceramic decor that will withstand the elements and enhance your garden’s aesthetic. With a little creativity and patience, you can transform your garden into a vibrant, artistic oasis.
Why Choose Ceramic for Garden Decor?
Ceramic is a durable and versatile material that is perfect for creating garden decor. It can withstand harsh weather conditions, making it suitable for outdoor use. Additionally, ceramic comes in a variety of colors, textures, and finishes, allowing you to create unique and eye-catching pieces that will enhance the overall look of your garden.
It is also a sustainable option as ceramic is made from natural materials such as clay, water, and minerals. This makes it an environmentally friendly choice for those looking to incorporate more eco-friendly elements into their garden.
Materials Needed
Clay:
The foundation of any ceramic piece is clay. It is essential to choose a high-quality clay that has the right consistency for your project. There are various types of clay available, such as earthenware, stoneware, and porcelain. Each type has its own unique characteristics, so it is essential to choose the right one for your specific project.
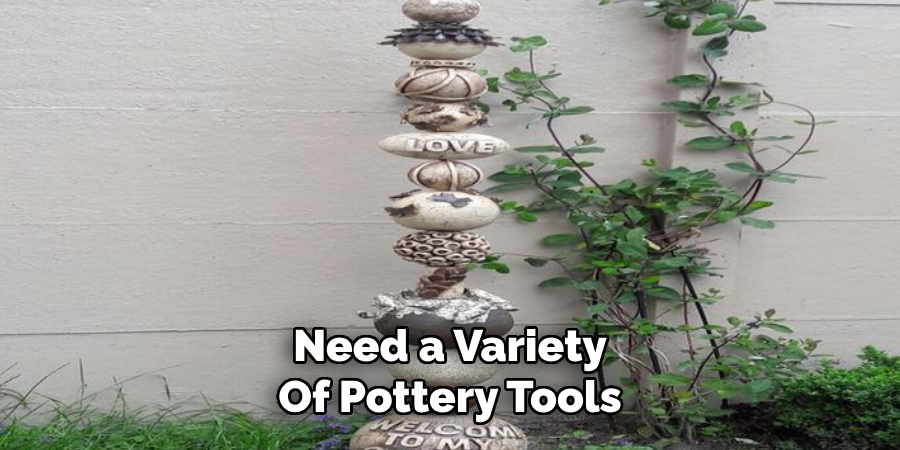
Pottery Tools:
To create ceramic garden decor, you will need a variety of pottery tools like a wheel or slab roller, carving tools, brushes, and sculpting tools. These tools help shape and add details to your pieces.
Glazes:
Glazes add color and shine to your ceramic pieces while also providing a protective layer against weather elements. Glazes come in various colors and finishes such as matte, gloss, or textured. It is essential to choose glazes that are specifically designed for outdoor use to ensure the longevity of your garden decor.
Kiln:
To fire and harden your ceramic pieces, you will need access to a kiln. If you don’t have access to one, many pottery studios offer kiln services for a fee. It is essential to follow proper safety precautions when using a kiln, such as wearing protective gear and monitoring the temperature closely.
8 Steps on How to Create Ceramic Garden Decor
Step 1: Plan Your Project
Before beginning your ceramic garden decor, take the time to plan your project thoroughly. Start by deciding what type of decor you want to create, such as planters, decorative tiles, or garden sculptures. Sketch your ideas on paper or create a detailed blueprint to guide you through the process. Consider the size, shape, and function of your piece, as well as how it will fit within the overall design of your garden.
Planning also includes selecting the type of clay, tools and glazes you will use to achieve the desired look and durability for outdoor conditions. A well-thought-out plan lays the foundation for a successful and satisfying project.
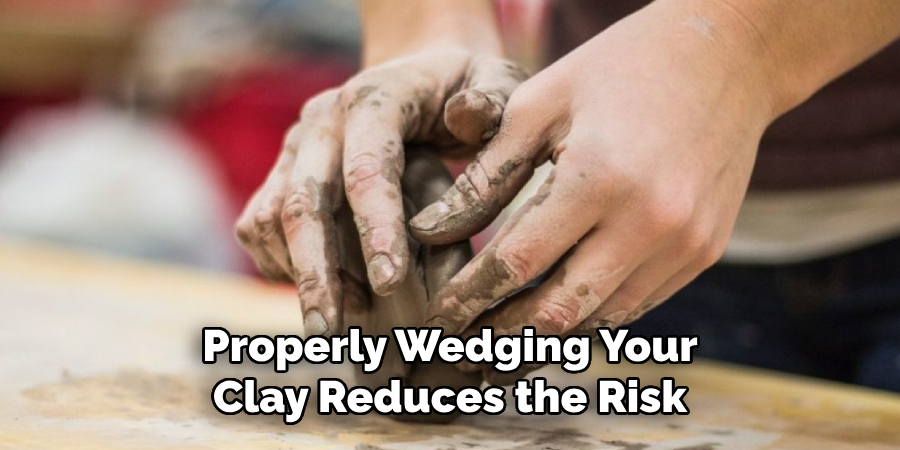
Step 2: Prepare Your Clay
Once you have your project planned, the next step is to prepare your clay. Begin by ensuring the clay is clean and free from any debris or impurities that could weaken your final piece.
Knead the clay thoroughly through a process called wedging. This step removes air bubbles, improves the consistency, and ensures that the clay is evenly hydrated. Properly wedging your clay reduces the risk of cracking and imperfections during the sculpting and firing processes.
If you’re using pre-packaged clay, cut it into manageable portions and work with one section at a time. For larger projects, prepare enough clay to ensure consistency throughout your piece. Once the clay is ready, you can move on to shaping and forming your design!
Step 3: Shaping and Forming Your Design
Using your pottery tools, shape and form the clay into your desired design. Whether you’re using a wheel to throw a pot or hand-building techniques like coiling or slab construction, take your time and be patient. Pay attention to details like texture, proportions, and thickness. You can also add decorative elements like cut-outs or sculpted designs at this stage.
It’s important to remember that the clay will shrink when fired, so keep this in mind when shaping your piece.
Step 4: Drying Your Piece
After you have completed your design, allow it to dry completely before firing. This process typically takes a few days to a week, depending on the size and thickness of your piece. To ensure even drying, rotate your piece periodically and place it on a porous surface like canvas or plaster.
It is crucial not to rush this step as uneven drying can cause cracking or warping during firing. The clay should be completely dry before moving on to the firing process.
Step 5: Firing Your Piece
Once your piece is fully dried, it’s time to fire it in a kiln. Follow the instructions provided by your kiln manufacturer carefully, as different types of clay and glazes require specific firing temperatures and times. It typically takes several hours for a kiln to reach the desired temperature and cool down, so plan accordingly.
As mentioned earlier, safety precautions must be taken when using a kiln. If you’re new to this process, it may be helpful to have an experienced ceramic artist guide you through your first few firings.
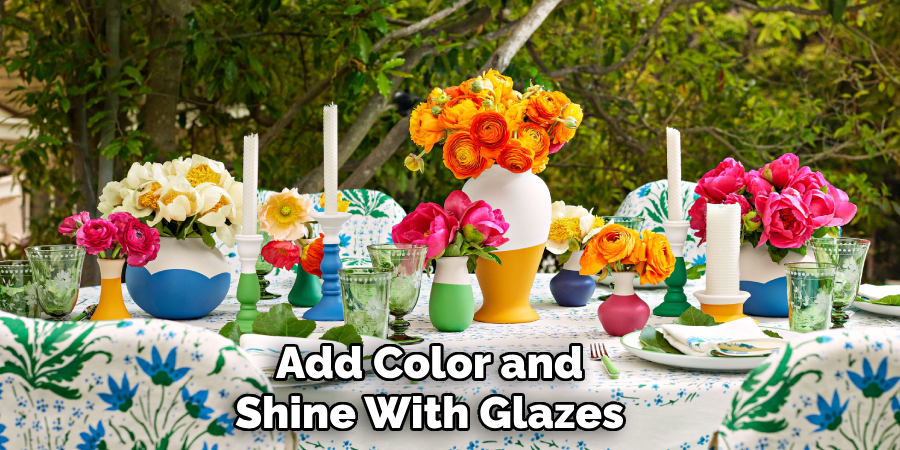
Step 6: Glazing Your Piece
After your piece has been fired and cooled down, it’s time to add color and shine with glazes. To ensure proper adhesion, make sure the surface of your piece is clean and free from any dust or debris. Experiment with different glaze combinations to achieve unique effects. Keep in mind that some glazes may run or react differently when fired, so testing on a small piece beforehand is recommended.
It is crucial to carefully follow the instructions for your chosen glazes, as they may require multiple layers or different application methods.
Step 7: Firing Your Glazed Piece
After applying the glaze, your piece will need to be fired again to set the glaze and achieve the final finish. This phase is known as the glaze firing. Carefully place your glazed piece into the kiln, ensuring that items are spaced apart to avoid any sticking or damage, as some glazes can become molten and spread during firing.
Set the kiln to the appropriate temperature based on the glaze manufacturer’s instructions, as firing temperatures can vary depending on the type of glaze and clay used.
Typically, glaze firings require higher temperatures than the initial bisque firing. Monitor the kiln closely and allow it to cool completely before removing your piece to prevent thermal shock. Once cooled, your ceramic garden decor will have a smooth and durable finish, ready to withstand outdoor conditions while adding charm to your garden.
Step 8: Display and Enjoy Your Creation
Congratulations, your ceramic garden decor is now complete! Display it in your garden with pride and enjoy the fruits of your hard work. Regular cleaning and maintenance will help keep your piece looking its best for years to come. Consider creating more pieces to add variety and personality to your outdoor space.
Following these steps on How to create ceramic garden decor will guide you through creating beautiful and durable ceramic garden decor that will enhance your garden’s beauty and add a personal touch to your outdoor space.
Remember to have fun, be patient, and enjoy the creative process! The possibilities are endless when it comes to creating unique and stunning ceramic pieces for your garden. Happy crafting!
Creative Ideas for Ceramic Garden Decor
- Create a set of ceramic planters in various shapes and sizes to display your favorite plants and flowers.
- Design whimsical garden gnomes or other small figurines to add character to your garden.
- Make decorative tiles with intricate patterns that can be used as stepping stones or wall hangings.
- Use different glaze combinations to create a mosaic design on a bird bath or fountain for your garden.
- Sculpt animals, such as birds, butterflies, or frogs, to place throughout your garden for a touch of nature.
- Customize ceramic wind chimes with unique designs and colors to add soothing sounds to your outdoor space.
- Personalize name plates or signs for each section of your garden using ceramic tiles or plaques.
- Create functional pieces like birdbaths, bird feeders, and plant markers with various clay techniques.
- Sculpt larger decorative pieces like a totem pole or garden archway for a grand statement in your garden.
- Experiment with different textures and materials, such as adding glass or metal accents to your ceramic pieces for added interest.
Troubleshooting Common Issues
Even with careful planning, challenges can arise when creating ceramic garden decor. Below are some common issues and tips for troubleshooting them effectively:
Cracking:
If your piece cracks during the drying or firing process, it is likely due to uneven thickness or air bubbles trapped inside. To prevent this, roll out clay evenly and gently remove any air pockets by tapping the piece on a flat surface. You can also try scoring and slipping the cracked area with a bit of water or clay slip to mend it.
Warping:
Warping occurs when the clay shrinks unevenly during drying or firing, causing the piece to become misshapen. To avoid this, make sure your piece is completely dry before firing, and use supports like wads of newspaper under larger pieces to prevent distortion during firing.
Glaze Imperfections:
If your glaze appears uneven or has small bubbles after firing, it may be due to improper application or not mixing the glaze well enough. Make sure to mix the glaze thoroughly and apply it evenly using multiple thin layers for a smooth finish.
Sticking to Kiln Shelf:
To prevent your piece from sticking to the kiln shelf during firing, use a thin layer of kiln wash or apply a piece of ceramic paper before placing it in the kiln. This will create a barrier between the piece and the shelf.
Conclusion
Creating ceramic garden decor is a rewarding and creative process that allows you to personalize your outdoor space with unique and durable pieces. By following the step-by-step guide on How to create ceramic garden decor, experimenting with different techniques, and troubleshooting common issues, you can develop your skills and bring your artistic vision to life.
Whether you’re creating functional items like birdbaths and planters or decorative sculptures and tiles, the possibilities are endless. Most importantly, enjoy the process and take pride in your handmade creations as they enhance the beauty and charm of your garden for years to come. Happy crafting!
Specialization:
- Master of wheel-throwing, hand-building, and advanced glazing techniques
- Focus on creating both functional pottery and decorative art pieces
Recognition:
- Celebrated by collectors and art enthusiasts for creating one-of-a-kind pieces that blend artistry with functionality
- Participates in local and national exhibitions, earning accolades for his innovative designs and craftsmanship
Passion:
- Deeply committed to exploring and pushing the boundaries of ceramic artistry
- Continuously experiments with new materials, firing techniques, and artistic concepts to evolve his craft
Personal Philosophy:
- Believes in the transformative power of art, aiming to evoke emotions and connections through his ceramic creations
- Advocates for sustainability in ceramics, using eco-friendly materials and practices whenever possible