


Ceramic glaze plays a vital role in enhancing ceramic items’ functionality and aesthetic appeal. Acting as a glossy, protective coating, it provides a smooth, attractive finish, strengthens the item’s surface, and safeguards it from wear, moisture, and stains.
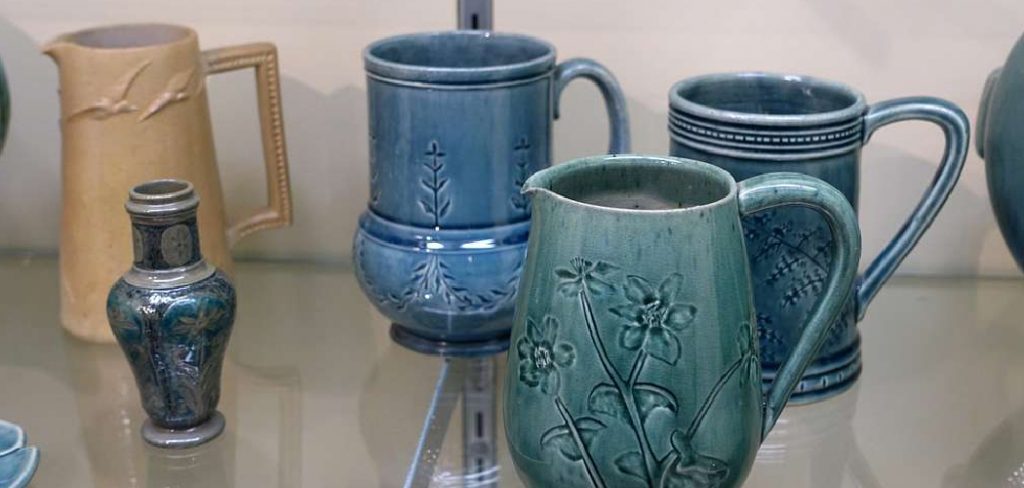
Over time, however, the glaze on ceramic items can become worn or damaged, diminishing their durability and appearance. Learning how to restore ceramic glaze ensures these cherished pieces maintain their beauty and functionality for years to come.
The restoration process involves several crucial steps, including thorough cleaning to remove dirt and debris, inspecting for chips or cracks, repairing any damage, and applying a fresh layer of glaze.
Following these steps makes it possible to revive ceramic items, extending their lifespan and contributing to a more sustainable approach by reducing waste. Proper restoration preserves the integrity and charm of your ceramics.
Understanding Ceramic Glaze and Its Wear
What is Ceramic Glaze?
Ceramic glaze is a vitreous coating primarily made from silica, applied to ceramics to enhance both their durability and aesthetic appeal. This glossy or matte finish seals the surface of the ceramic, creating a smooth and often decorative layer that protects the item beneath.
Glaze can incorporate various minerals and pigments to achieve a wide range of colors and textures, adding to the versatility of ceramic design. Beyond aesthetics, the glaze also plays an essential role in ensuring the ceramic is water-resistant, hygienic, and durable for everyday use.
Common Causes of Damage
Despite its protective qualities, the ceramic glaze is not impervious to damage. Everyday wear and tear can gradually erode the glaze’s surface, diminishing its overall effectiveness and appearance.
Constant exposure to heat or moisture, as in the case of kitchenware or outdoor ceramics, can weaken the integrity of the glaze over time. Similarly, harsh chemical cleaners or abrasive scrubbing tools can strip away the glaze’s protective layer, leaving the ceramic vulnerable to further degradation.
Signs of Wear
Recognizing the signs of wear is critical to timely restoration. Common indicators include a noticeable dullness replacing the once glossy surface, visible cracks, chips along the edges, or areas where the glaze has completely worn off. These signs affect the ceramic’s appearance and its functional performance, signaling the need for repair or reapplication of glaze to restore its former condition.
Gathering Materials and Tools
When restoring a ceramic item’s glaze, having the proper materials and tools on hand is essential to ensure a successful and lasting repair. Below is a list of the essential supplies needed for this process:
- Mild Cleaner or Vinegar Solution – Used to clean the ceramic surface and remove any dirt, grease, or grime before starting the repair.
- Fine-grit Sandpaper or a Sanding Block – It is necessary to smooth out imperfections or lightly scuff the surface to help the glaze adhere better.
- Glaze Repair Kit or Clear Ceramic Glaze – This is key to restoring the ceramic’s protective and aesthetic layers.
- Paintbrushes and Sponges – Useful for applying the glaze evenly to all surfaces, including intricate or hard-to-reach areas.
- Protective Gloves and Mask – Important for handling chemicals safely and ensuring personal protection throughout the process.
It is crucial to select a glaze that is compatible with the ceramic item in question and matches its intended use. For instance, food-safe glazes should be chosen for kitchenware, while heat-resistant formulations may be necessary for items exposed to high temperatures. Proper preparation and the right supplies will significantly impact the durability and appearance of the repaired glaze.
Preparing the Ceramic Surface
Preparing the ceramic surface properly before starting the restoration process is essential to ensure the glaze adheres effectively and achieves a professional finish. This step involves thorough cleaning, careful inspection, and light sanding.
Thorough Cleaning
Begin by removing any dust, grease, or residue from the ceramic item. Use a gentle, non-abrasive cleaner to clean the surface without causing additional damage. Wipe down the item with a soft cloth or sponge, focusing on crevices or detailed areas where particles may accumulate.
Once clean, rinse the surface thoroughly with water to remove any remaining cleaning product. Allow the ceramic to dry completely, as residual moisture can interfere with the glaze application.
Inspecting for Damage
Closely examine the ceramic item to identify areas in need of repair. Look for cracks, chips, or sections where the existing glaze has worn away. Mark these areas for attention during the restoration process. If cracks are present, consider filling them with an appropriate filler and letting it cure before proceeding further to ensure a smooth surface.
Light Sanding
Use fine-grit sandpaper or a sanding block to gently smooth out minor imperfections and irregularities in the ceramic. Lightly scuff the surface to create a slightly rough texture, as this helps the glaze adhere more effectively.
Be cautious not to over-sand, as applying too much pressure could damage the ceramic or alter its original shape. After sanding, wipe away any dust with a clean, damp cloth and allow the item to dry once again before moving on to the next step.
How to Restore Ceramic Glaze: Applying New Glaze
Choosing the Right Glaze
When selecting a new glaze, consider the original finish of the ceramic piece to ensure a harmonious restoration. Clear glazes are ideal to maintain the item’s original color and design while adding a protective top layer. On the other hand, a colored glaze can be used to refresh or completely change the look of the ceramic. Ensure the glaze you choose is compatible with the base material of your item and intended for its final purpose, such as decorative or functional use.
Application Techniques
There are two primary application methods to consider based on the size and intricacy of your ceramic piece:
- Brush-on Method: Use a fine brush to apply the glaze for small or detailed items. Work in even, consistent strokes to avoid visible brush marks and ensure uniform coverage. This method allows for control and precision, making it ideal for intricate designs or small touch-up areas.
- Spray-on Method: A spray-on glaze provides a quicker and more even application for larger ceramic surfaces. Hold the spray nozzle at a consistent distance and work in a sweeping motion to avoid over-coating or pooling in specific areas. Be sure to spray in a well-ventilated area or use a protective mask to avoid inhaling fumes.
Layering and Drying
Apply the glaze in multiple thin coats rather than one thick layer to achieve a smooth and durable finish. Allow each coat to dry completely before applying the next—this step is critical to avoid bubbling, cracking, or uneven texture during the firing process. Follow the manufacturer’s instructions for drying times, as these can vary based on the type of glaze used. Once the final layer is applied and fully dried, your ceramic is ready for firing to seal the glaze in place.
Firing the Ceramic
Firing is the final and most crucial step in completing your glazed ceramic piece. This process is necessary to bond the glaze to the ceramic surface, transforming it into a smooth, durable, and often waterproof finish. Without firing, the glaze remains unstable and would easily wear off or crumble.
The heat involved in firing chemically reacts with the glaze, solidifying it and enhancing its aesthetic properties such as gloss, texture, and color vibrancy.
Choosing the Right Kiln or Alternative
Selecting the appropriate firing method is essential for achieving the desired results. Home kilns are convenient for hobbyists and small-scale projects, offering temperature control and flexibility. For those who do not have access to a kiln, professional firing services are widely available and guarantee optimal results.
A high-temperature oven may work as a DIY alternative for minor touch-ups or experimental projects, although it may not reach the temperatures required for certain glazes to fully mature. Always check the glaze’s firing requirements to ensure your method meets the necessary specifications.
Firing Process
It is important to follow the glaze manufacturer’s guidelines for temperature and timing during the firing process. Glazes typically require temperatures ranging from 1,800°F to 2,300°F (982°C to 1,260°C), depending on the type of glaze and ceramic body used.
To prevent cracking or thermal shock, begin with a slow temperature increase, then maintain the recommended peak temperature for the specified duration. Once firing is complete, allow the kiln or oven to cool gradually to avoid sudden temperature changes that could damage the ceramic. After cooling, your glazed ceramic will be ready for use or display, boasting a beautiful and robust finish.
Polishing and Finishing Touches
Once the firing process is complete and the ceramic has cooled, it’s time to focus on polishing and adding the finishing touches.
Polishing the Surface
Use a soft cloth or a buffing tool to enhance the shine and luster of your glaze. Gently polish the surface in circular motions to bring out the ceramic’s vibrancy and achieve an attractive, smooth finish. This step improves its aesthetic appeal and removes any residual dust or imperfections left from the firing process.
Inspecting the Result
Carefully examine your ceramic piece for evenness and consistency in the glaze. Look for areas where the glaze may have pooled, thinned, or been missed entirely. If any irregularities are found, you can apply a touch-up coat of glaze on the affected spots and undergo a second firing, following the original guidelines to achieve the desired result.
Optional Sealing
To ensure extra durability, especially for items subjected to frequent use, consider applying a ceramic-safe sealant. This protective coating shields the glaze from scratches, moisture, and wear while adding an extra layer of gloss. Always ensure the sealant is food-safe if the item is intended for serving or eating. With these finishing steps, your ceramic will be ready to enjoy and admire.
Maintenance Tips for Restored Glaze
Daily Care
To maintain the beauty and longevity of your ceramic piece, avoid using harsh chemicals or abrasive cleaning tools during routine cleaning. Instead, use pH-neutral cleaners and a soft cloth or sponge to gently wipe the surface. When handling your item, prevent scratches or chips, especially on delicate or intricately glazed areas.
Periodic Inspection
Regularly inspect your ceramic for early signs of wear, such as surface dullness, small cracks, or chipped glaze. Address these issues promptly by using a ceramic repair kit or consulting a professional if necessary. Timely action can help prevent further damage and extend the life of your ceramic piece.
Proper Storage
Ceramics should be stored in a dry, stable environment to minimize the risk of glaze degradation caused by excessive moisture or temperature fluctuations. When stacking items, use padding, such as felt liners or soft cloth, to avoid scratches. For items not in use, consider storing them in a protective case or display cabinet to shield them from dust and accidental damage.
By following these maintenance tips, you can preserve the vibrancy and integrity of your restored glaze for years to come, ensuring your ceramics remain functional and visually appealing.

Conclusion
Restoring ceramic glaze is a rewarding process that combines proper preparation, skilled application, and controlled firing to bring life back to cherished items. Understanding “how to restore ceramic glaze” not only preserves the beauty and functionality of ceramics but also contributes to sustainability by reducing waste.
You honor both craftsmanship and environmental responsibility by opting to restore instead of replace. Regular maintenance, such as cleaning, inspecting for wear, and safe storage, ensures your ceramics remain vibrant and durable for years to come. With care, these pieces will continue to be both practical and visually striking elements in your home.
Specialization:
- Master of wheel-throwing, hand-building, and advanced glazing techniques
- Focus on creating both functional pottery and decorative art pieces
Recognition:
- Celebrated by collectors and art enthusiasts for creating one-of-a-kind pieces that blend artistry with functionality
- Participates in local and national exhibitions, earning accolades for his innovative designs and craftsmanship
Passion:
- Deeply committed to exploring and pushing the boundaries of ceramic artistry
- Continuously experiments with new materials, firing techniques, and artistic concepts to evolve his craft
Personal Philosophy:
- Believes in the transformative power of art, aiming to evoke emotions and connections through his ceramic creations
- Advocates for sustainability in ceramics, using eco-friendly materials and practices whenever possible