


Ceramic tiles are renowned for their versatility, serving as both decorative and structural elements in modern construction. Their durability, ease of maintenance, and wide range of designs make them ideal for creating visually appealing and highly functional walls.

Reinforcing walls with ceramic tiles enhances their aesthetic value and strength and resistance to water damage, making this approach particularly beneficial in high-moisture areas like bathrooms and kitchens.
Understanding how to reinforce walls with ceramic tiles begins with a systematic process. This involves assessing the condition of the walls to ensure suitability, selecting high-quality tiles that meet specific needs, and carefully preparing surfaces to promote strong adhesion. Proper installation ensures that tiles align perfectly and remain securely attached. By following these steps, ceramic tiles transform walls into durable, water-resistant, and stylish features that stand the test of time.
Understanding the Benefits of Ceramic Tile Reinforcement
Reinforcing walls with ceramic tiles offers numerous advantages, combining functional, structural, and aesthetic benefits. By incorporating ceramic tiles into construction or renovation projects, homeowners and designers can significantly enhance the durability and appearance of walls, particularly in areas exposed to moisture or heavy use.
Structural Advantages
Ceramic tile reinforcement adds notable strength to walls, making them more durable and resilient to external factors. This is especially critical in bathrooms, kitchens, or other high-moisture environments, where walls are prone to humidity or water exposure damage. Ceramic tiles create an extra protective layer, preventing structural weaknesses and prolonging the integrity of the underlying surface.
Durability and Longevity
One of the key features of ceramic tiles is their exceptional resistance to wear, scratches, and impacts. Compared to alternative wall finishes, they are less likely to degrade over time, even in demanding conditions. This durability ensures that reinforced walls maintain their functionality and appearance for many years, reducing the need for frequent repairs or replacements.

Aesthetic and Functional Benefits
Ceramic tiles come in vast styles, colors, and textures, allowing for endless design possibilities. Beyond their visual appeal, they serve a practical purpose by protecting walls from moisture infiltration, stains, and other forms of damage. This combination of beauty and utility makes ceramic tiles a popular, cost-effective solution for enhancing both the aesthetics and performance of walls.
Choosing the Right Ceramic Tiles
Selecting the appropriate ceramic tiles is critical for achieving both aesthetic and functional goals. Several factors should be considered to ensure the best results.
Material Considerations
One major choice involves porcelain versus standard ceramic tiles. Porcelain tiles are denser and more durable, ideal for high-stress areas or structural reinforcement. While slightly less robust, standard ceramic tiles often offer greater variety in designs and are perfectly suited for less demanding applications.
Size and Thickness
The size and thickness of the tiles play a significant role in their performance. Larger and thicker tiles are better for structural reinforcement because they provide greater coverage and durability.
Conversely, smaller tiles are excellent for creating intricate aesthetic patterns or detailing, making them ideal for accent walls or decorative projects.
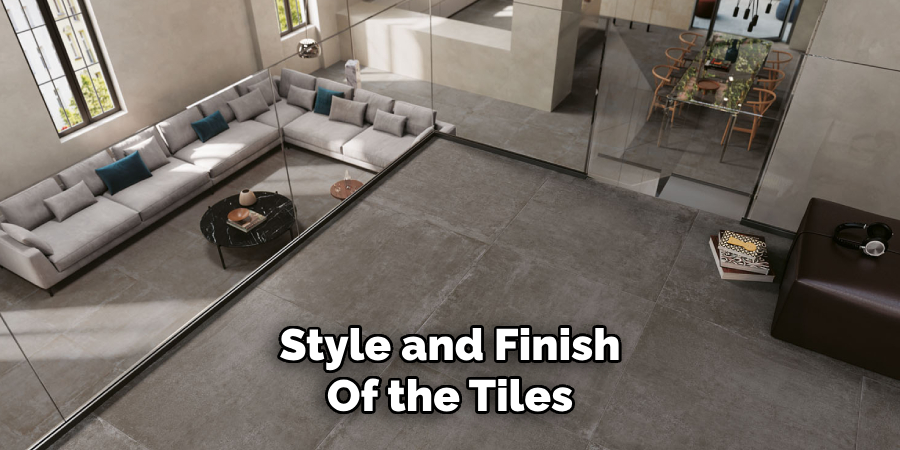
Style and Finish
The style and finish of the tiles should align with the specific environment and intended use. Glossy tiles are great for brightening spaces and creating a sleek look, while matte or textured finishes add depth and are better suited for areas prone to moisture or heavy use.
High-quality adhesive and grout are essential to ensure durability as they prevent tiles from loosening or degrading over time. Proper installation is crucial for maximizing the benefits of ceramic tiles.
Preparing Walls for Reinforcement
Proper preparation of walls is a critical step before installing ceramic tiles to ensure a strong and durable reinforcement. Below are the key steps to follow:
Inspecting Wall Condition
Begin by carefully inspecting the surface of the walls for any signs of damage. Look for cracks, moisture, or uneven areas that could compromise the tile installation. Any issues identified at this stage must be addressed to create a stable base for the tiles. Pay close attention to areas near plumbing or high-traffic zones, as these are more prone to stress or wear.
Cleaning and Repairing
Thoroughly clean the wall surface to remove any dust, grease, or debris that may reduce adhesive effectiveness. Use a mild detergent solution or a specialized cleaning agent if necessary. After cleaning, assess and repair any damage to the wall, such as holes or cracks, using plaster, filler, or a suitable repair compound. Make sure the repairs are completely dry and smooth before continuing.
Priming the Surface
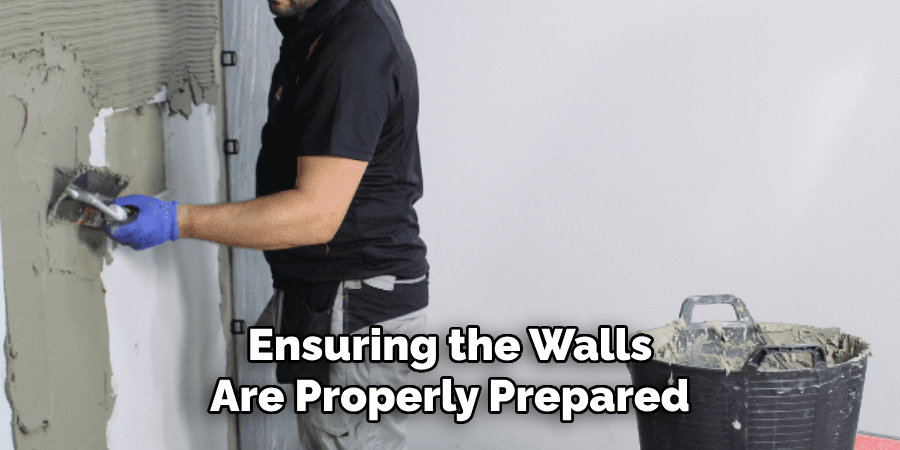
To enhance adhesion, apply a bonding primer evenly across the wall. This step is especially important for painted, porous surfaces or prone to moisture absorption. Consider installing a tile backer board for areas requiring extra reinforcement to provide a solid and moisture-resistant base. Allow the primer or backer board to set according to manufacturer instructions to ensure optimal results.
By ensuring the walls are properly prepared, the lifespan and performance of ceramic tiles can be significantly extended. Proper preparation minimizes future maintenance and ensures a polished and professional finish.
How to Reinforce Walls with Ceramic Tiles: Installing Ceramic Tiles on Walls
Laying Out the Design
Before beginning installation, plan the tile layout carefully to ensure even and aesthetically pleasing results. Measure the dimensions of the wall and mark the center point to serve as a reference for alignment. Dry-lay the tiles flat to visualize the pattern and minimize uneven edges or small cut pieces at the perimeter.
Adjust the placement as necessary to achieve a balanced and professional appearance. Consider incorporating decorative accents or borders to enhance the design.
Applying Adhesive
Start by preparing a high-quality tile adhesive according to the manufacturer’s instructions. Using a notched trowel, spread the adhesive evenly over a small section of the wall, working in manageable areas to prevent the adhesive from drying out before placement. Hold the trowel at a 45-degree angle to ensure uniform ridges for proper adhesion.
Avoid applying adhesive to large wall sections simultaneously, as this can lead to inconsistencies or drying out.
Placing and Spacing Tiles
Begin placing the tiles starting from the center point, following the design layout. Press each tile firmly into the adhesive, twisting slightly to ensure a secure bond. To maintain consistent spacing between tiles, use tile spacers, allowing room for grout. Check the alignment regularly with a level, making adjustments to prevent shifting. Continue working outward from the center, completing one section at a time.
Cutting Tiles
Use a wet saw or tile cutter to achieve precise cuts for tiles that need to fit around outlets, corners, or edges. Always wear safety gear when cutting tiles, and measure carefully to ensure accuracy.
Smooth any rough edges with a tile file or sandpaper to prevent chipping. Position the cut tiles carefully, ensuring all pieces align with the overall pattern.
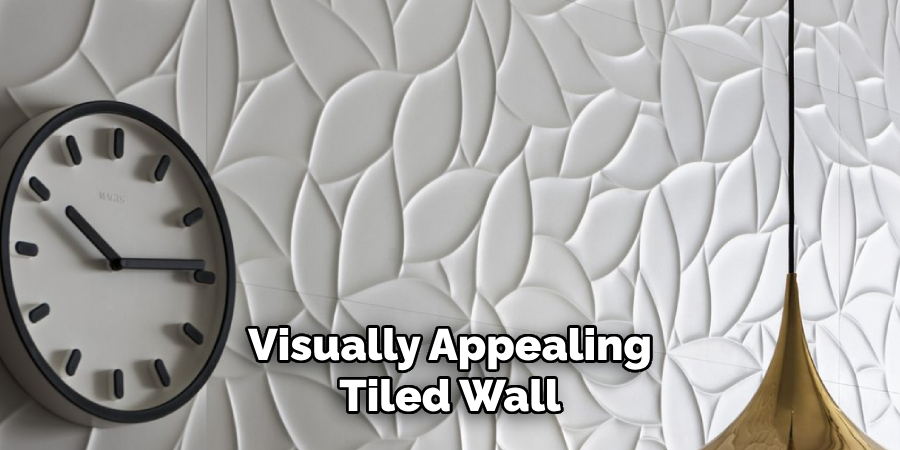
By following these steps, you can achieve a durable and visually appealing tiled wall that enhances the aesthetic and functionality of any space.
Grouting and Finishing the Tiles
Applying Grout
Once the tiles have been securely placed and the adhesive has dried, it’s time to apply the grout. Spread the grout diagonally across the tile surface using a rubber float, pressing it firmly into the gaps between tiles. Work in small sections to ensure all gaps are thoroughly filled.
After applying, use the edge of the float to remove excess grout from the tile surface. Allow the grout to set for a few minutes, then gently wipe away the residue with a damp sponge, being careful not to remove the root from the gaps. Rinse the sponge regularly to maintain a clean finish.
Sealing the Grout
Once the grout has fully cured, apply a grout sealer to protect it from moisture penetration, staining, and mildew. Use a small brush or applicator to carefully apply the sealer along the grout lines, ensuring full coverage.
As per manufacturer instructions, allow the sealer to dry completely before exposing the surface to water or heavy traffic. Sealing the grout enhances its durability and maintains the integrity and appearance of the tiled surface over time.
Cleaning the Tiles
The final step is to clean the tiles. Using a dry, soft cloth or microfiber towel, gently buff the tile surface to remove any remaining grout haze and restore its shine. This finishing touch will leave your tiled wall looking clean, polished, and professionally installed. Regular maintenance will help preserve the beauty and functionality of your tiles for years to come.
Additional Reinforcement Techniques
When installing tiles, incorporating reinforcement techniques ensures a durable and long-lasting finish. Below are effective methods to enhance the strength and resilience of your tiling projects:
Using Tile Backer Boards
Tile backer boards, such as cement or foam boards, are an excellent way to add structural support and waterproofing to tiled surfaces. These boards create a stable, moisture-resistant base, particularly important in areas like bathrooms and kitchens where water exposure is common.
By using backer boards, you not only improve the integrity of your installation but also prevent issues like mold growth and tile shifts over time.
Reinforcing Corners and Edges
Corners and edges of tiled surfaces are high-impact areas that are more prone to chipping or cracking. Consider installing corner trims for a polished look and added protection to address this. Alternatively, using thicker tiles in these vulnerable spots can bolster durability. This is particularly valuable for high-traffic zones or areas where heavy objects might contact the tiles.
Enhancing Adhesion
For demanding applications, such as flooring in heavy-use spaces, consider using epoxy adhesive instead of traditional tile adhesive. Epoxy provides a higher level of bonding strength, ensuring that the tiles remain securely in place even under significant stress. This method is particularly effective for commercial projects or installations requiring enhanced durability.
Maintenance Tips for Reinforced Tiled Walls
Proper maintenance is critical to ensuring the longevity and appearance of your reinforced tiled walls. Here are some essential tips to keep them in excellent condition:
Regular Cleaning
Use non-abrasive cleaners and soft cloths or sponges to clean your tiles and grout regularly. Harsh chemicals or abrasive tools can damage the surface or wear down the grout, so opt for pH-balanced products designed specifically for tiles. This not only keeps your walls looking fresh but also prevents mold and mildew buildup in damp areas.
Periodic Inspections
Regularly inspect your tiled surfaces for signs of damage, such as cracks, chips, or loose tiles. Promptly repairing any issues can prevent further deterioration and protect the structural integrity of the tiled area. Replacing damaged tiles or reapplying adhesive as needed ensures your surfaces remain safe and functional.
Protective Measures
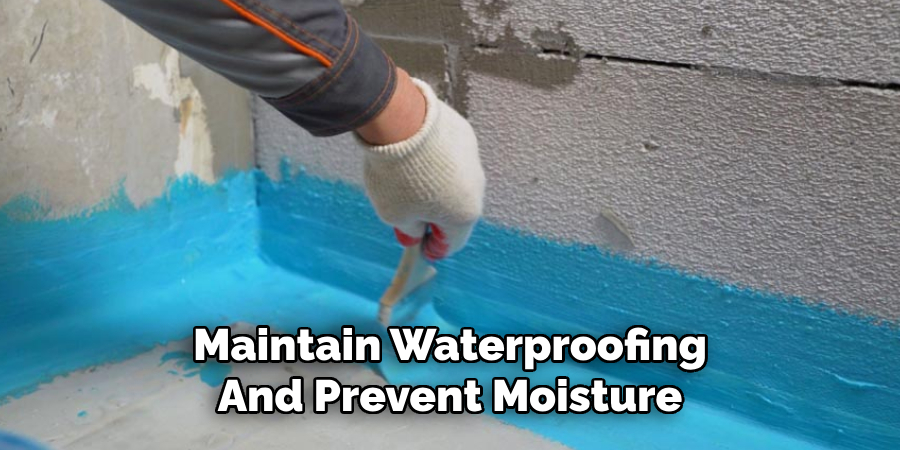
Avoid subjecting your tiled walls to excessive force or heavy impacts, which can lead to cracks or chipping. Additionally, a grout sealant should be applied periodically to maintain waterproofing and prevent moisture from seeping into the grout.
This extra step ensures the durability of your tiles, especially in areas exposed to water, such as bathrooms and kitchens.
By following these maintenance tips, you can preserve the beauty and strength of your reinforced tiled walls for years to come.
Conclusion
Reinforcing walls with ceramic tiles offers a perfect combination of durability, functionality, and aesthetic appeal. These tiles protect walls from wear and moisture and enhance the overall appearance of any space. Proper preparation, installation, and regular maintenance are essential to ensure long-lasting results and preserve their beauty and strength.
By following expert advice on how to reinforce walls with ceramic tiles, you can create secure, stylish spaces that withstand the test of time. Ceramic tiles remain a reliable and visually appealing choice for any home or building, whether for kitchens, bathrooms, or other areas.
Specialization:
- Master of wheel-throwing, hand-building, and advanced glazing techniques
- Focus on creating both functional pottery and decorative art pieces
Recognition:
- Celebrated by collectors and art enthusiasts for creating one-of-a-kind pieces that blend artistry with functionality
- Participates in local and national exhibitions, earning accolades for his innovative designs and craftsmanship
Passion:
- Deeply committed to exploring and pushing the boundaries of ceramic artistry
- Continuously experiments with new materials, firing techniques, and artistic concepts to evolve his craft
Personal Philosophy:
- Believes in the transformative power of art, aiming to evoke emotions and connections through his ceramic creations
- Advocates for sustainability in ceramics, using eco-friendly materials and practices whenever possible