


Are you a pottery enthusiast who wants to learn how to load pottery in a kiln? Look no further! In this guide, we will walk you through the process of loading pottery in a kiln step by step.
Loading pottery into a kiln is a crucial step in the ceramic-making process, as it ensures the pieces are fired evenly and achieve the desired results. Proper loading techniques help prevent damage to the pottery, maximize kiln space, and provide an efficient firing process. Whether you’re working with bisque ware, glazed pieces, or a mix of both, understanding the right way to organize and position your items can significantly affect the outcome.
This guide will provide key tips and considerations to help load your kiln safely and effectively.
What Are the Benefits of Properly Loading Pottery in a Kiln?
Proper loading techniques are essential for achieving the best possible results from your firing. Here are some of the benefits of adequately loading pottery in a kiln:
- Prevents Damage: Loading pottery incorrectly can lead to breakage, warping, or cracking during the firing process. By carefully organizing and positioning your pieces, you can reduce the risk of damage.
- Maximizes Kiln Space: Kilns have limited space, and making the most out of it is essential. Proper loading allows you to fit more pieces into your kiln without overcrowding or sacrificing quality.
- Even Firing: Uneven heat distribution can cause uneven firing, resulting in inconsistent glaze or clay results. By loading your pottery correctly, you can ensure that all pieces are exposed to the same heat for a consistent and even firing.
- Efficient Firing: Properly loaded kilns allow for efficient air circulation and heat distribution, reducing the overall firing time and energy consumption.
These are just a few benefits of adequately loading pottery in a kiln. Now, let’s dive into some tips and techniques for loading your kiln like a pro.
What Will You Need?
Before we get started, make sure you have the following items on hand:
- Kiln Furniture: These shelves, posts, and stilts help support your pottery pieces inside the kiln. They come in various sizes and shapes to fit different kilns.
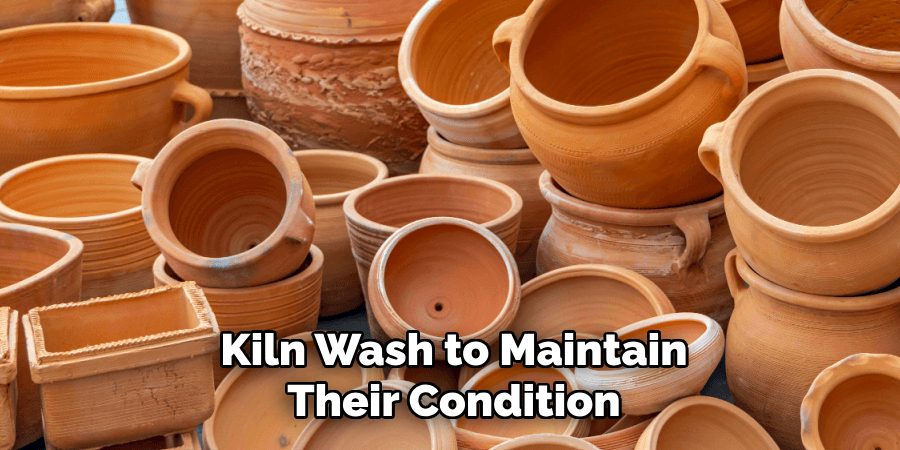
- Kiln Wash: A protective coating that prevents glaze drips from sticking to the kiln shelves.
- Safety Gear: Kilns produce high temperatures, so wearing proper safety gear when loading them is crucial. This includes heat-resistant gloves and eye protection.
- Firing Cones: These small ceramic cones monitor the temperature in your kiln during firing.
- Pottery Pieces: You will need your pottery pieces to load into the kiln. Make sure they are scorched and free of any debris or glaze drips.
Now that you have everything you need let’s start loading your pottery!
9 Easy Steps on How to Load Pottery in a Kiln
Step 1: Prepare the Kiln
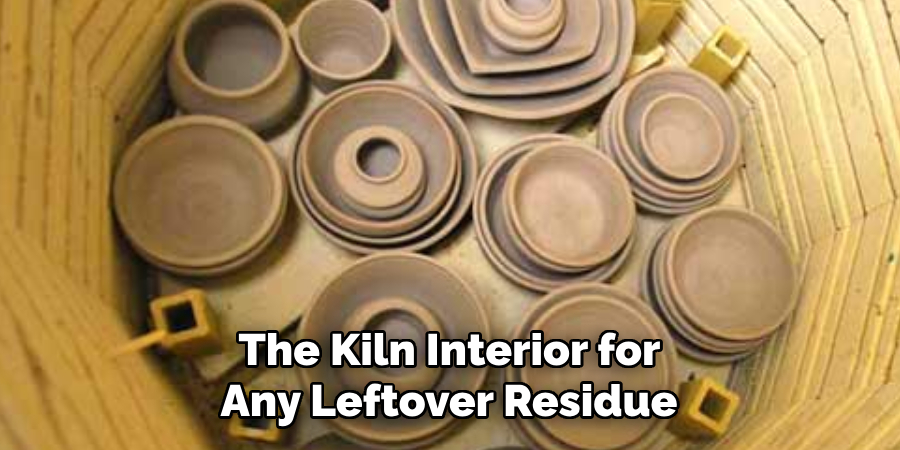
Before loading your pottery, ensure the kiln is clean and ready for use. Start by inspecting the kiln interior for any leftover residue or debris from previous firings. Use a soft brush or vacuum to clean the kiln walls, floor, and shelves carefully. Check for cracks or damage to the kiln shelves and ensure they are safe.
Next, apply a fresh layer of kiln wash to the shelves if needed. The kiln wash creates a protective barrier against glaze drips and prolongs the life of your shelves. Allow the kiln wash to dry thoroughly before proceeding. Once your kiln is clean and adequately prepared, arrange your kiln furniture nearby for easy access as you begin loading. This step ensures a safe and efficient process throughout the firing session.
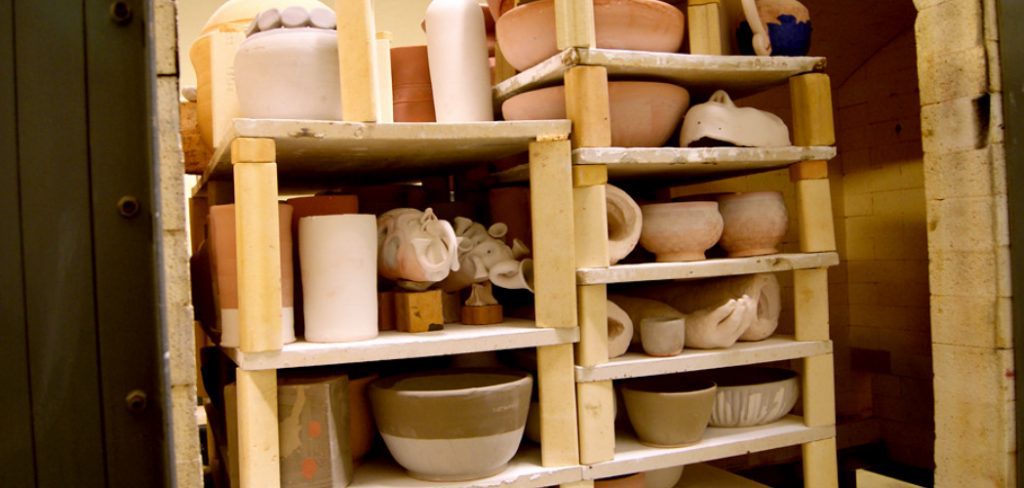
Step 2: Organize Your Pottery
Before placing your pottery into the kiln, organize your pieces by size, shape, and firing requirements. Separate glazed and unglazed pieces, as glazed items, need to be handled more carefully to avoid accidental sticking. Group similar-sized pieces together to maximize space efficiency and minimize the risk of damage during the firing process. Ensure that each piece is arid and free of contaminants like dust or oil, which could affect the final result. Having your pottery sorted and ready will allow a smoother and more methodical loading process.
Step 3: Load the Kiln
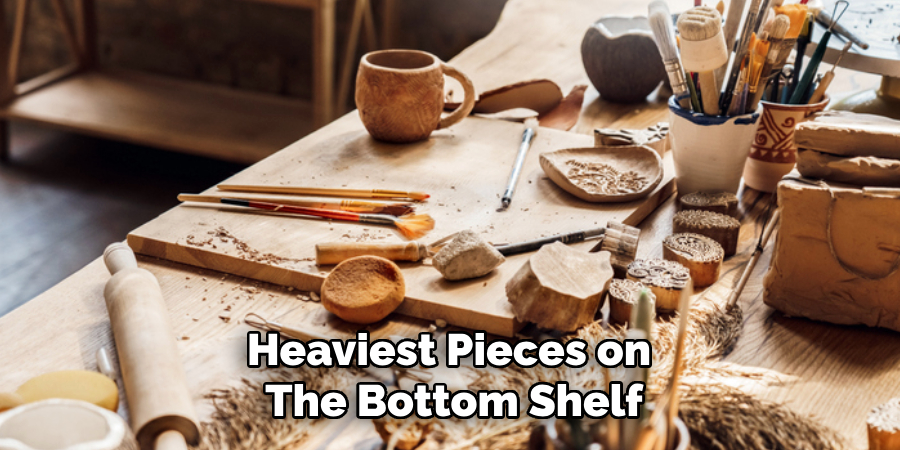
Begin loading your pottery into the kiln by placing the most significant and heaviest pieces on the bottom shelf. Ensure enough space between each piece to allow for even heat distribution and prevent contact during firing. Use kiln stilts or supports to create multiple levels, maximizing the kiln’s capacity without overcrowding. Keep glazed surfaces from touching any part of the kiln or other pieces to avoid unwanted fusion. Handle each piece carefully to prevent accidental damage, and double-check that all items are stable before moving to the next layer.
Step 4: Set the Firing Schedule
Once the kiln is loaded, set the appropriate firing schedule based on the type of clay and glaze being used. Refer to the manufacturer’s recommendations for both materials to determine the correct temperature and ramp speed. Typically, the firing process involves multiple stages, including a slow ramp to remove all moisture, a bisque stage to harden the clay, and a glaze firing to achieve the final finish.
Use the kiln’s control panel to program the schedule, ensuring all settings are accurate. Double-check your inputs before starting the kiln to avoid potential issues during the firing process. Setting the correct schedule is essential for achieving consistent and professional results.
Step 5: Monitor the Firing Process
Once the kiln is started, closely monitor the firing process to ensure everything proceeds as planned. Regularly check the kiln’s display or controller to confirm the temperatures are rising according to the programmed schedule. Avoid opening the kiln during firing, as sudden exposure to outside air can cause temperature shock and damage the pieces. Additionally, stay attentive to any unusual noises or smells that could indicate a problem with the kiln or the materials inside.
Step 6: Cool and Unload the Kiln
After the firing process, allow the kiln to cool down naturally before opening it. Rapid cooling can cause thermal shock, which may crack or damage your pieces. Depending on the firing schedule and materials, the cooling process can take several hours to a full day. Once the kiln has reached a safe temperature, carefully open the lid or door and inspect the contents. Use protective gloves if necessary, as some areas may still be warm. Remove your pieces gently, ensuring they are thoroughly cooled and adequately finished. This final step concludes the firing process, leaving you with completed ceramic works ready for use or display.

Step 7: Clean and Maintain the Kiln
Proper cleaning and maintenance of your kiln are essential to ensure its longevity and optimal performance. After each firing, carefully remove debris, glaze drips, or residue from the kiln’s interior using a vacuum or a soft brush. Inspect the kiln shelves and elements for signs of wear, cracks, or damage, and replace any components as needed. Periodically check and tighten any loose screws or connections, and verify that the kiln’s electrical and safety features are functioning correctly. Keeping a regular maintenance schedule will help avoid future issues and ensure consistent firing results for your ceramic creations.
Step 8: Document and Evaluate Your Firing Results
After completing the firing process, take the time to document and evaluate the results of your work. Record details such as the firing schedule, type of clay and glaze used, and any issues or successes encountered during the process. Examining your finished ceramic pieces closely can help identify areas for improvement, whether it involves refining your glazing technique or adjusting the firing temperature. Keeping a log of your kiln activity and results provides valuable insight for future projects, enabling you to refine your skills and achieve consistent, high-quality outcomes.
Step 9: Store Your Kiln Properly
Once the firing process is complete and the kiln has cooled down, cleaning and storing it correctly is essential. Remove debris, such as glaze drips or kiln wash residue, using appropriate tools to avoid damaging the kiln’s surface. Inspect the kiln shelves and replace or reapply the kiln wash to maintain their condition. Ensure the kiln’s interior and exterior are free from dust or buildup, as this can affect performance over time. When not in use, cover your kiln to protect it from dust and moisture. Proper cleaning and storage will extend the lifespan of your kiln and guarantee its readiness for future projects.
By following these steps, you can confidently and effectively operate your kiln to achieve professional results every time.
Conclusion
How to load pottery in a kiln is both an art and a science that requires careful attention to detail and adherence to best practices.
By understanding the importance of spacing, selecting appropriate kiln furniture, and maintaining a balanced load, you ensure even firing and minimize the risk of damage to your creations. Proper preparation, maintenance, and organization not only safeguard your work but also enhance the efficiency and lifespan of your kiln. With these guidelines, you can confidently approach each firing, knowing that your pottery will emerge as beautifully as intended.
Remember that successful kiln loading is a key step in achieving professional and consistent results in your ceramic endeavors.
Specialization:
- Master of wheel-throwing, hand-building, and advanced glazing techniques
- Focus on creating both functional pottery and decorative art pieces
Recognition:
- Celebrated by collectors and art enthusiasts for creating one-of-a-kind pieces that blend artistry with functionality
- Participates in local and national exhibitions, earning accolades for his innovative designs and craftsmanship
Passion:
- Deeply committed to exploring and pushing the boundaries of ceramic artistry
- Continuously experiments with new materials, firing techniques, and artistic concepts to evolve his craft
Personal Philosophy:
- Believes in the transformative power of art, aiming to evoke emotions and connections through his ceramic creations
- Advocates for sustainability in ceramics, using eco-friendly materials and practices whenever possible