


Centering clay on a pottery wheel is a fundamental skill that every potter must master. It is the foundation of creating balanced and symmetrical pottery. The process involves aligning the clay’s mass with the spinning axis of the wheel to ensure that it remains stable as you work.
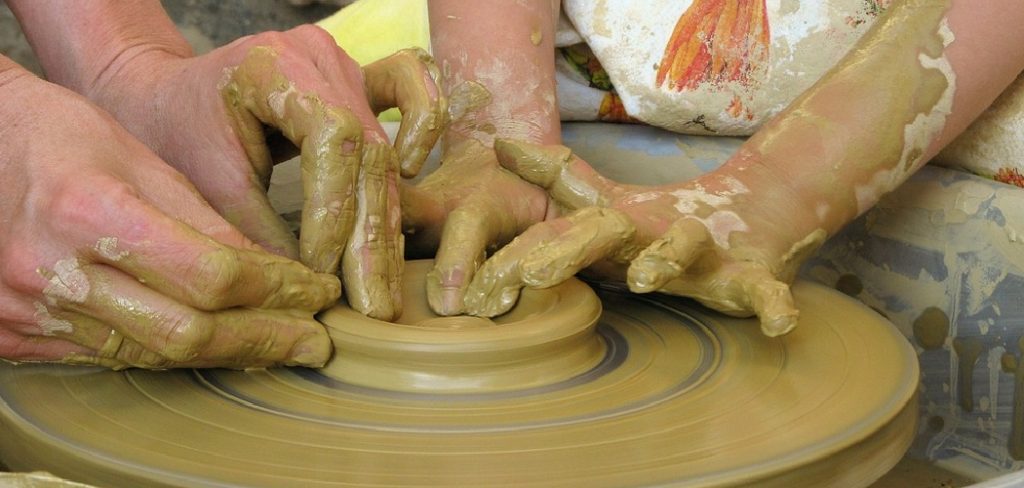
While it can be challenging for beginners, with practice and proper technique, anyone can learn to center clay effectively. This guide will walk you through the steps of how to center clay on wheel, setting you up for success in your pottery projects.
Importance of Centering Clay in Wheel Throwing
Centering clay is crucial in wheel throwing because it forms the foundation for creating pottery with even walls and a symmetrical shape. If the clay is not centered, the piece may become uneven, wobbly, or collapse during the shaping process. Proper centering ensures that the clay spins smoothly on the wheel, giving the potter full control as they pull and shape the material.
Additionally, centered clay reduces the physical strain on the potter, as it eliminates the need to wrestle with an off-balanced mass. Mastering this essential step sets the stage for efficient and enjoyable pottery making, while allowing for more precise and professional results.
Common Challenges Beginners Face
For beginners, centering clay on a wheel can feel particularly daunting due to the combination of physical coordination and technique required. One common challenge is exerting the right amount of pressure; too much force can cause the clay to wobble or slip off the wheel, while too little pressure may fail to move the clay into alignment.
Maintaining consistent speed on the wheel is another difficulty, as beginners may accidentally adjust the speed too quickly or too slowly, making the centering process harder. Additionally, keeping wet hands without over-saturating the clay is tricky, as overly dry hands may create friction, and excess water can over-soften the clay, making it harder to control.
Overcoming these challenges takes time, patience, and practice, but each mistake is an opportunity to refine technique and develop confidence.
10 Methods How to Center Clay on Wheel
1. Starting with the Right Clay Preparation
Before even placing the clay on the wheel, proper preparation is essential. Begin by wedging the clay thoroughly to remove air bubbles and create a consistent texture. Air pockets or inconsistencies in the clay can cause instability when centering.
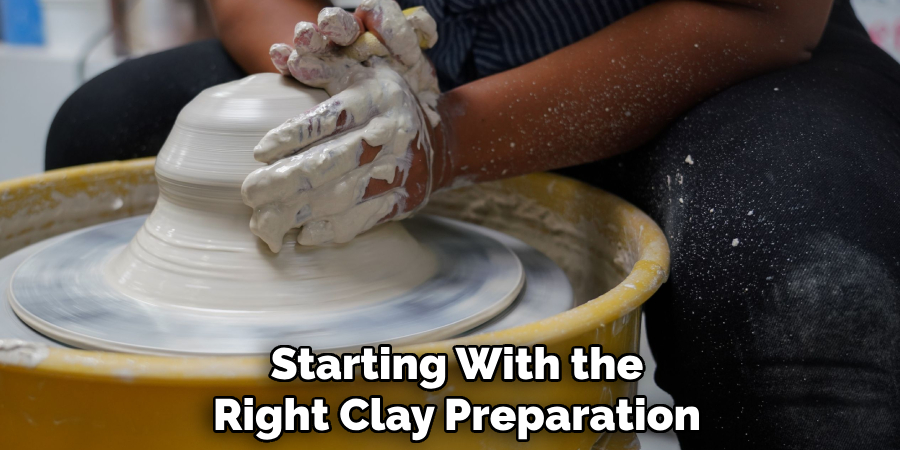
Wedging also aligns the clay particles, making the material more responsive to the pressure applied during centering. If the clay is too dry, it may resist movement, whereas overly wet clay can collapse easily. Achieving the right moisture balance ensures that the clay moves smoothly under pressure.
2. Securing the Clay Firmly to the Bat
Placing the clay firmly on the wheel head or bat is crucial to successful centering. Begin by slamming the clay down with enough force to ensure good adhesion. Press down with both hands to remove air pockets between the clay and the wheel surface. Some potters lightly moisten the wheel head or bat before placement to enhance grip. Ensuring that the clay is well-anchored prevents it from sliding or detaching while centering, allowing for better control as the wheel spins.
3. Using Coning to Strengthen Centering
Coning, also known as “wheel wedging,” is an effective method to improve centering. Start by applying pressure to push the clay upward into a cone shape. Then, press it back down into a compact mound. Repeat this process multiple times to improve the alignment of the clay particles and ensure even moisture distribution.
Coning also helps to eliminate minor inconsistencies and makes the clay more pliable, easing the centering process. The motion of raising and compressing the clay refines its structure, reducing the likelihood of wobbling.
4. Keeping Hands Steady and Anchored
One of the most common mistakes beginners make is allowing their hands to move too freely while centering. For better stability, anchor your elbows against your thighs or the splash pan of the wheel. This creates a strong foundation, allowing you to apply even pressure without losing control.
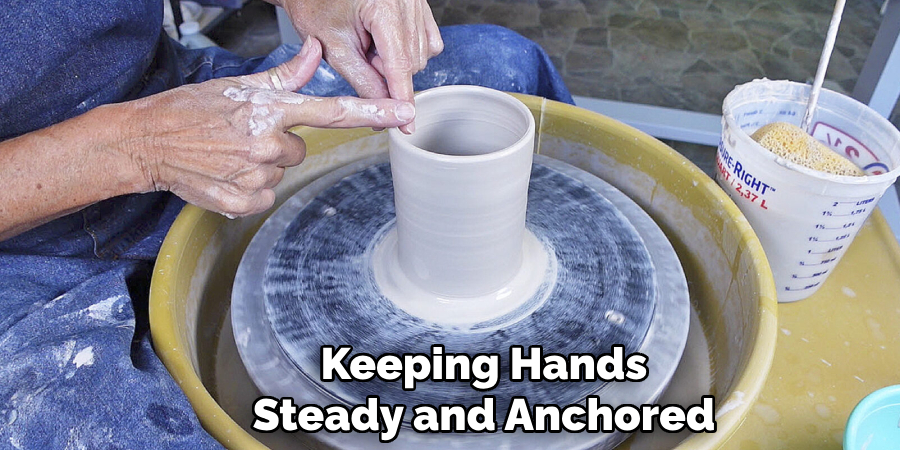
Keeping your hands steady ensures that pressure remains consistent, preventing the clay from shifting unpredictably. If the hands move too much, the clay may become off-center again, making shaping difficult later in the process.
5. Applying Equal Pressure with Both Hands
Even pressure from both hands is essential when centering clay. One hand should brace the side of the clay while the other applies downward force from the top. The outside hand, typically the dominant one, should press inward at an angle, while the top hand stabilizes the clay.
The pressure should be firm yet gradual to avoid sudden shifts. If one hand exerts more pressure than the other, the clay may tilt or develop an off-center wobble. Practicing this balanced approach ensures smoother, more controlled centering.
6. Controlling Wheel Speed for Stability
The speed of the wheel plays a critical role in centering clay. Beginners often spin the wheel too slowly, making it harder to apply even pressure. A medium to high wheel speed allows for more effective centering, as the clay responds better to force at higher rotations. However, excessive speed can make the clay unstable and harder to control. Finding the right balance—fast enough for efficiency but slow enough to maintain control—is key to successful centering. Adjusting speed as needed ensures smoother movement of the clay.
7. Using the Heel of the Hand for Compression
A helpful technique for stabilizing clay is using the heel of the hand to compress it downward. Instead of relying solely on the fingers, which may introduce uneven pressure, pressing with the broad surface of the palm or wrist heel allows for greater force distribution. This technique helps prevent the clay from buckling or warping. By pressing the top of the clay while simultaneously supporting the sides, potters can create a strong, centered foundation ready for shaping.
8. Maintaining Consistent Water Levels
Water is essential for reducing friction between the hands and the clay, but too much or too little water can hinder centering. If the clay is too dry, it may resist movement, causing uneven pressure application. On the other hand, excessive water can make the clay too slippery, reducing control and making it prone to collapse.
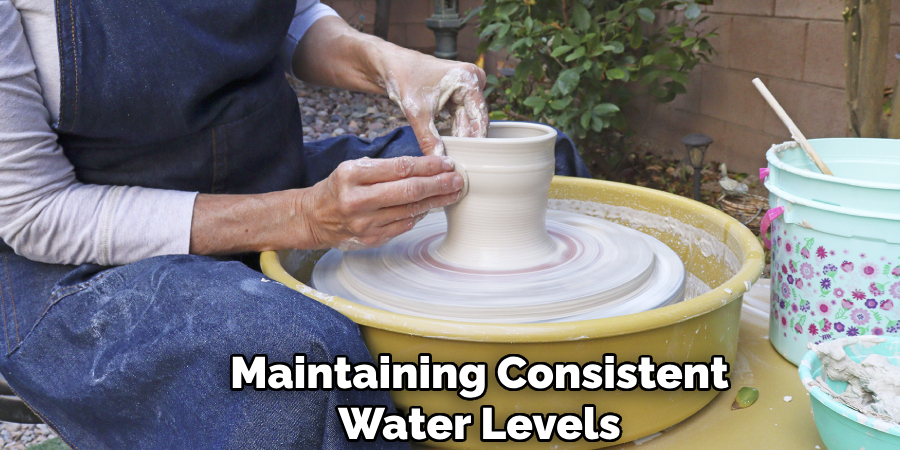
Keeping the right level of moisture—enough to allow smooth movement without oversaturation—is key to successful centering. Regularly wetting hands and adding small amounts of water to the clay helps maintain optimal workability.
9. Practicing the “Hugging” Technique
The “hugging” technique involves using both arms to gently but firmly embrace the clay, applying even pressure from all sides. Instead of pushing from just one direction, this method distributes force more evenly, minimizing wobbling. The arms and hands work together to compress the clay into a stable shape. This technique is particularly helpful for larger clay amounts, as it ensures a strong grip and control over the clay’s movement. The “hugging” motion also encourages relaxation, reducing hand fatigue during centering.
10. Developing Muscle Memory Through Repetition
Ultimately, centering clay is a skill that improves with repeated practice. The more frequently a potter engages in centering exercises, the more natural the technique becomes. Muscle memory allows the hands to instinctively apply the right amount of pressure at the correct angles, reducing the time and effort required for centering.
Practicing daily with small amounts of clay, focusing solely on centering without moving on to shaping, can significantly improve control and confidence. Over time, the process becomes more intuitive, allowing for smoother and more efficient centering.
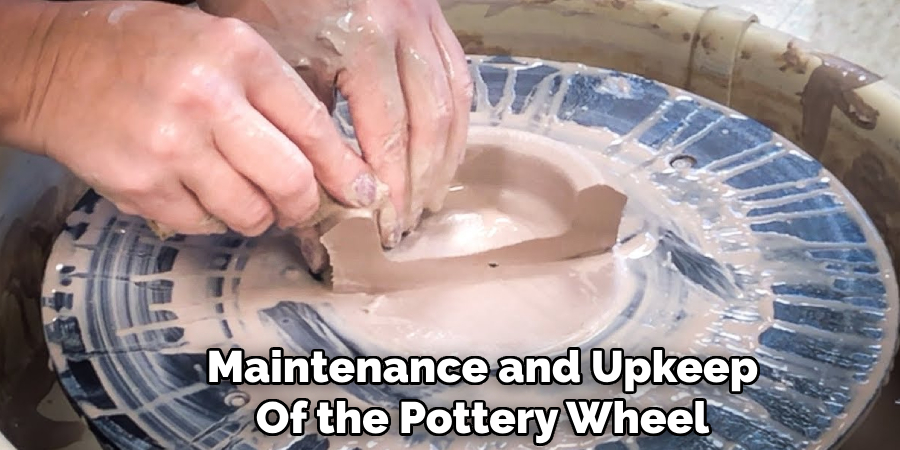
Maintenance and Upkeep of the Pottery Wheel
Proper maintenance and upkeep of your pottery wheel are essential to ensure its longevity and smooth operation. Regular cleaning is one of the most important steps—after each session, remove excess clay and debris from the wheel head, splash pan, and surrounding areas. Allowing clay to dry on the wheel can lead to buildup, which may interfere with performance or require intensive scrubbing later.
It is also important to periodically check the wheel’s motor and bearings for signs of wear and tear. Listen for unusual noises or vibrations during operation, as these may indicate mechanical issues that need attention. Lubricate moving parts as recommended by the manufacturer to keep the wheel running smoothly.
Additionally, inspect the power cord and foot pedal for damage, and ensure all electrical components are functioning safely. If your wheel uses a belt-driven system, monitor the condition of the belt and replace it if it starts to fray or loosen. Keeping your pottery wheel in good condition not only enhances its performance but also ensures a safer, more enjoyable pottery experience. Regular maintenance helps protect your investment and supports better results in your ceramic projects.
Conclusion
Mastering the art of centering clay is a foundational skill that sets the stage for successful pottery creation. While it may seem challenging at first, incorporating techniques such as coning, applying equal pressure, and maintaining consistent water levels can make the process more manageable.
By keeping hands steady, controlling wheel speed, and practicing regularly to build muscle memory, potters can significantly enhance their centering ability over time. So, there you have it – a quick and easy guide on how to center clay on wheel.
Specialization:
- Master of wheel-throwing, hand-building, and advanced glazing techniques
- Focus on creating both functional pottery and decorative art pieces
Recognition:
- Celebrated by collectors and art enthusiasts for creating one-of-a-kind pieces that blend artistry with functionality
- Participates in local and national exhibitions, earning accolades for his innovative designs and craftsmanship
Passion:
- Deeply committed to exploring and pushing the boundaries of ceramic artistry
- Continuously experiments with new materials, firing techniques, and artistic concepts to evolve his craft
Personal Philosophy:
- Believes in the transformative power of art, aiming to evoke emotions and connections through his ceramic creations
- Advocates for sustainability in ceramics, using eco-friendly materials and practices whenever possible