Creating a tree with clay is a fun and creative way to explore your artistic skills. Whether you’re a beginner or an experienced artist, this activity allows you to practice shaping, molding, and adding intricate details. It’s a perfect project for school assignments, crafting hobbies, or simply expressing your imagination. In this blog post, we’ll walk you through the steps on how to make tree with clay so that you can get back to using it in no time! So grab your tools, and let’s get started!

Why Clay Trees Are Great for DIY Projects
Clay trees are an excellent addition to any DIY project because they are versatile, customizable, and beginner-friendly. With clay, you can shape trees of all sizes and styles, from whimsical fantasy designs to realistic models. Clay’s moldable nature allows for intricate details such as textured bark, delicate leaves, or even unique patterns that express your creativity. Furthermore, clay projects are an affordable option as the materials are widely accessible, and you don’t need fancy tools to bring your ideas to life. Whether you’re decorating your home, preparing a school project, or crafting a personal gift, clay trees offer endless possibilities to make your creations stand out.
Choosing the Right Clay for Your Tree
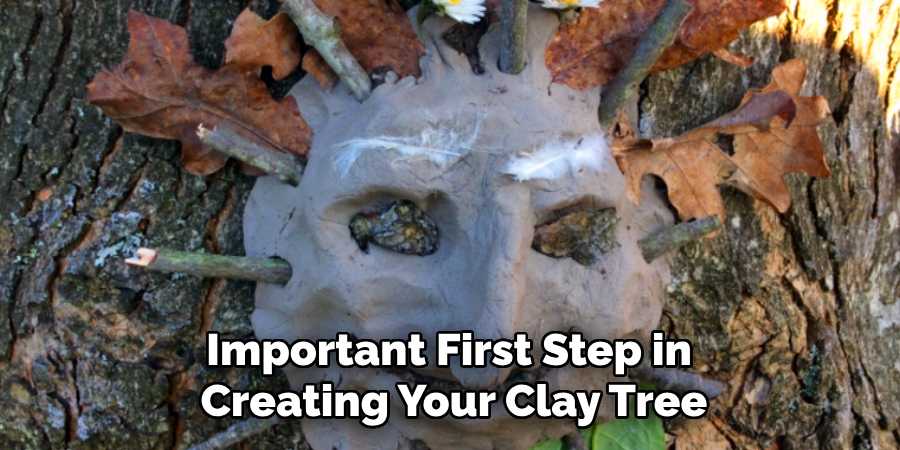
Selecting the right type of clay is an important first step in creating your clay tree. Different types of clay offer varying textures, workability, and drying processes, so choosing one that fits your project’s needs is crucial. For beginners, air-dry clay is a popular choice because it is easy to use, widely available, and requires no kiln or oven to harden.
Polymer clay, on the other hand, is ideal for projects requiring finer details and vibrant colors, as it hardens when baked and retains its shape well. If you’re opting for a more durable and professional project, consider using ceramic clay, but keep in mind that it requires kiln firing. Regardless of the type you choose, always test the clay’s consistency, as it should be smooth and pliable enough to shape easily. Remember to also consider the size of your tree and the level of detail you want to achieve when making your selection!

10 Methods How to Make Tree with Clay
1. Sculpting a Simple Tree with Hand-Rolled Trunk and Branches
A basic method for making a clay tree is by hand-rolling individual parts. Start by taking a lump of clay and rolling it into a thick cylinder to form the tree trunk. Then, roll out smaller clay pieces into thin, snake-like shapes to create branches. Attach the branches to the trunk, making sure to blend the seams where they meet so they stay secure. You can bend and shape the branches to give the tree a natural look. Finally, add small clay balls or leaf-like shapes to the branches to represent foliage. This method is simple but effective, making it great for beginners or children’s craft projects.
2. Using Wire Armature for Added Stability

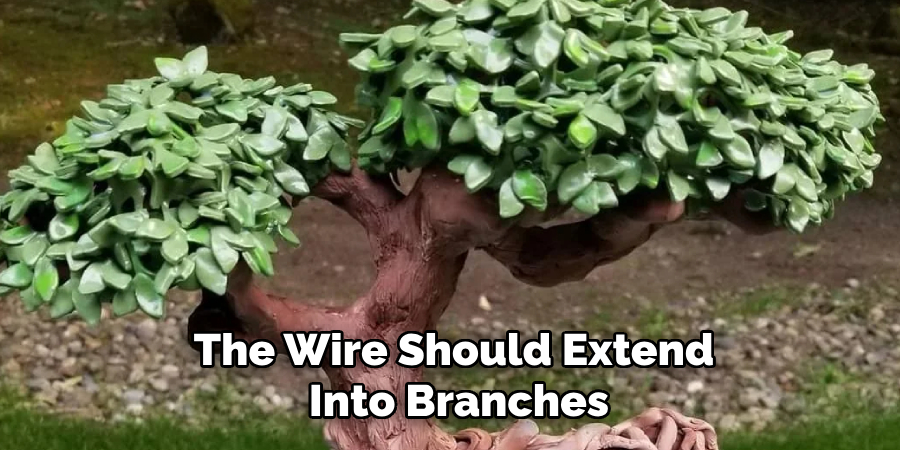
For a more structured and durable clay tree, using a wire armature is highly beneficial. Start by shaping a tree-like frame using aluminum or copper wire. The wire should extend into branches, mimicking the organic shape of a tree. Wrap the wire frame with clay, pressing it around the trunk and branches to form a solid structure. Smooth out the surface and shape the details by pinching and pressing the clay. This technique allows you to make taller and more intricate trees without worrying about them collapsing or breaking easily.
3. Building a Hollow Tree Trunk for Large Trees
If you’re making a large tree, sculpting a solid clay trunk can make the structure too heavy and prone to cracking. Instead, create a hollow trunk by wrapping a clay sheet around a cylindrical base, such as a paper towel roll or a plastic tube. Once the clay is shaped around the base, smooth out the seams and add details like bark texture and knots. Remove the supporting base once the clay is dry or firm enough to hold its shape. This method is ideal for making lightweight, large-scale clay trees with realistic textures.
4. Texturing the Bark for Realistic Effects
To give your clay tree a natural appearance, adding bark texture is crucial. One method is to use a toothpick, fork, or sculpting tool to carve vertical and horizontal lines into the trunk to mimic tree bark patterns. Another approach is to press actual tree bark against the clay to create an imprint. This technique captures realistic textures effortlessly. If you’re making a fantasy or stylized tree, experiment with exaggerated patterns or swirls to enhance the aesthetic appeal. Once the texturing is complete, you can refine the surface with water or a brush for a more polished look.
5. Creating Leaves with Different Clay Techniques

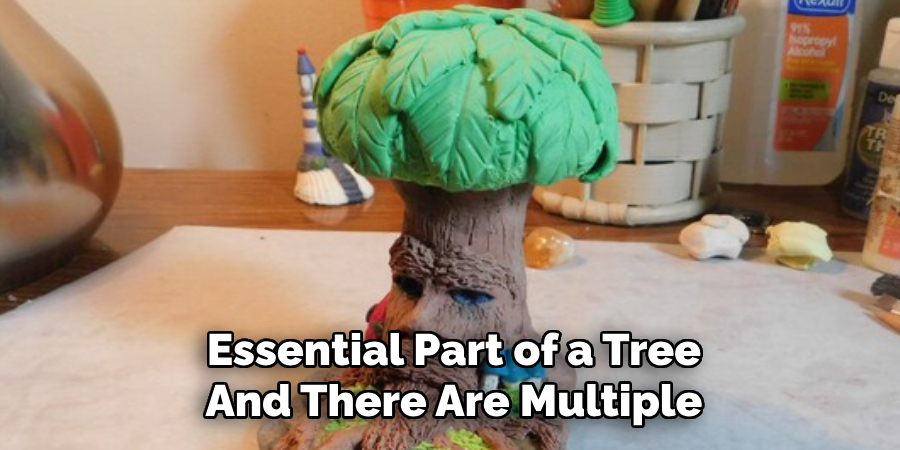
Leaves are an essential part of a tree, and there are multiple ways to craft them from clay. One simple method is rolling tiny balls of clay and pressing them flat to form leaves, which can be attached individually to branches. Another option is to cut out leaf shapes using a small cutter or mold. If you want a dense, bushy appearance, you can roll small pieces of green clay and stick them onto the branches in clusters to mimic foliage. Using different shades of green clay adds depth and realism to the tree.
6. Using Clay Sheets to Form a Canopy
For a stylized approach, you can create a tree canopy using a sheet of clay. Roll out a thin sheet and cut it into irregular shapes to represent clustered leaves. Drape the sheet over the top of the tree, allowing it to fold naturally, giving the impression of a thick canopy. Attach the edges to the branches and use tools to press in texture, making the leaves look layered and voluminous. This method works well for fantasy trees or decorative sculptures where exaggerated foliage is preferred.
7. Mixing Different Clay Types for Added Effects
Combining various types of clay can enhance your tree’s texture and durability. For example, using polymer clay allows for baking and hardening, making the tree more durable, while air-dry clay is easier to work with and doesn’t require baking. Mixing different clay colors can create a natural gradient effect in the trunk and leaves, adding depth without needing paint. Additionally, you can combine soft clay for organic shapes and firm clay for structured details like tree knots and roots. Experimenting with different clay types will improve your sculpting technique and add variety to your creations.
8. Sculpting Roots for Added Realism
For an extra touch of realism, sculpting roots can enhance the natural appearance of your clay tree. Roll out thin pieces of clay and attach them to the bottom of the trunk, extending outward in various directions. Blend the edges where the roots meet the base so they look like they naturally emerge from the trunk. You can also create small bumps and knots on the roots to mimic natural growth patterns. If you want a tree with exposed roots gripping onto a rock or soil base, sculpt the roots to wrap around other clay pieces for added drama.
9. Painting and Finishing the Clay Tree

Once your clay tree has dried or been baked (depending on the type of clay used), painting it will bring it to life. Start by applying a base coat in brown for the trunk and branches, then add lighter or darker shades to highlight texture and depth. A dry-brushing technique with a slightly lighter color helps emphasize the bark’s texture. For the leaves, use various shades of green, or even autumn colors like red, yellow, and orange for a seasonal effect. Sealing the tree with a matte or satin varnish will protect the paint and add a professional finish.
10. Creating a Fantasy or Stylized Tree
If you want to step away from realism, making a fantasy or stylized clay tree can be a fun and creative project. Instead of a traditional trunk, you can sculpt twisting, swirling patterns into the bark or create an exaggerated, curved tree shape. The branches can be elongated or spiral in unnatural ways, while the leaves can be crafted into unique shapes or made translucent using colored resin or thin polymer clay. Adding glowing elements, such as embedded LED lights or painted highlights, can make the tree look magical. This method is perfect for creating whimsical sculptures or fantasy-themed art pieces.
Conclusion
Sculpting clay trees is a rewarding and versatile art form that allows you to explore creativity while honing your crafting skills. By experimenting with different techniques, textures, and materials, you can create anything from realistic trees to fantastical, stylized designs. Whether you aim for a lifelike oak with intricate bark details or an imaginative glowing tree from a fairy tale, the possibilities are endless. With patience and practice, you can craft stunning clay trees that serve as unique decorations, gifts, or additions to larger art projects. Thanks for reading, and we hope this has given you some inspiration on how to make tree with clay!
Specialization:
- Master of wheel-throwing, hand-building, and advanced glazing techniques
- Focus on creating both functional pottery and decorative art pieces
Recognition:
- Celebrated by collectors and art enthusiasts for creating one-of-a-kind pieces that blend artistry with functionality
- Participates in local and national exhibitions, earning accolades for his innovative designs and craftsmanship
Passion:
- Deeply committed to exploring and pushing the boundaries of ceramic artistry
- Continuously experiments with new materials, firing techniques, and artistic concepts to evolve his craft
Personal Philosophy:
- Believes in the transformative power of art, aiming to evoke emotions and connections through his ceramic creations
- Advocates for sustainability in ceramics, using eco-friendly materials and practices whenever possible


