


Are you an aspiring potter or a professional clay artist who wants to create unique projects using your hands? Then, making a bat for clay is a crucial skill you need to learn.
Making a bat for clay is an essential skill for potters and ceramic enthusiasts who work on a potter’s wheel. A bat serves as a removable work surface that makes it easier to handle and transport your clay pieces without distorting them. An adequately made bat can simplify your process and provide a stable base, whether you’re throwing bowls, plates, or other pottery forms.
This guide on how to make a bat for clay will walk you through the materials, tools, and steps needed to create a durable and reusable bat for your ceramic projects.
What Are the Benefits of Making Your Own Bat?
Making your own bat for clay has numerous benefits that can improve your pottery experience. Some of these advantages include:
- Cost-saving: Buying a bat can be expensive, especially if you need multiple ones of various sizes and shapes. By making your own, you can save money in the long run.
- Customization: You have control over your bat’s size, shape, and design according to your specific needs and preferences.
- Reusability: Unlike store-bought bats that may get damaged or worn out over time, a well-made homemade bat can last for years with proper care.
- Sustainability: Making your own bat reduces the need to constantly buy new ones, which helps reduce waste and promote sustainability.
These are just some of the benefits you can enjoy by making your own bat for clay. Now, let’s dive into the steps to make one.
What Will You Need?
To make your own bat for clay, you’ll need the following materials and tools:
- Birch Plywood: Birch is a sturdy and durable wood ideal for making bats. You can find it at hardware stores or online.
- Jigsaw or Circular Saw: Either of these tools will work to cut your birch plywood into the desired shape and size.
- Sandpaper: To smooth out the edges and surface of your bat.
- Drill: A drill with a hole saw bit helps create a centered hole on your bat.
- Measuring Tape, Pencil, and Ruler: These items will help you accurately measure and mark the dimensions of your bat.
Once you have all the necessary materials and tools, it’s time to start making your bat for clay.
8 Easy Steps on How to Make a Bat for Clay
Step 1: Measure and Mark the Dimensions

Using your measuring tape, determine the desired size of your bat. A standard size for a pottery bat is around 12 to 14 inches in diameter, but you can customize the size based on your needs. Once you’ve decided on the size, use your ruler and pencil to mark a circle or rectangle on the birch plywood according to those dimensions. If you’re making a circular bat, you might find it helpful to use a compass or a round object, like a large bowl, to trace an even, symmetrical circle.
For rectangular bats, ensure your corners are perfectly square by double-checking the measurements. Taking the time to measure accurately and mark clearly will make cutting and shaping your bat much easier in the following steps.
Step 2: Cut Out the Shape
Carefully cut along the lines you marked in the previous step using a jigsaw or handsaw. If you’re working on a circular bat, take your time to follow the curve smoothly for an even result. For rectangular bats, make straight cuts along the edges to maintain clean lines. Use clamps to secure the plywood to your work surface while cutting to ensure stability and safety. Once the shape is cut out, sandpaper can smooth the edges and eliminate any sharp or rough spots. This step lays the groundwork for a sturdy and well-crafted bat.
Step 3: Assemble the Handle
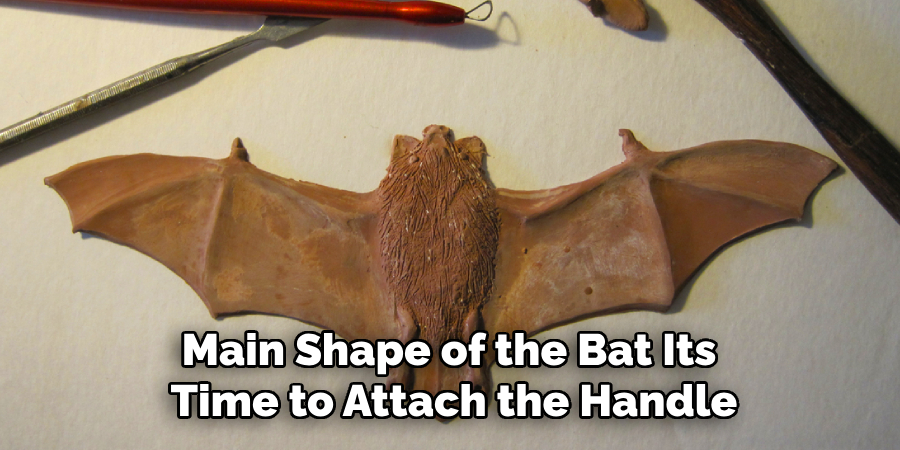
Now that you have the main shape of the bat, it’s time to attach the handle. If you’re using a pre-made wooden dowel for the handle, ensure that its diameter is comfortable to grip and matches the proportions of the bat. Drill a hole at the bottom-center of the bat where the handle will be attached; make sure the hole size matches the dowel snugly. Apply strong wood glue inside the hole and insert the dowel, pressing firmly to ensure a secure fit. For added stability, consider using small screws or nails to reinforce the connection, but make sure they do not protrude or affect the grip. Allow the glue to dry completely before moving to the next step.
Step 4: Shaping and Finishing the Bat
Once the handle is securely attached and the glue has dried, it’s time to shape and finish the bat. Use a wood rasp or file to refine the transition between the handle and the bat’s body, ensuring a smooth and seamless connection. Sand the entire bat thoroughly, starting with medium-grit sandpaper and progressing to finer grits for a polished surface. Pay special attention to the handle, removing any rough spots for comfortable handling. After sanding, apply a wood finish or sealant to protect the bat and enhance its appearance. Allow the finish to dry completely before using the bat. At this point, your bat is ready for action!
Step 5: Testing the Bat
Before using your bat in a game or practice session, testing its durability and performance is important. Begin by gently tapping the bat against a solid surface to ensure no weak points or loose connections. Next, test the grip by simulating a swinging motion to confirm it feels secure and comfortable in your hands. Try hitting a few balls in a safe, controlled environment to assess the bat’s performance. Note any areas that may need adjustments, such as reshaping or additional sanding. Once you’re satisfied with the bat’s functionality, it’s ready to be used with confidence!
Step 6: Maintenance and Care

Regular maintenance is essential to ensure your bat’s longevity and performance. After each use, inspect the bat for any signs of wear or damage, such as cracks or splinters, and address them promptly. Clean the bat with a dry cloth to remove dirt or debris, and store it in a cool, dry place to prevent warping. If your bat has a wooden grip, periodically reapply the finish or sealant to maintain its durability. Proper upkeep will keep your bat in top condition and ready for action whenever you need it.
Step 7: Customization and Personalization
Adding personal touches to your bat can make it uniquely yours and enjoyable to use. Consider customizing the bat’s appearance by applying paint, decals, or engraving your name or logo. Be sure to use materials that won’t compromise the bat’s integrity or performance. Additionally, you can experiment with different grip wraps to enhance comfort and improve control. Personalization not only makes your bat stand out but also creates a deeper connection to your equipment, giving you added confidence every time you use it.
Step 8: Regular Practice and Evaluation
To maximize your bat’s performance, incorporate regular practice sessions into your routine. Consistent use will help you become familiar with the bat’s weight, balance, and handling, allowing you to improve your skills and techniques. During these sessions, evaluate your bat’s performance and check for any signs of wear that may require maintenance or replacement. Regular practice hones your abilities and ensures that your bat remains an effective tool in achieving your goals.
By following these steps, you can create a functional and personalized pottery bat that meets your specific needs.
5 Things You Should Avoid
- Using Low-Quality Materials: Avoid using materials that are not durable or suitable for handling clay, such as thin or weak wood, as they may break or warp during use.
- Neglecting Proper Measurements: Skipping accurate measurements can result in a bat that doesn’t fit your pottery wheel correctly, leading to uneven functionality.
- Overlooking Safety Precautions: Ensure you use tools carefully and wear proper safety equipment to avoid injuries during construction.
- Skipping Sanding and Finishing: Not sanding or finishing the bat can leave rough surfaces, damage your clay pieces, or make it challenging to clean.
- Ignoring Moisture Resistance: Failing to seal or protect the bat against moisture could cause it to swell or deteriorate over time, reducing its longevity.
By avoiding these mistakes, you can create a durable and practical bat that will serve you well in your pottery projects.
Conclusion
Creating a bat for clay requires attention to detail, proper materials, and a methodical approach to ensure its functionality and durability.
By selecting high-quality, moisture-resistant materials and following precise measurements, you can craft a bat that fits your pottery wheel seamlessly. Prioritizing safety, sanding, and finishing will make the bat easier to use and extend its lifespan. With careful planning and execution, you can produce a reliable and effective tool that enhances your clay-working experience.
Hopefully, the article on how to make a bat for clay has provided you with the necessary information and tips to create your own bat. Happy crafting!
Specialization:
- Master of wheel-throwing, hand-building, and advanced glazing techniques
- Focus on creating both functional pottery and decorative art pieces
Recognition:
- Celebrated by collectors and art enthusiasts for creating one-of-a-kind pieces that blend artistry with functionality
- Participates in local and national exhibitions, earning accolades for his innovative designs and craftsmanship
Passion:
- Deeply committed to exploring and pushing the boundaries of ceramic artistry
- Continuously experiments with new materials, firing techniques, and artistic concepts to evolve his craft
Personal Philosophy:
- Believes in the transformative power of art, aiming to evoke emotions and connections through his ceramic creations
- Advocates for sustainability in ceramics, using eco-friendly materials and practices whenever possible