


Are you tired of throwing away your favorite ceramic plates because of a small chip or crack? Don’t worry, you can quickly fix it at home with simple steps.
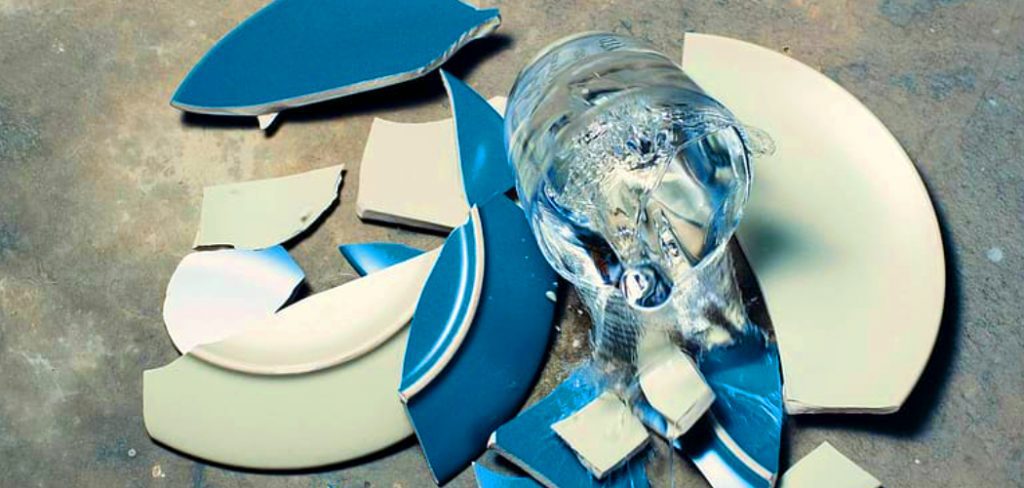
Accidents happen, and a cherished ceramic plate can quickly be chipped, cracked, or even shattered. However, instead of discarding it, you can often repair it with the right tools and techniques, giving it a new lease on life. Fixing a ceramic plate saves money and allows you to preserve sentimental or aesthetic value items.
This guide on how to fix ceramic plate will walk you through the steps to restore your ceramic plate, making it functional and beautiful once again. With a little patience and effort, you can achieve impressive results.
What are the Causes of Damage to Ceramic Plates?
Before we dive into the steps to fix a ceramic plate, it is essential to understand the common causes of damage. This will help you prevent future accidents and keep your plates in good condition for longer.
Some of the main reasons for damage to ceramic plates include:
- Dropping: Accidentally dropping a ceramic plate can cause cracks or chips on its surface.
- High Temperatures: Extreme heat, such as placing a hot plate directly on a cold surface, can cause thermal shock and lead to cracks or breakage.
- Incorrect Handling: Improper handling of plates, such as stacking them on top of each other without protective barriers, can result in scratches or chips.
- Natural Wear and Tear: Over time, frequent use of plates can lead to minor scratches or chips on the surface.
Keeping these causes in mind can help you take precautions to prevent further damage to your ceramic plates.
What Will You Need?
To repair a ceramic plate, you will need the following tools and materials:
- Epoxy Adhesive: This is a strong glue that can bond different materials, including ceramics.
- Fine-grit Sandpaper: This is used to smooth out any rough edges on the surface of the plate.
- Cotton Swabs: These are useful for applying epoxy adhesive in small areas.
- Rubbing Alcohol: This helps clean and prepare the surface of the plate for bonding.
- Protective Gloves: It’s always a good idea to wear protective gloves when handling chemicals or sharp objects.
Once you have these items, you are ready to begin fixing your ceramic plate.
8 Easy Steps on How to Fix Ceramic Plate
Step 1: Clean the Plate
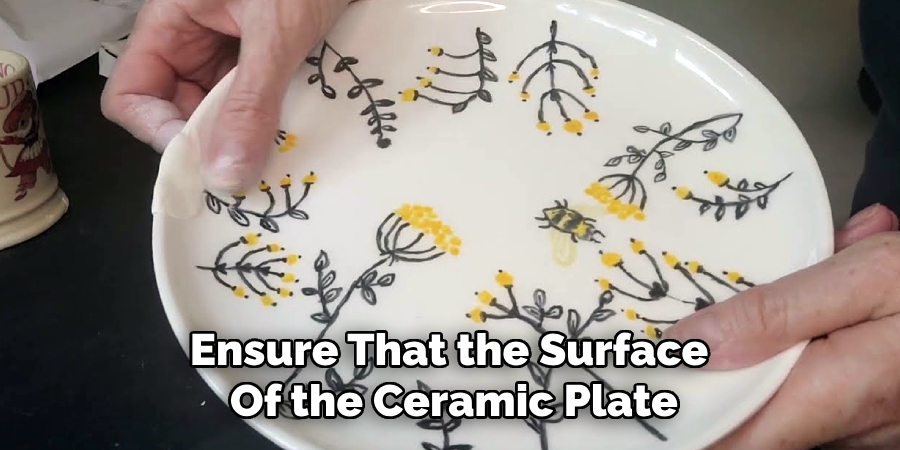
Before starting the repair process, it’s crucial to ensure that the surface of the ceramic plate is clean and free from debris. Use warm, soapy water to gently wash the plate, focusing on the area where the break or crack is located. You can use a soft sponge to scrub gently if there are stubborn residues. After washing, rinse the plate thoroughly with clean water to remove any soap. Next, allow the plate to air dry completely or use a clean, lint-free cloth to dry it. Finally, wipe the damaged area with a cotton swab dipped in rubbing alcohol to remove any remaining oils or dirt, ensuring a smooth and effective bond when applying the epoxy adhesive.
Step 2: Align the Broken Pieces
Carefully align the broken pieces of the ceramic plate to ensure they fit together perfectly. Take your time to inspect the edges of the break for any small chips or irregularities that could prevent a snug fit. If necessary, gently sand the edges with fine-grit sandpaper to smooth them out. Once the pieces align seamlessly, you can proceed to the next step, ensuring the repair will be neat and sturdy.
Step 3: Apply the Epoxy Adhesive
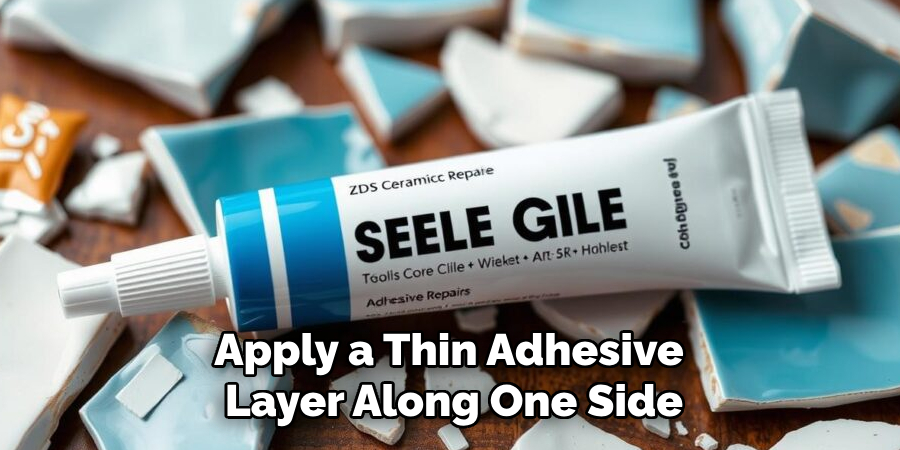
Mix the epoxy adhesive according to the instructions on its packaging, ensuring an even blend for maximum strength. Using a toothpick or a small applicator, carefully apply a thin adhesive layer along one side of the broken edge. Avoid applying too much adhesive, as it may ooze out when the pieces are joined. Gently press the two pieces together, ensuring they are perfectly aligned, and hold them in place for the recommended amount of time specified by the adhesive manufacturer. Use a clean cloth or cotton swab to wipe away any excess adhesive before it sets, creating a clean and polished look.
Step 4: Secure and Let It Cure
To ensure a strong bond, secure the joined pieces with clamps, tape, or elastic bands, depending on the size and shape of the object. This will help keep the pieces perfectly aligned and prevent movement during curing. Place the object in a safe, undisturbed area and allow the adhesive to cure for the full duration recommended by the manufacturer. Avoid applying pressure or stress to the repair during this time, as it could weaken the bond. Patience is key to achieving a durable and long-lasting fix.
Step 5: Add Additional Layers
For repairs requiring extra reinforcement, consider adding additional adhesive layers after the initial layer has cured. This can enhance the strength and durability of the bond, particularly for objects subjected to regular stress or heavy loads. Before adding a new layer, ensure the previous one is fully cured, clean, and intact. Lightly sanding the surface can improve adhesion between layers. Apply the new adhesive layer evenly and carefully, avoiding excess that might create an uneven finish. Repeat this process as needed, but always allow enough curing time between each layer. By building up layers systematically, you can make a resilient and reliable repair.
Step 6: Sand and Smooth Out the Surface
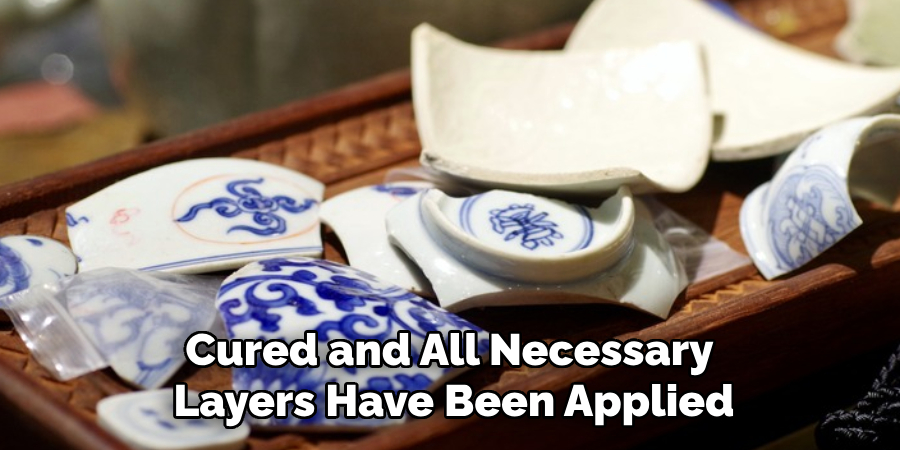
Once the adhesive has fully cured and all necessary layers have been applied, it’s time to sand and smooth out the surface to finalize the repair. Begin by selecting an appropriate grit of sandpaper, starting with a coarser grit (e.g., 120-180) to remove excess adhesive or uneven areas. Sand gently using circular or straight motions, depending on the object’s shape, to ensure an even finish. Gradually move to finer grit sandpaper (e.g., 220-320) to refine the surface and achieve a smooth texture.
If the repaired area is part of a painted or coated surface, avoid over-sanding and damaging the surrounding material. Use a light touch around the edges to blend the repaired region seamlessly. Once sanding is complete, wipe down the surface with a clean, damp cloth to remove any dust or debris.
Step 7: Clean and Rinse Again
After sanding, it is crucial to thoroughly clean the repaired area to ensure it is free of any residue that may compromise its appearance or functionality. Start using a clean, dry cloth to wipe away loose dust and particles left from the sanding process. Next, dampen a soft cloth or sponge with water and gently wipe the surface to pick up finer debris. You may use a mild soap solution for particularly stubborn remnants, but be sure to rinse the area well afterward with clean water to avoid leaving any soapy residue.
Step 8: Apply Final Coating or Finish
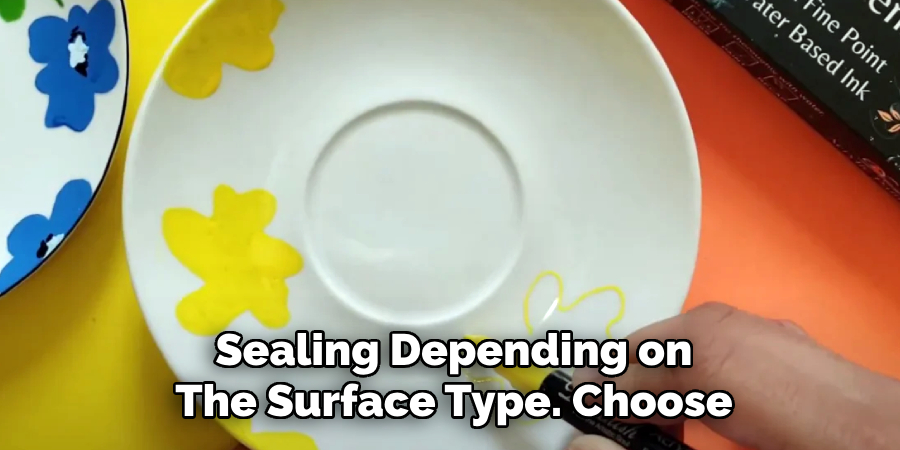
Once the repaired area is thoroughly cleaned and dry, it’s time to apply the final coating or finish. This may involve painting, staining, or sealing depending on the surface type. Choose a high-quality product that matches the original color and texture if using paint. The manufacturer recommends that the coating be applied in thin, even layers, allowing sufficient drying time between coats. Use a fine brush or roller for precision and avoid too much product overload. This final step not only restores the appearance of the surface but also provides long-term protection against wear and environmental factors.
By following these steps carefully, you can repair a broken ceramic plate to look almost as good as new.
5 Things You Should Avoid
- Using Super Glue Designed for Non-Porous Surfaces: Super glue might seem like a quick fix, but it’s not always the right choice for repairing ceramic plates. Most ceramics are porous, and using a product designed for non-porous materials may result in an ineffective bond.
- Skipping Proper Surface Cleaning: Fixing a ceramic plate without cleaning the broken edges first can lead to weak adhesion. Always ensure the surfaces are free of dust, grease, or residue before applying adhesive.
- Overusing Adhesive: Applying too much adhesive can cause it to seep out from the cracks, leading to messy results and weak bonds. Use a minimal, even amount to achieve a clean and substantial repair.
- Ignoring Drying Times: Patience is essential when fixing a ceramic plate. Rushing the process or handling the piece before the adhesive has fully set up can compromise the repair and may result in frustration.
- Not Considering Food-Safe Products: Using a non-food-safe adhesive can pose health risks if the ceramic plate is intended for food use. Always check for adhesives labeled as food-safe and heat-resistant to ensure safety and durability.
Conclusion
How to fix ceramic plate can be a straightforward yet delicate process if proper steps are followed.
You can restore your ceramic plate effectively by ensuring surfaces are cleaned thoroughly, applying the right amount of adhesive, and patiently allowing sufficient drying time. It’s also crucial to use strong and food-safe adhesives if the repaired plate will be used for dining.
By avoiding common mistakes and taking a careful, methodical approach, you can extend the life of your ceramic plate and maintain its functionality and beauty.
Specialization:
- Master of wheel-throwing, hand-building, and advanced glazing techniques
- Focus on creating both functional pottery and decorative art pieces
Recognition:
- Celebrated by collectors and art enthusiasts for creating one-of-a-kind pieces that blend artistry with functionality
- Participates in local and national exhibitions, earning accolades for his innovative designs and craftsmanship
Passion:
- Deeply committed to exploring and pushing the boundaries of ceramic artistry
- Continuously experiments with new materials, firing techniques, and artistic concepts to evolve his craft
Personal Philosophy:
- Believes in the transformative power of art, aiming to evoke emotions and connections through his ceramic creations
- Advocates for sustainability in ceramics, using eco-friendly materials and practices whenever possible