


Ceramic bells are beautiful and functional decorative pieces that can add a unique charm to your home or garden. Crafting ceramic bells allows you to explore your creativity while learning the art of pottery.
This guide on how to make ceramic bells will walk you through the steps of creating your own ceramic bells, from shaping the clay to firing and decorating your finished pieces. Whether you’re a beginner or an experienced ceramic artist, making ceramic bells is a rewarding and enjoyable experience.
Benefits of Making Ceramic Bells
Creating ceramic bells offers numerous benefits beyond the beauty of the finished product. Firstly, it provides a therapeutic and stress-relieving experience as working with clay encourages mindfulness and relaxation. It also allows you to express your artistic vision by experimenting with different shapes, textures, and glazes. Additionally, ceramic bells make meaningful, handcrafted gifts that carry a personal touch.
The process helps improve your pottery skills, which can be applied to future projects, fostering a sense of accomplishment. Lastly, ceramic bells can enhance any space with their unique designs and soothing sounds, blending art and functionality seamlessly.
Needed Materials
Clay:
Different types of clay can be used to make ceramic bells, such as earthenware or stoneware clay. Each type has varying plasticity and firing temperatures, so it’s essential to choose the right clay for your project.
Pottery Tools:
To shape and decorate your ceramic bells, you will need various pottery tools such as a wheel, wooden or metal rib, wire cutter, trimming tool, and a sponge.
Glazes:
Glazes are used to give color and shine to your finished ceramic bells. They come in liquid form and can be applied by dipping, brushing, or spraying. You can choose from a wide range of glaze colors to create unique designs.
Kiln:
A kiln is essential for firing your ceramic bells at high temperatures to achieve durability and strength. If you don’t have access to a kiln, you can use a pottery kiln at a local studio or community center.
8 Step-by-step Guides on How to Make Ceramic Bells
Step 1: Preparing the Clay
The first step in making ceramic bells is preparing the clay. Start by kneading the clay to remove any air bubbles and ensure a smooth, uniform consistency. This process, known as wedging, is crucial to prevent imperfections or cracks during the firing stage.

Use a clean, flat surface for wedging, and apply consistent pressure with your hands, folding and pressing the clay repeatedly. Once the clay is properly wedged, divide it into manageable pieces based on the size of the bells you plan to create. Proper preparation of the clay lays the foundation for a successful and durable ceramic project.
Step 2: Shaping the Bell
To shape your ceramic bell, you can either use a pottery wheel or hand-build it. If using a pottery wheel, center the clay on the wheelhead and begin shaping it by applying pressure with your hands while slowly rotating the wheel. This process requires practice to get the desired shape. Alternatively, you can hand-build your bells by coiling or slab-building techniques. You can also use molds to create uniform shapes quickly.
The size and shape of your bell are entirely up to you, so feel free to experiment with different designs.
Step 3: Adding a Clapper
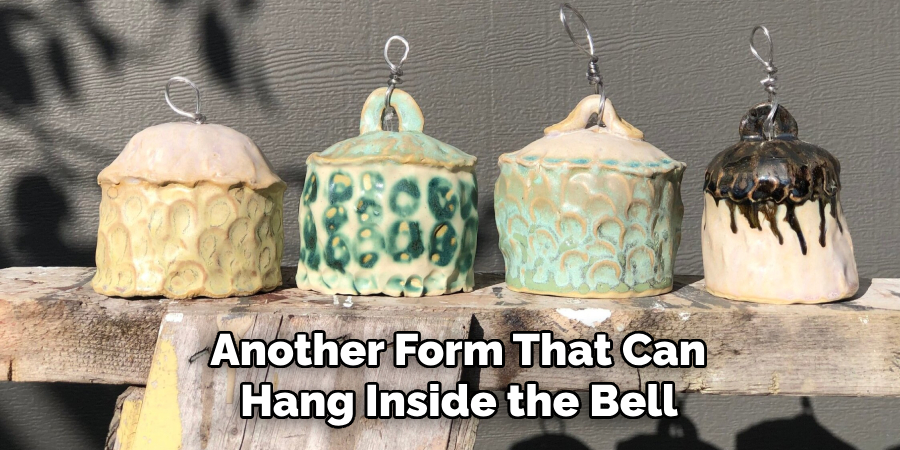
Once the bell’s shape is complete, the next step is to add a clapper to create the bell’s sound. First, shape a small piece of clay into a ball, a cone, or another form that can hang inside the bell and strike its inner surface when moved. Ensure the clapper is proportionate to the size of the bell for optimal functionality and sound.
Before attaching the clapper, create a small hole at the center of the top of the bell using a needle tool or skewer. Then, prepare a thin clay strip or cord to serve as the clapper’s support. Thread the strip or cord through the hole, ensuring the clapper hangs freely inside the bell without touching the sides at rest. If you want, you can add decorative elements to the clapper or use a small metal hook after firing for added durability. Allow the clay parts to dry together and maintain the connection’s stability during the drying process.
Step 4: Drying the Bell
After shaping your bell and adding a clapper, allow it to dry slowly and evenly. This process typically takes a couple of days depending on the size of your project. To ensure even drying, cover loosely with plastic or place in a damp room. Avoid direct sunlight as it may cause uneven drying and cracking.
The bell should be firm to the touch but not completely dry before moving on to the next step.
Step 5: Trimming and Finishing
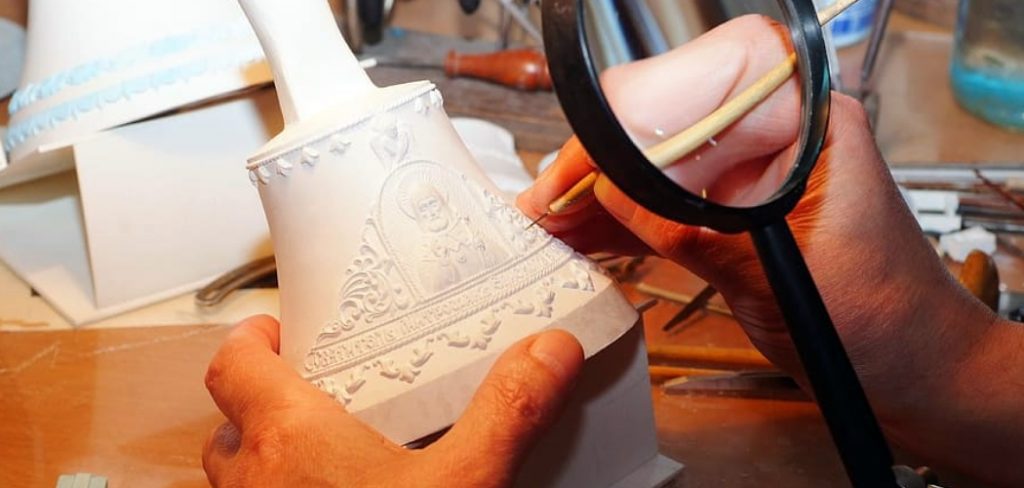
Once your bell is dry, you can trim and finish any rough edges or imperfections using pottery tools such as a rib or trimming tool. You can also add texture, patterns, or designs at this stage by carving, stamping, or painting on the surface of the bell.

If using underglazes or glazes, this is the time to apply them before firing. Allow the bell to dry completely after applying any decoration.
Step 6: Firing
The next step is firing your ceramic bells in a kiln. The firing process involves heating the clay at high temperatures to achieve durability and strength. Follow the instructions for your specific type of clay and glaze for the appropriate temperature and duration.
Ensure you have proper ventilation when operating a kiln, as it can produce harmful fumes. If using a community studio or center, seek guidance from an experienced potter on how to use their equipment safely and effectively.
Step 7: Glazing
After your bells have been fired and cooled, you can glaze them to add color and shine. Use a brush, dip, or spray method depending on the type of glaze and desired effect. Several layers may be needed to achieve the desired color intensity, so follow the instructions for drying time between coats.
Once glazed, fire your bells again at a lower temperature according to your specific glaze’s instructions.
Step 8: Adding Finishing Touches
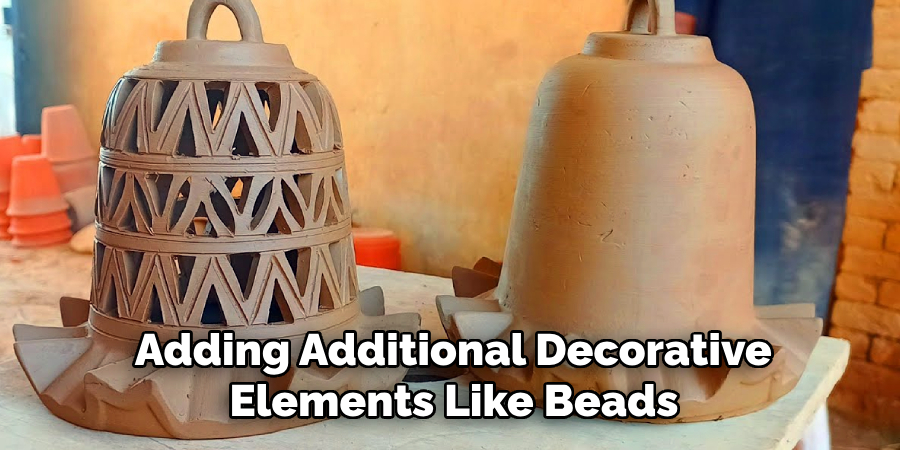
After firing and cooling, you can add any final touches to your ceramic bells such as attaching a cord or ribbon for hanging or adding additional decorative elements like beads or charms. Your handcrafted ceramic bell is now complete and ready to enhance any space with its unique beauty and sound.
Following these steps on how to make ceramic bells will help you create beautiful, functional ceramic bells that can be used as ornaments, decorations, or even musical instruments. Remember to have fun, experiment with different techniques and designs, and enjoy the process of creating your very own ceramic bells. Happy crafting!
Frequently Asked Questions
Q: Can I Use Air-dry Clay to Make Ceramic Bells?
A: No, air-dry clay is not suitable for creating functional ceramics like bells that require high firing temperatures. Use a type of clay specifically designed for pottery and fired in a kiln.
Q: Can I Use a Regular Oven to Fire My Bells?
A: No, regular household ovens do not reach the high temperatures needed for firing ceramic clay. You must use a kiln for this process.
Q: How Do I Prevent My Bell from Cracking During Firing?
A: Properly wedging your clay before shaping and drying it slowly and evenly can help prevent cracking during firing. Also, ensure your kiln is properly heated and follow the specific instructions for firing your type of clay. Experimenting with different techniques and designs can also help you find what works best for preventing cracks in your ceramic bells.
Q: Can I Use Different Types of Glazes?
A: Yes, you can use various types and colors of glazes to achieve different effects on your bells. Experiment with different techniques such as layering or mixing glazes to create unique finishes.
Q: How Do I Hang My Ceramic Bell?
A: You can attach a cord, ribbon, or wire loop to the top of your bell before firing, or drill a small hole after firing and add a metal hook for hanging. Just make sure the attachment is strong enough to support the weight of the bell.
Q: Are There Any Safety Precautions I Should Take When Working With Clay and Kilns?
A: Yes, it is essential to follow safety guidelines when working with clay and kilns. This includes wearing protective gear, properly ventilating the workspace, and following instructions for operating the kiln safely. Seek guidance from an experienced potter or ceramic studio if you are unsure about any aspect of creating your ceramic bells.
Conclusion
Making ceramic bells is a fun and rewarding project that allows for creativity and personal expression through various techniques and designs. With the right materials, tools, and step-by-step guidance on how to make ceramic bells, you can create beautiful, functional bells to gift or display in your home.
Keep experimenting and honing your skills to continue making stunning ceramic pieces that bring joy to yourself and others.
Specialization:
- Master of wheel-throwing, hand-building, and advanced glazing techniques
- Focus on creating both functional pottery and decorative art pieces
Recognition:
- Celebrated by collectors and art enthusiasts for creating one-of-a-kind pieces that blend artistry with functionality
- Participates in local and national exhibitions, earning accolades for his innovative designs and craftsmanship
Passion:
- Deeply committed to exploring and pushing the boundaries of ceramic artistry
- Continuously experiments with new materials, firing techniques, and artistic concepts to evolve his craft
Personal Philosophy:
- Believes in the transformative power of art, aiming to evoke emotions and connections through his ceramic creations
- Advocates for sustainability in ceramics, using eco-friendly materials and practices whenever possible