


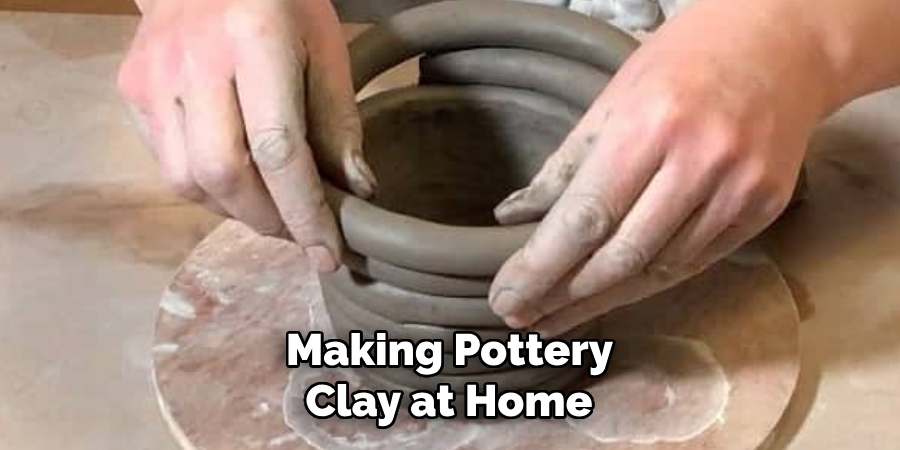
Making pottery clay at home can be a rewarding and cost-effective way to explore your creativity. Whether you’re a beginner experimenting with pottery or an experienced artisan, creating your own clay allows you to customize its texture and consistency to suit your needs. The process is simple and requires only a few basic materials, making it accessible to anyone who wants to start their pottery journey.
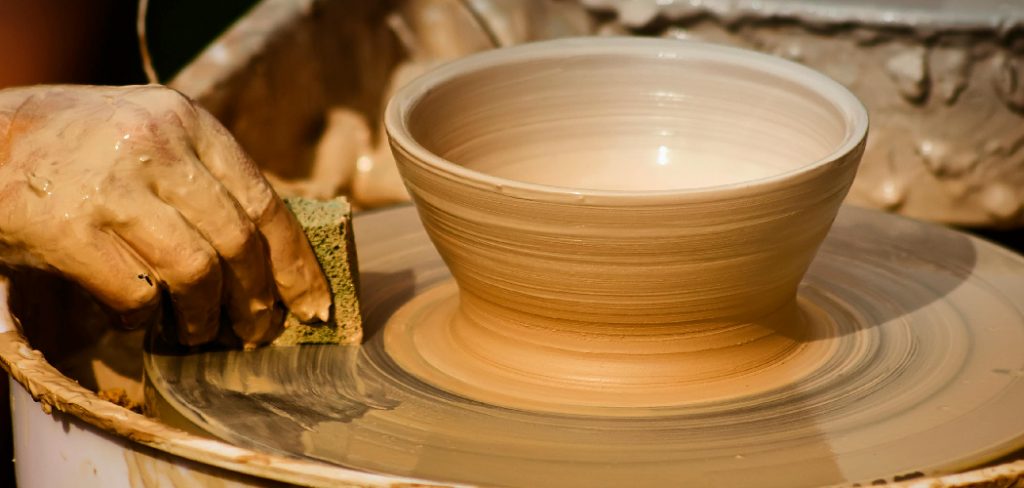
This guide on how to make pottery clay at home will walk you through the steps of making pottery clay from scratch, ensuring you have a high-quality and versatile medium to work with.
Why Make Your Own Clay?
There are several reasons why making your own clay can be beneficial for artists. Firstly, it allows you to have complete control over the ingredients and texture of your clay.
This means that you can adjust the recipe to create a clay that is perfect for your specific projects and techniques. Additionally, making your own clay can be more cost-effective in the long run compared to buying pre-made clay from art supply stores.
What You’ll Need
To make pottery clay at home, you’ll need the following materials:
Clay Powder:
This can be found at most art supply stores or online. You can choose from a variety of clay types such as earthenware, stoneware, or porcelain, depending on the final look and texture you want for your projects.
Water:
The amount of water you need will vary depending on the type of clay powder you use and the desired consistency. It’s best to start with small amounts of water and gradually add more until you reach a smooth and pliable texture.
Mixing Bowl:
A large mixing bowl is necessary to mix all the ingredients together thoroughly.
Measuring Cups:
To ensure consistency in your recipes, it’s important to measure out the ingredients accurately. 1 cup of clay powder should be equivalent to 8 ounces.
Mixing Tools:
Tools such as a wooden spoon, rubber spatula or even your hands can be used to mix the ingredients together. It’s important to have a sturdy and durable mixing tool that can handle the thick consistency of the clay mixture.
Coloring Agents:
If you want to add color to your clay, you can use liquid or powdered food coloring, acrylic paint, or even natural ingredients like spices or herbs. Just make sure to mix it in thoroughly for an evenly colored clay.
8 Simple Step-by-step Guidelines on How to Make Pottery Clay at Home
Step 1: Gather Your Ingredients
To begin making pottery clay at home, you need to gather all the necessary ingredients. These typically include dry clay, water, and any optional additives such as sand for texture or coloring agents to customize the final product.
Make sure each ingredient is clean and free from impurities to achieve the best results. Having all your materials ready and within reach will make the process much smoother and more efficient.
Step 2: Prepare the Dry Ingredients
Once you’ve gathered all your ingredients, it’s time to prepare the dry materials. Start by measuring the appropriate amount of dry clay based on the quantity of pottery clay you want to make. If you are using optional additives like sand, measure and mix them thoroughly with the dry clay to ensure even distribution.
Use a clean, dry container for mixing to prevent contamination. This step is crucial for achieving a consistent texture and quality in the finished clay.
Step 3: Mix the Dry Ingredients
Once your dry materials are measured, it’s time to combine them thoroughly. Pour the dry clay and any additives, such as sand or grog, into a large mixing container. Use a sturdy mixing tool or your hands to blend the materials together until they are evenly distributed.
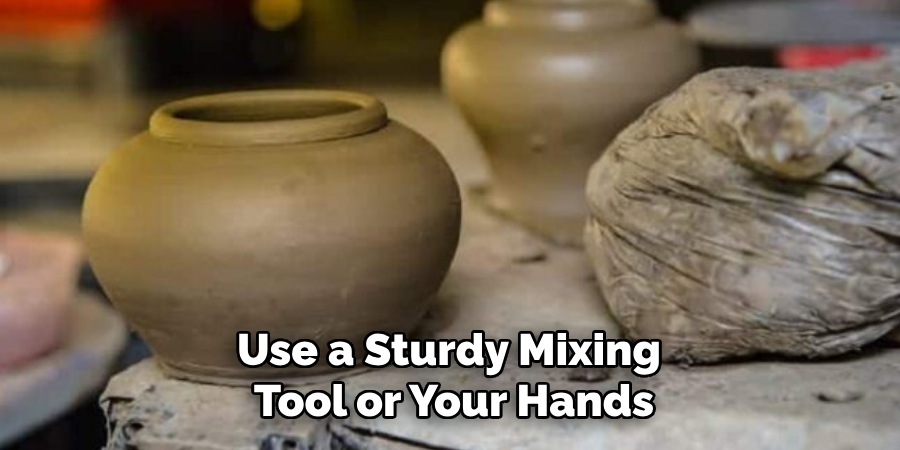
Take your time during this step, as proper mixing is key to preventing inconsistencies in the final clay. If needed, sift the mixture to break up clumps and ensure a smooth, uniform texture. This careful blending will lay the foundation for high-quality pottery clay.
Step 4: Add Water Gradually
Once the dry ingredients are thoroughly combined, begin adding water to the mixture slowly. Use a spray bottle or pour a small amount at a time, ensuring you maintain control over the amount added. Mix the water into the dry ingredients thoroughly after each addition to hydrate the clay. Avoid adding too much water at once, as this can lead to a slurry consistency that is difficult to correct.
Continue this gradual process until the clay reaches the desired workable texture—moist but not sticky. Patience at this stage will ensure a smooth and pliable clay that is ideal for shaping and forming.
Step 5: Knead the Clay
Once the clay has reached the desired consistency, transfer it to a clean, flat workspace. Begin kneading the clay by pressing it with the palms of your hands and folding it over onto itself. This process helps eliminate air bubbles and ensures an even distribution of moisture throughout the clay.
Continue kneading for at least 5-10 minutes until the clay feels uniform and smooth. Proper kneading is essential for improving the clay’s elasticity and making it easier to work with during shaping and sculpting.
Step 6: Test the Clay’s Consistency
To ensure the clay is ready for use, perform a consistency test. Take a small portion of the clay and roll it into a coil or ball. Observe its texture and elasticity. The clay should feel smooth, pliable, and free of cracks; it should also hold its shape without crumbling or sticking excessively to your hands. If the clay is too dry, add a small amount of water and knead it thoroughly.
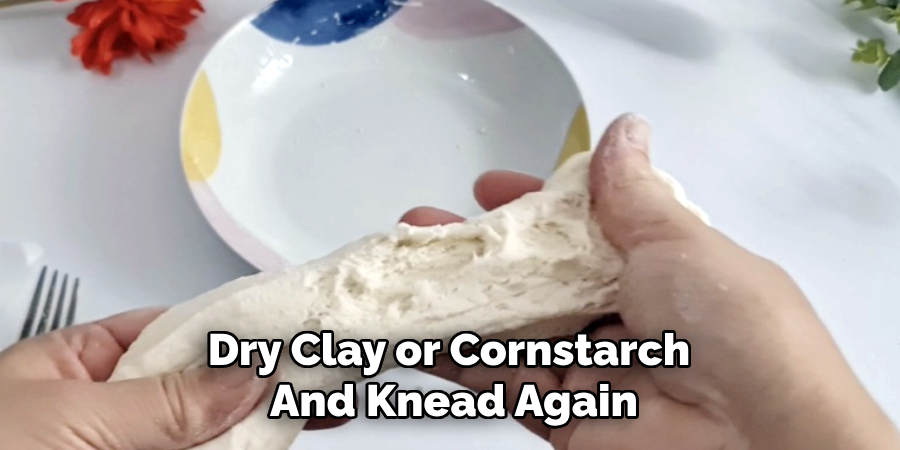
If it is too sticky, sprinkle a bit of dry clay or cornstarch and knead again. Testing the consistency at this stage helps avoid issues during the shaping or sculpting process.
Step 7: Let the Clay Rest
Once the clay has been kneaded and adjusted to the desired consistency, it is essential to allow it to rest. Cover the clay with a damp cloth or place it in an airtight container to prevent it from drying out. Letting the clay rest for at least 15–30 minutes helps it stabilize, ensuring an even texture and workability.
This resting period allows moisture to distribute evenly throughout the clay, making it easier to shape and reducing the chances of cracking or uneven drying during sculpting.
Step 8: Store the Clay
Proper storage is crucial to maintaining the longevity and usability of your clay. Once your project is complete or if you have unused clay, store it in an airtight plastic bag or container. For added protection, wrap the clay in plastic wrap before placing it in the container to prevent any air exposure.
Keep the clay in a cool and dry place, away from direct sunlight or heat sources, as these can dry it out prematurely. Regularly check the moisture level of the clay, and if it starts to feel slightly dry, you can add a small amount of water and knead it to restore its pliability.
Following these steps on how to make pottery clay at home will help ensure that your clay remains usable for a longer period of time, allowing you to create more projects and explore your creativity without worrying about wasted materials.
Frequently Asked Questions
Q1: Can I Add Color to My Homemade Pottery Clay?
A: Yes, you can add color to your clay by incorporating pigments or dyes into the mixture before it fully dries. It is important to make sure the color is evenly distributed throughout the clay and that you add enough pigment or dye to achieve your desired color intensity.
Q2: How Do I Store My Homemade Pottery Clay?
A: To store your homemade pottery clay, wrap it tightly in plastic wrap or seal it in an airtight container. Make sure there are no air pockets to prevent the clay from drying out. You can also mist the clay with water before sealing it to keep it hydrated. Properly stored, homemade pottery clay can last for several weeks.
Q3: What Can I Do If My Clay Becomes Too Dry?
A: If your clay becomes too dry while you are working on a project, you can try adding a small amount of water and kneading it back into the clay. If the clay has completely dried out and become unusable, you can break it up and add it to a new batch of fresh clay to rehydrate it. Alternatively, you can also use a spray bottle filled with water to mist the dry clay while working with it to keep it hydrated.
Remember to always store your clay properly when not in use to avoid it drying out. Adding evaporated milk or glycerin can also help prevent your homemade pottery clay from becoming too dry and cracking. Experiment with different methods to find what works best for your specific type of clay.
Conclusion
Working with clay can be a deeply rewarding and therapeutic process, but proper care and maintenance are essential to ensure the quality of the material. By following simple practices such as rehydrating dry clay, using additives like glycerin, and storing it correctly, you can extend its usability and create beautiful pieces without frustration.
Experimentation and attention to your clay’s needs will ultimately enhance your pottery-making experience and help you achieve the best results. Thanks for reading this article on how to make pottery clay at home.
Specialization:
- Master of wheel-throwing, hand-building, and advanced glazing techniques
- Focus on creating both functional pottery and decorative art pieces
Recognition:
- Celebrated by collectors and art enthusiasts for creating one-of-a-kind pieces that blend artistry with functionality
- Participates in local and national exhibitions, earning accolades for his innovative designs and craftsmanship
Passion:
- Deeply committed to exploring and pushing the boundaries of ceramic artistry
- Continuously experiments with new materials, firing techniques, and artistic concepts to evolve his craft
Personal Philosophy:
- Believes in the transformative power of art, aiming to evoke emotions and connections through his ceramic creations
- Advocates for sustainability in ceramics, using eco-friendly materials and practices whenever possible