


Creating ceramic letters is a fun and creative way to personalize your home décor, gifts, or craft projects. Whether you’re a seasoned ceramic artist or a beginner looking to explore a new hobby, making ceramic letters allows you to combine artistic expression with functional design.
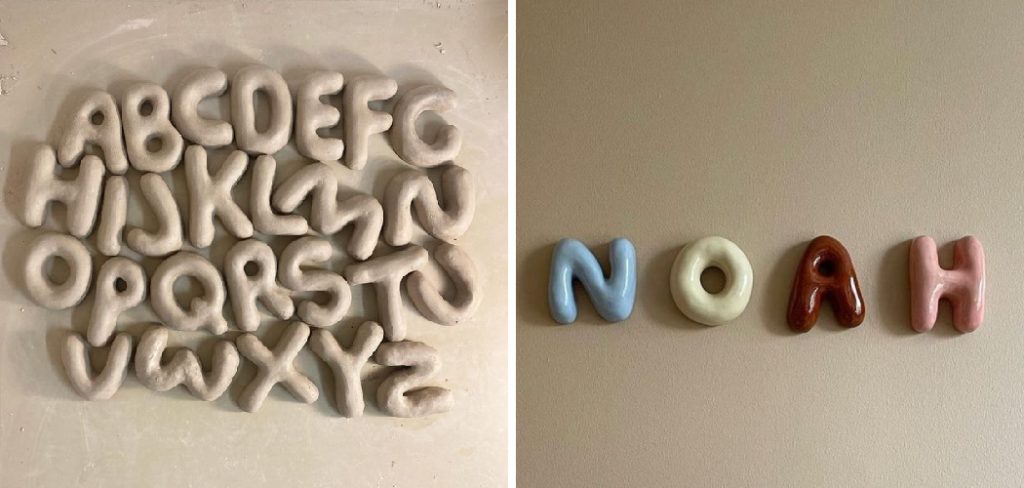
This guide on how to make ceramic letters will walk you through the process step by step, offering tips and techniques to help you shape, glaze, and perfect your ceramic creations. With a little patience and imagination, you’ll be able to craft beautiful and lasting works of art.
Why Make Ceramic Letters?
There are many reasons why people choose to make their own ceramic letters. Here are just a few:
Personalization:
By making your own ceramic letters, you can customize them with your desired design, color, and size. This allows you to add a personal touch to any space or gift. You can also create a set of letters to spell out a special message or name, making it truly one-of-a-kind.
Versatility:
Ceramic letters can be used in a variety of ways and settings. They make great decorations for your home, office, or event. You can also use them as functional items like paperweights, bookends, or even planters. Their versatility makes them an ideal choice for any project.
Creativity:
The process of making ceramic letters allows you to express your creativity and experiment with different techniques and materials. From hand-building to wheel throwing, there are endless possibilities for creating unique and original designs.
Materials Needed
Here are the materials you’ll need to make ceramic letters:
Clay:
Choose a clay that is suitable for your desired method of shaping and firing. Earthenware, stoneware, and porcelain clays are commonly used for ceramic letters. Make sure to follow the instructions for your specific clay type.
Clay tools:
You’ll need a variety of tools to shape and texture your letters. Some essential tools include a rolling pin, wire cutter, carving tools, and sponges.
Glaze:
Glaze adds color and shine to your ceramic letters. You can choose from a wide range of glazes in different colors and finishes. Make sure to use glazes that are compatible with your chosen clay type.
Kiln or oven:
To harden and finish your ceramic letters, you’ll need access to a kiln or an oven with temperature control capabilities.
8 Steps on How to Make Ceramic Letters
Step 1: Prepare Your Clay
Start by selecting the type of clay you want to work with, ensuring it suits your project and firing method. Once you have your clay, knead it thoroughly to remove air bubbles and create a uniform consistency. This process, known as wedging, is crucial to prevent cracking or uneven textures during shaping and firing.
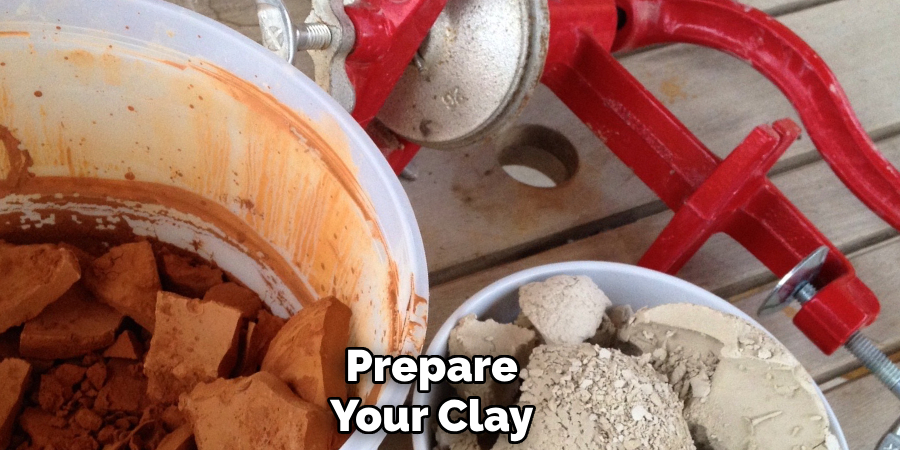
Use a clean, flat surface for kneading, and aim for a smooth, pliable clay that’s ready to shape into your desired letter forms. Keep your clay covered or damp when not in use to prevent it from drying out prematurely.
Step 2: Choose Your Shaping Method
There are various ways to shape your ceramic letters, and the method you choose will depend on your experience level and desired outcome. Some popular shaping methods include hand-building, wheel throwing, or using molds.
For beginners, hand-building is often the easiest way to start making ceramic letters. You can use basic techniques like pinching, coiling, and slab building to create simple letter shapes.
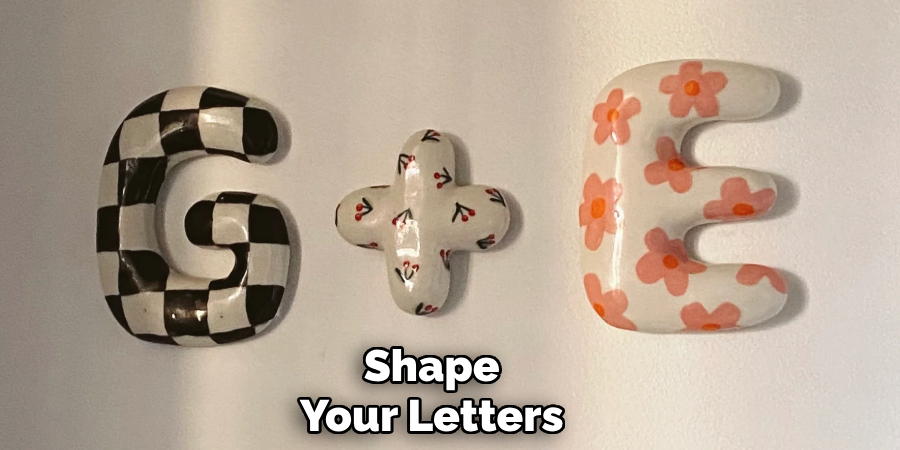
Step 3: Shape Your Letters
Once you’ve chosen your shaping method, it’s time to form your letters! Use a combination of tools and techniques to achieve smooth curves and crisp edges. Be patient and take your time to avoid mistakes that could affect the final product.
If you’re having trouble shaping your letters, try using stencils or templates as guides. You can also sketch out your design beforehand to help you visualize and plan the shaping process.
Step 4: Add Texture
Adding texture to your ceramic letters can enhance their appearance and give them a unique touch. You can use various tools like stamps, rollers, combs, or carving tools to create different textures on the surface of your letters. Experiment with different techniques to find what works best for your project.
The texture you add can also serve a functional purpose, such as providing better grip or drainage if using your letters as planters.
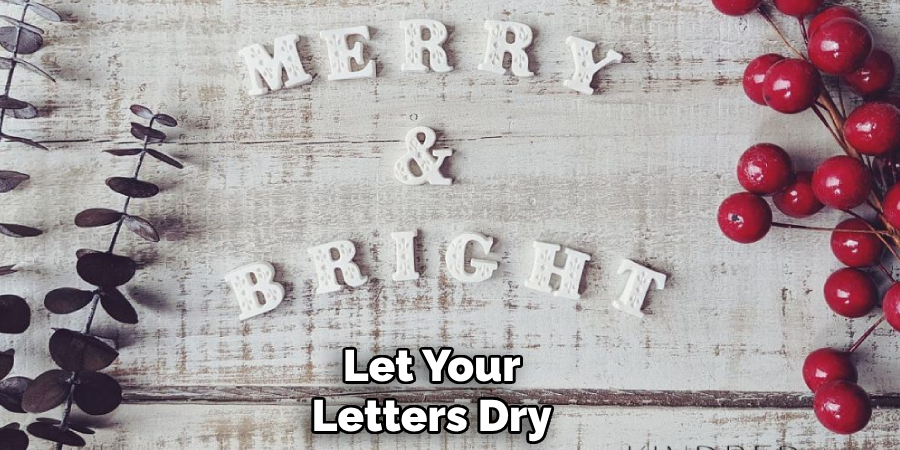
Step 5: Let Your Letters Dry
Once you have finished shaping and adding texture to your ceramic letters, it’s essential to allow them to dry properly before moving on to the next steps. Place your letters on a flat, non-stick surface like a wooden board or a piece of parchment paper. Ensure they are in a well-ventilated area with consistent temperature and low humidity to prevent cracking.
During the drying process, avoid handling the letters, as they are fragile and prone to bending or breaking. This stage, known as the “leather-hard” stage, ensures the clay becomes firm enough to handle minor adjustments, like smoothing edges with a damp sponge if necessary.
Allow the letters to dry completely until they reach a “bone-dry” state, meaning they feel completely dry to the touch and are ready for firing. This could take anywhere from 24 hours to several days depending on the size and thickness of your letters, as well as the surrounding environment. Patience in this step is crucial to achieving a successful final result.
Step 6: Fire Your Letters
Once your letters are completely dry, it’s time to fire them in a kiln or oven. Consult the instructions for your specific clay type and glaze to determine the right temperature and firing schedule. Firing temperature can range from 1800°F to 2300°F depending on the type of clay and desired finish. Be cautious during this step as pottery firing can be dangerous if not done correctly.
If using a kiln, place your letters on a kiln shelf with proper spacing between each letter to allow for air circulation. The firing process can take anywhere from several hours to a full day, so make sure you have enough time available before starting. Once the firing is complete, wait for the kiln to cool down completely before removing your letters.
Step 7: Apply Glaze (Optional)
After your letters have been fired and cooled, you can choose to apply glaze for added color and shine. Using a brush or dipping method, carefully cover your letters with glaze in thin layers to avoid any drips or clumps. Be aware that some glazes may change color during firing, so it’s essential to test them beforehand on a small piece of clay.
Once you have applied the desired number of coats, return your letters to the kiln for a second firing at a lower temperature. Follow the instructions for your specific glaze for the correct temperature and timing.
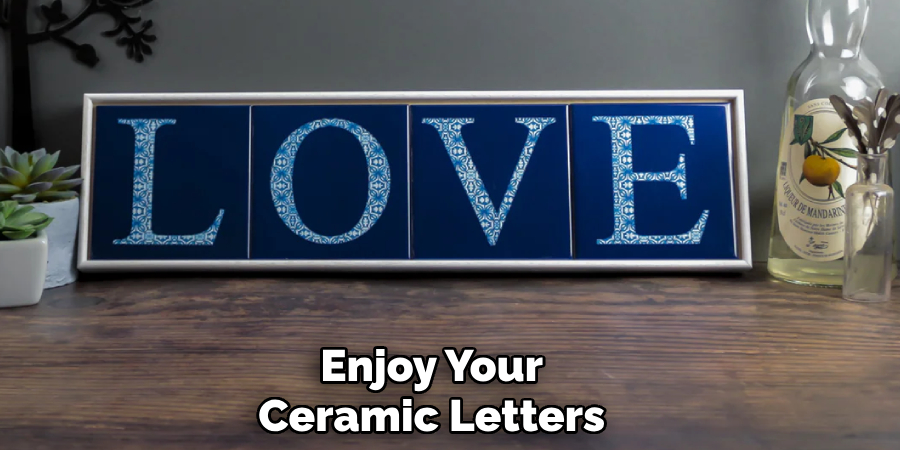
Step 8: Enjoy Your Ceramic Letters!
After your letters have been fired and cooled for the second time, they are now ready to be displayed or used in any way you like. Admire your hard work and creativity, and feel proud of achieving a beautiful set of ceramic letters from scratch! Remember to handle them with care to avoid any damage and enjoy their unique beauty for years to come.
Following these 8 steps, this guide on how to make ceramic letters will guide you through the process of making ceramic letters and give you the foundation to explore different techniques and styles as you continue on your pottery journey. So why not get started today and create your own personalized set of ceramic letters? Happy crafting!
Troubleshooting and Common Mistakes
Making ceramic letters can be a fun and rewarding experience, but it’s not without its challenges. Here are some common mistakes to watch out for and tips on how to troubleshoot them:
Cracking:
This is a common issue that can occur during the drying or firing process. It can happen due to uneven thickness, air pockets in the clay, or sudden temperature changes. To prevent cracking, make sure your clay is well-wedged before shaping and dried properly before firing. Also, try to keep the temperature and humidity consistent throughout the process. If a crack does occur, you can use slip (a mixture of clay and water) to repair it before firing.
Warping:
Warping refers to when your letters become distorted or bend during the drying or firing process. This can happen if your letters are not properly supported during drying or if there is uneven pressure applied during shaping. To prevent warping, make sure your letters are fully supported on a flat surface while drying, and take your time when shaping to avoid applying too much pressure in one area. If warping does occur, you can try reshaping the letter while it’s still wet or use a damp sponge to gently press out any bends before firing.
Glaze Malfunctions:
Sometimes, glazes may not turn out as expected. They can bubble, crack, or change color during firing. To avoid these issues, make sure to test your glaze on a small piece of clay before applying it to your letters, and follow the instructions for temperature and timing carefully. If you do encounter any issues with your glaze, consult a pottery expert or try a different type of glaze.
Conclusion
Making ceramic letters is a fun and creative process that allows you to express yourself while learning new skills. With practice and patience, you can create beautiful and personalized pieces that will add character to any space.
So don’t be afraid to get your hands dirty and start creating your own set of ceramic letters today! Thanks for reading this article on how to make ceramic letters.
Specialization:
- Master of wheel-throwing, hand-building, and advanced glazing techniques
- Focus on creating both functional pottery and decorative art pieces
Recognition:
- Celebrated by collectors and art enthusiasts for creating one-of-a-kind pieces that blend artistry with functionality
- Participates in local and national exhibitions, earning accolades for his innovative designs and craftsmanship
Passion:
- Deeply committed to exploring and pushing the boundaries of ceramic artistry
- Continuously experiments with new materials, firing techniques, and artistic concepts to evolve his craft
Personal Philosophy:
- Believes in the transformative power of art, aiming to evoke emotions and connections through his ceramic creations
- Advocates for sustainability in ceramics, using eco-friendly materials and practices whenever possible