


Creating ceramic puppets is a fascinating blend of artistry and craftsmanship that allows you to bring your imagination to life in the form of unique, movable figures.
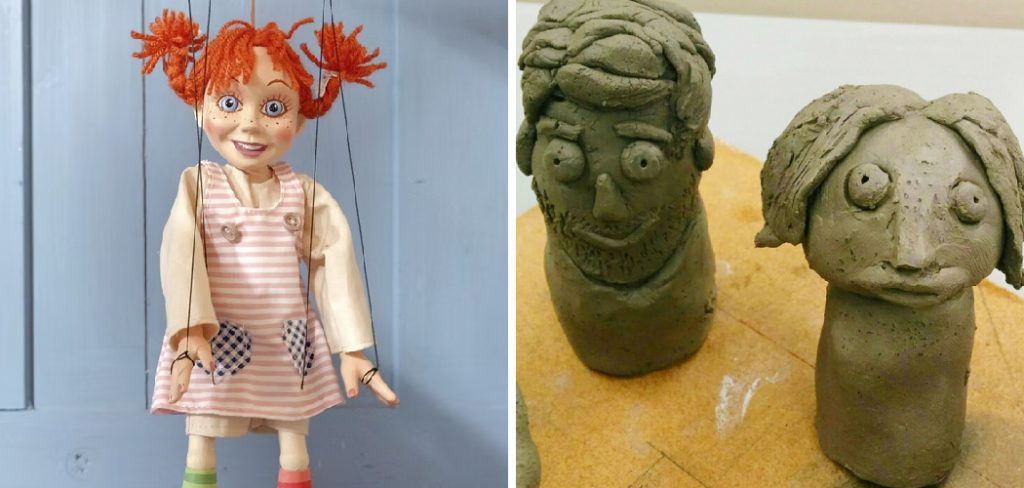
This process combines traditional ceramic techniques with creative puppet-making methods, resulting in pieces that are both visually captivating and functional. Whether you’re a seasoned artist or a curious beginner, making ceramic puppets offers the opportunity to explore new skills, express creativity, and craft personalized, one-of-a-kind characters.
This guide on how to make ceramic puppets will walk you through the essential steps and tips you need to get started on your ceramic puppet-making journey.
Why Make Ceramic Puppets?
Ceramic puppets offer a wide range of possibilities for artistic expression. Unlike traditional clay sculptures, ceramic puppets can be articulated and moved, adding an interactive element to your art piece.
They also allow you to experiment with different forms, shapes, and textures while still maintaining the functionality of a puppet. Plus, they make fantastic gifts and unique home decor pieces.
Materials Needed
To make ceramic puppets, you will need:
Clay:
Choose a suitable clay body that is workable and has good plasticity. This will make it easier to form and shape your puppet.
Armature:
An armature is a framework used to support the clay while sculpting. It can be made of various materials such as wire, foil, or even wood.
Sculpting Tools:
You’ll need tools to shape and detail the clay. A basic set should include a knife, loop tool, wire brush, and various sizes of ball styluses.
Kiln:
Ceramic puppets require firing at high temperatures in a kiln to achieve their hardened state. If you don’t have access to a kiln, consider taking classes at a local pottery studio or using air-dry clays as an alternative.
Glazes:
Glazes are used to add color and texture to the puppet’s surface. They come in a variety of finishes, including glossy, matte, and metallic.
Sealer:
A sealer is applied after glazing to protect the surface of your puppet from scratches or damage.
6 Simple Step-by-step Guides on How to Make Ceramic Puppets:
Step 1: Sketch Your Puppet Design
Before you start working with clay, it’s essential to sketch out your puppet design. This will serve as a blueprint for your project, helping you visualize the final piece and plan the proportions, features, and movable parts. Start by drawing the overall shape of your puppet, including the head, torso, limbs, and any unique details you’d like to incorporate.
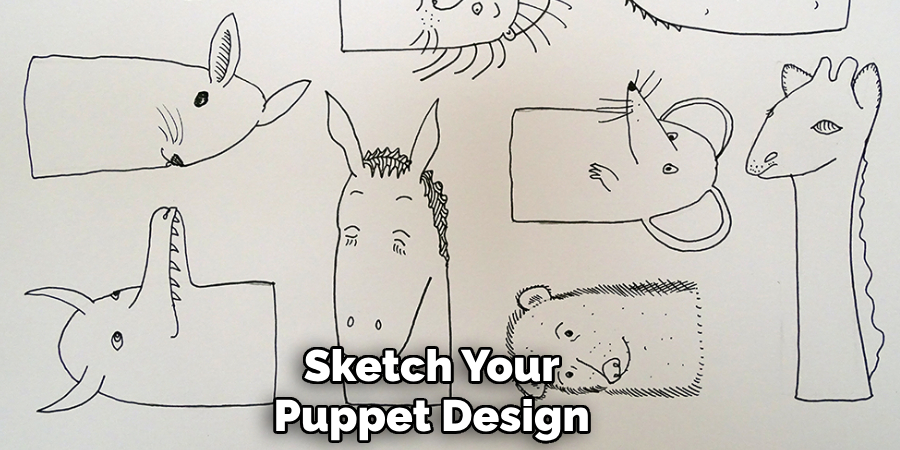
Consider how the joints will connect and how the parts will move. If you’re creating a character, think about their personality and how this can influence the design. Taking the time to create a detailed sketch will make the sculpting process smoother and more intentional.
Step 2: Create the Armature
Once you have your sketch in hand, the next step is to create the armature that will serve as the foundation for your puppet. The armature provides support and structure while you build up the clay. Start by gathering your chosen materials, such as wire, foil, or wood.
Using your design as a guide, construct the basic framework of your puppet. For example, if your puppet has movable limbs, shape wire into the outline of the arms, legs, and torso, leaving flexibility at the joints. Aluminum foil can be used to bulk up larger areas like the torso or head while keeping the structure lightweight. Secure the armature together using tape or wire, and make sure it stands on its own.
Step 3: Begin Sculpting
With your armature in place, it’s time to start sculpting! Begin by adding a layer of clay over the armature, using your hands or tools to smooth and shape it into the desired form. Keep referring back to your sketch as you work to ensure you’re staying true to your design.
As you add more layers of clay, use water or slip (clay mixed with water) to help the layers adhere together. This will also prevent cracking as the clay dries.
Step 4: Detail and Refine
Once you have your basic puppet shape, it’s time to add details and refine the features. Use your sculpting tools to create facial expressions, clothing textures, and any other decorative elements. Pay attention to proportions and symmetry to ensure your puppet looks balanced and lifelike.
You may need to let the clay dry slightly before adding intricate details to avoid collapsing or distorting the sculpture.
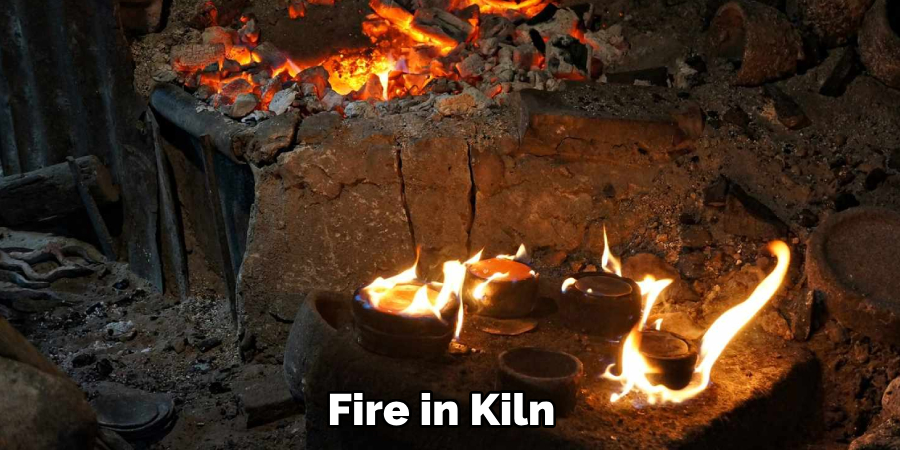
Step 5: Fire in Kiln

After completing all sculpting and detailing, allow your puppet to fully dry before firing in a kiln. Follow the recommended firing temperature and time for your chosen clay body to achieve the desired hardness.
Once fired, let the puppet cool before handling it. If any parts have become stuck during firing, carefully use tools to loosen them without damaging the sculpture.
Step 6: Glaze and Seal
Once your puppet is out of the kiln and cooled, it’s ready for glazing! Use your chosen glazes to add color and texture to your puppet’s surface. Experiment with different techniques such as layering or brushstrokes to achieve unique effects. Once glazed, fire the puppet in the kiln again according to instructions.
Finally, apply a sealer over the glaze to protect the surface and give it a finished look. You can also add other decorative elements such as beads or fabric to further personalize your puppet.
Following these simple steps on how to make ceramic puppets, you can create your very own ceramic puppet and enjoy the freedom to bring your imagination to life. So why not give it a try? Start sculpting and let your creativity soar!
Do You Need to Get Help From Professionals?
Creating ceramic puppets can be an enjoyable and rewarding DIY project, but sometimes, seeking help from professionals can be beneficial. If you’re new to working with clay or lack access to essential equipment like a kiln, professionals can provide valuable guidance and resources. Many local pottery studios and community centers offer classes or workshops that allow you to learn the basics of sculpting, glazing, and firing under expert supervision.
Additionally, professional artists or studio technicians can help troubleshoot design or structural challenges, ensuring your puppet turns out as intended. Whether you’re a beginner or looking to refine your skills, reaching out to professionals can help elevate your craftsmanship and make the creative process smoother and more enjoyable.
Troubleshooting and Common Mistakes
- Be careful not to overwork the clay, as this can cause it to become too soft and lose its shape.
- Pay attention to the thickness of the clay walls, especially in areas where joints will connect. Thin walls may break or crack when fired.
- Keep your workspace clean and free of debris that could stick to the clay or get caught in moving parts.
- When firing multiple puppets in a kiln, make sure there is enough space between them for proper air circulation.
- If using air-dry clays, follow package instructions for drying times and techniques.
- Don’t be discouraged if your first attempts don’t turn out as expected. Learning and improving takes time and practice!
Frequently Asked Questions
Q1: How Long Does It Take to Make a Ceramic Puppet?
A1: The time it takes to make a ceramic puppet can vary depending on the complexity of the design, the drying and firing times for your chosen clay body, and any additional detailing or glazing. On average, the process can take anywhere from several hours to several weeks.
Q2: Can I Make a Ceramic Puppet Without a Kiln?
A2: Yes, there are air-dry clays available that do not require firing in a kiln. However, the finished product may be more fragile and less durable compared to kiln-fired ceramics.
Q3: Can I Paint My Ceramic Puppet Instead of Using Glaze?
A3: Yes, you can use acrylic or ceramic paints to add color and details to your puppet instead of using glaze. Just be sure to seal the paint with an appropriate sealer afterward.
Q4: How Do I Care for My Ceramic Puppet?
A4: To ensure the longevity of your ceramic puppet, avoid dropping or mishandling it as this can cause breakage. Additionally, do not expose it to extreme temperatures or harsh chemicals. When cleaning, use a soft cloth and mild soap and avoid submerging the puppet in water. If necessary, lightly dust with a soft brush. Lastly, handle with care and display in a safe location to prevent any accidental damage. With proper care, your ceramic puppet can last for many years to come. Have fun creating!

Conclusion
Making ceramic puppets is an enjoyable and rewarding form of artistic expression. With the right materials and techniques, you can create unique and functional art pieces that are sure to impress.
So gather your supplies, sketch out your design, and let your hands do the sculpting! Who knows, you might just discover a new passion for ceramic puppet making. Thanks for reading this article on how to make ceramic puppets! Happy sculpting!
Specialization:
- Master of wheel-throwing, hand-building, and advanced glazing techniques
- Focus on creating both functional pottery and decorative art pieces
Recognition:
- Celebrated by collectors and art enthusiasts for creating one-of-a-kind pieces that blend artistry with functionality
- Participates in local and national exhibitions, earning accolades for his innovative designs and craftsmanship
Passion:
- Deeply committed to exploring and pushing the boundaries of ceramic artistry
- Continuously experiments with new materials, firing techniques, and artistic concepts to evolve his craft
Personal Philosophy:
- Believes in the transformative power of art, aiming to evoke emotions and connections through his ceramic creations
- Advocates for sustainability in ceramics, using eco-friendly materials and practices whenever possible