


Are you an artist or a hobbyist looking to make your ceramics? If so, then you’ve probably heard of glaze – the glossy, colorful coating that gives ceramic pieces their stunning finish.
How to make glaze for ceramics is an essential step in enhancing both the functionality and aesthetic appeal of your pottery. Glaze, a glass-like coating that fuses to the surface of the ceramic piece during firing, can provide vibrant colors, unique textures, and a waterproof finish. Whether you’re a seasoned potter or a beginner, understanding the basics of glaze composition and preparation can open up a world of creative possibilities.
This guide will walk you through the fundamental steps and tips for making your own ceramic glaze, ensuring your creations are durable and visually stunning.
What Are the Benefits of Making Your Glaze?
While there are a variety of pre-made glazes available on the market, making your own offers many benefits:
- Cost-effective: Creating your own glaze allows you to save money in the long run as you won’t need to purchase new glazes every time you want a different color or effect.
- Customization: By experimenting with different ingredients and ratios, you can create unique and personalized glazes unavailable commercially. This allows for more creative freedom and artistic expression in your ceramic pieces.
- Understanding the Process: Making your glaze helps you understand the chemistry behind it, allowing you to troubleshoot any issues that may arise during firing. It also allows you to control the composition of your glaze and adjust it according to your desired result.
What Will You Need?
Before we dive into the steps for making the glaze, let’s review the essential materials you will need:
- Raw Materials: These are the ingredients that make up your glaze. Some common examples include feldspar, kaolin, silica, and whiting.
- Water: Water is necessary for mixing and diluting the raw materials to create a glaze suspension.
- Scale: A scale is used to measure the precise amounts of each ingredient. This helps ensure consistency in your glaze recipe.
- Sieves: Sieves are used to sift out any impurities or clumps in the raw materials to create a smooth and uniform glaze mixture.
- Ball Milling Jar: A ball milling jar is a container to mix and grind the raw materials. It helps break down the particles, resulting in a smoother, more homogenous glaze mixture.
- Mortar and Pestle: This tool can be used as an alternative to the ball milling jar for grinding smaller batches of raw materials.
- Glaze Brush or Sprayer: Glazes can be applied using different methods, but having a brush or sprayer on hand will make it easier to apply the glaze evenly onto your ceramic pieces.
Once you have gathered all the necessary materials, it’s time to dive into the steps for making your own ceramic glaze.
8 Easy Steps on How to Make Glaze for Ceramics
Step 1: Choose a Recipe
The first step in creating your ceramic glaze is to select a recipe that meets your specific needs, whether that be for functional ware, decorative pieces, or a particular texture of surface like glossy, matte, or satin. Glaze recipes are typically formulated based on a ratio of silica, alumina, and fluxes, which work together to create a durable and aesthetically pleasing coating.

If you’re new to making glazes, start with a simple recipe and work toward more complex formulations as you gain experience. Many trusted ceramic resources and community forums provide tried-and-tested recipes.
Step 2: Gather Your Ingredients
Once you’ve chosen your recipe, gather all the necessary ingredients. These typically include silica (for glass-forming), alumina (for stability), and fluxes (to lower the melting point). Additional materials like oxides or stains may be required to achieve specific effects depending on the desired color or finish. Be sure to measure each ingredient accurately using a digital scale for precise results, as even small deviations can impact the outcome of the glaze.
Step 3: Mix Your Glaze
With your ingredients measured, it’s time to mix your glaze. To ensure an even distribution, begin by thoroughly combining the dry ingredients in a clean container. Next, slowly add water to the mixture while stirring continuously to avoid clumps. A kitchen whisk or an electric mixer can be helpful for achieving a smooth consistency.
Once mixed, pass the glaze through a fine mesh sieve to remove any remaining lumps or impurities. This step is crucial for creating a uniform glaze that applies smoothly to your ceramic piece.
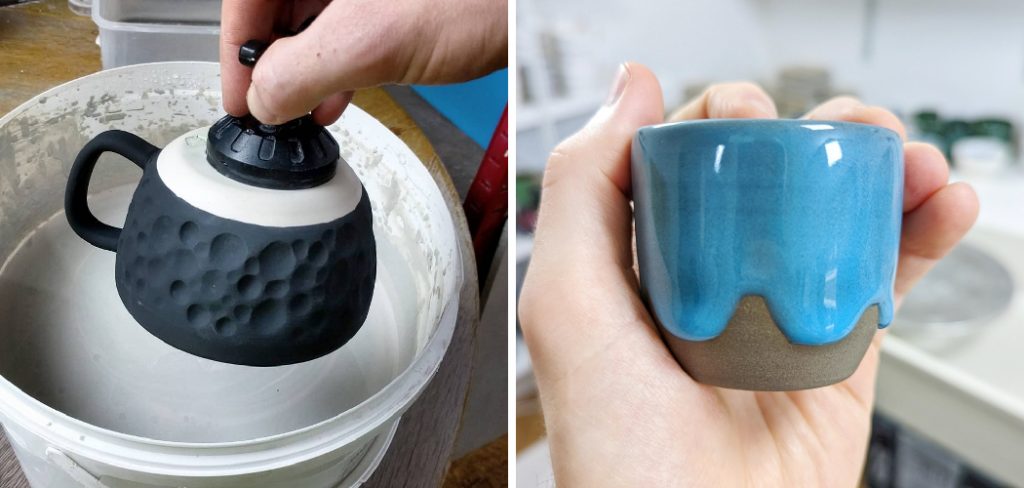
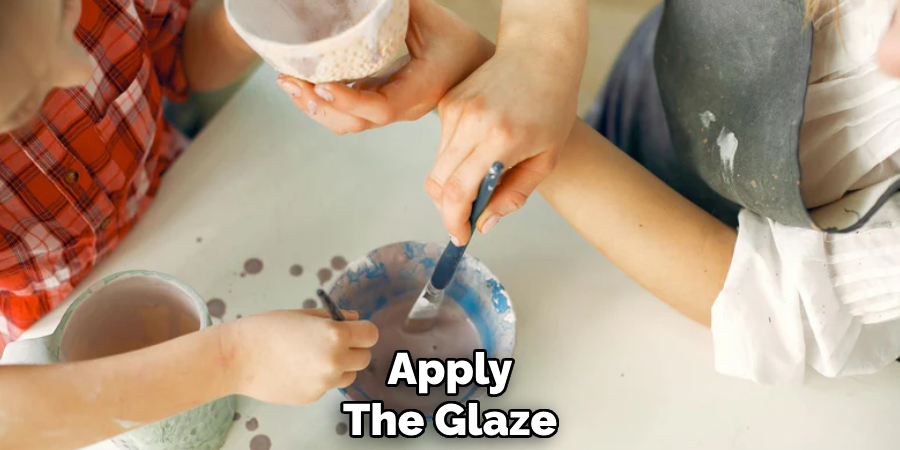
Step 4: Apply the Glaze
Now that your glaze is prepared, it’s time to apply it to your ceramic piece. Ensure your piece is clean and free of dust or grease, as contaminants can affect how the glaze adheres. There are several methods for application, including dipping, brushing, or spraying.
For dipping, submerge your piece in the glaze for a few seconds and let the excess drip off. If brushing, use a soft-bristle brush and apply even coats, letting each layer dry before adding the next. For spraying, use a spray gun to apply thin, even layers from a consistent distance. Whichever method you choose, aim for a uniform coat to achieve the best results during firing.
Step 5: Fire Your Ceramic Piece
Once the glaze has been applied and dried, the next step is to fire your ceramic piece in a kiln. This process vitrifies the glaze, transforming it into a smooth and durable finish. Carefully place your piece in the kiln, ensuring it does not touch other items to prevent sticking during firing. Follow the recommended firing temperature and schedule for your specific glaze and clay body, as these vary depending on the materials used.
Gradually heat the kiln to avoid thermal shock and allow for proper cooling before handling the finished piece. Firing is a critical step that solidifies the glaze and reveals its final color and texture.
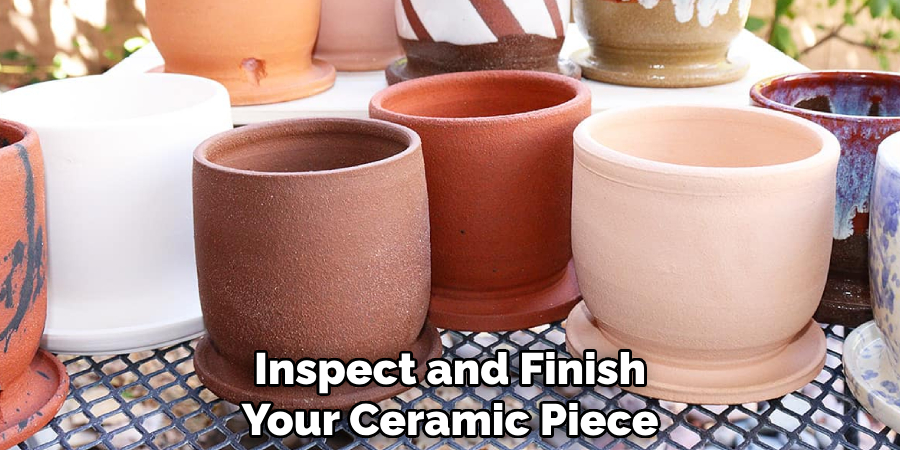
Step 6: Inspect and Finish Your Ceramic Piece
After the ceramic piece has cooled completely, carefully remove it from the kiln and inspect it for any imperfections or irregularities in the glaze. Check for cracks, uneven glazing, or bubbling, as these issues can sometimes occur during firing. If necessary, minor flaws can be addressed with additional touch-ups and refiring.
Once satisfied with the result, clean the piece using a soft cloth to remove any residual kiln dust. Your ceramic creation is now complete and ready to be displayed, used, or gifted!
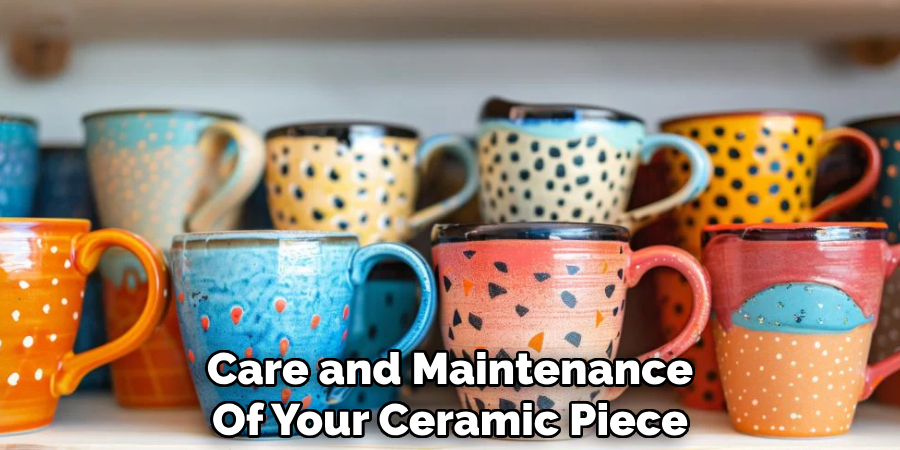
Step 7: Care and Maintenance of Your Ceramic Piece
Proper care and maintenance are essential to ensure your ceramic piece’s longevity. For functional ceramics, such as mugs, bowls, or plates, always follow the manufacturer’s dishwasher and microwave use recommendations. Handwashing with mild soap and warm water is generally the safest option to prevent damage. Avoid exposing ceramics to extreme temperature changes, as this can cause cracking or thermal shock.
For decorative pieces, gently dust them with a soft cloth to maintain their finish and appearance. Taking these precautions will help preserve the beauty and functionality of your ceramic creation for years to come.
Step 8: Troubleshooting Common Issues
Creating ceramics is a rewarding but intricate process, and sometimes, challenges arise. If your piece develops cracks during drying, it could be due to uneven drying or excessive moisture in the clay. To prevent this, ensure your piece dries slowly and evenly, covering it loosely with plastic to control the drying rate.
Blisters or bubbles in the glaze can occur if the surface wasn’t properly cleaned before glazing, so always wipe your piece thoroughly. Uneven glaze application may result in streaks or bare spots; to fix this, apply an additional thin coat and ensure consistent coverage. Finally, warping during firing might stem from improper kiln loading or thin, uneven clay walls. Address these by placing pieces flat and ensuring uniform thickness during the shaping process.
By following these steps and troubleshooting techniques, you can create beautiful and unique ceramic pieces with confidence.
5 Things You Should Avoid
- Using the Wrong Ingredients: Ensure you use the correct raw materials for your glaze recipe. Substituting or mismeasuring components can lead to unexpected results or an unusable glaze.
- Skipping Proper Sieving: Not sieving your glaze mixture can leave lumps or particles that result in an uneven texture when applied to ceramics. Always take the time to sieve thoroughly.
- Ignoring Safety Measures: Glaze materials often contain chemicals that can be harmful if inhaled or ingested. Always wear gloves a mask, and work in a well-ventilated area to protect yourself.
- Applying Glaze Too Thickly: Over-application of glaze can cause runs, drips, or even cracking during the firing process. Apply in thin, even coats for the best results.
- Firing Without Testing: Always test your glaze on a small piece before using it on a significant project. Firing issues or unexpected reactions can ruin your work if the glaze hasn’t been tested.
Conclusion
How to make glaze for ceramics is a rewarding process that requires attention to detail, patience, and an understanding of the materials involved.
You can create stunning finishes that enhance your ceramic work by carefully selecting your ingredients, taking proper safety precautions, and testing your glaze on smaller pieces. Avoid common mistakes such as incorrect measurements, skipping sieving, or overapplying glaze to ensure the best results.
With practice and experimentation, you’ll develop the skills to craft glazes that reflect your unique artistic vision.
Specialization:
- Master of wheel-throwing, hand-building, and advanced glazing techniques
- Focus on creating both functional pottery and decorative art pieces
Recognition:
- Celebrated by collectors and art enthusiasts for creating one-of-a-kind pieces that blend artistry with functionality
- Participates in local and national exhibitions, earning accolades for his innovative designs and craftsmanship
Passion:
- Deeply committed to exploring and pushing the boundaries of ceramic artistry
- Continuously experiments with new materials, firing techniques, and artistic concepts to evolve his craft
Personal Philosophy:
- Believes in the transformative power of art, aiming to evoke emotions and connections through his ceramic creations
- Advocates for sustainability in ceramics, using eco-friendly materials and practices whenever possible