


Sealing paint on clay is an essential step to protect your creation and ensure its longevity. Whether you’re working with air-dry clay, polymer clay, or ceramic, applying a proper sealant can preserve the paint’s vibrancy and shield the surface from damage or wear.

This guide on how to seal paint on clay will walk you through the necessary steps and materials needed to effectively seal paint on clay, helping you achieve a polished and durable finish.
Types of Clay You Can Paint and Seal
There are several types of clay that you can paint and seal, each with unique properties and applications. Understanding the characteristics of these clays can help you choose the right methods and materials for sealing your painted creations.
Air-Dry Clay:
Air-dry clay is popular for its convenience and ease of use. It doesn’t require baking or firing to harden, making it ideal for beginners. Once dried, you can paint it with acrylics or water-based paints and apply a sealant to protect the surface.
Polymer Clay:
Polymer clay is a versatile material that hardens through baking in a conventional oven. It has a smooth surface and is compatible with various paints, including acrylics. After painting, a clear varnish, like gloss or matte, can be used to seal and protect your designs.
Ceramic Clay:
Ceramic clay is typically used in pottery and requires firing in a kiln to achieve its final form. Once fired and cooled, it can be painted with specialty ceramic paints or glazes. A finishing glaze or sealant can be applied to lock in the colors and add a glossy or satin finish.
Each type of clay responds differently to paints and sealants, so it’s essential to match the right products to the clay you’re working with for the best results.
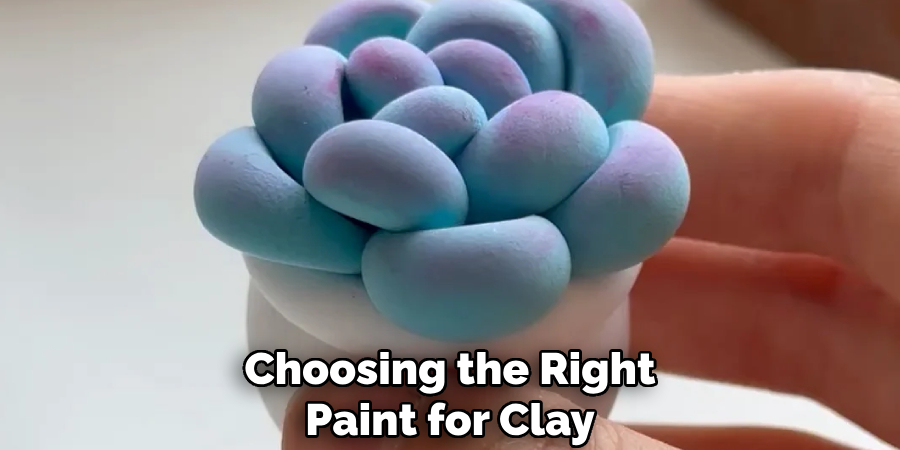
Choosing the Right Paint for Clay
When it comes to choosing the right paint for clay, the type of clay and the desired finish play critical roles. For air-dry clay, acrylic paints are often the best option due to their vibrant color range and ease of application. These paints adhere well and dry quickly, making them ideal for projects that won’t be subjected to water or heavy wear.
For ceramic or kiln-fired clay, specialty ceramic paints or underglazes are the preferred choices, as they are formulated to withstand high temperatures during firing. Additionally, if the piece will be functional, like a bowl or mug, food-safe glazes should be applied to ensure safety. Always consider the project’s purpose and the environment it will be in to select paints that provide durability and aesthetic appeal.
Needed Supplies
To successfully paint on ceramics or clay, you will need the following supplies:
- Ceramic or Kiln-fired Clay Piece
- Clean Cloth or Sponge for Wiping Down the Surface
- Water and Container for Cleaning Brushes Between Colors
- Paintbrushes in Various Sizes (Depending on Level of Detail)
- Specialty Ceramic Paints, Underglazes, or Glazes (Non-toxic and Food-safe if Applicable)
- Optional: Stencils, Decals, or Stamps for More Intricate Designs
It is important to choose high-quality materials to ensure a successful and long-lasting result. This includes selecting paints that are specifically made for use on ceramics and firing at high temperatures.
5 Simple Step-by-Step Guidelines on How to Seal Paint on Clay
Step 1: Prepare Your Workspace
Begin by selecting a clean, well-ventilated area to work in. Cover your workspace with a protective layer such as a plastic sheet, newspaper, or a drop cloth to prevent any accidental messes. Gather all necessary materials, including your painted clay piece, brushes, and sealant, and organize them within easy reach.
Ensure your workspace is free of dust and debris, as these could interfere with the sealing process and affect the final finish. Finally, wear protective gloves if needed to keep your hands clean and to avoid skin contact with the sealant.
Step 2: Applying the Sealant
Start by stirring the sealant gently to ensure an even consistency, avoiding the introduction of air bubbles. Using a clean, dry brush or applicator, apply a thin, even coat of sealant to the surface of your painted clay piece. Work in smooth, consistent strokes to cover all areas without overloading the brush, as excess sealant can cause uneven drying or drips.

Allow the first coat to dry completely according to the manufacturer’s recommended drying time. For added durability and a polished finish, apply a second coat, ensuring thorough coverage. Once finished, clean your tools promptly and allow the piece to cure fully in a dust-free environment.
Step 3: Drying and Curing
Proper drying and curing are essential to ensure the longevity and finish of your painted and sealed clay piece. Once the final coat of sealant has been applied, place the piece in a well-ventilated, dust-free area to dry. Avoid handling or moving the piece during this time to prevent smudges or marks on the surface.
Follow the sealant manufacturer’s recommended drying time to allow the piece to fully harden. For optimal results, leave the piece to cure for at least 24-48 hours, as this ensures the sealant sets completely and enhances the protection and shine of your creation. Patience with this step will result in a professional and durable finish.
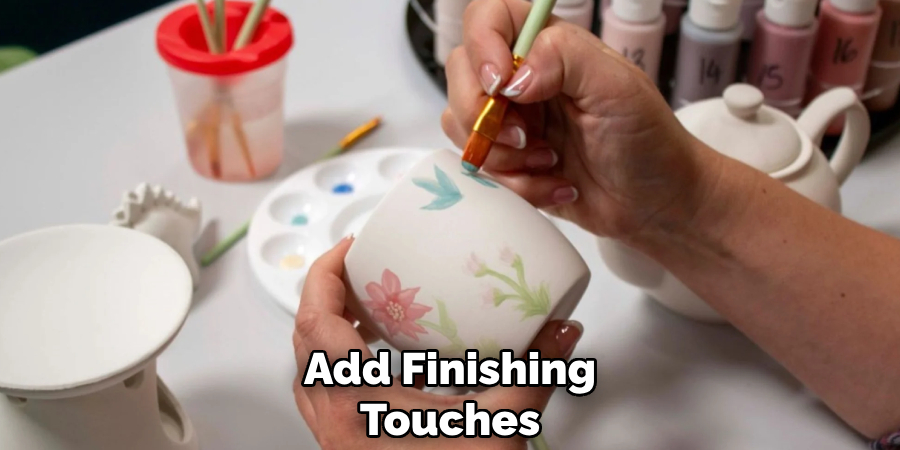
Step 4: Optional Finishing Touches
While your painted clay piece may be complete at this point, there are some additional finishing touches that you can add to enhance its appearance and durability.
One option is to apply a layer of clear wax or varnish over the sealant for added shine and protection. This can also help to smooth out any rough textures on the surface of the clay.
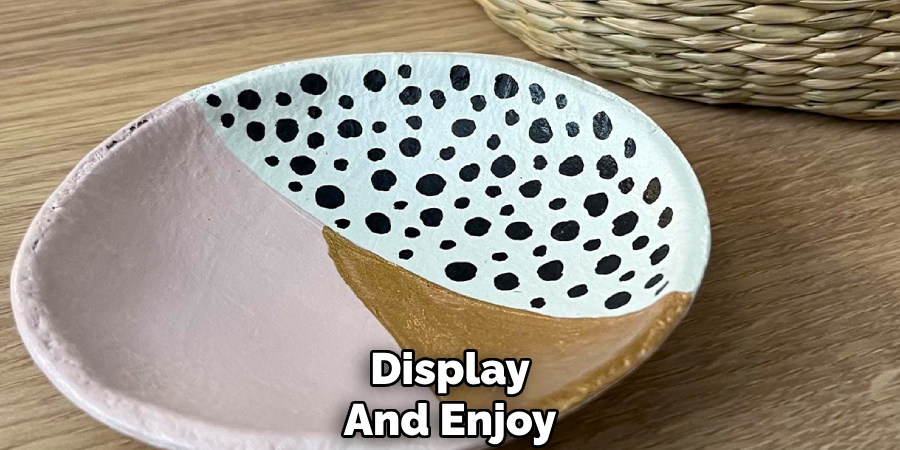
Step 5: Display and Enjoy
Now that your painted clay piece is fully cured and protected, it’s time to display and enjoy your handiwork. You can place it on a shelf, use it as a decorative piece in your home, or give it as a thoughtful gift to someone special.
Following these steps on how to seal paint on clay will ensure that your project lasts for years to come. Experiment with different techniques, colors, and designs to create unique and beautiful clay pieces. Don’t be afraid to get creative and have fun with this versatile medium!
Common Mistakes to Avoid
When sealing paint on clay, there are some common mistakes that can impact the quality and durability of your work. Here are a few to watch out for:
Skipping the Cleaning Process
Failing to properly clean your clay piece before painting or sealing can result in dirt and oils becoming trapped under the sealant, leading to an uneven finish or peeling over time.
Using the Wrong Type of Sealant
Not all sealants are compatible with every type of paint or clay. Ensure you choose a sealant specifically designed for your materials to avoid issues like discoloration or cracking.
Applying Sealant Too Soon
It’s essential to allow the paint to dry completely before sealing. Applying sealant to wet or tacky paint can lead to smudges and reduce the effectiveness of the finish.
Overapplying Sealant
Using too much sealant in one application can cause drips, bubbles, or a cloudy appearance. Always apply thin, even layers, allowing each to dry before adding another.
Skipping Test Runs
Neglecting to test your materials and techniques first can result in unexpected issues. Always test your paint and sealant on a small, similar surface to avoid irreversible mistakes on your main project.
By keeping these pitfalls in mind, you can avoid potential frustrations and achieve beautiful, long-lasting clay creations.
Frequently Asked Questions
Q1: Can I Use Regular Paint on Clay?
A: It is not recommended to use regular paint on clay as it will not adhere well and may crack or chip off. It’s best to use acrylic or air-dry clay paints specifically designed for clay projects.
Q2: How Many Coats of Sealant Should I Apply?
A: The number of coats needed depends on the type of sealant used, but generally, 1-2 coats are sufficient. Make sure to follow the manufacturer’s instructions for the specific product you are using.
Q3: Can I Bake My Painted Clay Project in the Oven?
A: It is not safe to bake painted clay in the oven as some paints and sealants may release toxic fumes when heated. It’s best to let the project air dry or use a heat gun to speed up the drying process.
Q4: Are There Any Special Precautions I Should Take When Painting Clay?
A: Yes, it is important to work in a well-ventilated area and follow safety precautions when using paints and sealants. You should also wear gloves to protect your skin from any potential irritants. Additionally, make sure to clean your brushes and tools thoroughly after use as clay can be difficult to remove once dry.
Conclusion
Working with clay can be a rewarding and creative experience, allowing you to bring your artistic visions to life. By understanding the proper techniques and taking necessary precautions, you can ensure that your clay projects are not only beautiful but also durable and long-lasting.
Remember to experiment, have fun, and don’t be afraid to explore new methods or ideas as you hone your skills. With the right care and attention, your clay creations can be a source of pride and enjoyment for years to come. Thanks for reading this article on how to seal paint on clay.
Specialization:
- Master of wheel-throwing, hand-building, and advanced glazing techniques
- Focus on creating both functional pottery and decorative art pieces
Recognition:
- Celebrated by collectors and art enthusiasts for creating one-of-a-kind pieces that blend artistry with functionality
- Participates in local and national exhibitions, earning accolades for his innovative designs and craftsmanship
Passion:
- Deeply committed to exploring and pushing the boundaries of ceramic artistry
- Continuously experiments with new materials, firing techniques, and artistic concepts to evolve his craft
Personal Philosophy:
- Believes in the transformative power of art, aiming to evoke emotions and connections through his ceramic creations
- Advocates for sustainability in ceramics, using eco-friendly materials and practices whenever possible