


Are you tired of constantly repotting your plants and dealing with clay and plastic plant pots? Don’t worry, ceramic plant pots are here to save the day!
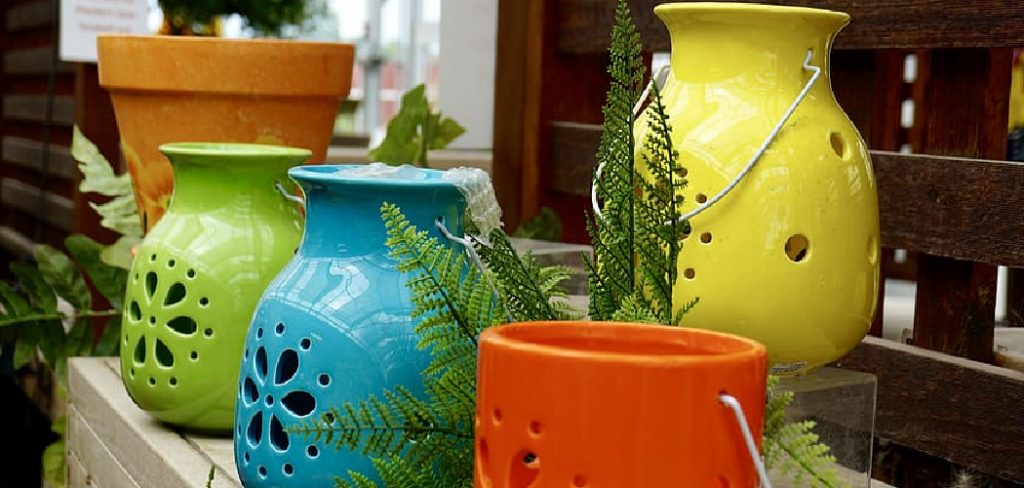
Ceramic plant pots are a popular choice for gardeners and plant enthusiasts due to their durability, aesthetic appeal, and versatility. Whether you’re growing herbs in a cozy kitchen nook or adding a decorative touch to your outdoor garden, ceramic pots provide the perfect balance of function and style. Properly using ceramic pots involves selecting the right size, ensuring proper drainage, and understanding how these pots impact soil moisture levels.
By following a few simple guidelines, you can create an ideal environment for your plants to thrive while complementing your home’s decor. Let’s explore some tips for how to use ceramic plant pots.
What Are the Benefits of Using Ceramic Pots?
Ceramic pots offer multiple benefits over other types of containers for your plants. Some key advantages include:
- Durability: Ceramic pots are sturdy and can withstand harsh weather conditions, making them a long-term investment.
- Aesthetic Appeal: With a variety of colors, designs, and textures available, ceramic pots add a decorative touch to both outdoor and indoor spaces.
- Retains Moisture: The porous nature of ceramic allows for better air circulation and water retention, providing an ideal growing environment for plants that require higher levels of humidity.
- Versatility: From small succulents to large shrubs, ceramic pots come in various sizes suitable for different plant types.
What Will You Need?
To start using ceramic pots for your plants, you will need a few essential items. These include:
- Ceramic Pots: Of course, the main item is the ceramic pot itself. You can choose from a wide range of sizes and designs depending on your personal preferences and plant needs.
- Potting Soil: To ensure your plants have proper drainage, it is recommended to use high-quality potting soil specifically designed for potted plants. This will provide necessary nutrients and help retain moisture.
- Plants: The type of plant you choose will depend on the conditions of where you plan to place your ceramic pot. Be sure to research which plants thrive in specific environments before selecting them.
- Watering: Different plants require different watering schedules. It is essential to monitor the soil moisture and adjust your watering accordingly. Overwatering can lead to root rot, while underwatering can cause stunted growth.
10 Easy Steps on How to Use Ceramic Plant Pots
Step 1. Choose the Right Pot:
Selecting the right pot is crucial for the health and growth of your plant. Start by considering the size of the pot relative to the plant. A pot that is too small can restrict root growth, while a pot that is too large may retain too much moisture, leading to potential root rot. Additionally, ensure the pot has proper drainage holes to prevent water from accumulating at the bottom, which can harm your plant.
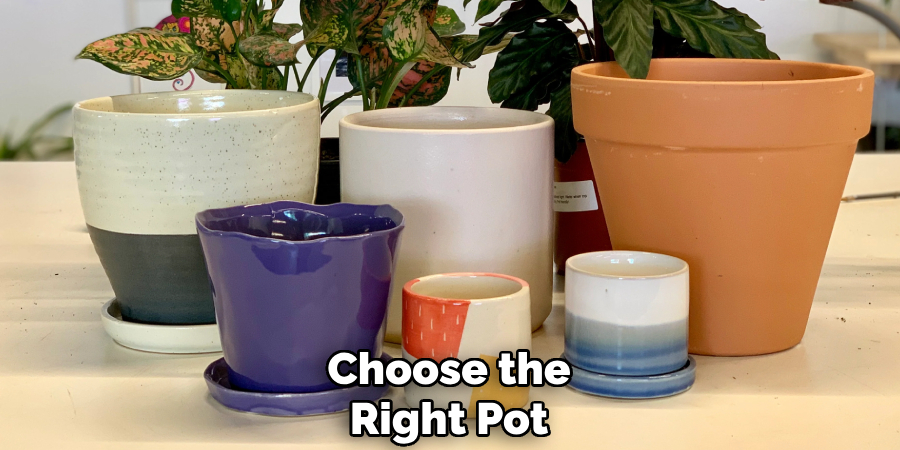
The material of the pot also plays a role—ceramic pots are excellent for maintaining stable soil temperatures and adding aesthetic appeal, but they may require extra care due to their weight and fragile nature. Finally, consider the location where the pot will be placed; pots designed for indoor use may differ in style and function from those intended for outdoor environments.
Step 2. Prepare the Pot:
Before planting, it is essential to properly prepare the pot to ensure it provides a healthy and supportive environment for your plant. Start by cleaning the pot thoroughly, especially if it has been used before, to remove any residual dirt, pests, or pathogens that could harm your plant.
A mixture of water and mild soap works well for this task; just be sure to rinse thoroughly to avoid leaving behind any soap residue.
Next, examine the pot to make sure it has adequate drainage holes. Proper drainage is crucial to prevent water from pooling at the bottom, which can lead to root rot. If the pot does not have holes, consider using an inner liner or drilling small holes if feasible.
For pots with huge drainage holes, you can cover the openings with a layer of mesh or coffee filters to prevent soil from escaping while still allowing water to drain.
Step 3. Pick the Right Soil:
Choosing the right soil is essential for the health and growth of your plants. Start by selecting a soil mix that matches the specific plant’s needs. For instance, succulents and cacti thrive in fast-draining, sandy soil, whereas ferns and other moisture-loving plants prefer soil that retains water.
If you’re unsure, a high-quality, all-purpose potting mix can serve as a good starting point and can be amended for specific needs. Avoid using garden soil, as it may compact in containers and lack the necessary aeration and nutrients for potted plants. Additionally, check that the soil is free from pests and pathogens before use.
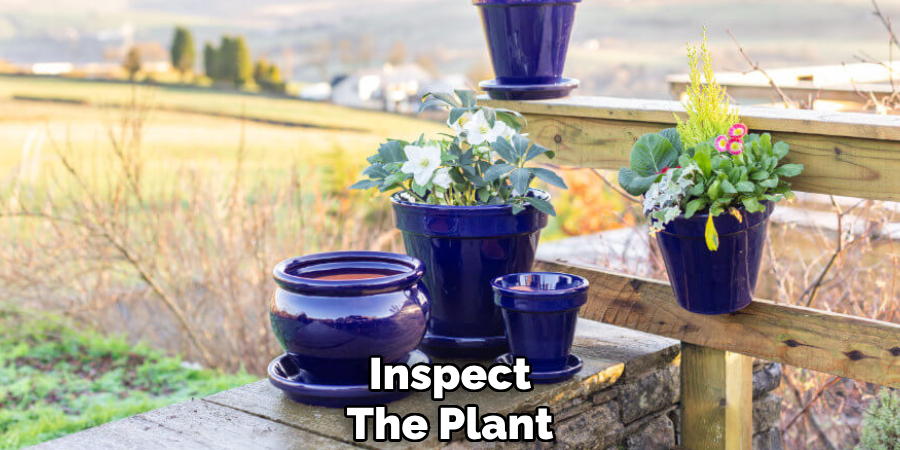
Step 4. Inspect the Plant:
Inspecting the plant before repotting is a crucial step to ensure its health and longevity. Begin by carefully removing the plant from its current container, taking care not to damage the roots. Examine the roots for signs of overcrowding, such as a dense root ball or roots circling around the base.
Look for any signs of disease, pests, or rot, such as mushy, discolored roots or unwanted insects. Trim away any dead or damaged roots using clean, sharp scissors or pruning shears. This process not only promotes healthy growth but also allows the plant to adjust more easily to its new environment.
Step 5. Fill the Base:
Begin by adding a layer of fresh potting soil to the bottom of the new container. Ensure the soil is evenly distributed to create a stable base for the plant.
The layer should be deep enough to position the plant at the correct height, with its root crown sitting slightly below the rim of the container. Gently press down on the soil to remove any air pockets, providing a firm foundation for the plant’s roots to spread and grow.
Step 6. Position the Plant:
Carefully remove the plant from its current container, being cautious not to damage the roots. If the plant is root-bound, gently loosen the roots using your fingers to encourage healthy growth in the new container. Position the plant in the center of the new pot, adjusting its angle if necessary to ensure it is upright and balanced.
The root crown should sit slightly below the rim of the container, as mentioned in the previous step. Take your time to ensure the plant is aligned correctly before proceeding to the next step.
Step 7. Add More Soil:
Fill the pot with fresh potting soil, carefully adding it around the plant to cover the roots while leaving some space at the top of the container for watering. Gently press the soil down to eliminate air pockets, being careful not to compact it too tightly, as this can restrict root growth.
Continue adding soil until the plant is secure and the root crown remains just below the rim of the pot. Ensure the soil is evenly distributed and that the plant is stable before moving on to the final steps of care and maintenance.
Step 8. Water Thoroughly:
Water the plant generously, allowing the moisture to reach the roots and settle the soil. Ensure that water drains adequately from the bottom of the container to prevent overwatering, which can lead to root rot. Use room-temperature water to avoid shocking the plant, and stop watering once you see excess water escaping through the drainage holes.

After watering, check the soil to ensure it is evenly moist but not soggy. This step is crucial in helping the plant adjust to its new environment and promoting healthy growth.
Step 9. Place the Pot Properly:
Select an appropriate location for your newly potted plant based on its light and temperature requirements. Most houseplants thrive in indirect sunlight, so placing the pot near a window with filtered light is ideal. Avoid locations with direct harsh sunlight, as it may scorch the leaves, and steer clear of drafty areas or spaces near heating vents, which can cause temperature fluctuations.
Additionally, ensure the pot is placed on a stable surface to prevent tipping and protect the surrounding area from potential water drainage. Taking the time to position your plant correctly will support its growth and overall health.
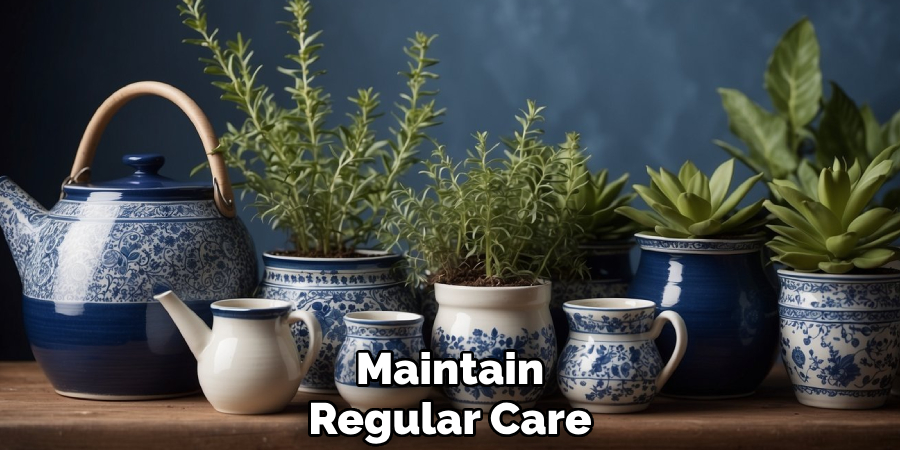
Step 10. Maintain Regular Care:
Consistency is key when it comes to plant care. Make a habit of checking the soil moisture regularly, ensuring it neither dries out completely nor becomes overly saturated.
Feed your plant with a suitable fertilizer according to its specific needs and the growing season, as this will provide essential nutrients to support healthy growth and development. Prune away dead or yellowing leaves to encourage new growth and prevent disease. Regularly inspect your plant for pests or signs of stress, addressing any issues promptly.
By following these simple tips, you can ensure that your plant stays happy and healthy for years to come.
Conclusion
Ceramic plant pots are an excellent choice for both aesthetics and functionality in plant care.
Their durability and ability to retain moisture make them ideal for a wide range of plants, particularly those that prefer consistent soil conditions. To get the most out of ceramic pots, ensure they have proper drainage holes to prevent overwatering. Use well-draining soil to maintain a healthy balance of moisture for your plants. Additionally, consider the size and weight of the pot when selecting one, as it should accommodate your plant’s growth while being easy to handle.
Hopefully, the article on how to use ceramic plant pots has provided you with useful information on how to choose and maintain these versatile plant containers.
Specialization:
- Master of wheel-throwing, hand-building, and advanced glazing techniques
- Focus on creating both functional pottery and decorative art pieces
Recognition:
- Celebrated by collectors and art enthusiasts for creating one-of-a-kind pieces that blend artistry with functionality
- Participates in local and national exhibitions, earning accolades for his innovative designs and craftsmanship
Passion:
- Deeply committed to exploring and pushing the boundaries of ceramic artistry
- Continuously experiments with new materials, firing techniques, and artistic concepts to evolve his craft
Personal Philosophy:
- Believes in the transformative power of art, aiming to evoke emotions and connections through his ceramic creations
- Advocates for sustainability in ceramics, using eco-friendly materials and practices whenever possible